Years ago when I was studying abroad in Italy I remember going into the paper shops and admiring all of the stunning hand marbled papers. They're really just like tiny, intricate paintings. Each one is unique and can never be reproduced exactly the same again. The history of marbling (or marbelizing as some call it) goes
way back and has shown up in historical pieces from all over the world! How cool is it that multiple cultures in history interpreted this artistic technique in different ways? Marbling has gained popularity over the past couple of years. You can't open Pinterest without seeing shaving cream or nail polish marbling projects on all sorts of surfaces. This project uses traditional materials and techniques and gives you beautiful results on paper sheets or pieces of fabric. While the steps are more involved than those quick-and-easy projects, this one gives you beautiful, intricate results that get you a little closer to those stunning papers you might have admired in a fancy paper shop.
When I did the marbled Easter egg project last month I also marbled paper and fabric at the same time. It takes some preparation to get everything set up, so it was worthwhile to marble everything at once. This technique is addictive, so if you want to try it I encourage you to have lots of paper or fabric blanks ready to go!
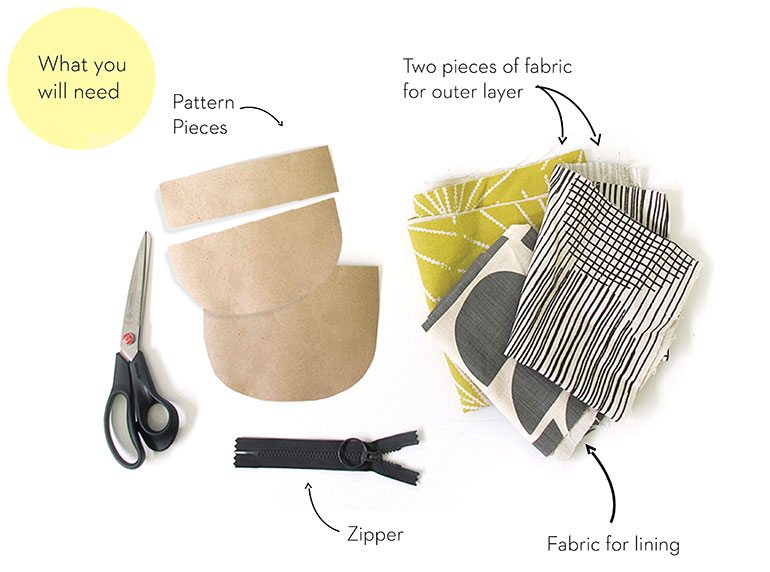
Here's what you'll need:
- Marbling supplies and tools (as outlined on the Marbled Paper Mache Easter Egg tutorial)
- Cotton papers cut to the size of your marbling tray. I cut down a large sheet of cotton rag paper that I bought at the art store and also used some Canson 100% cotton sheets that came in 8.5 x 11 size
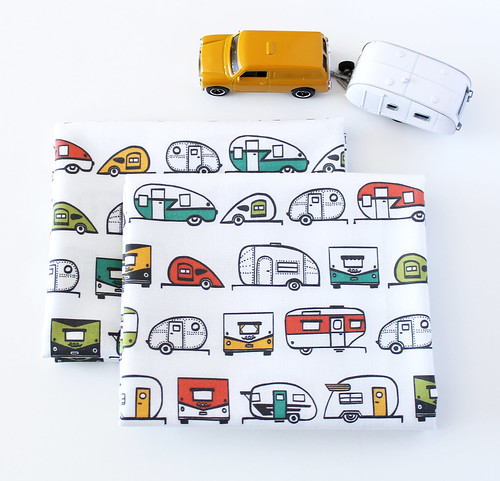
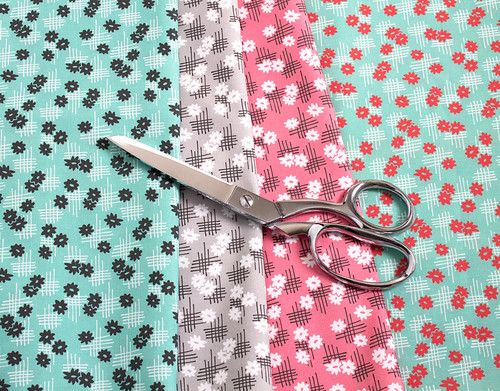
- Light colored, natural weave fabric trimmed to size. I used plain cotton muslin and a cotton/linen blend
Don't forget to prep the materials for marbling. For paper, just brush a thin coat of the alum mixture on the paper and let dry. For fabric, immerse the pieces in the alum and let sit for 20 minutes. Wring out and hang dry. Iron out any wrinkles before you start marbling. It's best to do this prep work the night before.


Follow through the same steps as the marbled egg project. Once the paints are ready to go, slowly lay the paper or fabric down onto the surface. Tap the back of the paper/fabric to ensure that it has made contact with the paint. Carefully lift from one end. Lightly rinse with water to remove the methocel and hang dry. Carefully scrape the surface of the methocel with the edge of a paper to clean it off. Any inks that are still on the surface will affect the next design. Once it's clean, start again!

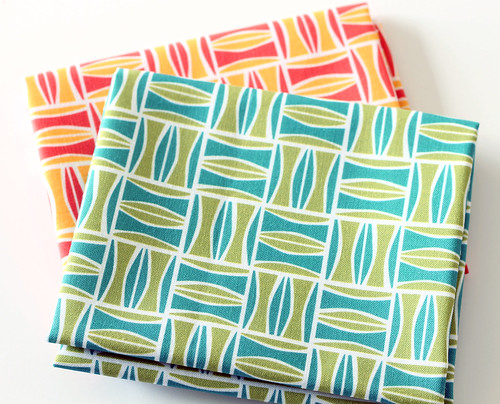
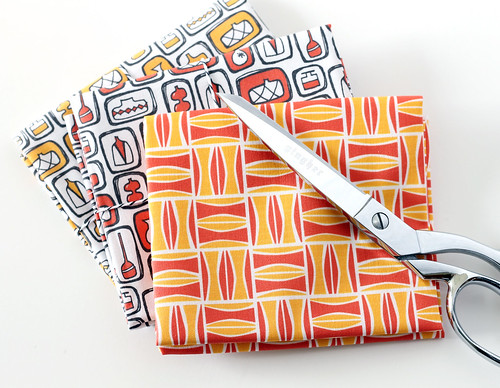
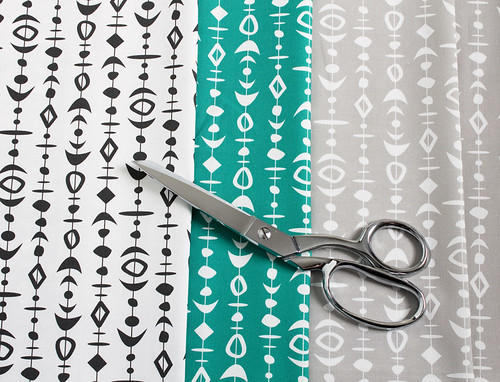
It's interesting to see the variation in colors on the different
surfaces. In my experience, the colors were more vibrant on the paper
than the fabric. Both the muslin and the cotton/linen fabric held the
colors well, but the cotton/linen results were a little more subdued. I
had to increase the contrast on the color batches for that fabric, while
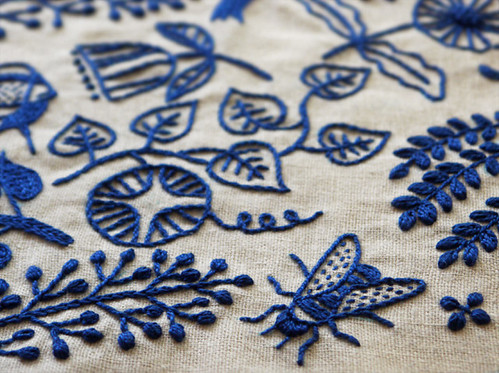
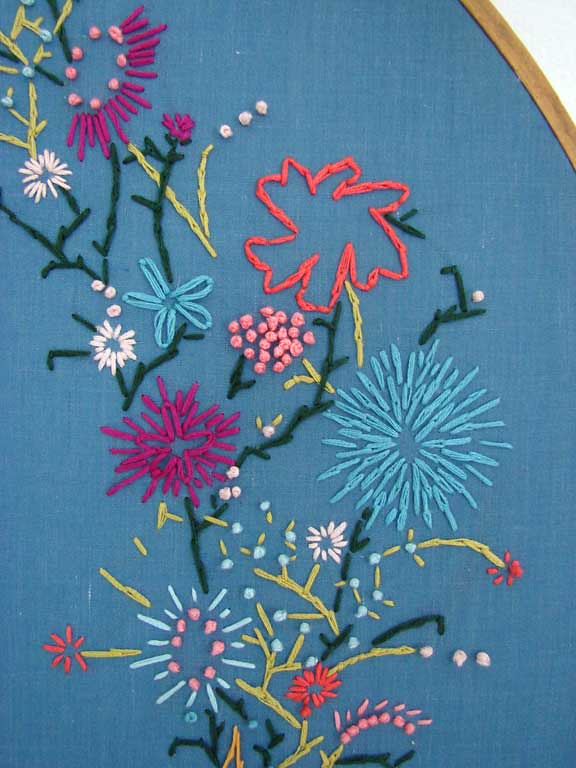
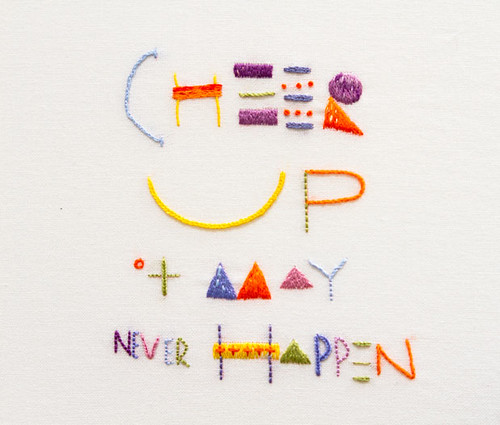
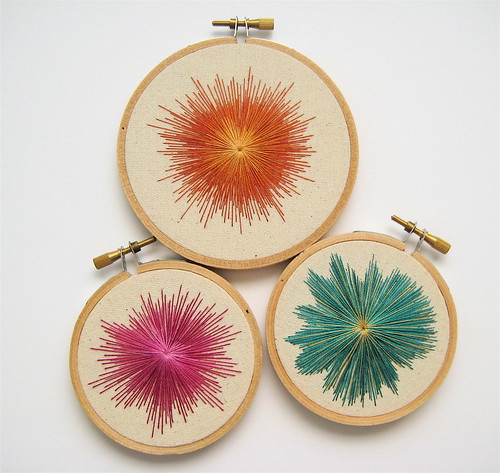
the paper picked up every tiny little color variation very easily. I'm planning on sharing a few different projects that you can do with the finished marbled pieces, but in the meantime, here's a little gallery of what I came up with.


So cool, right?! It's great that these beautiful results can be achieved with inexpensive craft paints. The marbling on the paper pieces is done and permanent as soon as the paper is dry. The paints on the fabric will need to be heat set to become permanent. After they're dry, iron each fabric panel on the reverse side to set the marbling then hand wash in cool water to remove whatever methocel is left in the fibers. Hang dry.

Have a lovely weekend, friends! I'll be at Maker Faire in San Mateo Saturday and Sunday selling with
SF Bazaar. Maybe I'll get a chance to sneak away for a little and catch some of the exhibits. If you're there come by and say hi!
Update
Checkout these fun projects using the marbled paper and fabrics created from this tutorial:
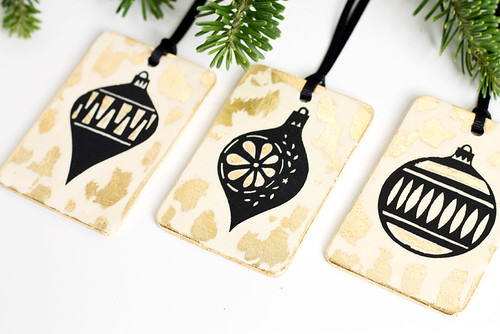
DIY Marbled Paper Tray
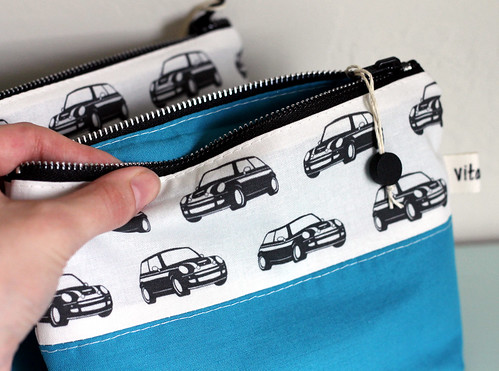
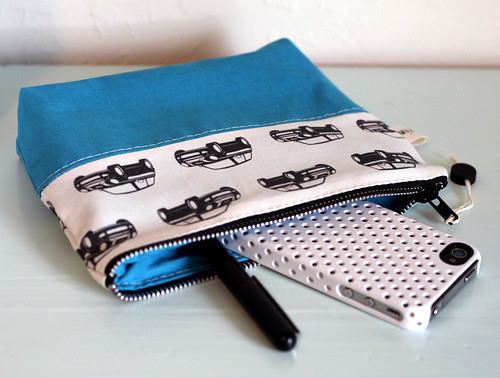
DIY Fabric & Leather Clutch
DIY Marbled Candle Set


 Remember the


 Following the interfacing instructions, iron it onto the wrong side of one end of the accent fabric. Fold the remaining fabric over and press. This will give you patterned fabric on both sides with interfacing in the middle.