4

Book review: Paper to Petal

Monday, September 30, 2013

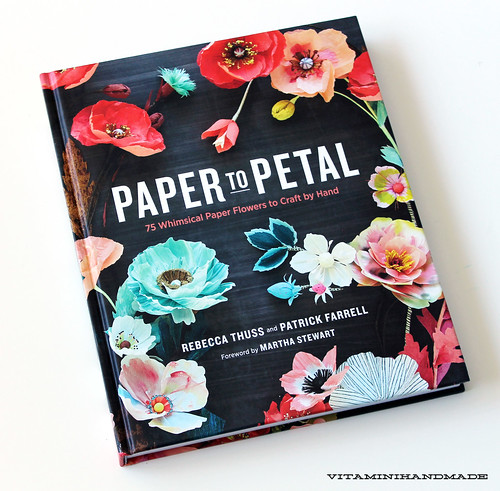
Book review: Paper to Petal, Thuss and Farrell |vitamini handmade

I try to stay in control of my book ordering on Amazon, because they are my weakness. Especially craft books. But when I saw photos of Paper to Petal I knew I just HAD to have a copy.
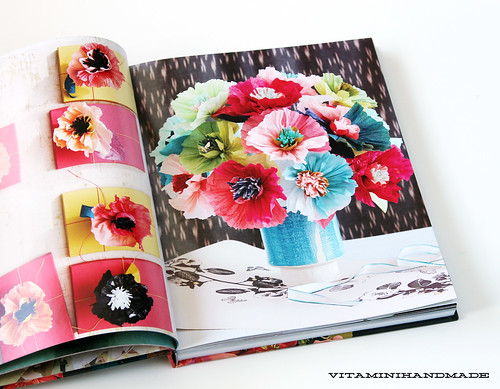
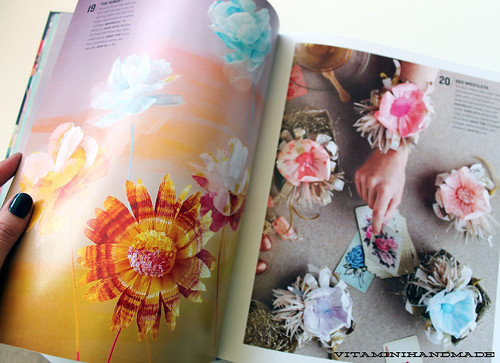
Book review: Paper to Petal, Thuss and Farrell |vitamini handmade Book review: Paper to Petal, Thuss and Farrell |vitamini handmade

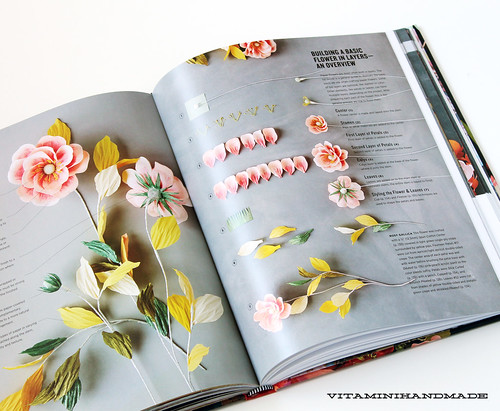
Let me say, without even cracking it open I was impressed. It's a nice, hefty hardback with a beautiful cover. But the inside is is even better! It opens with a gallery section showing lots of different flower projects. After the gallery, there's a chapter all about tools and materials. I really appreciated this section that describes the different types of paper used to make the flowers, what their differences are, and where you can find them. There's information about wires, tapes, glues, glitters, scissors, pens, everything you can think of to make these paper blooms.
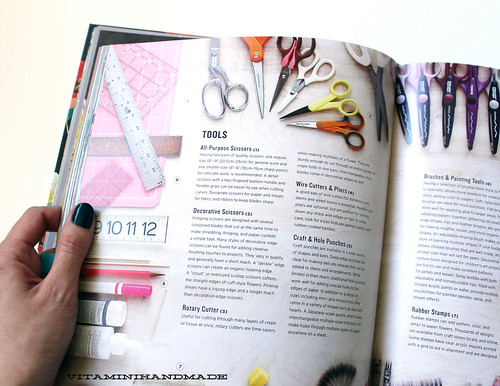
Book review: Paper to Petal, Thuss and Farrell |vitamini handmade Book review: Paper to Petal, Thuss and Farrell |vitamini handmade

The third and last section breaks down the construction of each of the flowers shown in the gallery section. There are step-by-step photos of how the flowers are constructed.
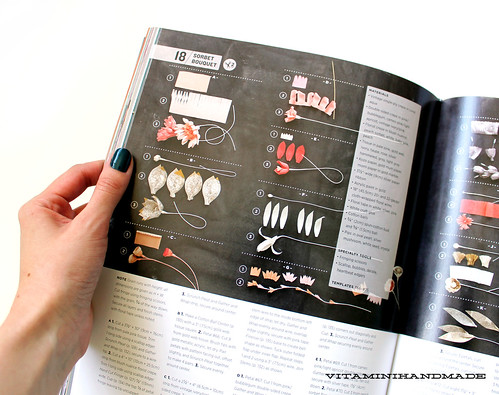
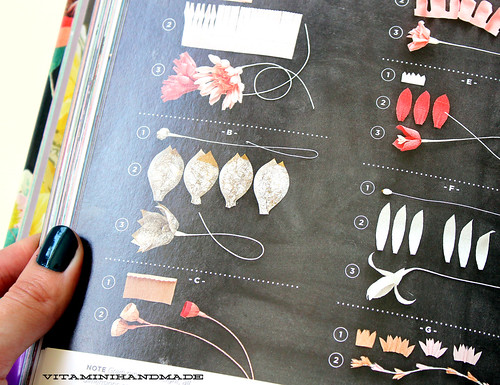
Book review: Paper to Petal, Thuss and Farrell |vitamini handmade Book review: Paper to Petal, Thuss and Farrell |vitamini handmade

I haven't been able to try making any of the flowers, yet, but I did spend a small fortune on crepe paper and I honestly can't wait to get started! Have you had a chance to check out this book? Tried making any of the flowers yet?

*Disclosure: Affiliate links are used in this post. I may receive a small commission on a sale that is made by using the above links. But, as always, all opinions are my own. 

2

Made by me: gold leaf clutch.

Friday, September 27, 2013

Gold Clutch Kit from Darby Smart designed by Casey Starks from Vitamini Handmade

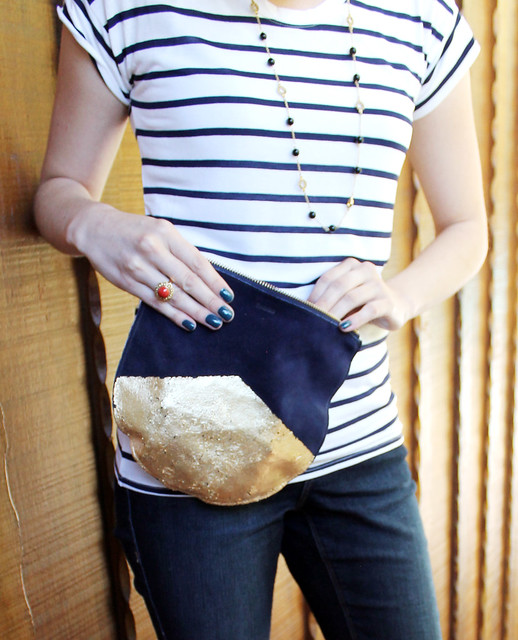
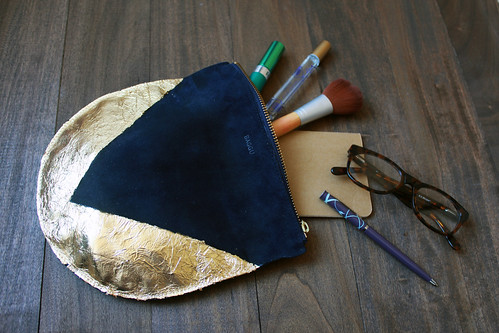
I wanted to share my personal take on the gold clutch kit that I designed with Darby Smart. When they sent me their project photos, I laughed because the design I tried is the exact inverse of theirs! Too funny.

Gold Clutch Kit from Darby Smart designed by Casey Starks from Vitamini Handmade

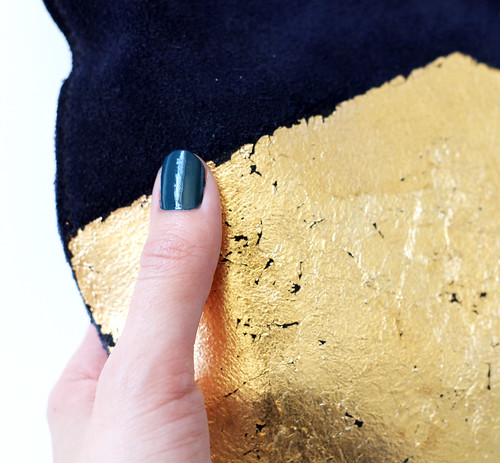
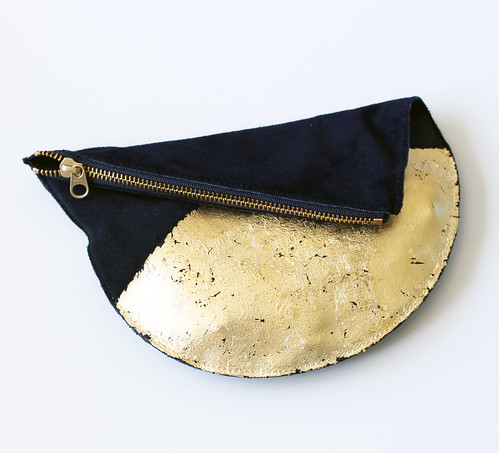
I wanted to go with more of an aged look, so I didn't fill the entire space with the gold leaf. The edges are a little irregular, too, and I'm likin' it! The sample photos from DS show the gold a little more solid, but that's the great thing about these kits - you can create your project exactly the way you like it.

Gold Clutch Kit from Darby Smart designed by Casey Starks from Vitamini Handmade Gold Clutch Kit from Darby Smart designed by Casey Starks from Vitamini Handmade

The clutch is tall enough that you could carry it folded over, too.

Here are some of my tips for making this kit on your own:
  • Don't bother trying to tape off a design. It may give you clean glue edges, but it will pick up the texture of the suede! Eek! Just free-hand your design with the brush.

  • Stick to simple shapes or patterns.
  • Apply the glue in sections. Some of it may start drying before you can get the gold on there, so take it slow.
  • Some of the gold will flake off. When it does, just go back with another round of glue and fill in the bare spots.
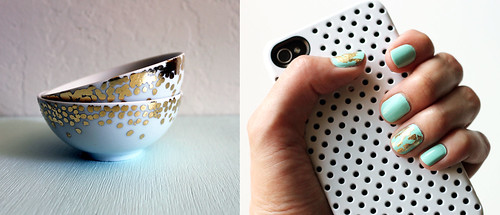
  • Save your gold leaf scraps! Even the smallest pieces can be used for other fun projects, like my confetti bowl project or gold leaf manicure.
  • Have fun! 
Gold Leaf DIY Projects
If you order a kit for yourself I'd love to see how your clutch turned out. Post it on Twitter or Instagram and link to me @vitaminimodern!

2

Dipped with Darby Smart!

Monday, September 23, 2013

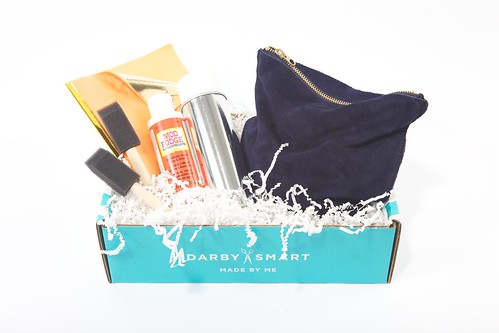
Darby Smart - Gold leaf clutch kit I'm thrilled to announce that I teamed up with Darby Smart and designed a craft project that I hope you'll love! It's the beautiful suede and gold clutch kit and it was released today!
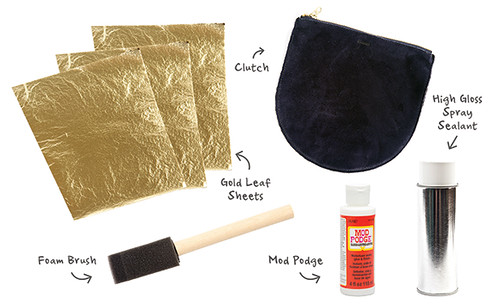
Darby Smart - Gold leaf clutch kit This kit comes with everything you need. The deep blue suede bag from Baggu is beautiful all by itself, but the gold adds some bling and a nice custom touch. Add as much or as little gold as you like and make it your own!
Darby Smart - Gold leaf clutch kit

This kit would make such a nice gift, too, for that fashion-forward, crafty gal in your life. Head on over to Darby Smart and pick up your kit today! They've got lots of other fun projects available, too. Hmm, wouldn't these kits make nice Christmas presents? (Maybe I'm getting ahead of myself with the Christmas talk...I was designing holiday cards all weekend!)

I hope you like my project. If you purchase a kit of your own I'd love to see how your finished product came out. Email me a photo! I'll share photos of mine later this week.

1

A little hint...

Sunday, September 22, 2013

Here's a hint at a fun project I've been working on. I'm so excited to share it with you! But, till then....

Sneak peek!

18

My Whiteboard Calendar.

Tuesday, September 17, 2013

DIY Whiteboard Calendar

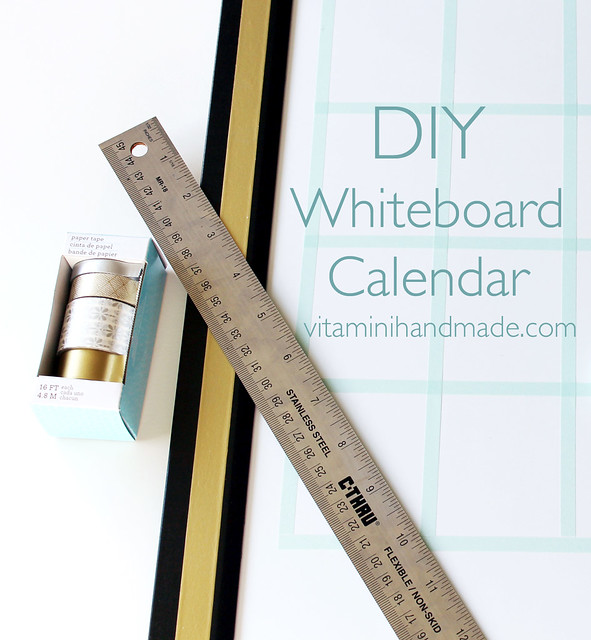
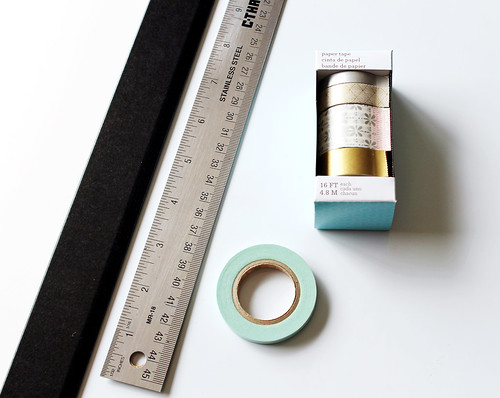
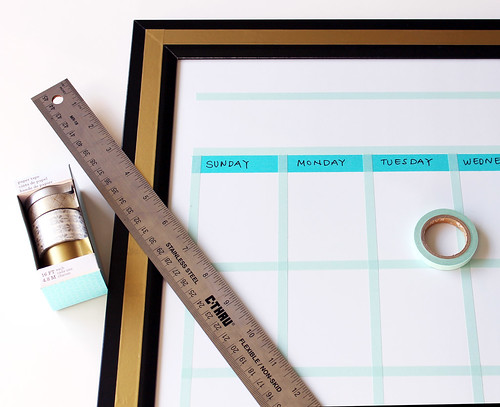
I had whiteboard calendars on the brain a couple weeks ago, so I made my own! Here's what I used:

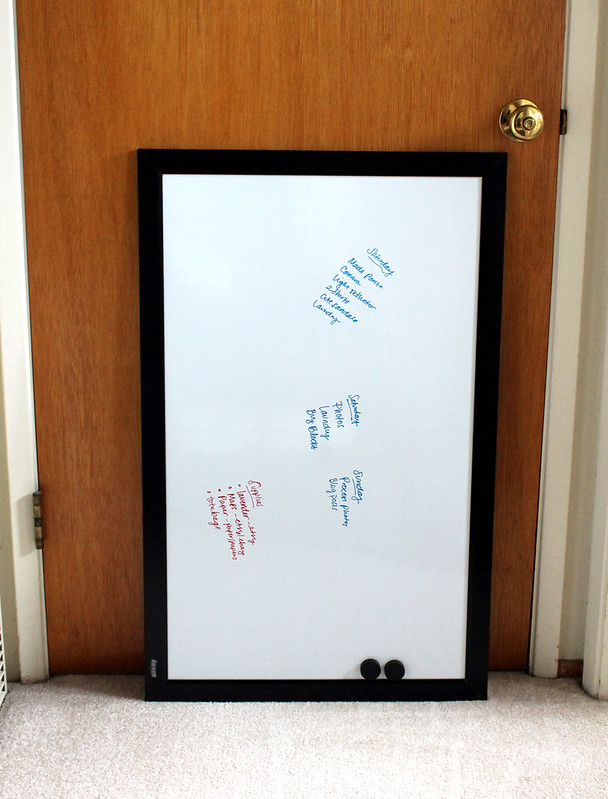
White board, this is a 22" x 34" that I got at Michael's for about $22. It's magnetic, too!
Washi and paper tapes in various colors and widths
Dry Erase pens
3M Picture Hanger strips (the velcro-like kind)
Ruler
DIY Whiteboard Calendar

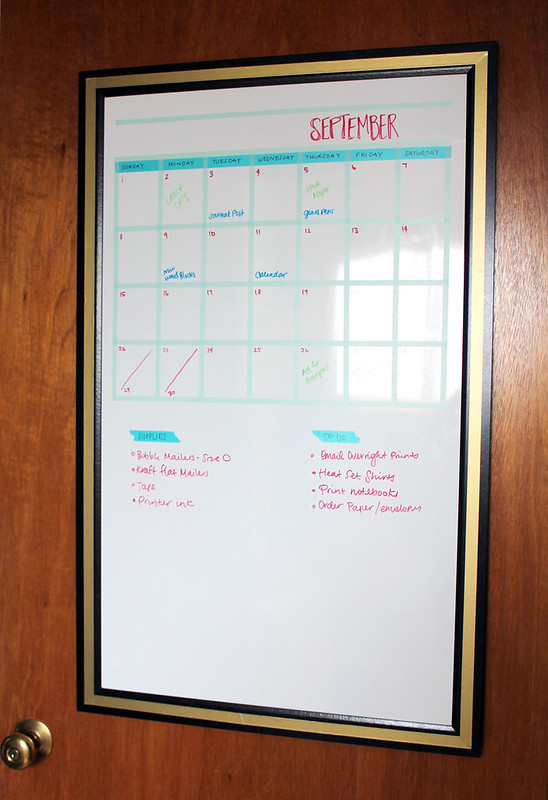
I live and work out of my small apartment so I've learned to get creative with my storage solutions. I have a hall closet where I keep all of my shipping supplies and extra inventory and the inside of this closet door is the perfect spot for this calendar. That way I can open up the door and add all my to-do items, and then just close the door when I'm done!

DIY Whiteboard Calendar
First, I wanted to enhance the frame part of the board. There are lot's of different ways to do this. I thought about spray paint or acrylic paints, but I settled on adding a simple strip of gold paper tape down the middle of each side of the frame. I just eye-balled the spacing.

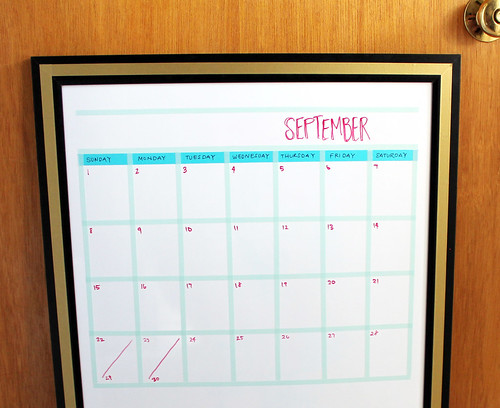
For the calendar portion, I measured out the width of the board in a vertical orientation (the way that will fit on my closet door), added in about 1" for the side margins, then divided that remaining space by 7 for the vertical columns for each day of the week. Then I taped out 4 horizontal rows for each week of the month. My day rectangles ended up being about 2.25" wide x 2.75" tall.
DIY Whiteboard Calendar

I added an extra strip of tape across the top so I could label the days. I left some extra space at the very top for the Month. Then I filled in the days of the week, and added some tape strips underneath the calendar for a To Do list and To Order list for supplies for my handmade business.

DIY Whiteboard Calendar DIY Whiteboard Calendar
I didn't want to make any holes in the door, so I used my favorite 3M picture strips! So easy and totally removable. I use them to hang lots of things, including my plate collection at my last two apartments.

DIY Whiteboard Calendar
I'm hoping my new calendar will help me organized, especially with the busy holiday season coming up so quickly!

2

A day at the fair.

Monday, September 16, 2013

Santa Cruz County Fair

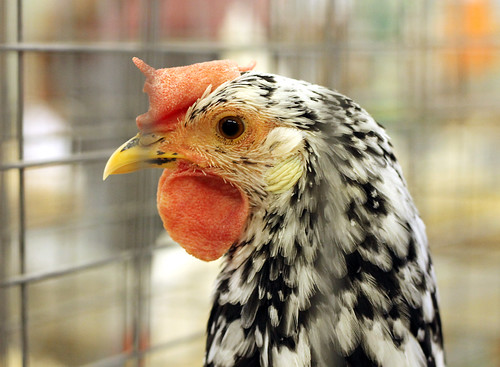
Last saturday was a beautiful day and I was so lucky to be able to spend it at the County Fair in my hometown! I spent all of my childhood volunteering at the fair every year, first as a 4-Her, then later as a volunteer for the Agriculture and Horticulture department. So I drove down and picked my mom up and we headed out to the fair together. We saw, collections, fine arts, a live glass blowing/fusing demo, racing pigs, lambs, baby mini goats the size of chihuahuas (eee, so cute!), horse racing, poultry, ag history, tractor parade with bagpipers, dog obedience and agility demo, and finally floriculture and bonsai. Phew! Not bad for an admission price that's about the same as a movie ticket. :) Here are some of my photos from the day.

Santa Cruz County Fair

Santa Cruz County Fair
Award-winning chickens in profile.
Santa Cruz County Fair
I enjoyed this sign in the Ag History department showing the distance to the local attractions.
Santa Cruz County Fair
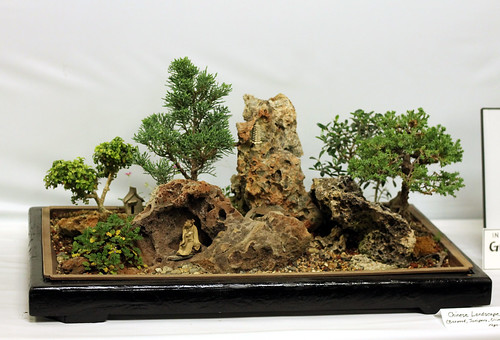
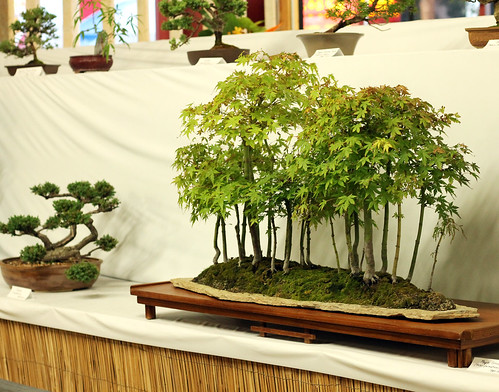
Bonsai. How cool are the maple trees planted on the stone slab?
Santa Cruz County Fair
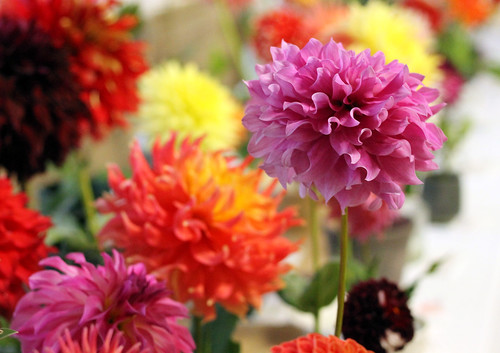
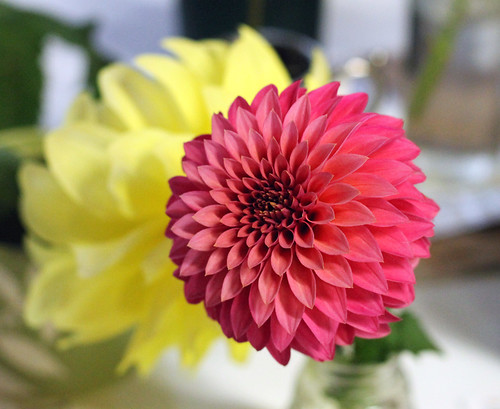
Stunning dahlias in all shapes and sizes. Some were as big as dinner plates.
Santa Cruz County Fair

All photos by Casey Starks | Vitamini Handmade

2

Metallic Sharpies

Wednesday, September 11, 2013

Decorating glassware with Sharpie Paint Pens

Have you guys seen those oil-based paint Sharpies around the web? I bought a pack of the medium tipped silver and gold pens to test out. Here's are some of the featured traits from the Sharpie website.
  • Marks opaque and glossy on light and dark surfaces
  • Use on virtually any surface: metal, pottery, wood, rubber, glass, plastic, stone, & more
  • Quick-drying. Resistant to water, fading, and abrasion

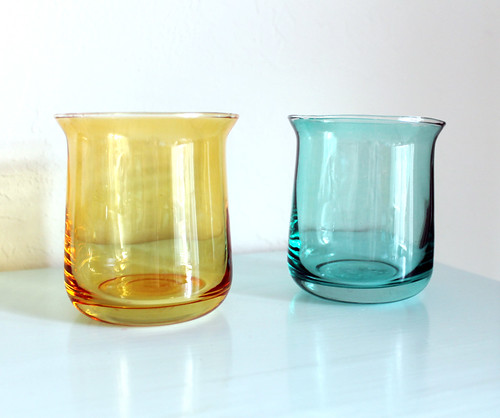
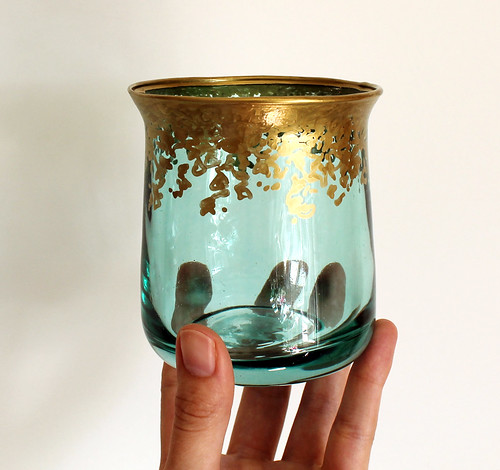
I bought the medium point pens and decided to try them out on these mis-matched glass candle holders. They originally were filled with wax, but after the candle was all used up I just cleaned them out and they were the perfect palette for my new paint pens!


Decorating glassware with Sharpie Paint Pens  
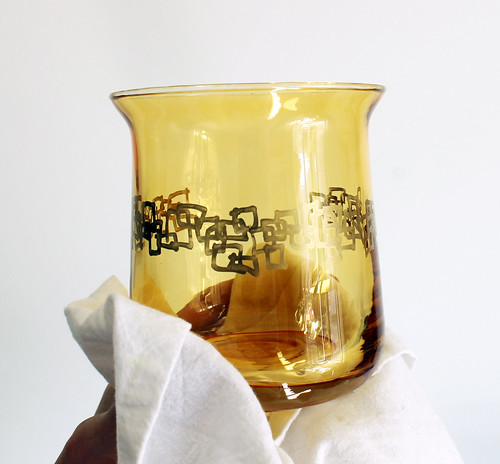
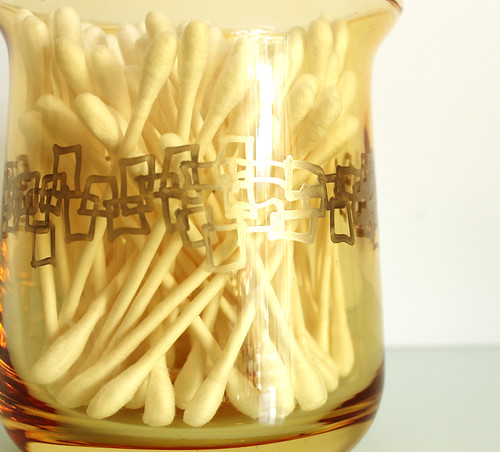
I took care not to touch the glass where I was going to draw the design so the paint would adhere to a clean surface and not smudge. Just hold the glass with a dishtowel while you're working on it. I settled on a retro-style overlapping square pattern and just got going with the gold pen.


Decorating glassware with Sharpie Paint Pens

The paint went on really easily and dried quickly. I made a matching pair to hold brushes and hair accessories on my bathroom counter. Cute and functional! I've seen Pinterest pins about heat setting your Sharpie-decorated items in the oven (though there were no instructions like this on the pen package). To test out the paint's durability, I took the glass to the kitchen sink and gave the pattern a really good scrub with a sponge and dish soap. The pattern didn't budge so I didn't bother with the oven step.


Decorating glassware with Sharpie Paint Pens Decorating glassware with Sharpie Paint Pens  
This one would make a nice flower vase. I'm looking forward to using these paint pens for more craft projects. I think they'll be really handy around the holidays for dressing up glass ornaments and decorations. Have you tried these paint pens yet?
 

vitamini handmade © All rights reserved · Theme by Blog Milk · Blogger