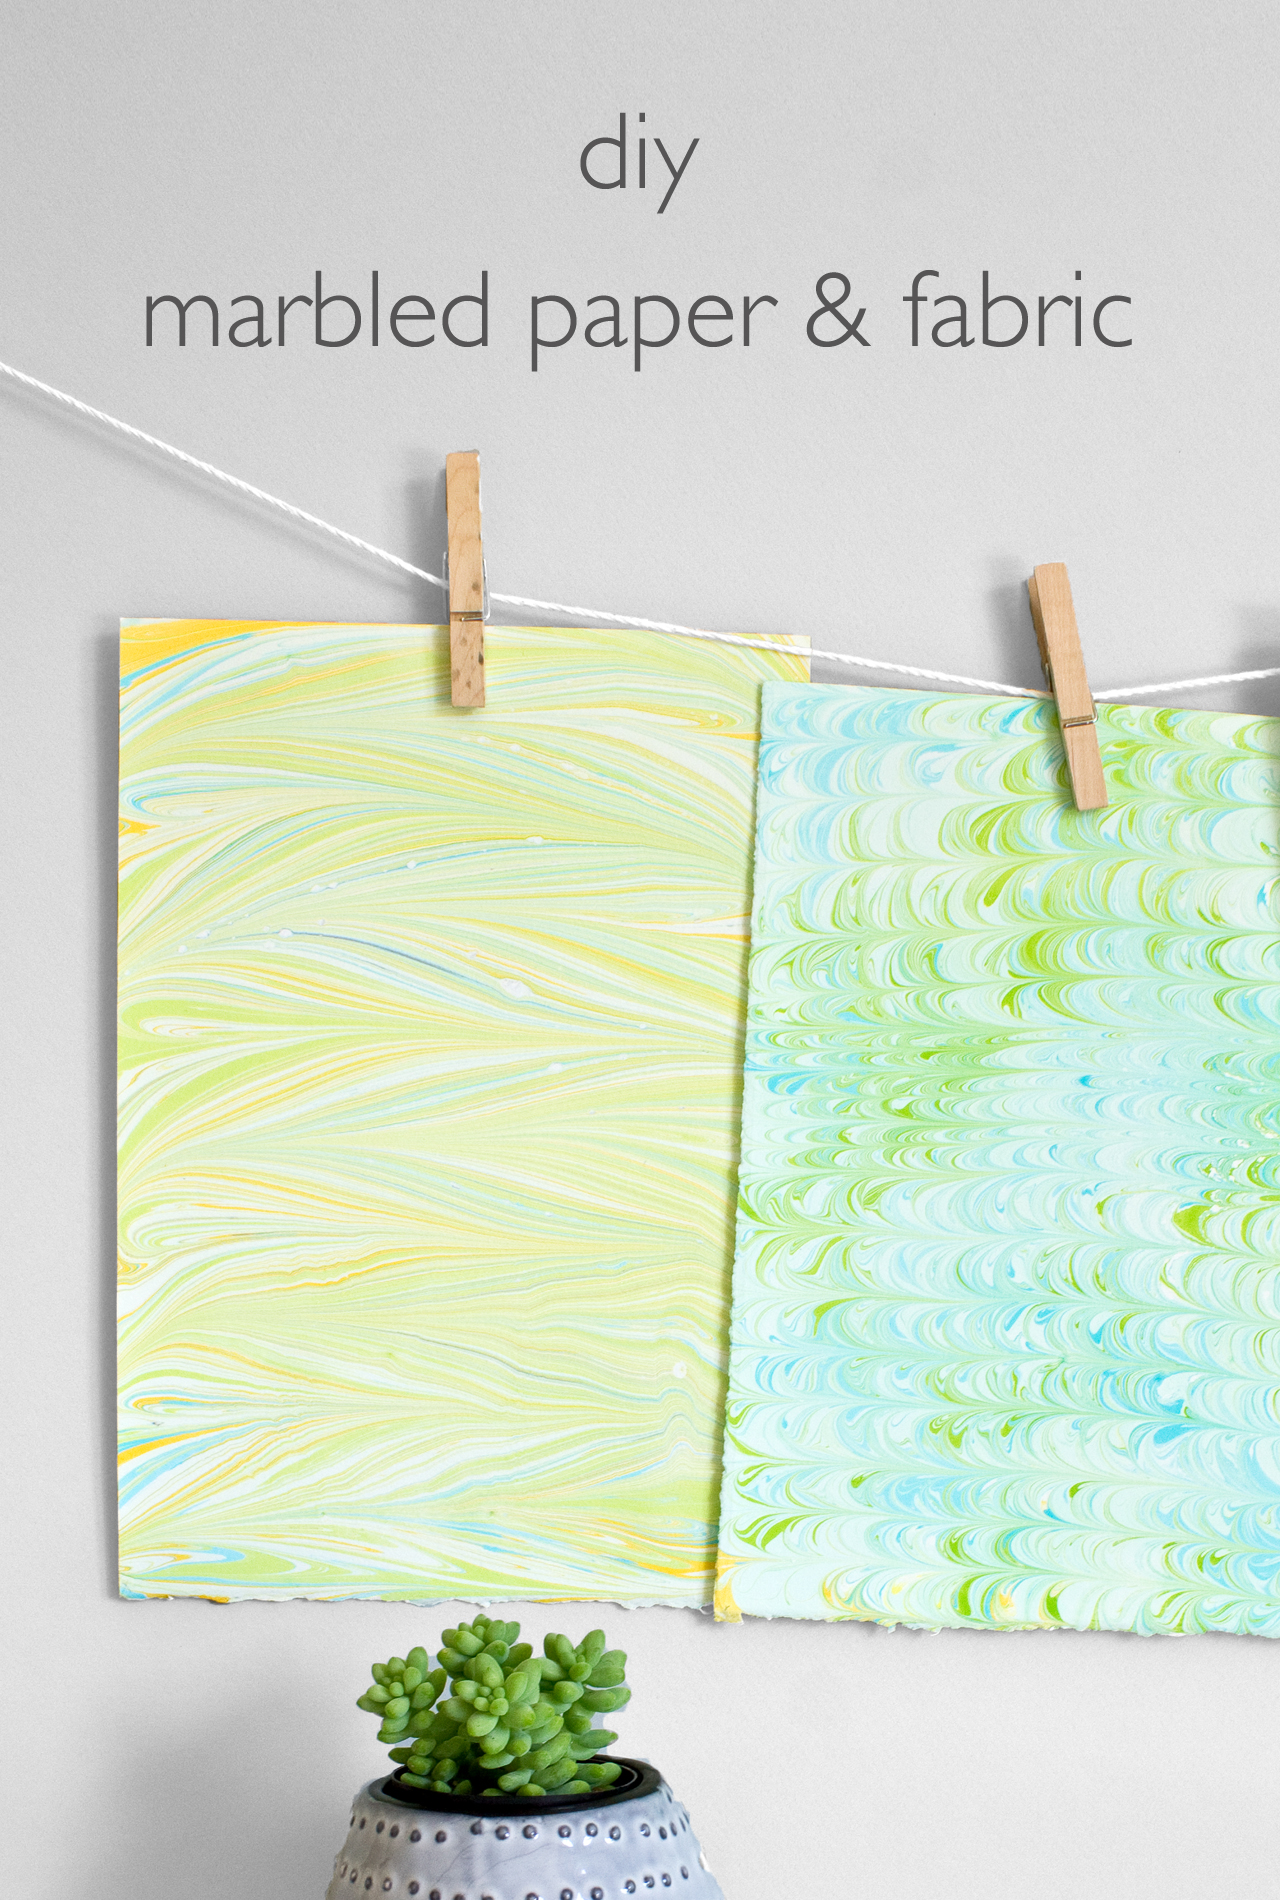
Years ago when I was studying abroad in Italy I remember going into the paper shops and admiring all of the stunning hand marbled papers. They're really just like tiny, intricate paintings. Each one is unique and can never be reproduced exactly the same again. The history of marbling (or marbelizing as some call it) goes way back and has shown up in historical pieces from all over the world! How cool is it that multiple cultures in history interpreted this artistic technique in different ways? Marbling has gained popularity over the past couple of years. You can't open Pinterest without seeing shaving cream or nail polish marbling projects on all sorts of surfaces. This project uses traditional materials and techniques and gives you beautiful results on paper sheets or pieces of fabric. While the steps are more involved than those quick-and-easy projects, this one gives you beautiful, intricate results that get you a little closer to those stunning papers you might have admired in a fancy paper shop.
When I did the marbled Easter egg project last month I also marbled paper and fabric at the same time. It takes some preparation to get everything set up, so it was worthwhile to marble everything at once. This technique is addictive, so if you want to try it I encourage you to have lots of paper or fabric blanks ready to go!
Here's what you'll need:
- Marbling supplies and tools (as outlined on the Marbled Paper Mache Easter Egg tutorial)
- Cotton papers cut to the size of your marbling tray. I cut down a large sheet of cotton rag paper that I bought at the art store and also used some Canson 100% cotton sheets that came in 8.5 x 11 size
- Light colored, natural weave fabric trimmed to size. I used plain cotton muslin and a cotton/linen blend
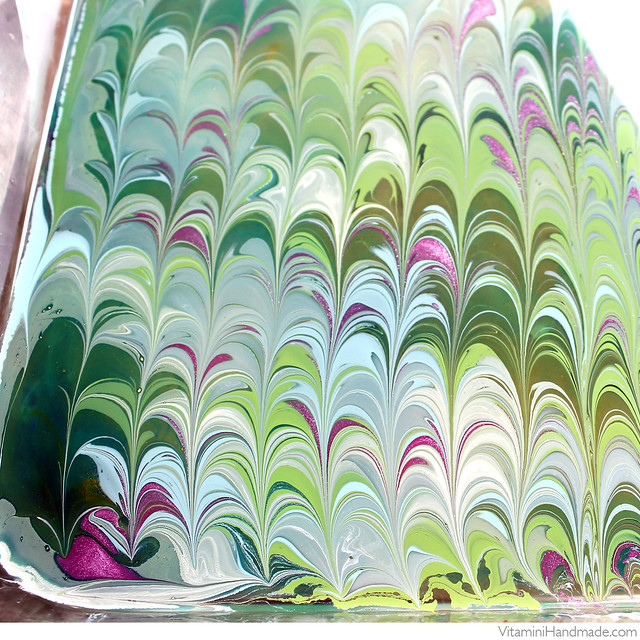
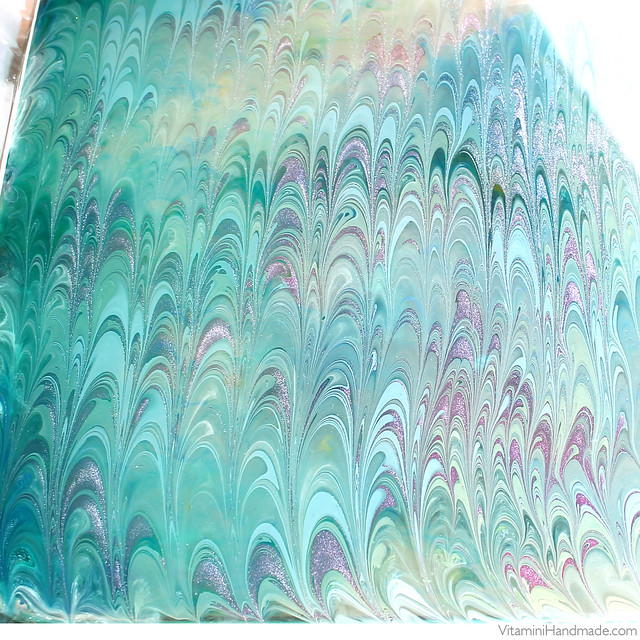
Follow through the same steps as the marbled egg project. Once the paints are ready to go, slowly lay the paper or fabric down onto the surface. Tap the back of the paper/fabric to ensure that it has made contact with the paint. Carefully lift from one end. Lightly rinse with water to remove the methocel and hang dry. Carefully scrape the surface of the methocel with the edge of a paper to clean it off. Any inks that are still on the surface will affect the next design. Once it's clean, start again!
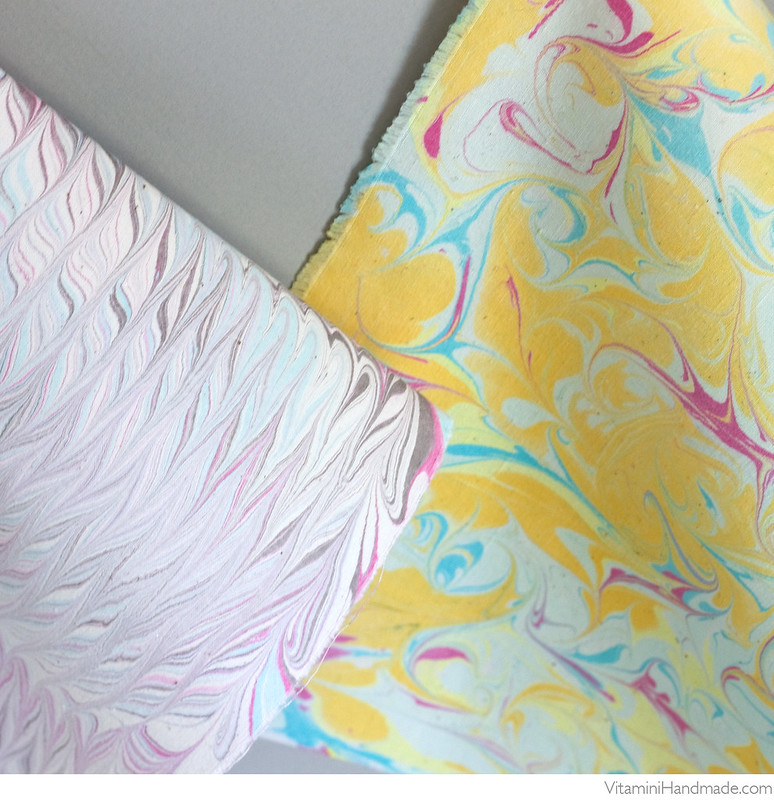
It's interesting to see the variation in colors on the different surfaces. In my experience, the colors were more vibrant on the paper than the fabric. Both the muslin and the cotton/linen fabric held the colors well, but the cotton/linen results were a little more subdued. I had to increase the contrast on the color batches for that fabric, while the paper picked up every tiny little color variation very easily. I'm planning on sharing a few different projects that you can do with the finished marbled pieces, but in the meantime, here's a little gallery of what I came up with.
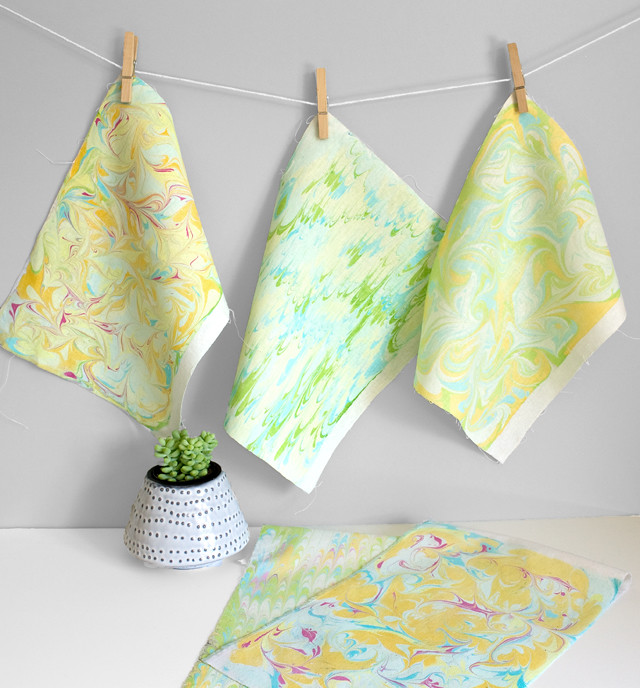

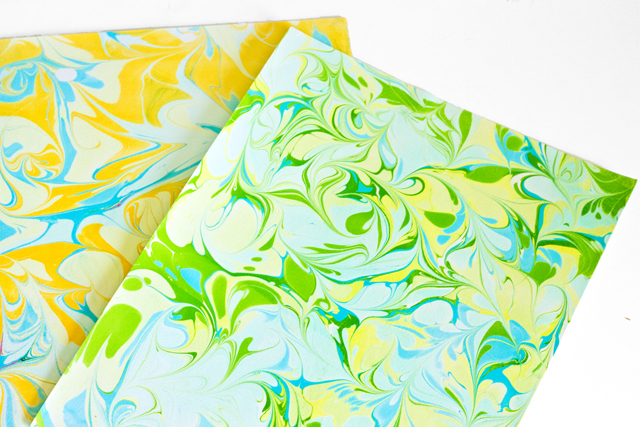
So cool, right?! It's great that these beautiful results can be achieved with inexpensive craft paints. The marbling on the paper pieces is done and permanent as soon as the paper is dry. The paints on the fabric will need to be heat set to become permanent. After they're dry, iron each fabric panel on the reverse side to set the marbling then hand wash in cool water to remove whatever methocel is left in the fibers. Hang dry.
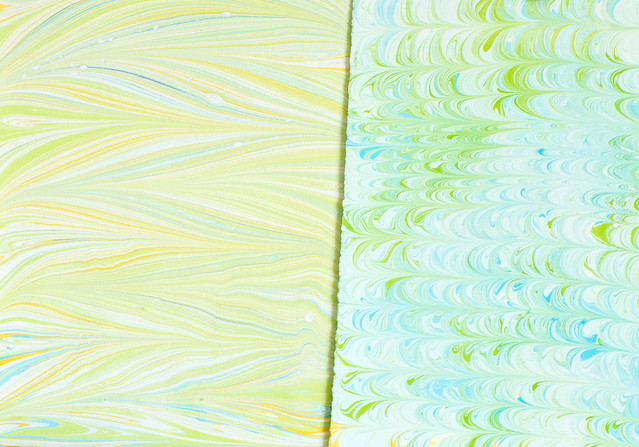
Have a lovely weekend, friends! I'll be at Maker Faire in San Mateo Saturday and Sunday selling with SF Bazaar. Maybe I'll get a chance to sneak away for a little and catch some of the exhibits. If you're there come by and say hi!
Update
Checkout these fun projects using the marbled paper and fabrics created from this tutorial:
DIY Marbled Paper Tray
DIY Fabric & Leather Clutch
DIY Marbled Candle Set


LOVE these. Need to marble.
ReplyDeleteThanks, Stephanie! You totally need to try it! :)
DeleteAnother question, did you use the same paint as the eggs for these?
ReplyDeleteYes. Everything is the same as the eggs except the surface prep - soaking the fabric in the alum instead of brushing it on. The paints are the same diluted acrylics. :)
DeleteGorgeous results, Casey! I can't wait to see what you'll make.
ReplyDeleteThanks, Ann!
DeleteGor-geous! I really want to turn that fabric into a dress!
ReplyDeleteSuper cool, right? I have a fabric hoarding problem so I'm hoping I don't chicken out when it comes to actually using these pieces! :)
Delete
ReplyDeletewe are douining marbling on fabric & paper .
Please check our website.
www.marblingpapers.com
We want to connect you.
Bandar Togel
ReplyDeleteBandar Togel Terpercaya
Agen judi Togel
Agen Togel Terpercaya
Situs togel terpercaya
Togel Sydney
Togel Singapore
Togel Hongkong
Prediksi Togel
Buku Mimpi
Angka Jitu Togel
My favourite site thanks for telling how dye marveled paper.This site is full of valuable ideas and significant information which we can share to our family and friends, thanks to the site administrator you really did a great job.Cleaning Company in Dubai it provides good cleaning service you visit for more details.
ReplyDeleteI really happy found this website eventually. Really informative and inoperative, Thanks for the post and effort! Please keep sharing more such blog norton.com/setup
ReplyDeleteVery nice article, I found it very useful .Even I have this wonderful website, Good quality of windows and doors are very essential for any workplace mcafee.com/activate
ReplyDeletewww.mcafee.com/activate
Great information, i was searching of this kind of information, thankyou very much for sharing with us. i also have some links to share www.avg.com/retail
ReplyDeleteavg.com/retail
it is in reality a correctly-researched content material and high-quality wording.
ReplyDeleteI got correspondingly engaged in this fabric that I couldnt wait analyzing. i am impressed in the end your positioned it on and skillability. thank you
amazon quiz
gk quiz
quiz games
english stories
bedtime stories
short stories
short bedtime stories
english stories collection
What an interesting story! I'm glad I finally found what I was looking for Excellent reading 국산야동
ReplyDeleteAlso feel free to visit may webpage check this link
야설
Interesting Blog. I really enjoyed your all blogs. All blogs inspired me. I would like to thank you for sharing your creative ideas with us. Get the solutions to fix the Common Roadrunner Email Problem.
ReplyDeleteCommon Roadrunner Email Problem
ReplyDelete