Hi guys! Things have been busy in my neck of the woods lately. The Re:Make festival in San Francisco was last Saturday. Did you go? What a fun event! I'm also still working on getting settled since my move, and if you follow me on Instagram you'll know that I just adopted a 3 month old dachshund puppy! More on her later, though. If I fall down the rabbit hole of posting pics I won't be able to get back on topic...
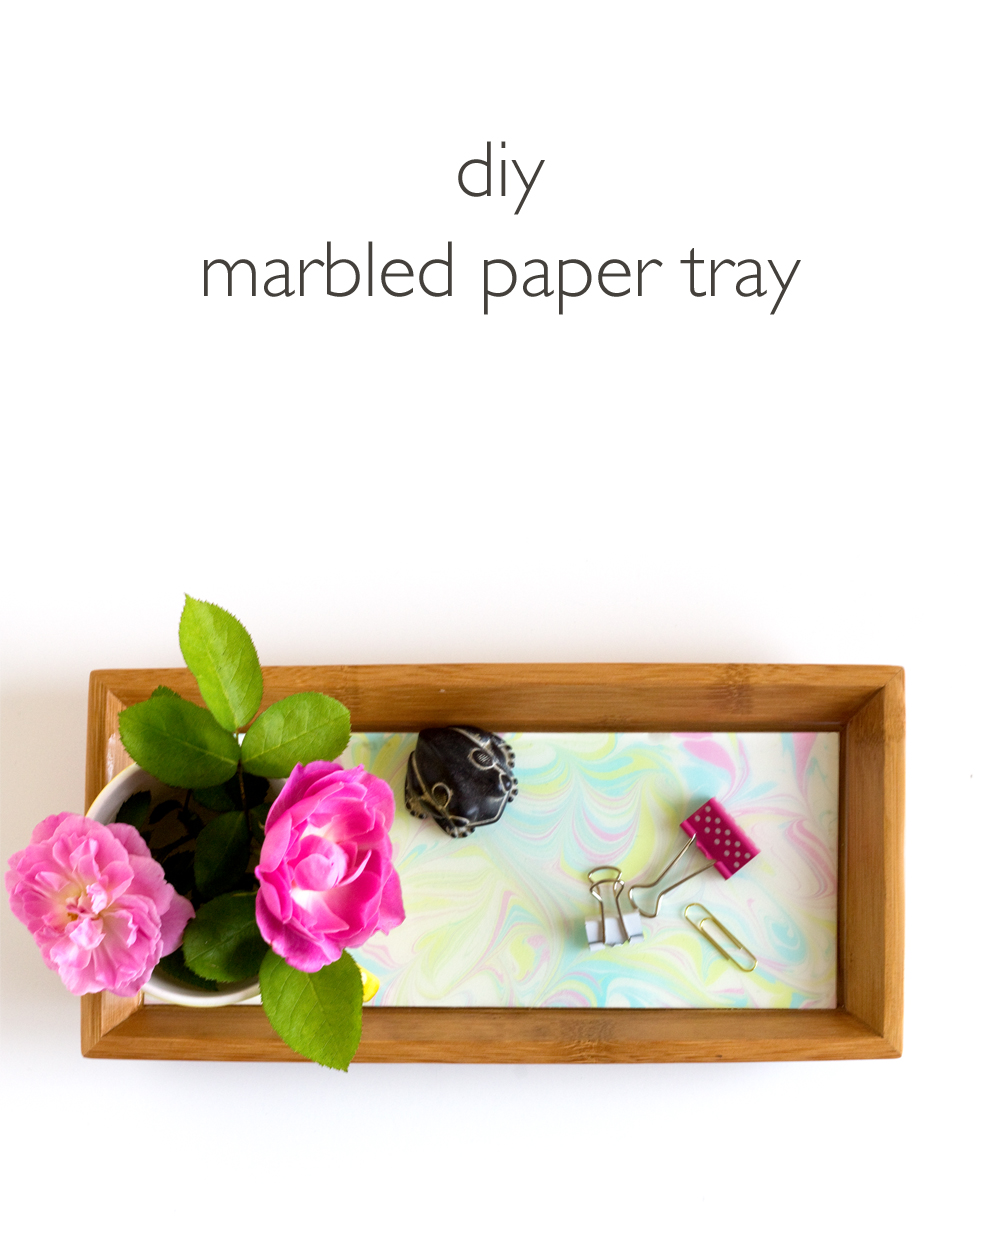
I have a new DIY project that I'm excited to share! Next in my series of projects using hand marbled paper and fabrics is this practical wooden tray lined with pretty marbled paper. Pourable resin seals the paper completely and provides a clean, durable surface. If you don't have any marbled papers handy, any decorative paper can be used for this project!
Here's what you'll need:
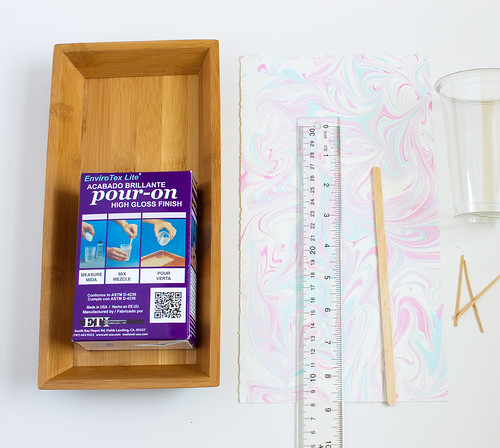
- Wood tray, I found this one at Target
- EnviroTex Lite Pour-On Resin
- Marbled paper. Learn how to make your own with my tutorial!
- Paper trimmer
- Double-sided tape
- Plastic mixing cup
- Stir sticks
- Ruler
- ModPodge, foam brush (not pictured)
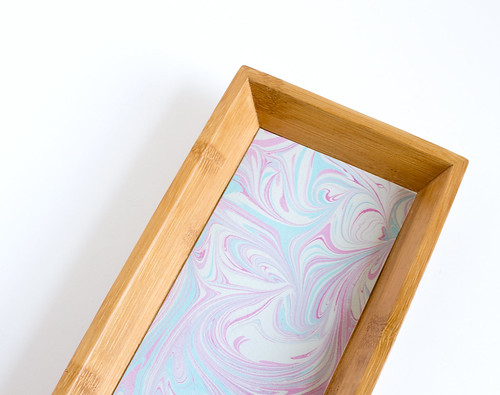
Measure the bottom of the tray and cut a scrap piece of paper to fit. Test fit the paper in the tray and trim edges where necessary. Trace the outline of paper onto the back side of the marbled paper and cut to size. Using the foam brush, apply three thin coats of ModPodge on the marbled paper, both sides, letting it dry in between coats.
When the paper is dry, add strips of double-sided tape to the back edges and center of the paper and lay it into the bottom of the tray.
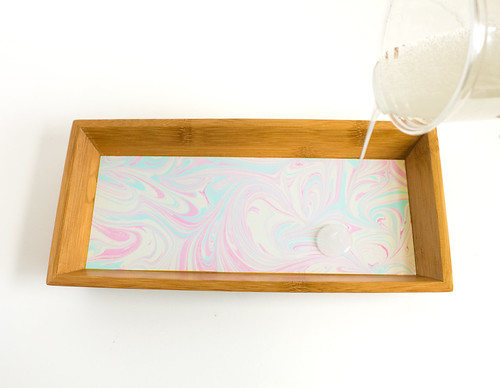
Following the instructions on the package, mix the epoxy and the hardener together in the cup. Slowly pour it over the paper until fully coated with less than 1/8" of coverage. Spread the resin into the corners and edges where necessary with the stir sticks. If there are bubbles, carefully exhale onto the surface of the resin (like you would while cleaning your sunglasses) and the bubbles will disperse. Work in a well-ventilated area and follow all of the safety precautions on the product packaging.
Let dry on a level surface until fully cured. You may notice the marbled paper in the first few photos is different from the finished photos. That's because I forgot to take my own advice and coat the paper in Modpodge first. Oops! It's important to seal the paper before pouring the resin because it will otherwise saturate the paper and leave a blotchy look. Sealing keeps the colors crisp and vibrant, so that's definitely what I recommend and what I did the second time around! Add another layer of resin if it is thin in some spots or if the paper sticks up in any areas.
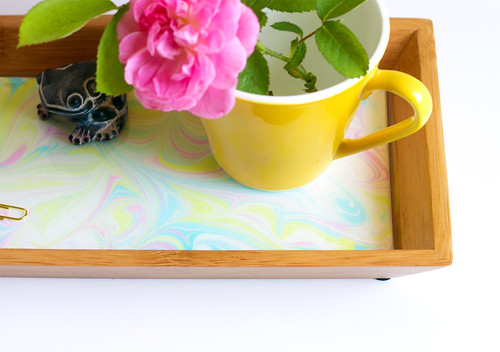
Use your new tray as a catch-all by the front door or to hold office supplies at your desk. It's a fun way to bring in a pop of custom color and pattern!
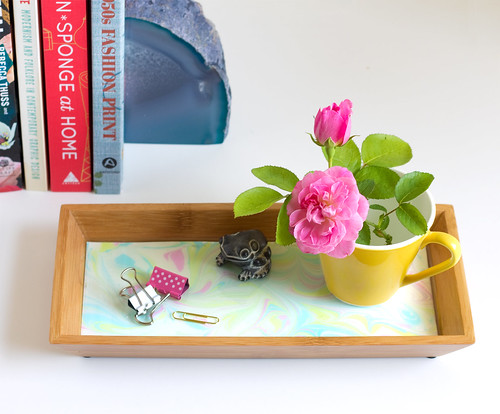
Click here to learn how to marble your own paper and fabrics and here to learn how to make a marbled fabric and leather clutch!


Bandar Togel
ReplyDeleteBandar Togel Terpercaya
Agen judi Togel
Agen Togel Terpercaya
Situs togel terpercaya
Togel Sydney
Togel Singapore
Togel Hongkong
Prediksi Togel
Buku Mimpi
Angka Jitu Togel
Handmade" describes items crafted or created by hand, emphasizing the artisanal and personalized nature of the product. These goods are typically crafted without the use of mass production machinery, highlighting individual skill, creativity, and attention to detail. Handmade items often carry a unique charm, reflecting the craftsmanship and dedication of the creator.
ReplyDeleteuncontested divorce in virginia
virginia statute of limitations personal injury
abogado de accidentes de semi camiones
northern virginia personal injury attorney
bufete de abogados de accidentes de motocicleta
Your creativity and attention to Mapquest Directions detail shine in this DIY project! Can't wait to see more of your amazing work.
ReplyDeleteThrough online gaming, players Geometry Dash can interact with people from all over the world. This promotes a broader understanding of different cultures and perspectives, fostering tolerance and global awareness.
ReplyDeleteThis project not only enhances your space Papa's Pizzeria but also showcases your creativity.
ReplyDeleteIf you love thrilling, adventurous, and exciting adventures, explore the smashy road game right away. Have fun
ReplyDeleteHey everyone! Time's been flying! Re:Make fest was awesome. Moving's still ongoing, and I got a puppy! She's adorable but distracting. Speaking of distracting, have you ever played Snow rider ? It's a fun way to unwind after a long day of DIY projects, like this marbled tray I just made. Resin seals the paper, making it super durable. Any decorative paper works if you don't have marbled paper.
ReplyDeleteعند البحث عن شركة توصيل بيارات بالدمام متميزة فإننا يجب أن نخبركم أن شركتنا من أفضل الشركات التي تقوم بعمل عروض على سحب مجاري الدمام بخصم يصل إلى 45% على كافة الخدمات مثل تسليك المجاري وتسليك مواسير الصرف والكثير من الخدمات الأخرى بسعر لا يقارن مع أي شركة أخرى.
ReplyDeleteتعتبر شركة تنظيف بالرياض كلين الورد من أفضل الشركات الرائدة في مجال التنظيف والتعقيم، حيث تقدم خدمات التنظيف الشاملة والمتكاملة بمنتهى الاحترافية والسرعة دون إحداث فوضى داخل المكان
ReplyDeleteلا يوجد افضل من الحصول على دينا نقل عفش بالرياض من شركة محترفة مثل مهاجر اكسبريس، حيث تمتاز بتقنياتها المتطورة في تحميل كل انواع الاثاث، بجانب توفر فريق محترف من سائقي دينا نقل عفش بالرياض بشركتنا.
ReplyDeleteCreate a DIY Marbled Paper Tray by swirling acrylic paints over water, dipping a wooden or acrylic tray liner to transfer the pattern, and letting it dry. Seal with clear varnish for durability. This handmade tray adds a chic, artistic touch to your home décor. Thanks for sharing! bankruptcy lawyer alexandria
ReplyDeleteكل الشكر علي ما قدمت تابع خدمة صيانة مجاري البيت وتنظيف البيارات المسدودة ليست مجرد عمل روتيني، بل هي جزء أساسي من الحفاظ على بيئة منزلية صحية وآمنة من خلال سياره تسليك مجاري ونشر الوعي بالمشاكل الشائعة والحرص على القيام بأعمال الصيانة اللازمة، يمكن للمالكين تجنب الكثير من العواقب السلبية التي قد تؤثر على سلامتهم وراحتهم لذلك، يجب على الجميع أن يكونوا أكثر انفتاحًا على أهمية هذه المسائل وأن يتحلوا بالتزام قوي للحفاظ على مستوى عالٍ من النظافة داخل منازلهم
ReplyDeleteشركة تسليك مجاري بالخبر
بالتوفيق خدمات مميزة تابع اعمال تنظيف الفلل الجديدة والمفروشة، مع التعقيم، يُعتبر ضرورة لا غنى عنها لضمان بيئة معيشية صحية ومريحة تابع خدمة تنظيف مجالس في راس الخيمة وستمتع باعمالنا فالمسكن هو المكان الذي يقضي فيه الأفراد وقتهم، ومن المهم أن يكون خاليًا من الأمراض والجراثيم لذا، يمكن للأفراد أن يستغنوا عن عناء التنظيف إذا ما اختاروا الاستعانة بشركات متخصصة، مما يساعدهم على الاستمتاع بمنزلهم الجديد بكل أمان وسلاسة شارك شركة تنظيف فلل في راس الخيمة
ReplyDeleteVitamini Hand made is a creative blog and shop that celebrates handmade crafts and design inspired by the classic Mini car. It features unique handmade products, artwork, and accessories with a playful automotive twist. The blog shares DIY projects, design inspiration, and updates from the maker’s studio. Each creation reflects a love for craftsmanship and vintage car culture. Overall, Vitamini Hand made combines creativity, nostalgia, and handmade artistry.
ReplyDeleteSEO Company in Dallas
SEO Company in Noida
Create a DIY Marbled Paper Tray by swirling acrylic paints over water, dipping a wooden or acrylic tray liner to transfer the pattern, and letting it dry. Seal with clear varnish for durability. This handmade tray adds a chic, artistic touch to your home décor. Thanks for sharing!
ReplyDeleteArc fault Breakers buyers in Juneau