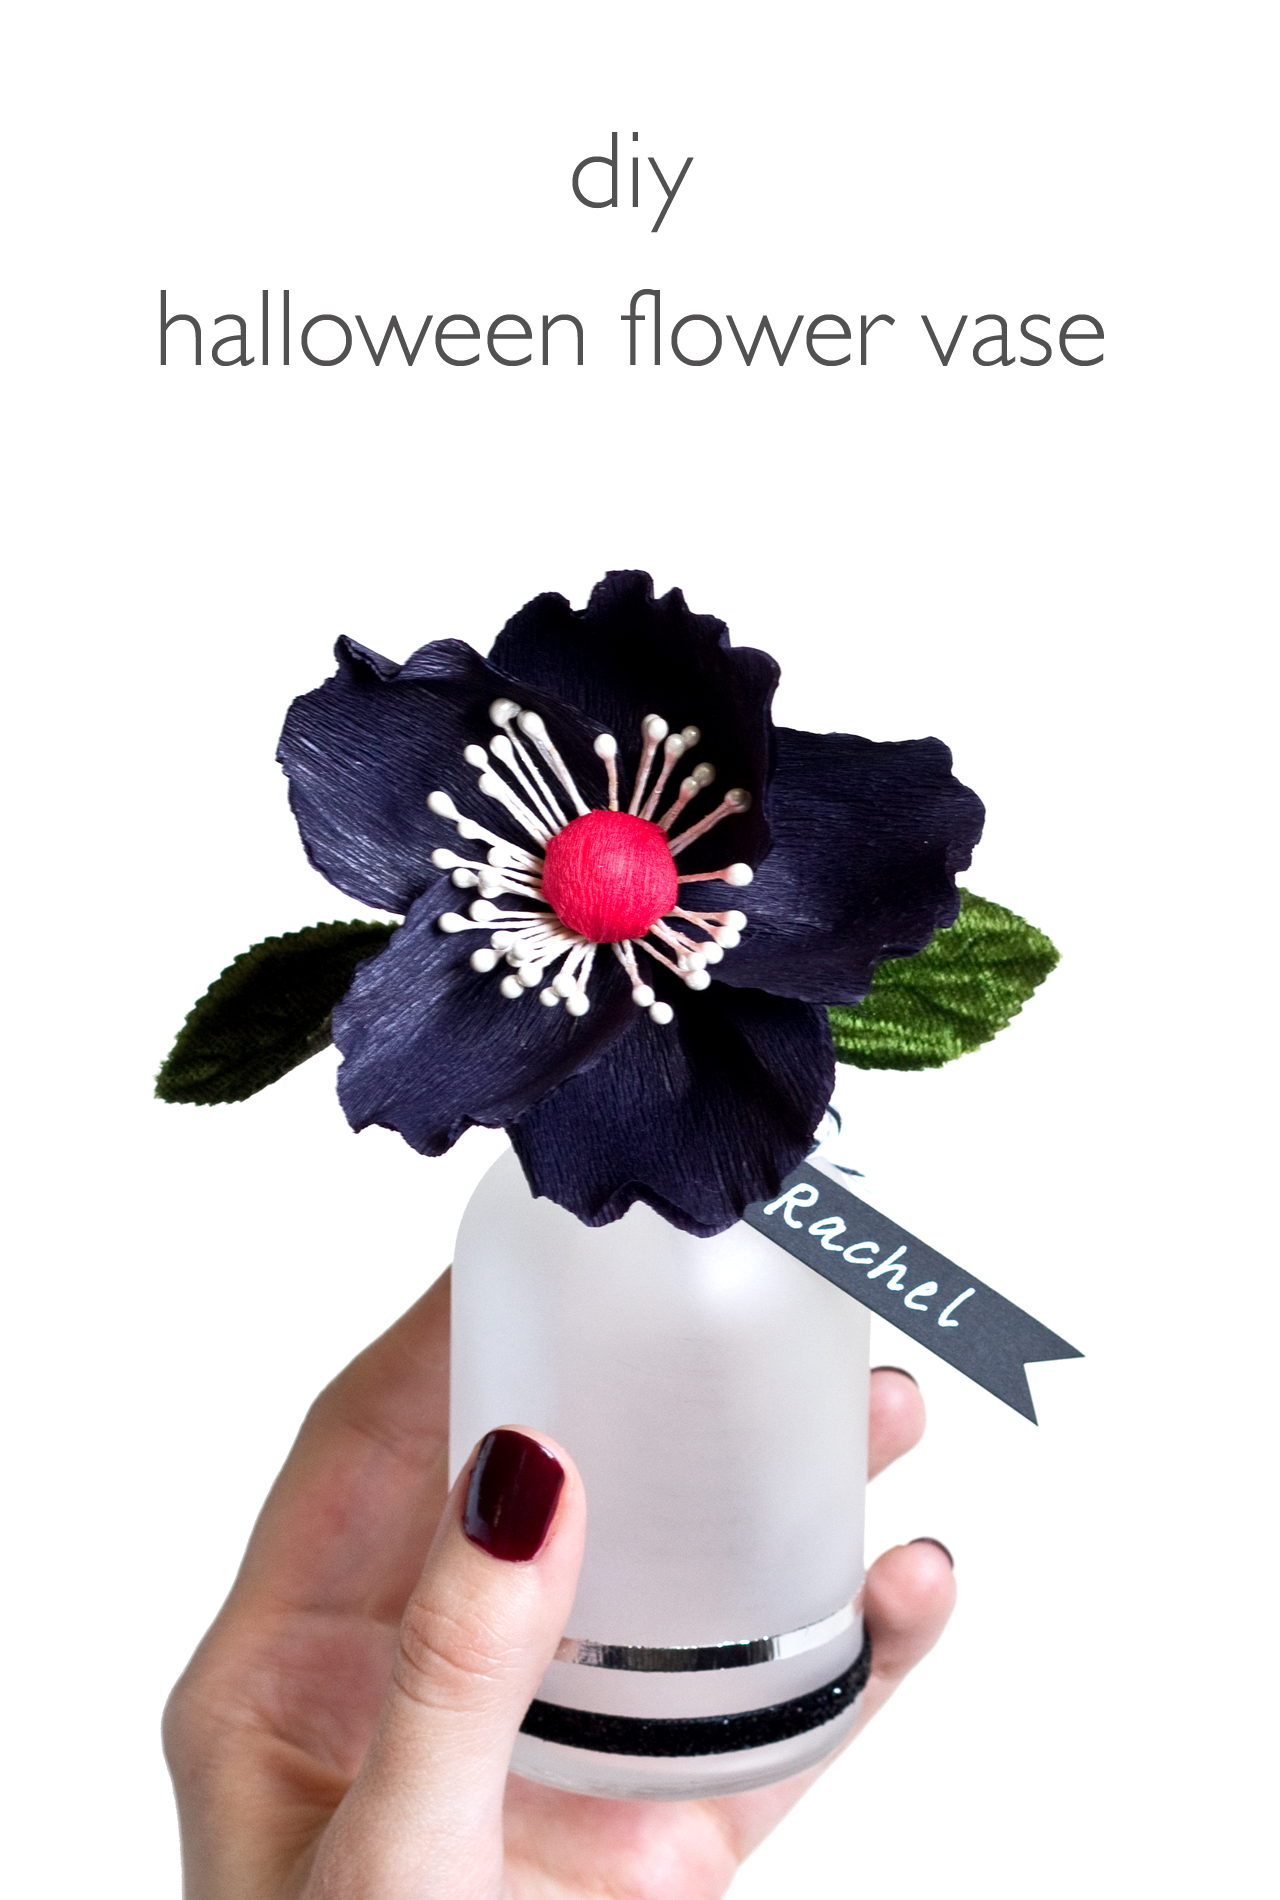
Halloween season, how I love thee! I spotted these adorable little frosted vases at Michael's a few weeks ago, and as per my usual style, bought them with no idea what I'd do with them. I thought they'd be perfect for Halloween, though. They look like little apothecary bottles, don't you think? It wasn't until after I started playing around with paper flowers again that I realized they'd make perfect little flower vases, but they'd need a little bit of embellishing. You can use lots of different materials for this project - ribbons, foils, faux flowers, real, or paper ones like I did.
Here's what you'll need:
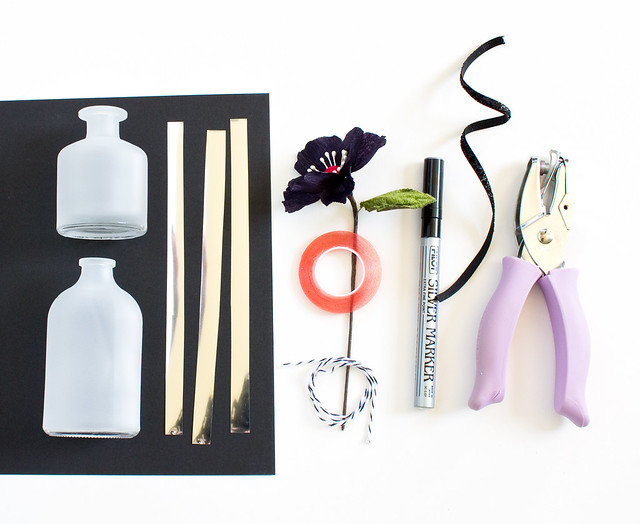
- Mini frosted vases. These came in packages of 2 at Michaels for something super cheap like $3
- Double-sided scrapbooking tape. This stuff is super strong and comes in all sorts of widths. I used 1/8"
- Transfer foil (This was the same brand I used but mine came in silver, gold, and copper colors)
- Ribbon, baker's twine
- Black paper
- Silver or white pen
- Hole punch
- Flowers. Faux, real, paper, whatever you'd like. I made these black paper flowers myself. Craft stores carry Halloween themed silk flowers or you could use grocery store mums.
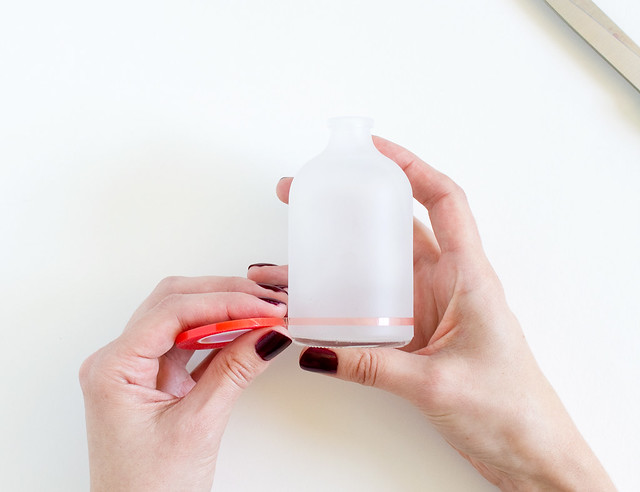
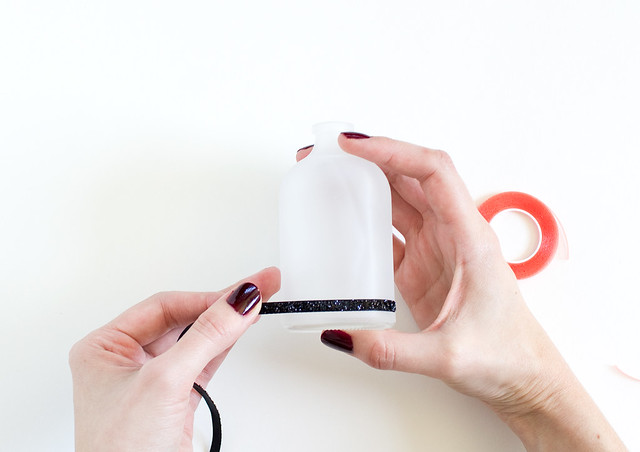
Unroll a bit of the tape and stick it onto the bottom of the vase. Continue all the way around till the ends meet, and trim. Pull up the orange plastic to expose the other sticky side, and stick on the ribbon, match the ends and trim. So easy!
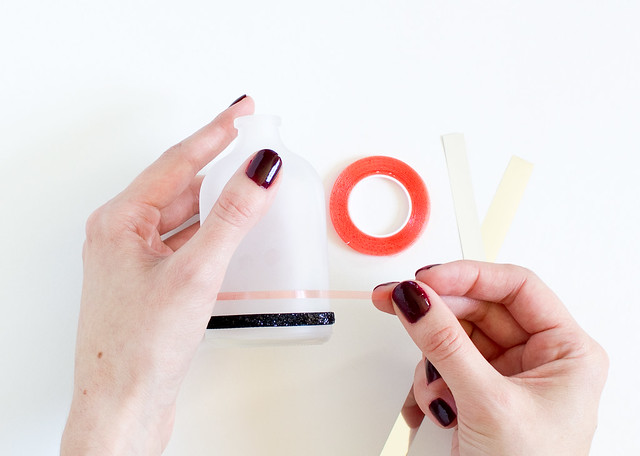
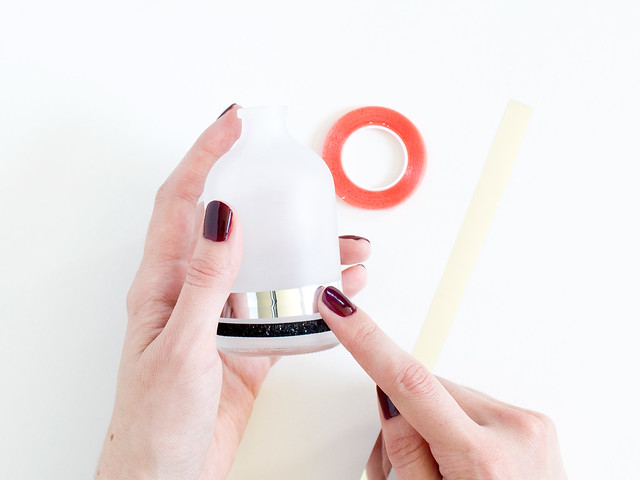
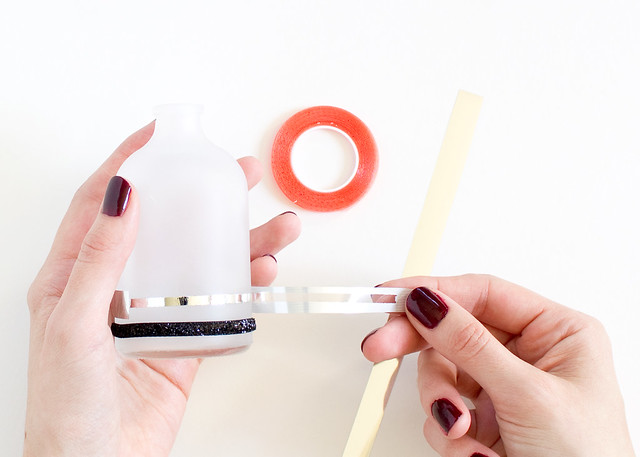
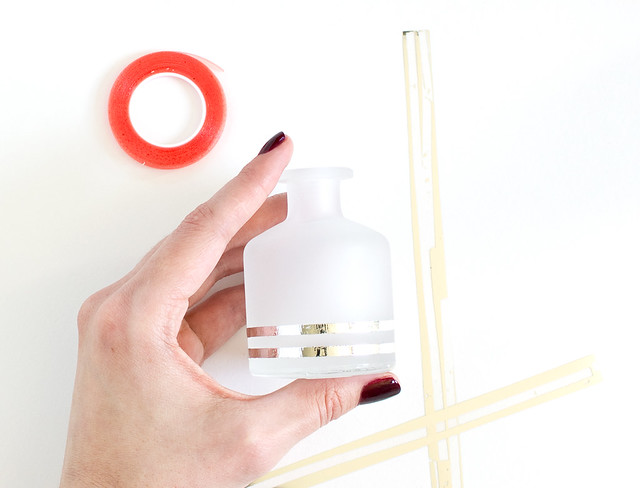
You could easily just make a bunch of ribbon stripes, but I thought a metallic touch would be nice, so I repeated the steps with this foil transfer in silver. Once you expose the sticky tape again, just apply the silver strips with the shiny side up. Rub the strip down with your finger and then pull up. You're left with a super-crisp silver stripe!
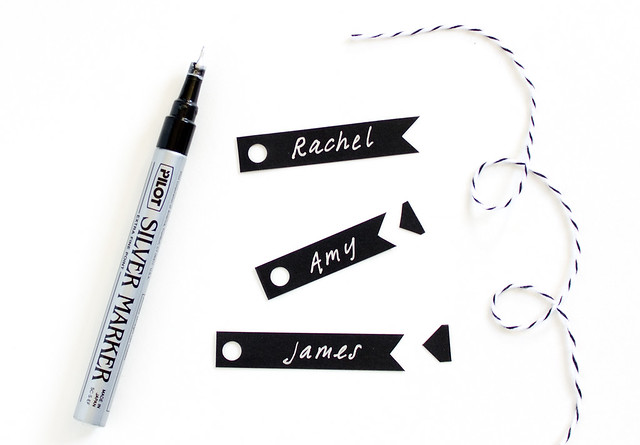
Cut a strip of black paper, notch one end and hole punch the other end. Write our your party guest's names and tie with ribbon or baker's twine. Add your Halloween flower and that's it!
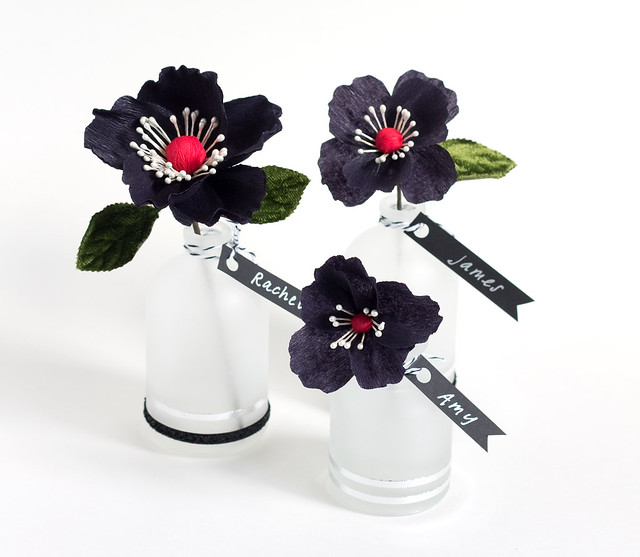
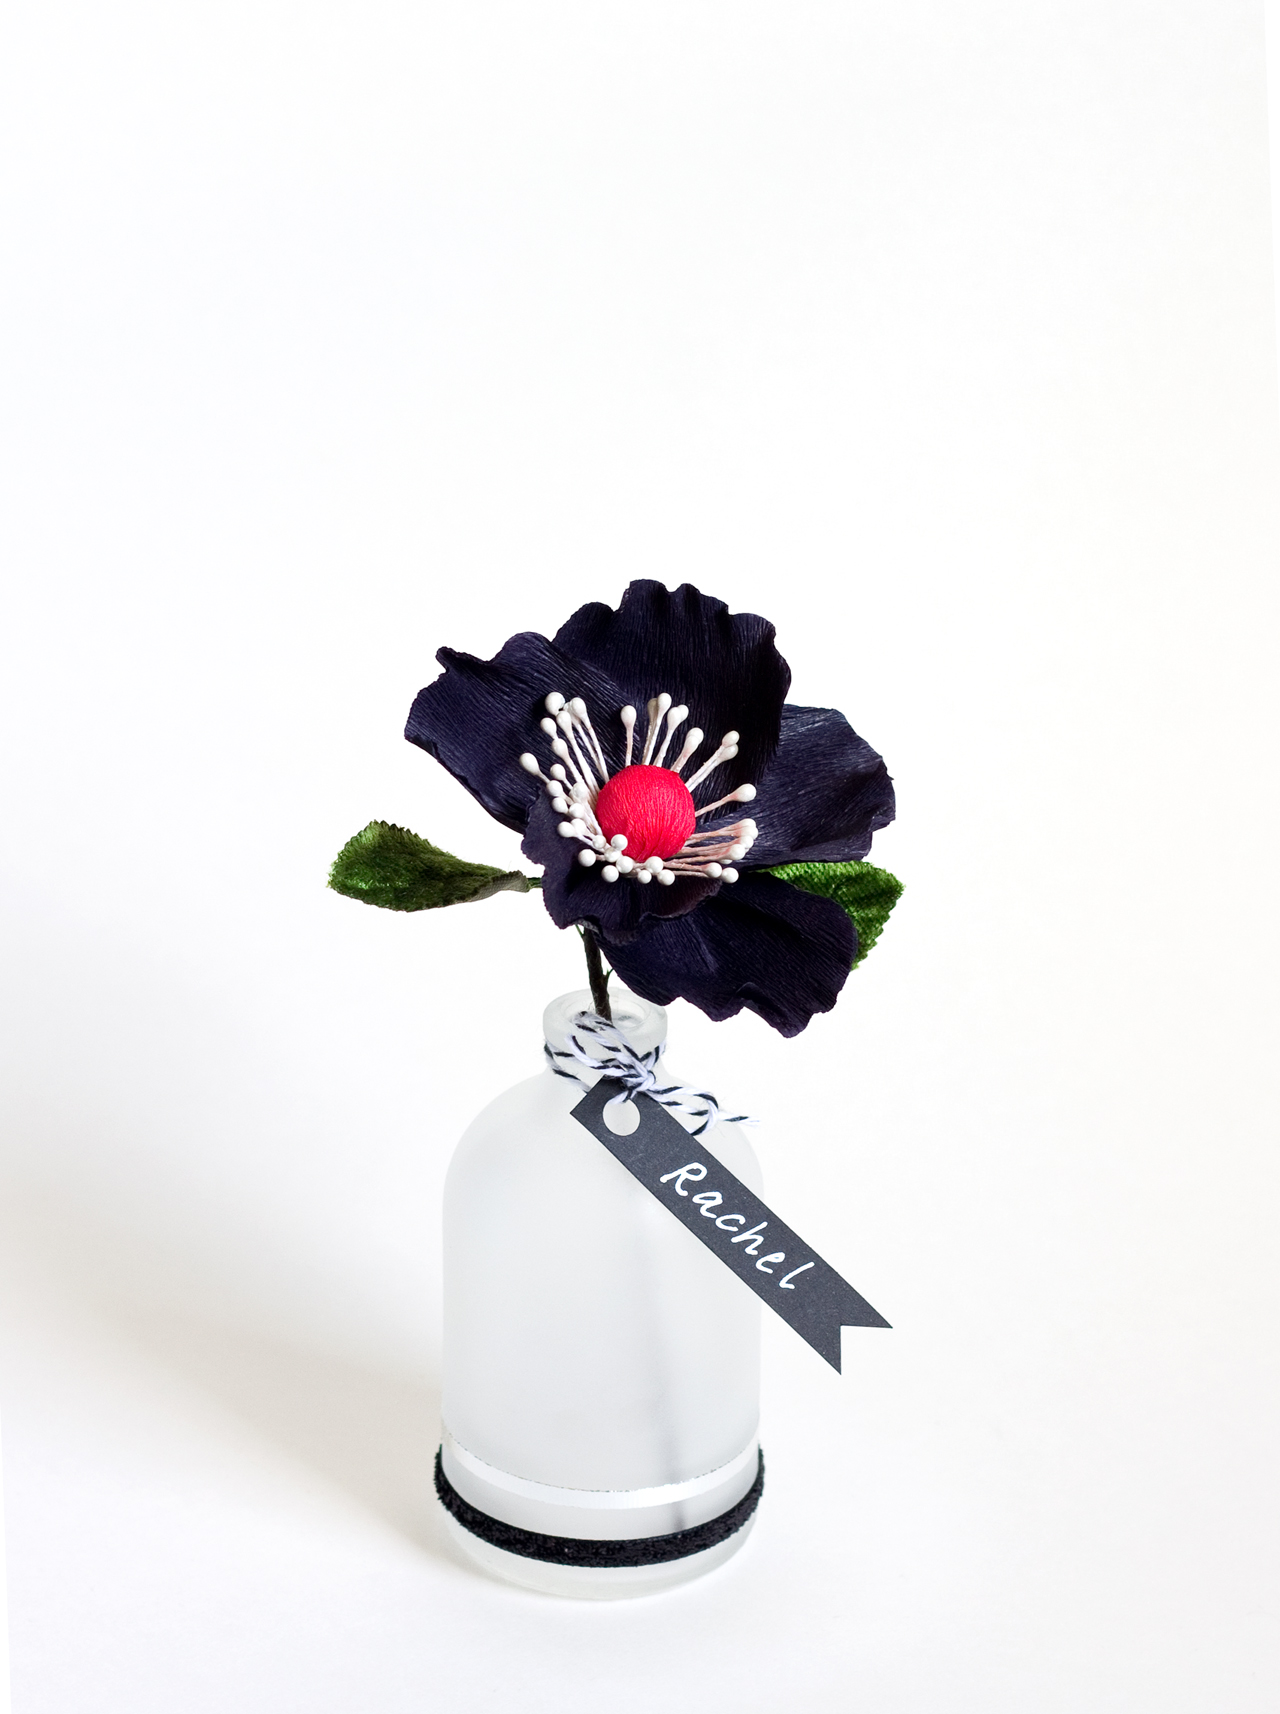
These would make adorable place cards at an October dinner or cute little party favors. They're so easy to make and customize. Plus the tape is fully removable so you can switch it up later if you decide. I like these so much I think I'll keep a few around all year. I hope you like them, too!
P.S. Check out my DIY Gallery page to see lots of diys from Halloween's past!


