19

Hasta luego, 2013!

Tuesday, December 31, 2013

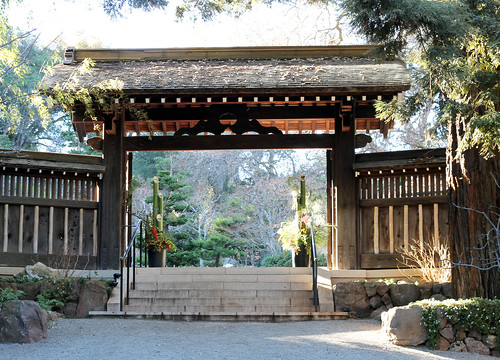
Hakone Gardens in Saratoga, CA Hey there! I hope you're enjoying the end-of-the-year wind down. I had a nice Christmas with my family and have been dreaming up lots of fun projects for the coming year. I'm really excited to jump in with both feet and share everything with you! Thanks you so much for coming along for the ride with me!

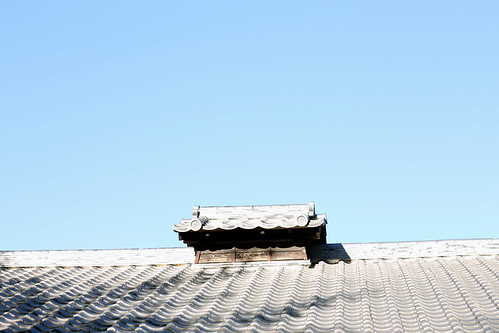
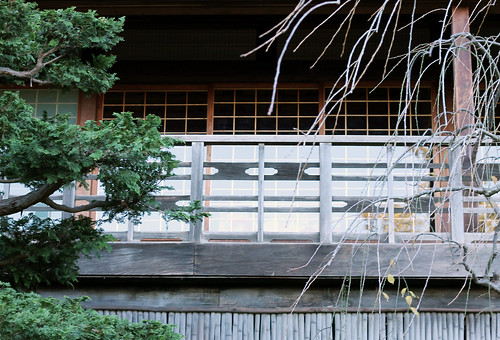
I took a little afternoon trip to Hakone Gardens in Saratoga with my parents over the weekend. It's a beautiful Japanese garden in the hills of Silicon Valley.  It was such a lovely day and we had a great time meandering and admiring the views. I've been having a lot of fun with my photography lately and took a ton of photos. Here are some of my favorites.

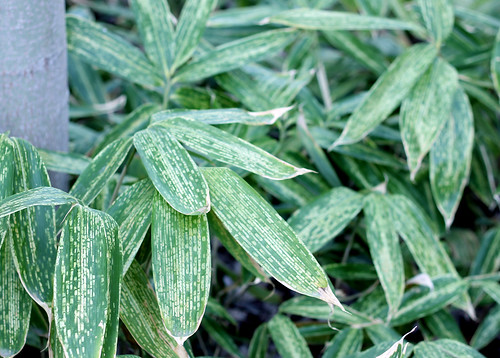
Hakone Gardens Hakone Gardens in Saratoga, CA Hakone Gardens in Saratoga, CA Hakone Gardens in Saratoga, CA Hakone Gardens in Saratoga, CA
Hakone Gardens
Me with the bamboo!

I hope you have a wonderfully exciting or totally relaxing New Year's Eve. Whatever pops your cork! Thanks again for reading and for helping to make 2013 a bang-up year here on Vitamini Handmade. Cheers!

9

Top posts of 2013!

Monday, December 30, 2013

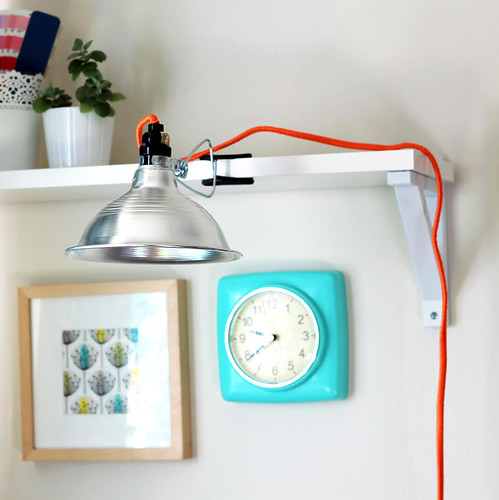
DIY Neon Wrapped Lamp Cord There are only a couple days left of the year and I thought I'd do a little round-up the most popular posts on the blog! Check them out if you're new in these parts or if you'd like to get some ideas for a last minute project before you have to go back to work!

8

Wishing you a merry one!

Monday, December 23, 2013

Merry Christmas
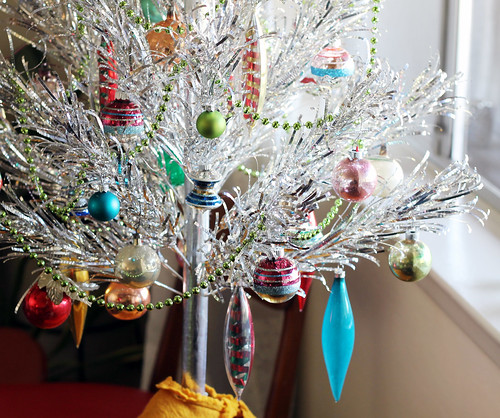
Two days till Christmas! I'm ready to take it easy and enjoy the next few days, eat lots of cookies, and spend as much time as possible in my pajamas. Here's a pic of my aluminum tree looking all sparkly in the window. Merry Christmas to you and yours! I hope Santa brings you everything on your list!

13

DIY: Snowflake Garland

Friday, December 20, 2013

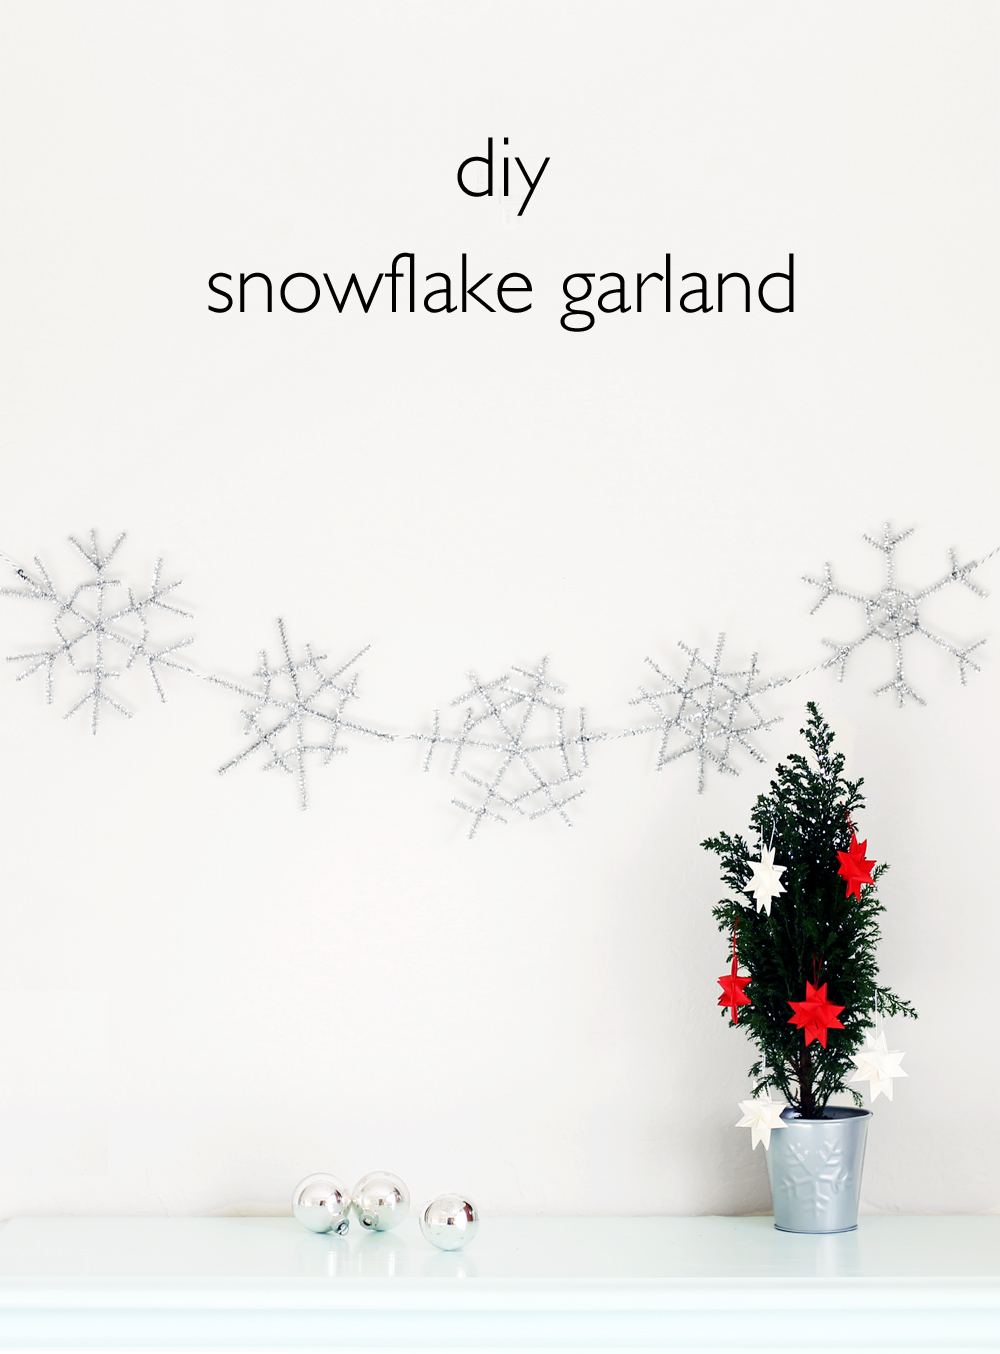
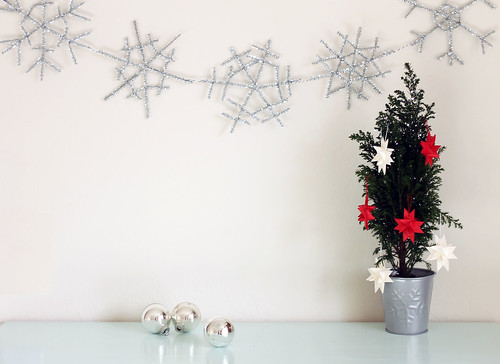
diy snowflake garland | www.vitaminihandmade.com

I don't know about you, but I'm still getting my holiday craft fix over here. I spotted these pipe cleaner snowflakes from Martha Stewart on Pinterest the other day and thought it would be fun to make a few.

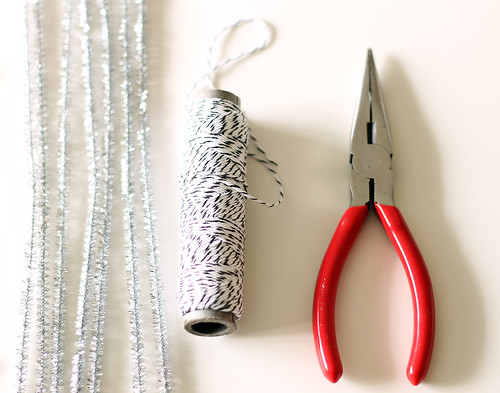
Here's what you'll need to make your own:

 DIY Snowflake Garland
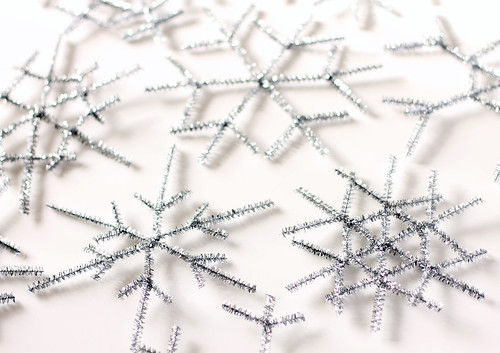
The instructions in the original post on MS aren't very thorough, so after making one I decided to just wing it for the rest of them. I started with 3, 6" strips for the main snowflake spines (is that the right word?), then used 6, 2" to 3" pieces for the rest of the pieces. It is key to crimp the pipe cleaner twists with a pair of pliers so everything stays in place.

diy snowflake garland | www.vitaminihandmade.com

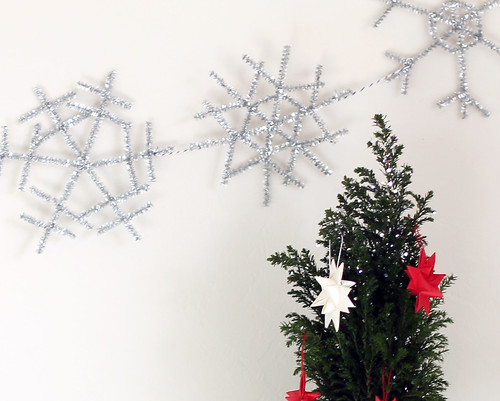
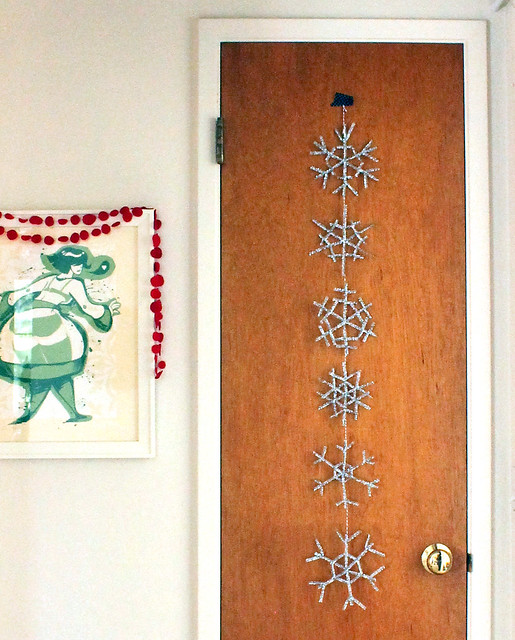
Experiment with different shapes. After you have a few snowflakes made, make a garland! Tie the snowflakes at the ends with short lengths (about 4") of baker's twine. The best thing about this garland is you can use it horizontally or vertically.

 diy snowflake garland | www.vitaminihandmade.com diy snowflake garland | www.vitaminihandmade.com diy snowflake garland | www.vitaminihandmade.com

35

DIY: Bottle Brush Tree Gift Toppers.

Tuesday, December 17, 2013

DIY Bottle Brush Tree Gift Toppers
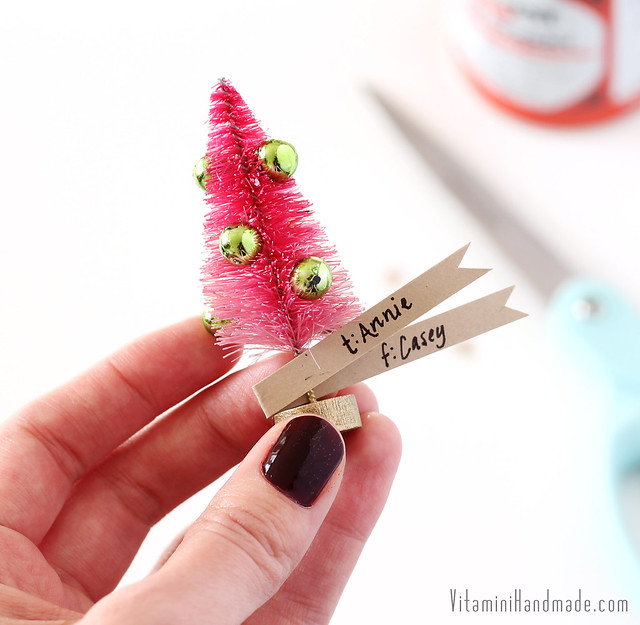
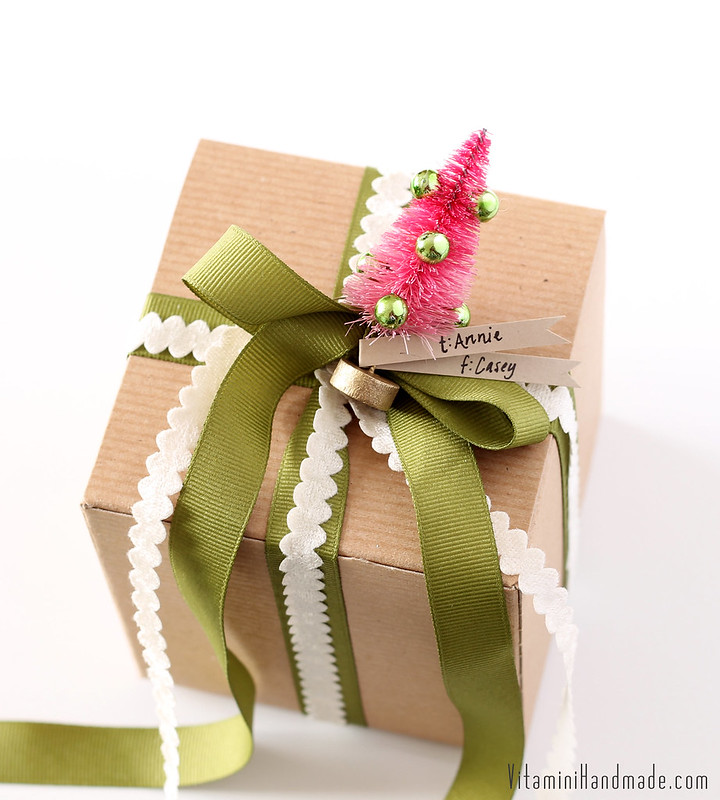
If you couldn't stop yourself from dyeing every little bottle brush tree you could get your hands on (like, ahem, me!) here's a practical idea for your extras: make personalized gift toppers!

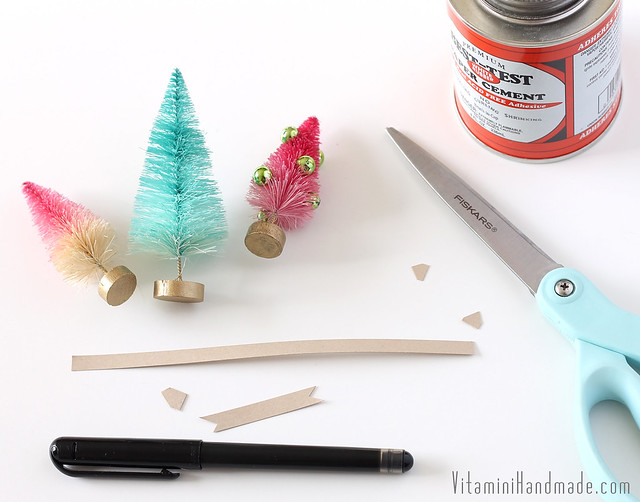
Here's what you'll need:
  • Custom-dyed trees made with this tutorial
  • Kraft cardstock
  • Scissors
  • Pen
  • Glue. I used rubber cement and removable glue dots  
  • Ribbon
Bottle Brush Tree Gift Topper
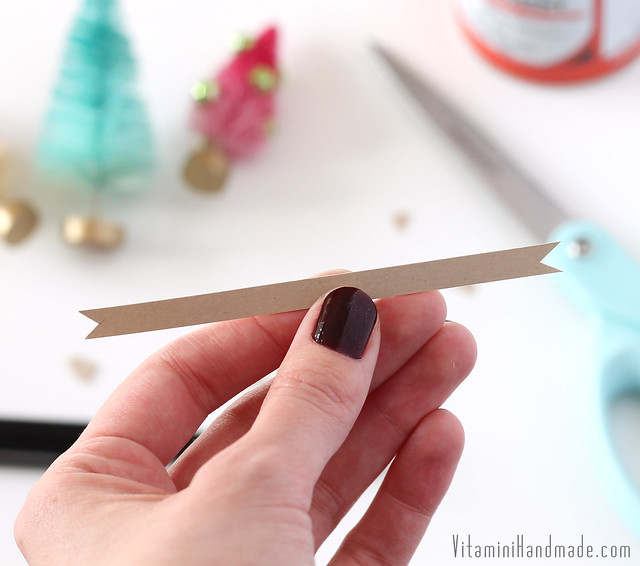
Cut a few strips of kraft paper about 1/4" wide and 5-6" long. Cut out v-shaped notches in the ends.
Bottle Brush Tree Gift Topper
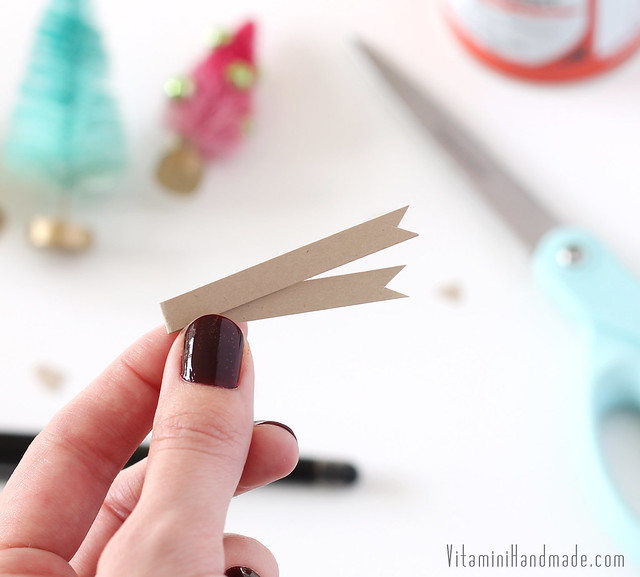
Fold it not quite in half and at an angle so you can see both sides.
Bottle Brush Tree Gift Topper
Write the "to" and "from." Wrap it around the trunk of the tree and add a little bit of rubber cement to hold it closed. 
Bottle Brush Tree Gift Topper
Attach it to your gift! You can tie it with a ribbon or stick it on with a removable glue dot. Super cute!
DIY Bottle Brush Tree Gift Toppers

31

Craft Fair this Sunday!

Friday, December 13, 2013

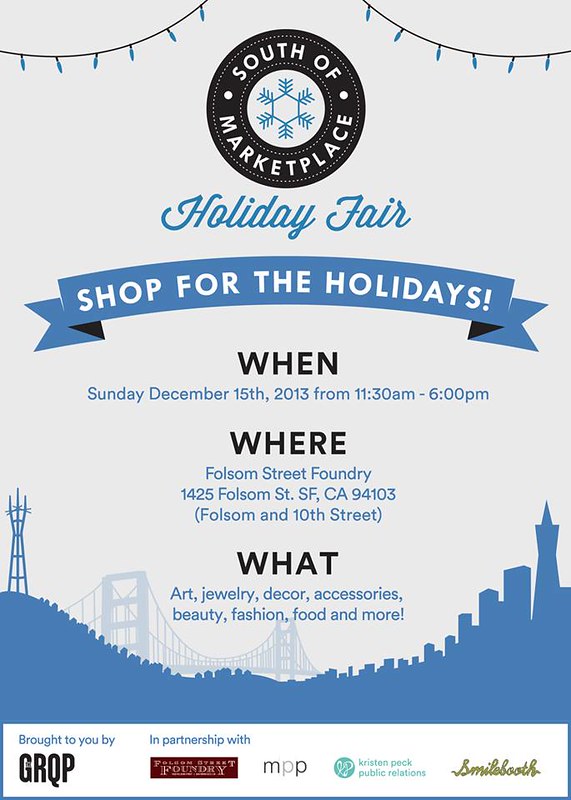
Happy Friday, friends! I've been busy getting ready for the South of Marketplace Holiday Fair this Sunday in San Francisco. If you're in the bay area you should stop by! I'll be there with 40+ other vendors selling handmade items.

SOMfair

If you finish your shopping early and want to get your craft-on, here are a couple very thorough holiday craft round-ups! They both include my dip-dyed bottle brush trees! Woot!


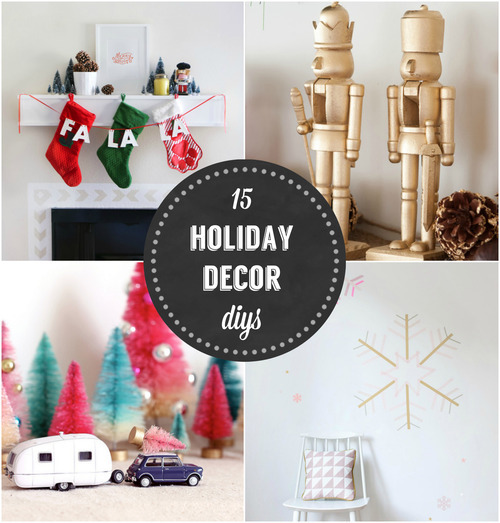
15 Holiday Decor DIYs from 52 Weeks Project.

10 Cool Yule-Themed DIYs from Babble! 


224

DIY: Dip-Dyed Bottle Brush Trees.

Monday, December 9, 2013

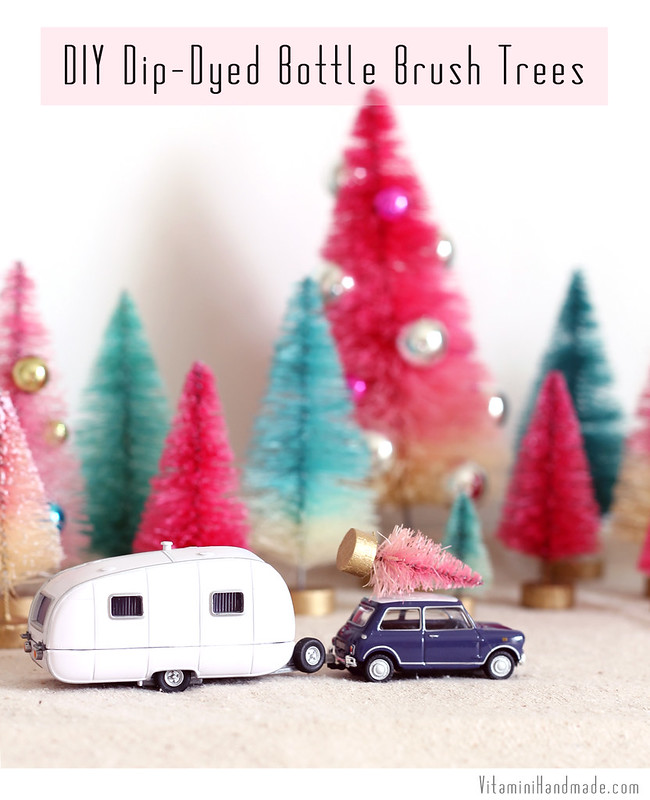
DIY Dip Dyed Bottle Brush Trees
Bottle brush trees are some of my favorite holiday decorations. Last year after Christmas I picked up a few packages of plain green ones on super sale to keep handy for crafting. I'm so glad I did so I could try dying them! This project turned out to be a great one because I already had everything I needed in my craft supply stash! Love it when that happens.

*update: I've received so many sweet comments about the photo above (so happy you love it as much as I do!). I'm excited to share I have it available as an 8x10 print in my shop! It would make a sweet addition to your retro/pastel holiday decor, or even some sweet art for a child's room. Ok, on to the tutorial!

Here's what you'll need to dye and decorate your own:
  • Bottle brush trees. I got mine at a fabric and craft store
  • Rit powder dye. I used Magenta and Teal
  • Bleach
  • Small plastic tub
  • Rubber gloves
  • Paper towels
  • Cardboard box 
  • Craft paint for the tree bases. I used gold
To decorate:
  • Hot glue gun
  • Metallic beads. I had some leftover from my holiday corsage project from last year.
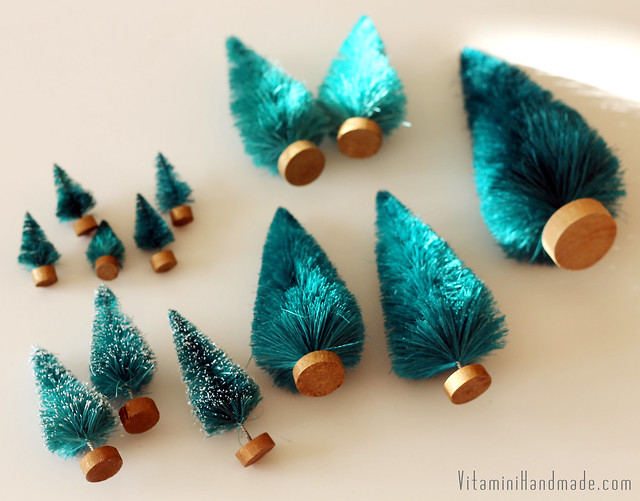
Dip Dyed and Decorated Bottle Brush Trees

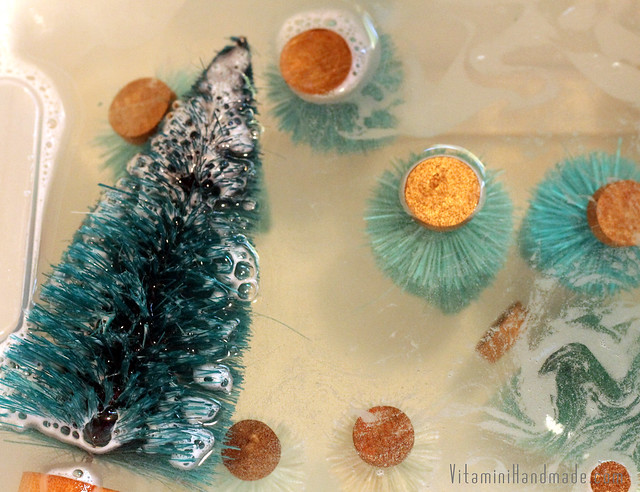
Fill the small plastic tub with about a gallon of room temperature water. Add 1/3 cup concentrated bleach (or 2/3 cup regular bleach). Stir it up and drop in the trees! Some of mine started lightening immediately while others took some time. My small trees were done in about 20 minutes and the largest one took about 4 hours! When they are light enough, fish them out with a gloved hand and rinse with clean water to remove the bleach solution. Let dry on a paper towel.
Dip Dyed and Decorated Bottle Brush Trees

Now for the fun part! Sprinkle about half a teaspoon of powdered dye (eyeball it) into a tall glass that's wide enough to dip your largest tree into. Add hot water and stir with a chopstick. Stir up a second glass of hot water with a little less dye than the first to achieve a lighter shade. I had two glasses of dye for each of my colors.

For solid color trees, hold the tree by its base and lower it into the dye until all of the bristles are submerged. Experiment with the timing. The longer it's submerged the more saturated the color will be.
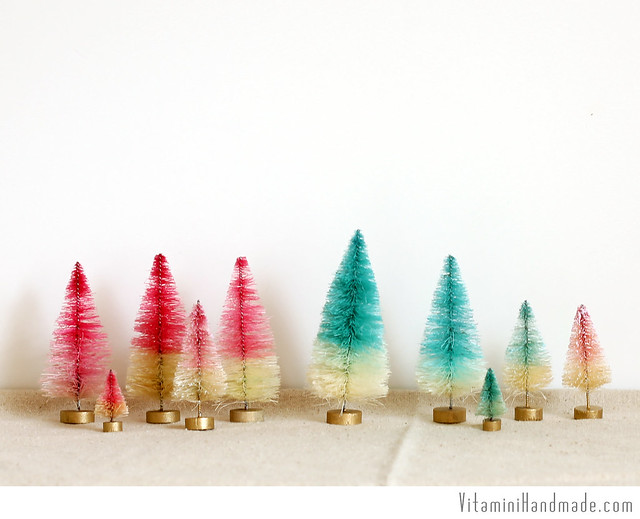
Dip Dyed and Decorated Bottle Brush Trees For color blocked trees, dip the tree but don't cover the lower bristles. For ombre trees, start with a quick dip down to the bottom bristles, then pull it up out of the dye about 1/4" and count to 20. Pull it up again another 1/4" and count to 30. Continue to the top. Experiment with timing for different color blending effects.

Let the trees dry on a scrap of cardboard with the trunk elevated a little. Paint the tree base with acrylic craft paint. I used gold.

The trees look great as-is, but add some beads for a little more bling. Just hot glue them on.
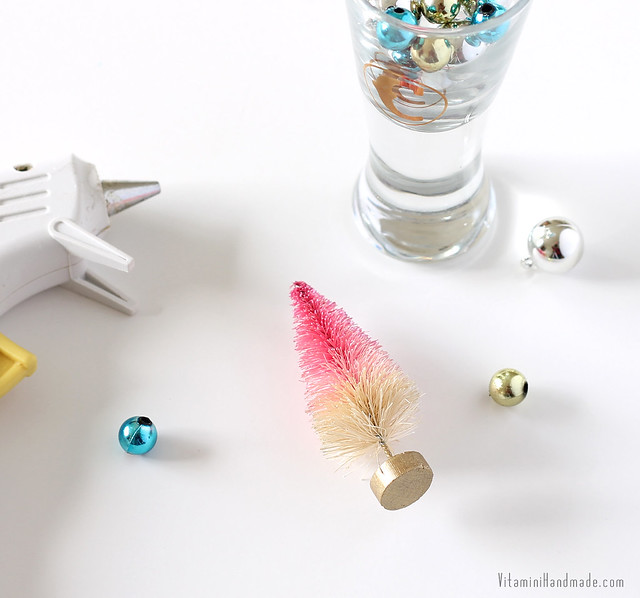
Dip Dyed Bottle Brush Trees Dip Dyed and Decorated Bottle Brush Trees
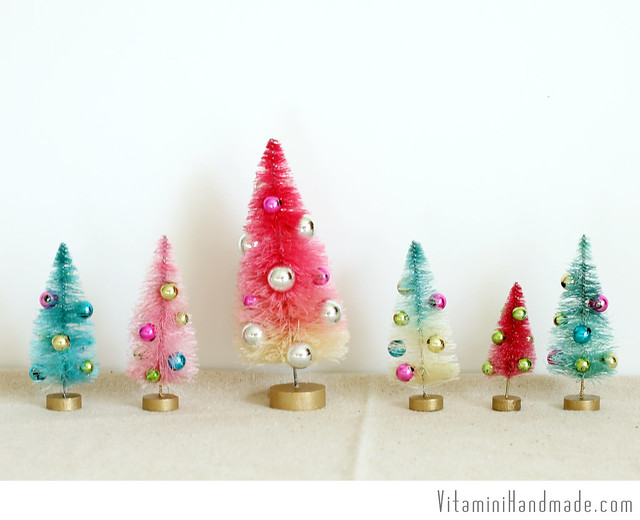
Line them all up to make a crazy-colored forest.
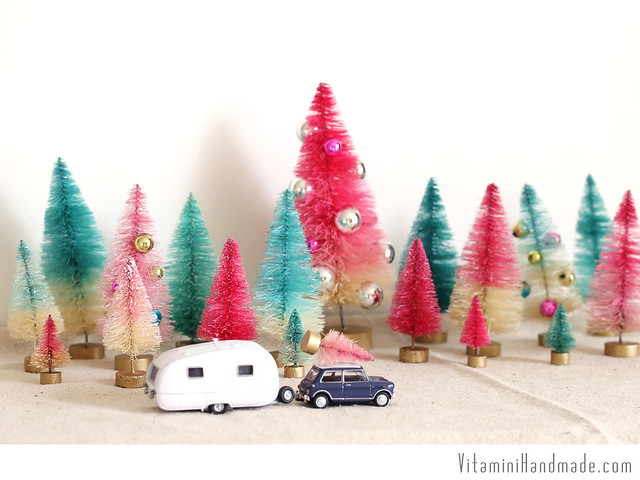
Dip Dyed and Decorated Bottle Brush Trees

These little trees have quickly become some of my favorites in my collection. Have you tried dying and decorating your own? I'd love to hear how they turned out!

11

New Boot and Bonnet totes in the shop!

Saturday, December 7, 2013

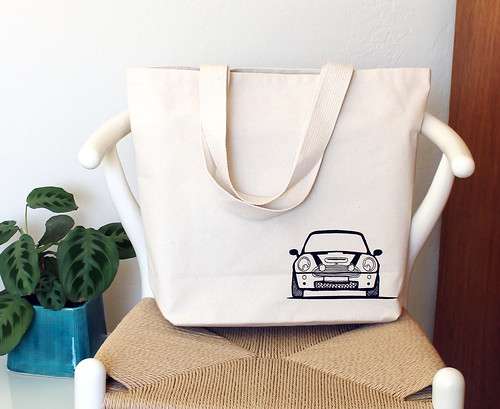
Boot and Bonnet Mini Cooper Tote bag
Just popping in to share my new and improved Boot and Bonnet tote bags! These are made from sturdy 100% cotton canvas and are made in the USA! They're roomier than the last model. So far I only have them in the new MINI design, but I'm hoping to get the other designs printed soon!

Boot and Bonnet Mini Cooper Tote bag Boot and Bonnet Mini Cooper Tote bag
Check them out in my shop! And you can use your 10% off coupon code, too. It's still valid through tomorrow! Happy holiday shopping!

5

Decorating for Christmas without a tree.

Thursday, December 5, 2013

I LOVE decorating for Christmas. Funny enough, though, I never had an actual Christmas tree until 4 years ago! We always had a family tree, but I never had one when I was in college. After I was done with school I was mostly living in tiny apartments and wasn't there during Christmas, anyway. Even still, I always managed to get my place looking festive for the holidays. Here are a few decorating ideas if you decide to go sans tree this year!

from Toast UK Lookbook 2012
bhgci windows 1 1954
Better Homes and Gardens, 1954
I had so much fun hanging ornaments in my window one year. I bought a few fancy ones and then filled in with simpler glass ornaments in between. Hang them at varying heights and tie them up with different colors of ribbon and twine. You can use fishing line if you want to go for the floating look. Instead of hammering a bunch of nails into the wall, just loop a line across the window horizontally, anchoring at each end with 3M hooks. Tie the individual ornament lines to that at the desired spacing.

from Enjoy Your Home
I love the look of this! All you need is a large demijohn or two and some branch cuttings. After that, string it up with garlands and glass ornaments. So pretty! You could even do this on a smaller scale for a table centerpiece. Try asking your local tree lot if they have cuttings for sale. They may just give them away!

Ikea wall hanging, via Apartment Therapy
I've been seeing lots of these graphic tree hangings around the internet and think they're such a clever idea. If you're short on space (like I was for so many years) this option doesn't take up any room and gives you a nice spot to pile up gifts.

from The Willows
You can always pickup an evergreen wreath or garland to get that pine scent without the hassle of a tree. You don't even have to water it! Of course, I'd end up decorating it with ornaments, but they are lovely all on their own, too.

from Rue Magazine via Birch & Bird

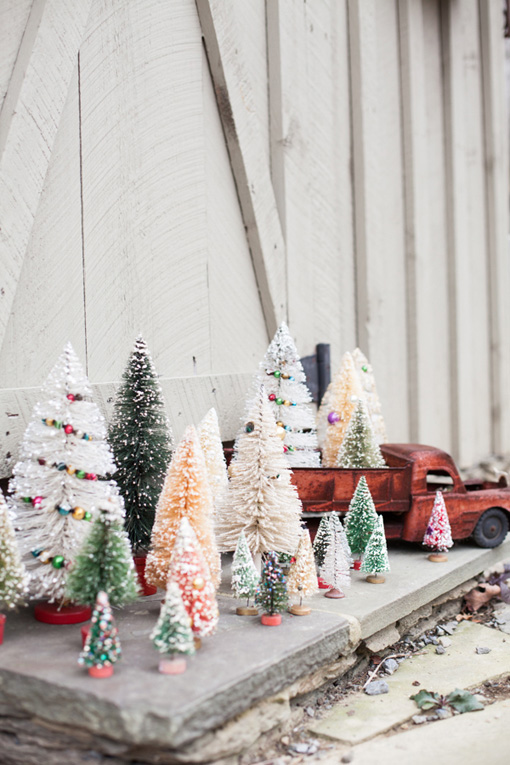
Get your tree fix with a bunch of minis! There are so many cute bottle brush trees in stores right now. Pick up a few and make a little winter scene on a bookshelf or tabletop. Fill in with artificial snow, little houses, and (my favorite) little cars.

Do you ever go without a tree for Christmas? What are your favorite decorating techniques?

2

Holiday Sales!

Sunday, December 1, 2013

Vitamini Holiday Sale!
I hope you all had a lovely Thanksgiving! And with that, it's already December! For those of you in holiday shopping mode, I've got some sales going in my Etsy shops for the next week! Use the codes MINIHOLIDAY2013 in my Vitamini shop, and MODERNHOLIDAY2013 in my Vitamodern shop for 10% off your purchase!
Vitamodern Holiday Sale

I make all of my items in small batches, so don't delay. I may run out of something you've been eying! Thank you for supporting small, handmade businesses this year! If you're looking for more small businesses to support, Door Sixteen has a great running list of indie shops that you can check out.
 

vitamini handmade © All rights reserved · Theme by Blog Milk · Blogger