172

DIY Gold Salt & Pepper Shakers

Thursday, May 29, 2014

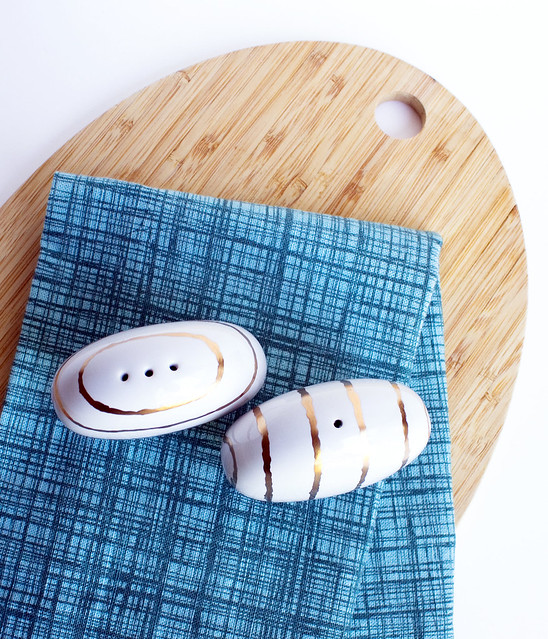
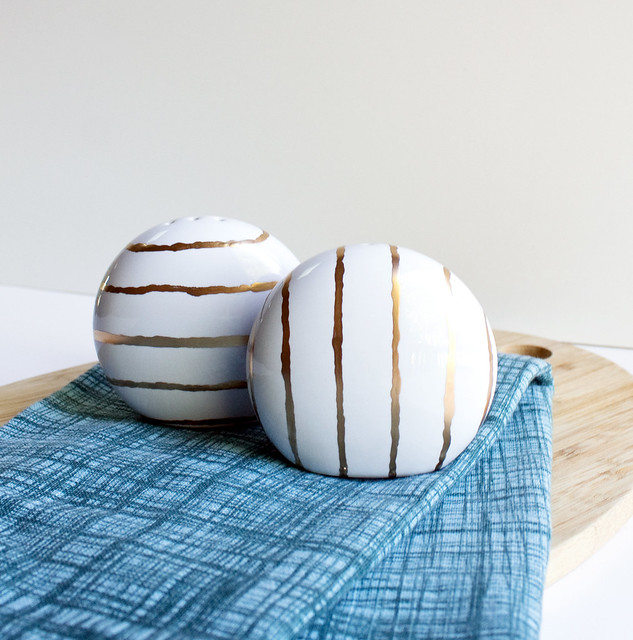
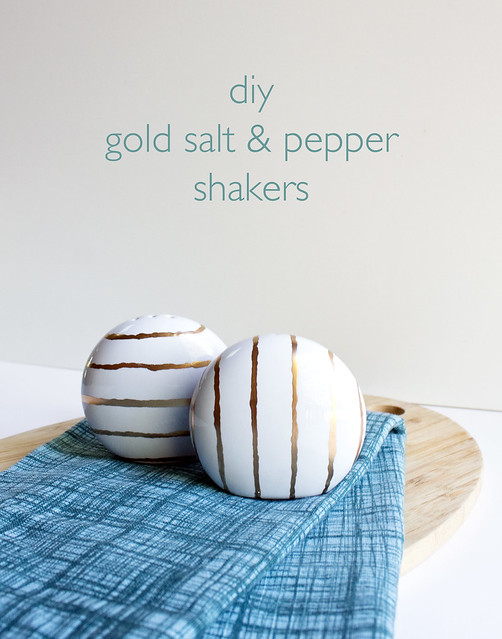
DIY Gold Striped Salt & Pepper Shakers

Salt and pepper shaker sets are one of those table accessories that can be easily customized for any party theme or holiday. This pretty set would look lovely on a fancy appetizer bar or on a casual kitchen table.

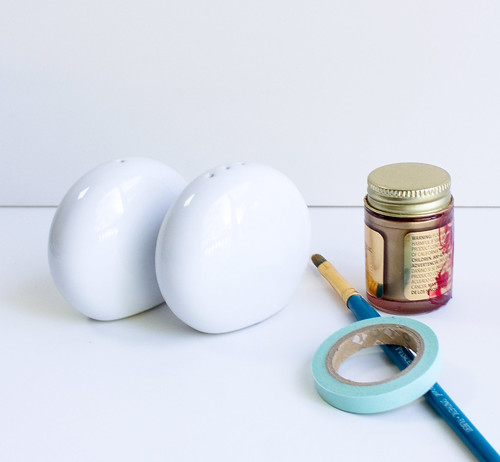
Here's what you'll need:

DIY Gold Striped Salt & Pepper Shakers

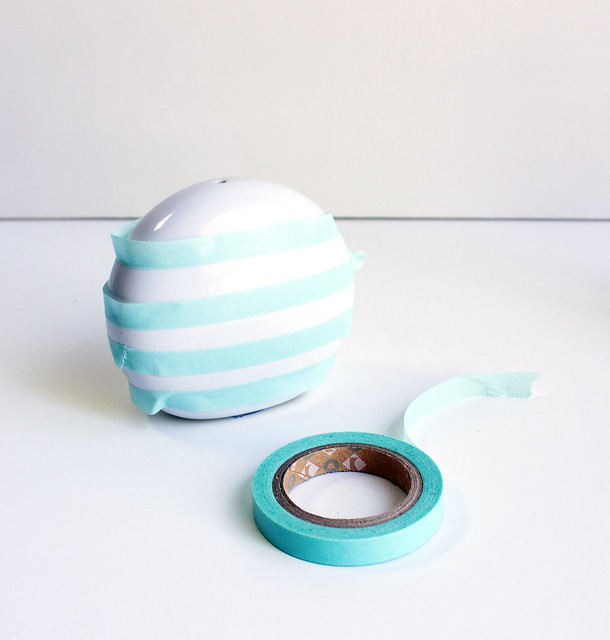
Wash the shakers in hot water and soap. Let dry. Tape off horizontal and vertical stripes on the shakers. The tape is just a guide for the stripes so it doesn't need to be perfect.

DIY Gold Striped Salt & Pepper Shakers

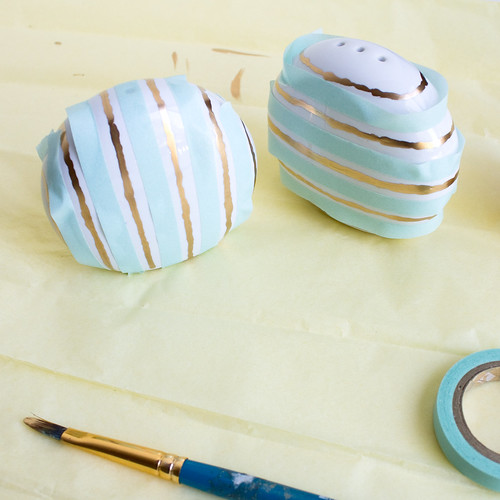
Shake up the gold leaf. In a well ventilated area (this stuff is stinky!) carefully paint the stripes on the shakers, following in between the guides. I got the best results by dipping the brush in the paint and slowly dragging it across the surface, instead of really brushing it on. Add another coat to any light spots. Let dry.

DIY Gold Striped Salt & Pepper Shakers

Remove the tape guides. Cover the holes on the top of the shakers with a small piece of washi tape and spray with a light coat of clear sealer. Let dry.

DIY Gold Striped Salt & Pepper Shakers

I like how these shakers go together but aren't identical. Play around with alternating thick and thin stripes, diagonal stripes, or even dots (like these gold confetti dishes). This liquid gold leaf is so fun to work with, I'm already thinking a bunch of other diy ideas that could use a little gold sparkle.

DIY Gold Striped Salt & Pepper Shakers

482

DIY Paper Magnolia Blossoms

Friday, May 23, 2014

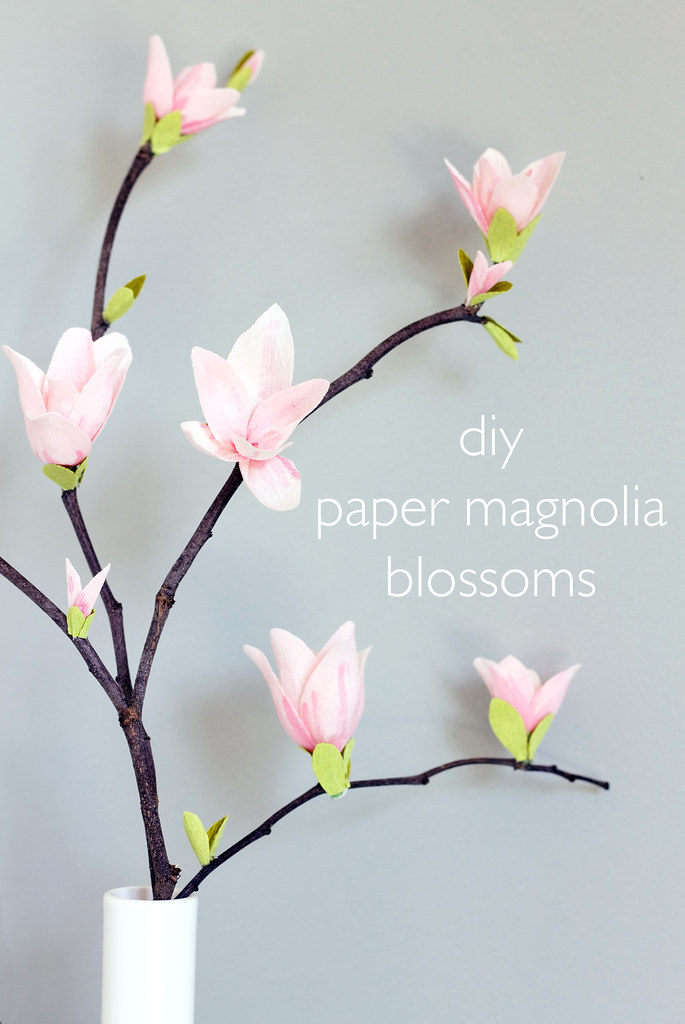
DIY Paper Magnolia Blossoms

Flowering trees are one of the best parts of spring, don't you think? Their blooms announce the passing of winter and bring color to bare branches. Even after they're done blooming, the loose petals decorate the ground. Unfortunately, flowering tree branches don't last very long in captivity, or in a vase in your home. I came up with this project so you can make long-lasting flowering magnolia branches yourself. They will last you all spring, or even multiple years worth of springtimes if you'd like. 

DIY Paper Magnolia Blossoms

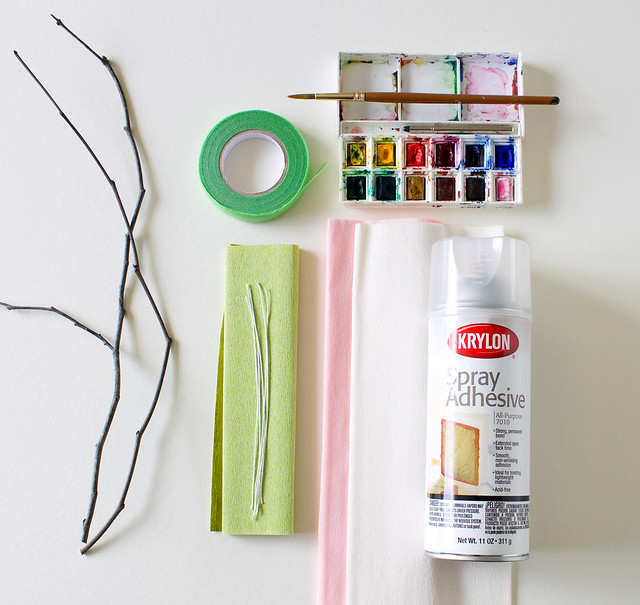
Here's what you'll need:
  • Crepe paper in white, light pink, and green
  • White wrapped floral wire
  • Spray adhesive
  • Watercolors
  • Light green floral tape
  • Branches. These came from my mom's garden but you can also purchase them in the floral section of the craft store.
  • Hot glue gun

DIY Paper Magnolia Blossoms

Cut two pieces from the white and light pink crepe, about 8" x 12". Spray one side of each with the spray adhesive (spray outside or in a well ventilated area over newspaper).  Press the two pieces together, making sure the grain of the paper is going in the same direction.

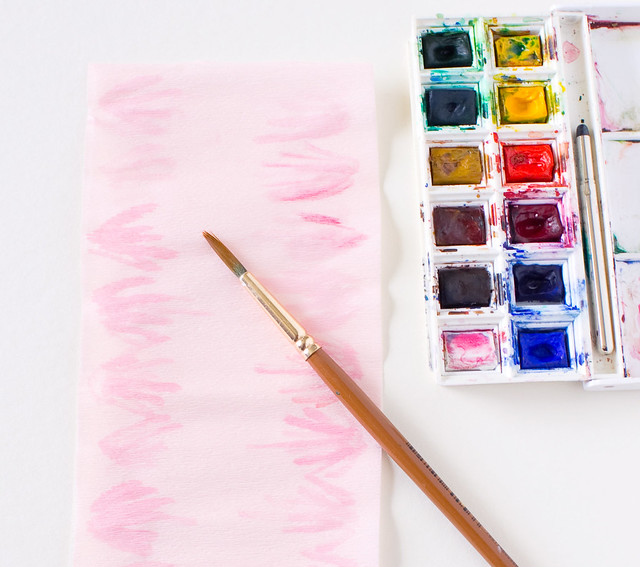
Paint on some pink brush strokes on the pink side of the crepe. This is meant to accent the base of the petals, so keep the brush strokes on one side. Let dry.

DIY Paper Magnolia Blossoms
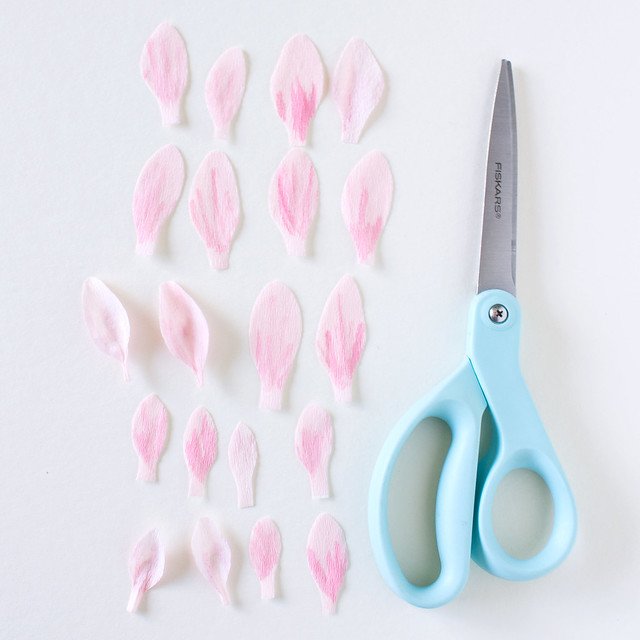
Cut out the petals from the crepe with the grain running vertically. Each flower needs 6 petals. I made mine in two sizes: the petals on the larger blossom are about 2.5" long, the smaller about 2" long. Gently stretch the center and crimp the base of each.

DIY Paper Magnolia Blossoms DIY Paper Magnolia Blossoms
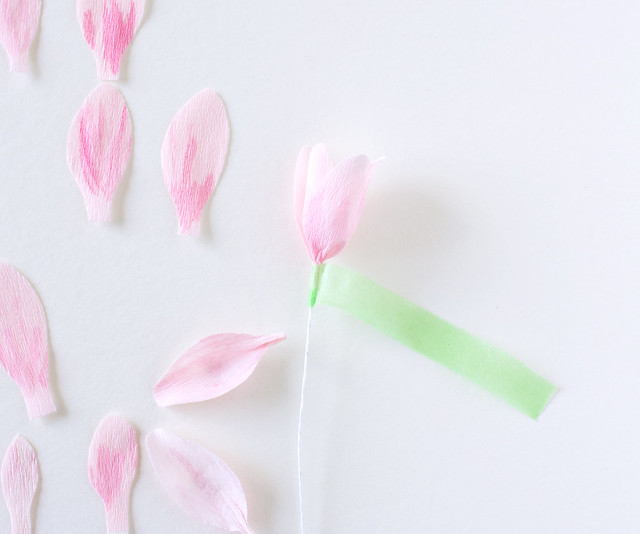
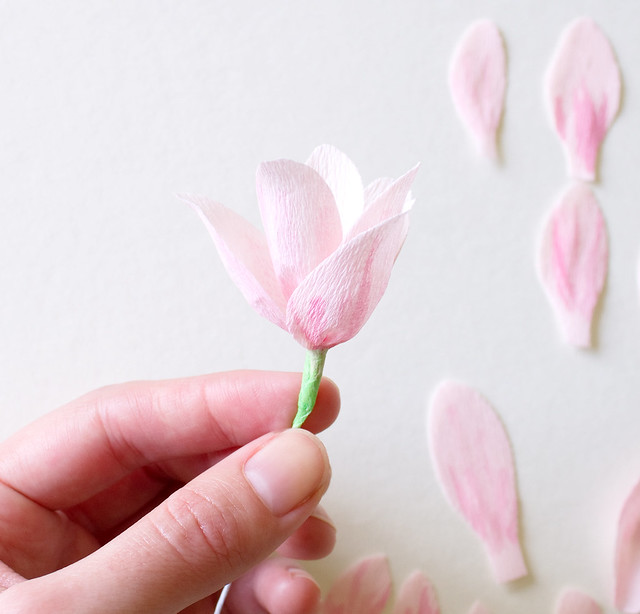
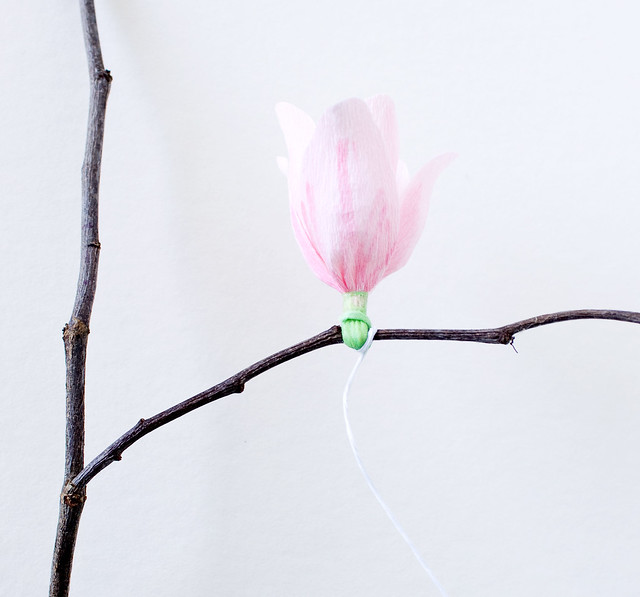
Bend the end of a piece of wire over a couple times with pliers. Wrap two petals around the wire, facing each other, with a 4" length of floral tape. Add two more petals, facing each other, overlapping the first two, and then add two more. Gently fold the petals outward.

DIY Paper Magnolia Blossoms
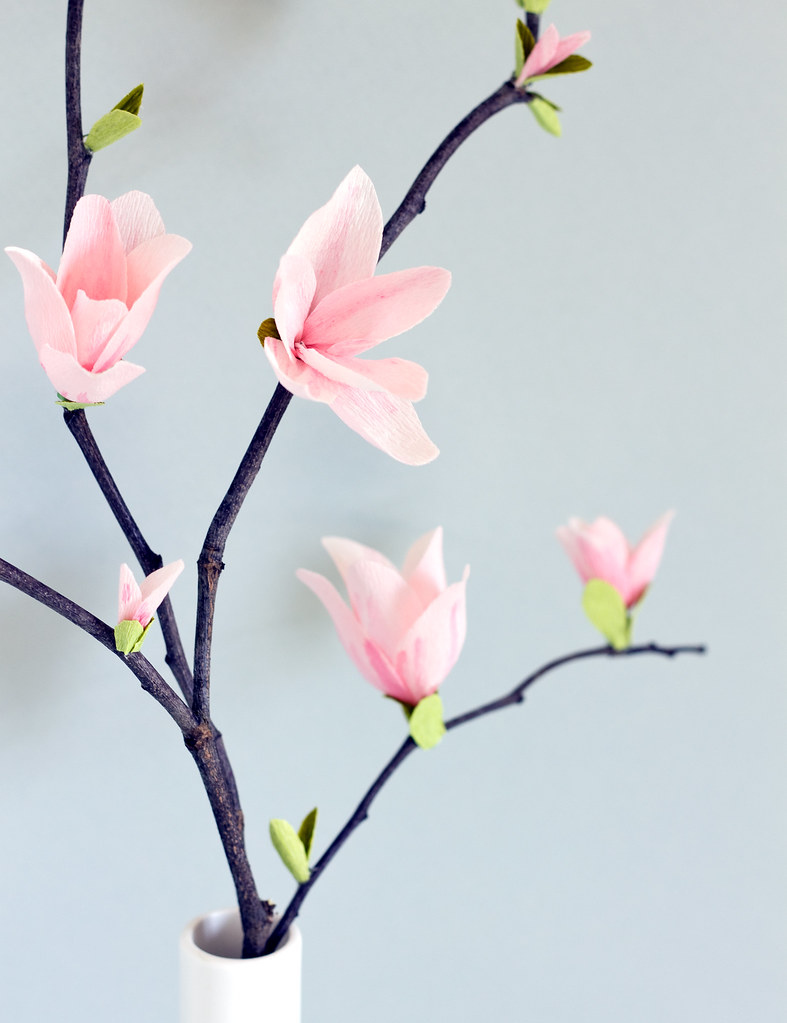
Wrap the wire around the branch and trim the excess. For smaller blossoms, bend the wire near the base of the flower over a couple times and trim the wire. Hot glue onto the branch.

DIY Paper Magnolia Blossoms
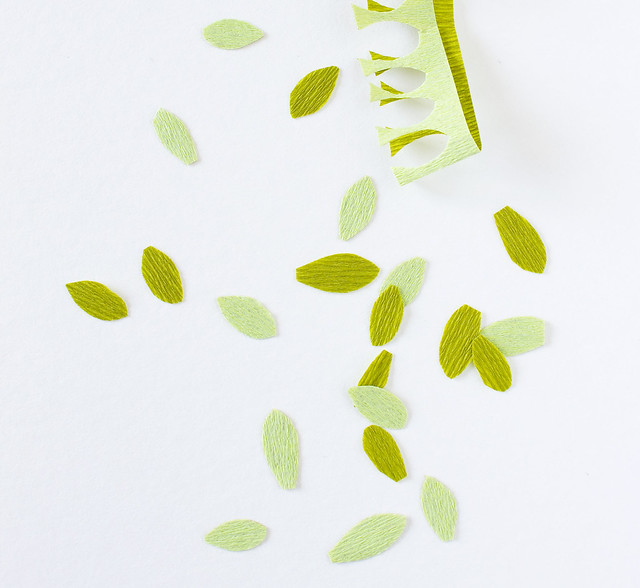
Cut a bunch of leaves, about 1/2" long. Hot glue the leaves around the bases of each flower. Add a couple small bunches of leaves and petals on the branch to make buds.

DIY Paper Magnolia Blossoms
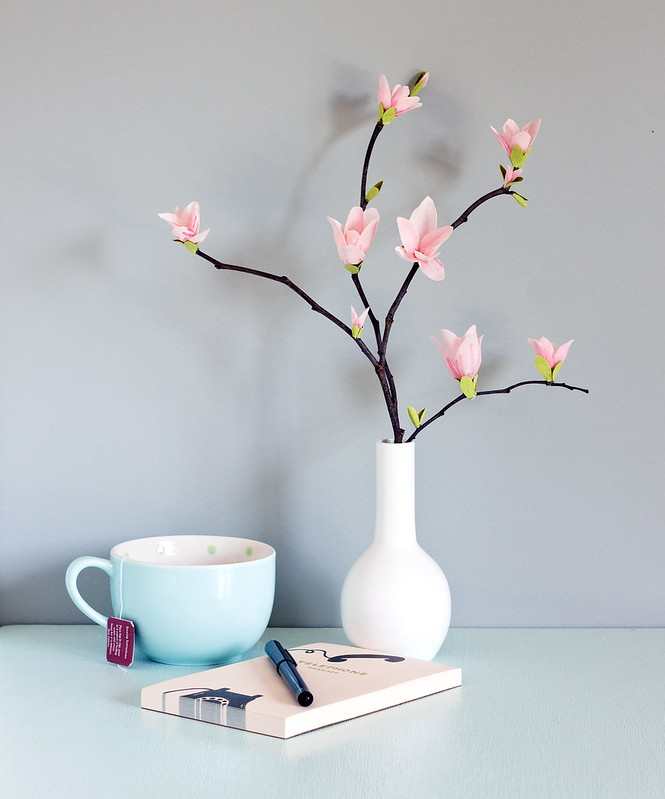
Arrange the branches in a simple vase and enjoy!

DIY Paper Magnolia Blossoms

8

Retro Illustrations by Emmanuelle Walker

Thursday, May 22, 2014

Hi, friends! I'm working on a new DIY project for tomorrow, but in the meantime I wanted to share these great retro-esque illustrations by Emmanuelle Walker entitled "Dogmobiles."
Dogs + Cars? Um, yes! Everything I love!! Especially these weiners!


Change the car from red to yellow and that'll totally be me someday. Check out more of Emanuelle's portfolio here.

And a big thanks to everyone who came out to say hi at the craft shows over the last two weekends! I'm still getting back in the groove after working two weekends back-to-back but it was so great to get out and meet some of you in person!

18

DIY Marbled Paper & Fabric

Friday, May 16, 2014

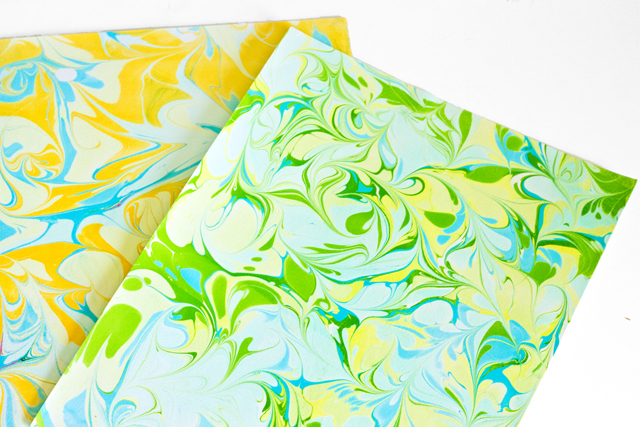
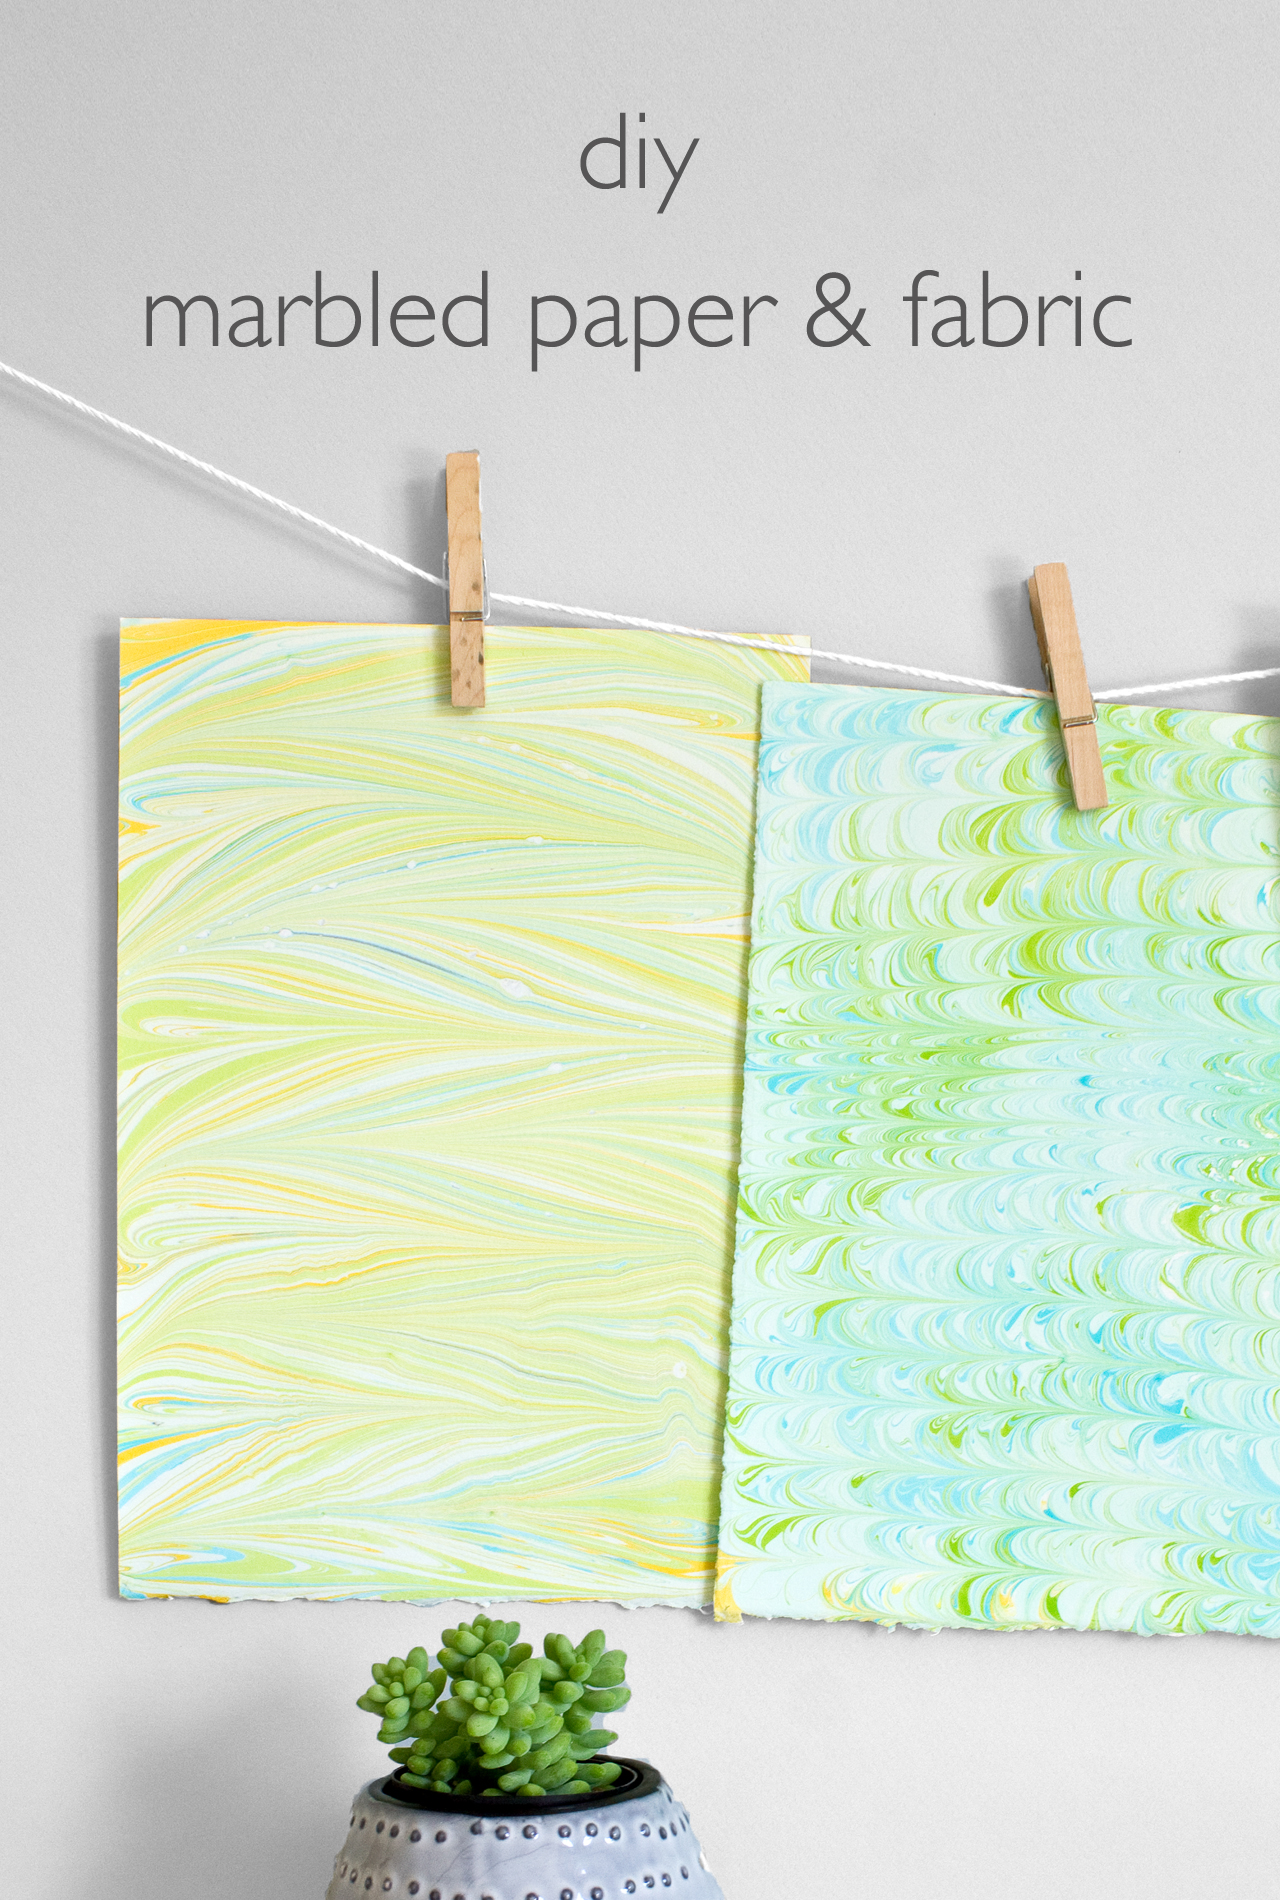
DIY Marbled Paper and Fabric | click through for the tutorial!

Years ago when I was studying abroad in Italy I remember going into the paper shops and admiring all of the stunning hand marbled papers. They're really just like tiny, intricate paintings. Each one is unique and can never be reproduced exactly the same again. The history of marbling (or marbelizing as some call it) goes way back and has shown up in historical pieces from all over the world! How cool is it that multiple cultures in history interpreted this artistic technique in different ways? Marbling has gained popularity over the past couple of years. You can't open Pinterest without seeing shaving cream or nail polish marbling projects on all sorts of surfaces. This project uses traditional materials and techniques and gives you beautiful results on paper sheets or pieces of fabric. While the steps are more involved than those quick-and-easy projects, this one gives you beautiful, intricate results that get you a little closer to those stunning papers you might have admired in a fancy paper shop.

When I did the marbled Easter egg project last month I also marbled paper and fabric at the same time. It takes some preparation to get everything set up, so it was worthwhile to marble everything at once. This technique is addictive, so if you want to try it I encourage you to have lots of paper or fabric blanks ready to go!


Here's what you'll need:
  • Marbling supplies and tools (as outlined on the Marbled Paper Mache Easter Egg tutorial)
  • Cotton papers cut to the size of your marbling tray. I cut down a large sheet of cotton rag paper that I bought at the art store and also used some Canson 100% cotton sheets that came in 8.5 x 11 size
  • Light colored, natural weave fabric trimmed to size. I used plain cotton muslin and a cotton/linen blend
Don't forget to prep the materials for marbling. For paper, just brush a thin coat of the alum mixture on the paper and let dry. For fabric, immerse the pieces in the alum and let sit for 20 minutes. Wring out and hang dry. Iron out any wrinkles before you start marbling. It's best to do this prep work the night before.
DIY Marbled Paper and Fabric | click through for the tutorial! DIY Marbled Paper and Fabric | click through for the tutorial!

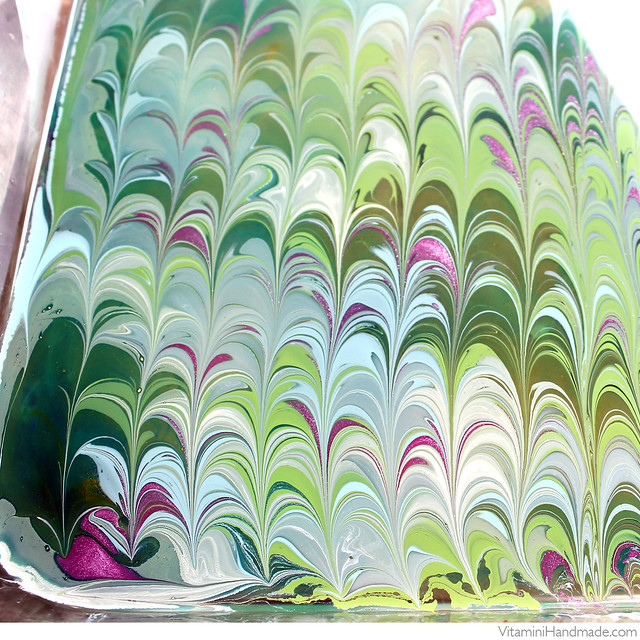
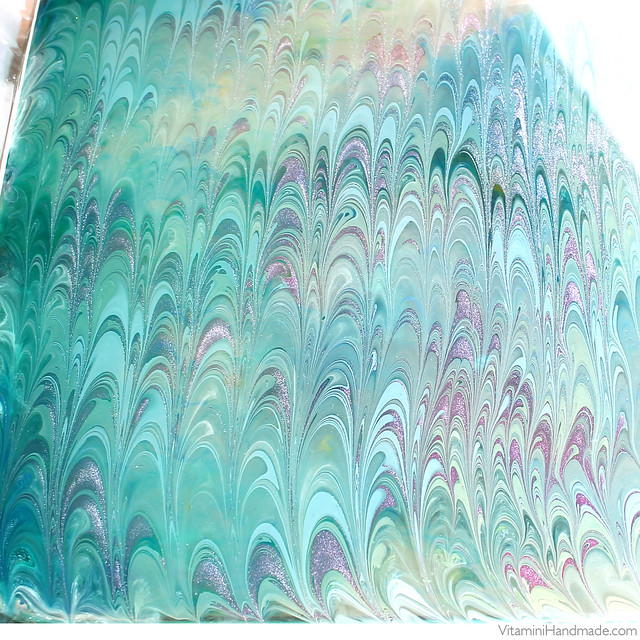
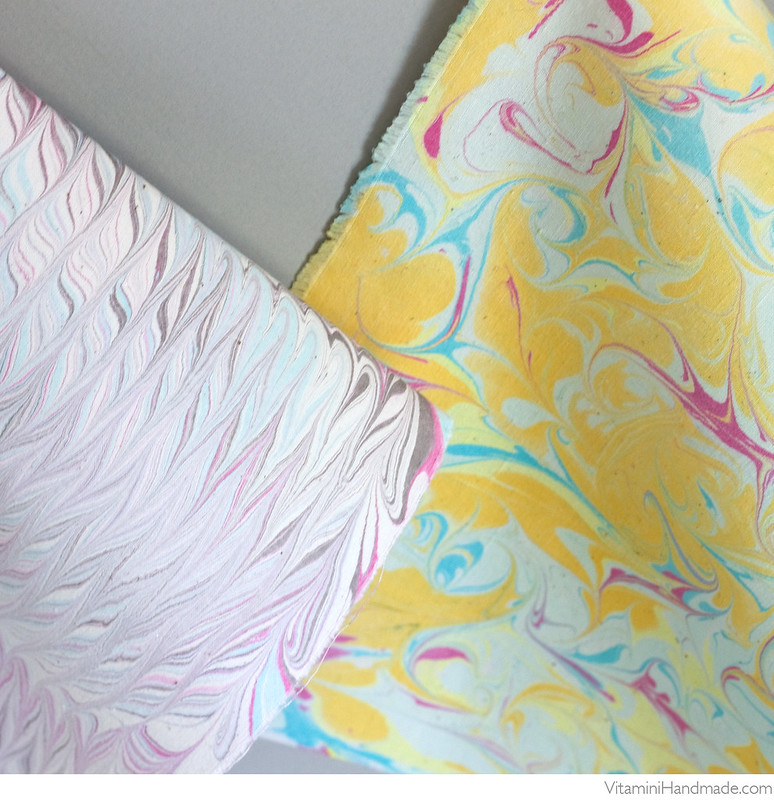
Follow through the same steps as the marbled egg project. Once the paints are ready to go, slowly lay the paper or fabric down onto the surface. Tap the back of the paper/fabric to ensure that it has made contact with the paint. Carefully lift from one end. Lightly rinse with water to remove the methocel and hang dry. Carefully scrape the surface of the methocel with the edge of a paper to clean it off. Any inks that are still on the surface will affect the next design. Once it's clean, start again!
DIY Marbled Paper and Fabric | click through for the tutorial!
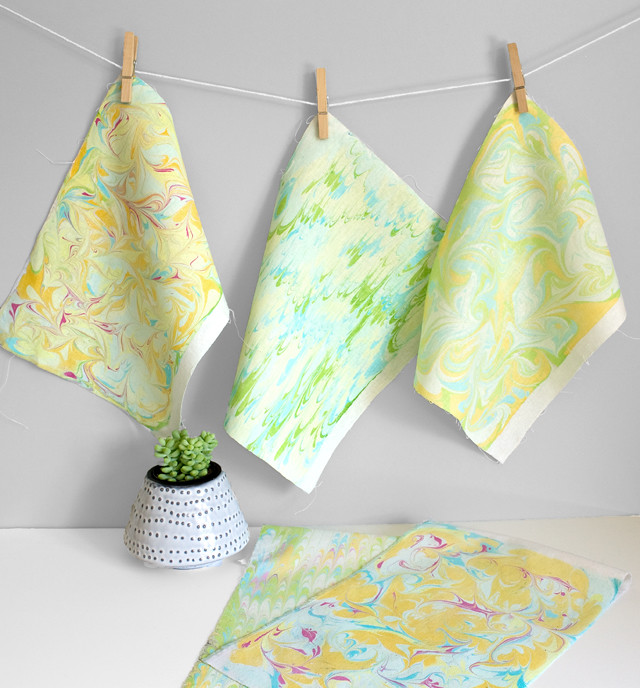
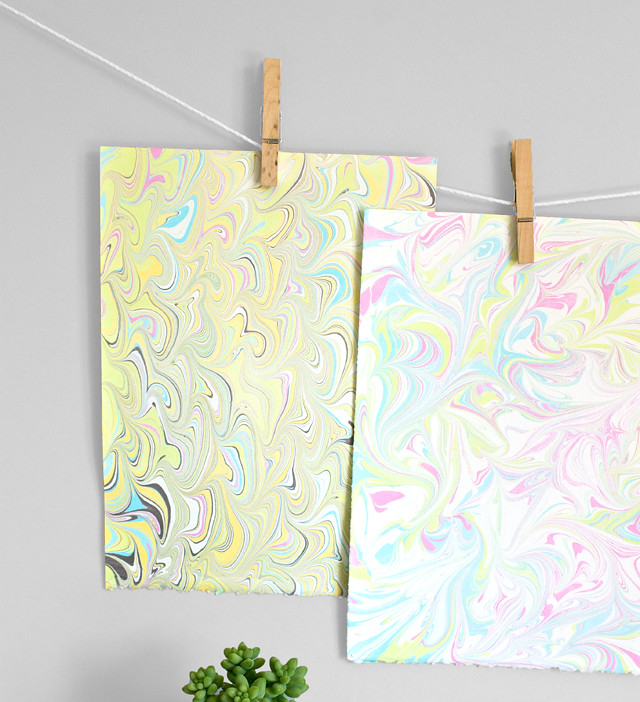
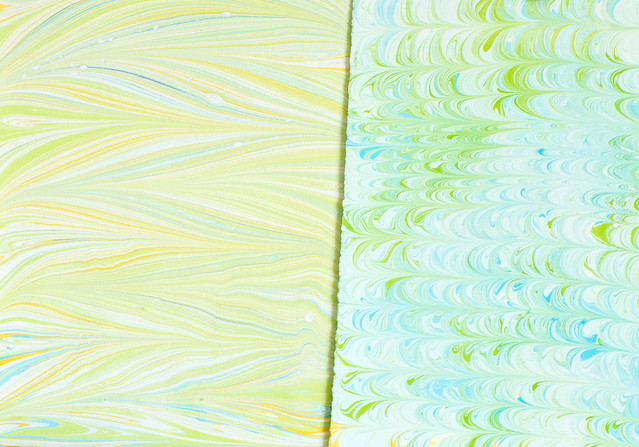
It's interesting to see the variation in colors on the different surfaces. In my experience, the colors were more vibrant on the paper than the fabric. Both the muslin and the cotton/linen fabric held the colors well, but the cotton/linen results were a little more subdued. I had to increase the contrast on the color batches for that fabric, while the paper picked up every tiny little color variation very easily. I'm planning on sharing a few different projects that you can do with the finished marbled pieces, but in the meantime, here's a little gallery of what I came up with.
DIY Marbled Paper and Fabric | click through for the tutorial!
DIY Marbled Paper and Fabric | click through for the tutorial! DIY Marbled Paper and Fabric | click through for the tutorial!

So cool, right?! It's great that these beautiful results can be achieved with inexpensive craft paints. The marbling on the paper pieces is done and permanent as soon as the paper is dry. The paints on the fabric will need to be heat set to become permanent. After they're dry, iron each fabric panel on the reverse side to set the marbling then hand wash in cool water to remove whatever methocel is left in the fibers. Hang dry.
DIY Marbled Paper and Fabric | click through for the full tutorial!

Have a lovely weekend, friends! I'll be at Maker Faire in San Mateo Saturday and Sunday selling with SF Bazaar. Maybe I'll get a chance to sneak away for a little and catch some of the exhibits. If you're there come by and say hi!

Update
Checkout these fun projects using the marbled paper and fabrics created from this tutorial:

DIY Marbled Paper Tray
DIY Fabric & Leather Clutch
DIY Marbled Candle Set
7

Patchwork Show & My New Booth Sign

Wednesday, May 14, 2014

patchwork show oakland spring 2014

I had a great time at Patchwork on Sunday! Thanks to everyone who came out and said hi. I saw lots of friends from Craftcation and met lots of new crafty friends, too. There were so many cool handmade products and great brands, I wanted to buy everything! :) If you're in the Bay Area, there will be another Patchwork in the Fall. If you're in Socal you're in luck because the next two Patchwork events are coming up in Long Beach and Santa Ana. (Look closely you'll find me in that pic above from the Patchwork Flickr Album, deep in conversation.)

As you can probably imagine, I've been immersed in display design over the past few weeks. I've got most of the details ironed out now, and good thing since I have the SF Bazaar at Maker Faire coming up this weekend. Here's a little peek at some of my process and my finished display.

Untitled

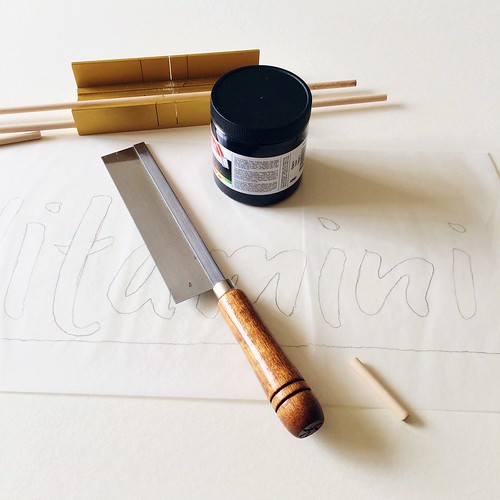
My booth sign was a big to-do item last week. I wanted something big and easy to read that would work with the rest of my set-up. I decided to make a painted muslin banner on wood dowels. The first step was to make a tracing paper transfer.

Untitled

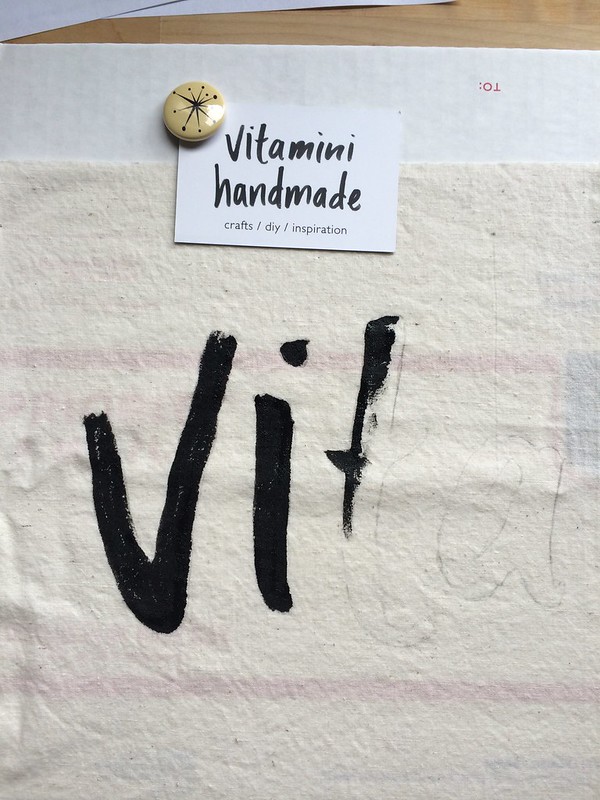
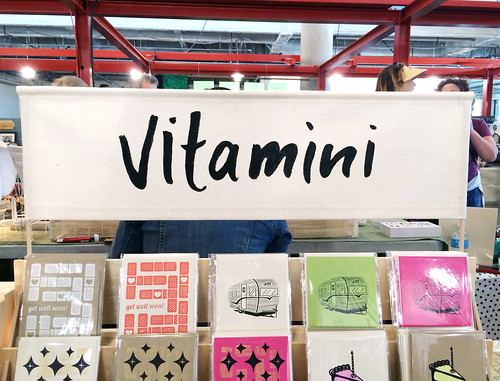
After I transferred the outline to the muslin I painted it in with black screen printing ink. Once the letters were painted I ironed some interfacing to the back and sewed pockets for the dowels. Here it is all done.

Patchwork Show, Oakland, May 2014

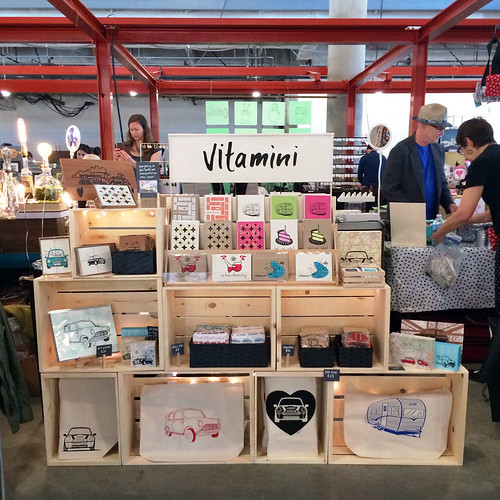
With the rest of my new display! I switched over from a two table display to one table and this crate shelving system.

Patchwork Show, Oakland, May 2014

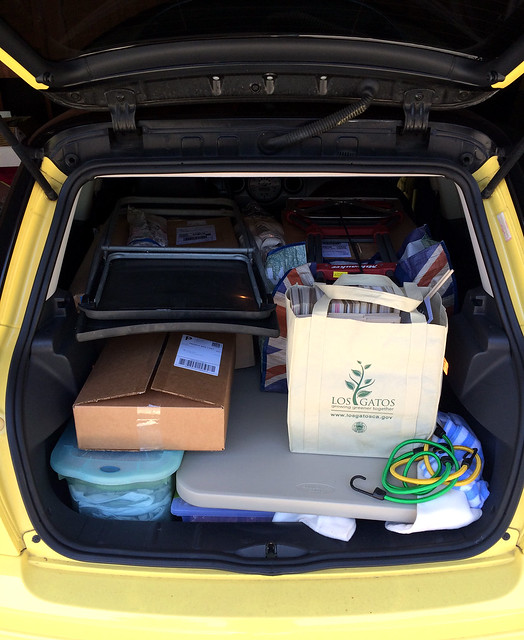
And if you were curious, yes, all of this fits into the MINI, with room to spare! Everything I needed to build and stock my display is in this one car load. I love that MINI of mine. :)

Patchwork Show, Oakland, May 2014

Check out Everything Hunky Dory for a great summary of the day with lots of photos of beautiful handmade products.

4

Spring shows

Friday, May 9, 2014

Happy friday!! I've been busy getting ready for a couple craft fairs this month. If you're in the CA Bay Area I'd love to see you!


Come out to Oakland's Jack London Square on Sunday the 11th for Patchwork Show. Over 100 local handmade businesses, food vendors, music, crafts. Sounds like a party!

Maker Faire is coming up soon! May 17 and 18 at the San Mateo Event Center. I'll be there selling in the SF Bazaar tent, both days. Find more information on the Maker Faire website.


I've been re-working my display...as I tend to do every time a new show rolls around...but I'm really happy with how everything is coming together! I'll share photos and some process here on the blog. Have a wonderful weekend!

5

DIY Mother's Day Gift Topper & Pin

Tuesday, May 6, 2014

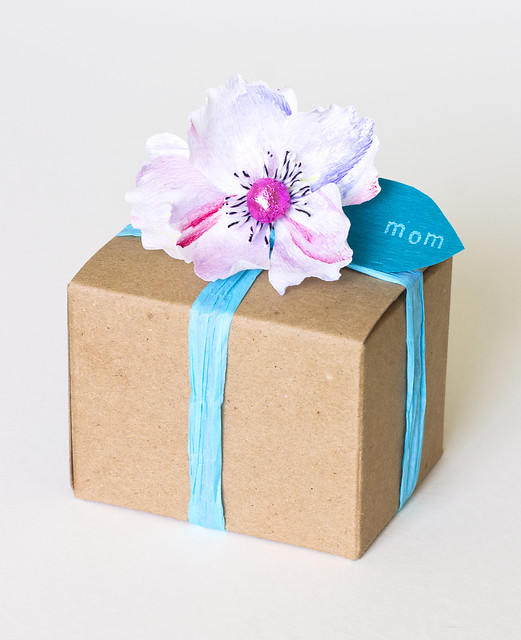
DIY Mother's Day Flower Gift Topper & Pin
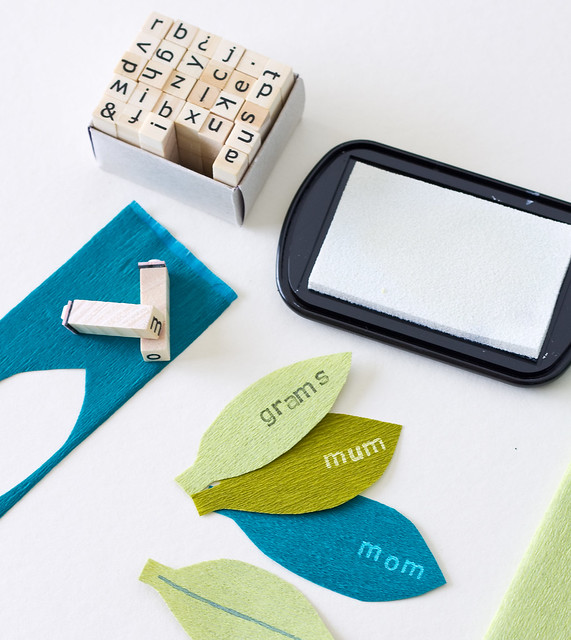
When I went to Craftcation last month, one of the great gifts we attendees received was an alphabet stamp set from Fair Goods. I was excited to learn they were hosting a contest so I whipped up a fun project for Mother's Day using their stamps. And they chose my project to feature on their site!

DIY Mother's Day Flower Gift Topper & Pin

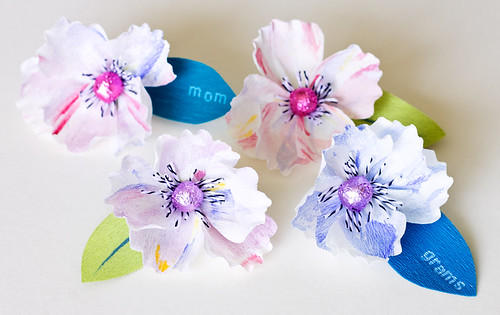
The cool thing about this flower is it's fully customizable; just choose your mom's/grandma's/aunt's favorite colors and stamp up the leaf just for them. After they open their pretty packages, they can wear it as an accessory. Head over to the Fair Goods blog for the full tutorial to learn how to make your own.

DIY Mother's Day Flower Gift Topper & Pin

6

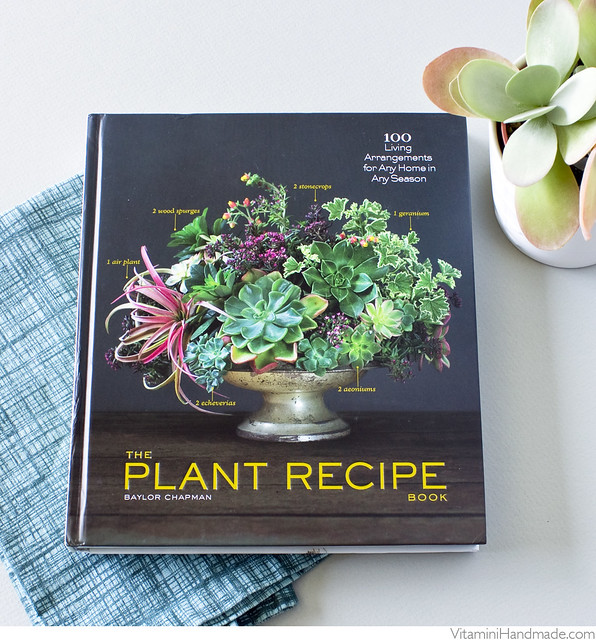
Book Review: The Plant Recipe Book

Friday, May 2, 2014

The Plant Recipe Book, by Baylor Chapman

As a landscape designer with no yard space to speak of, small container gardens are the only way I can get my plant design fix at home. They're easy to switch-out with the seasons and can add a splash of color, texture, and life to a small front porch or tabletop. Naturally, I was thrilled when Artisan sent me a copy of The Plant Recipe Book: 100 Living Arrangements for Any Home in Any Season to check out.

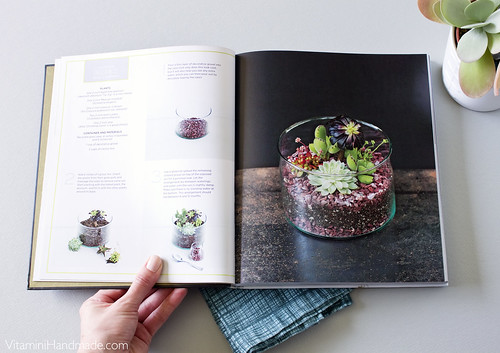
The Plant Recipe Book, by Baylor Chapman

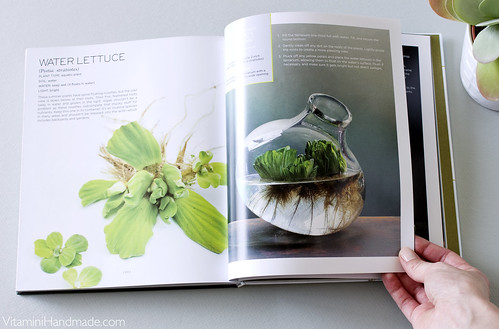
San Francisco garden designer and author Baylor Chapman provides detailed instructions for how to create these beautiful arrangements yourself.  Each "recipe" comes with descriptive text about the featured plants (size, scientific name, recommended cultivars), container and materials list, detailed steps outlining how to assemble the arrangement, and care instructions.

The Plant Recipe Book, by Baylor Chapman

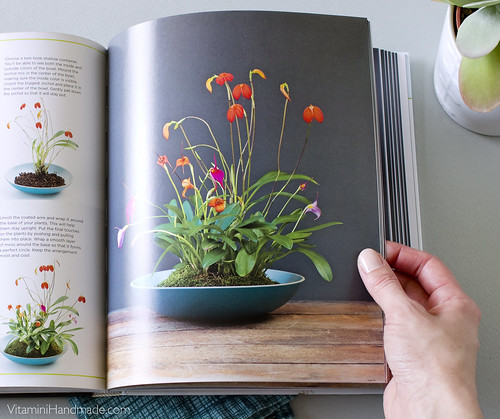
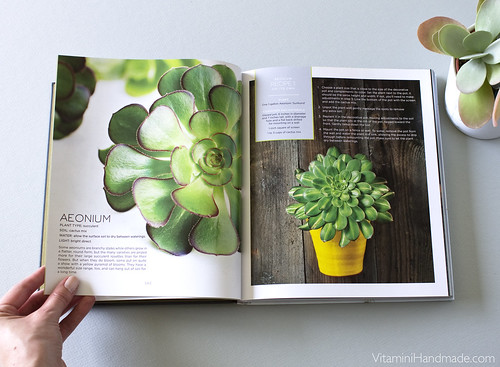
Succulents, air plants, ferns, carnivorous plants, mushrooms, and orchids; there's something for everyone. The horticulturalist in me loves that the scientific names for all of the plants are provided and there is information about soil and amendments. The designer in me loves the unique compositions and the beautiful photographs.

The Plant Recipe Book, by Baylor Chapman

I'm feeling inspired to start making some new arrangements in unconventional containers. I really need to get my hands on some water lettuce!

The Plant Recipe Book, by Baylor Chapman

This is just a small sampling of the projects in this book. It's a great source of plant-y inspiration and would also make a wonderful gift. Check it out on Amazon.

Disclosure: I was sent a copy of The Plant Recipe Book for review. All opinions, words, and images are my own. Thanks for supporting the brands that keep Vitamini Handmade going! 
 

vitamini handmade © All rights reserved · Theme by Blog Milk · Blogger