10
New Shop Site!
Monday, April 28, 2014
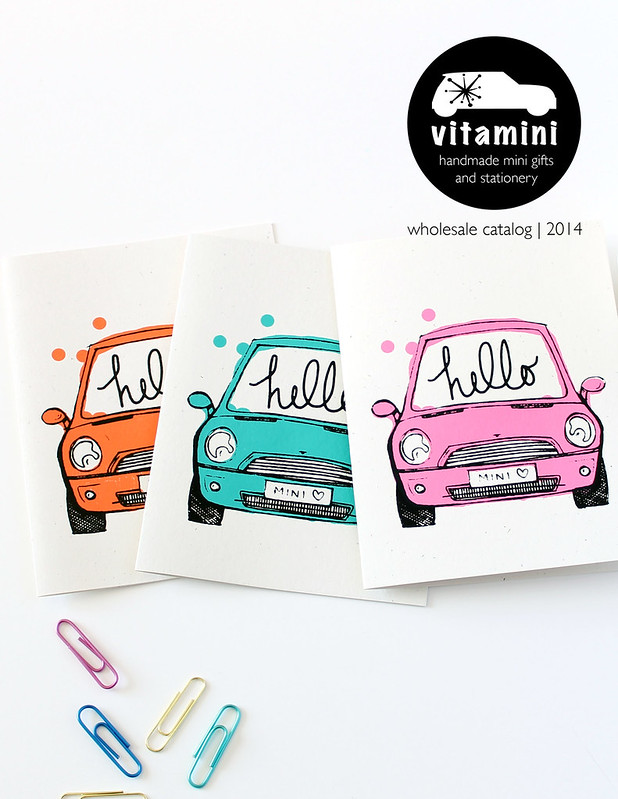
I'm excited to announce that I have a new shop site! You can find all of my products for sale on one site right here at vitaminimodern.com.
I'm working on adding some new wholesale accounts, so if you're a retailer interested in carrying my products, there's a page just for you. Please get in touch! I'd be happy to send you my wholesale catalog.
I'll still be maintaining my Etsy shops (Vitamini and Vitamodern), but I'm excited to start branching out on my own. Take a look at the new site. I hope you like it!
3
From my sketchbook: Let's Eat Cake!
Friday, April 25, 2014
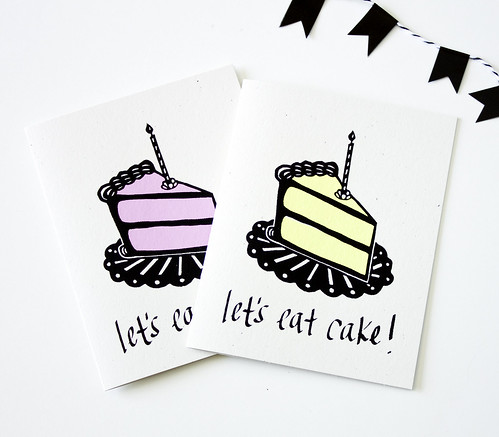
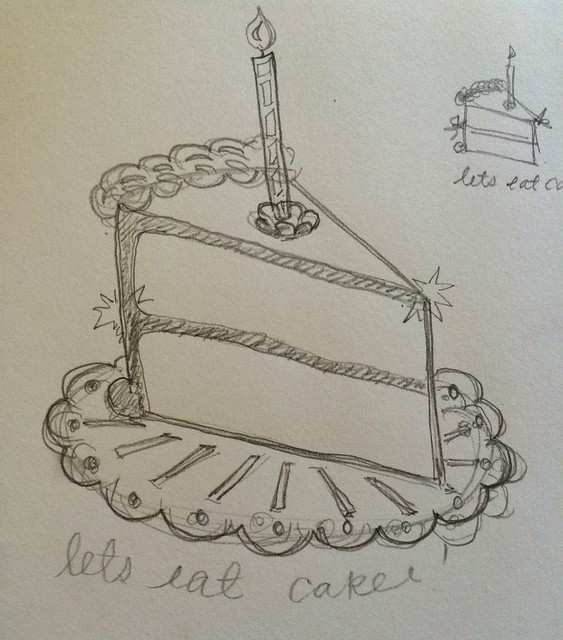
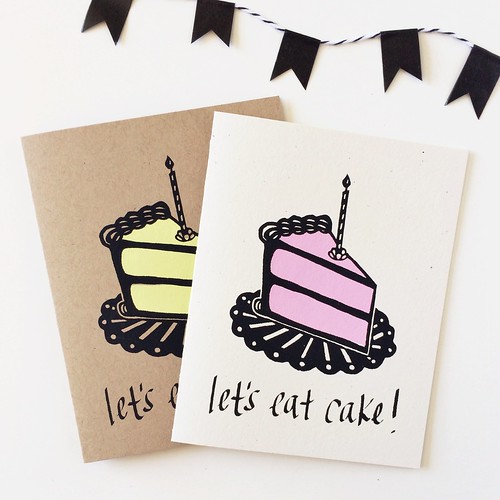
How it is Friday already?! Time's been flying by lately and I've been busying myself with lots of projects. I designed, printed and photographed three new cards this week and thought I'd share a little peek at my design process.
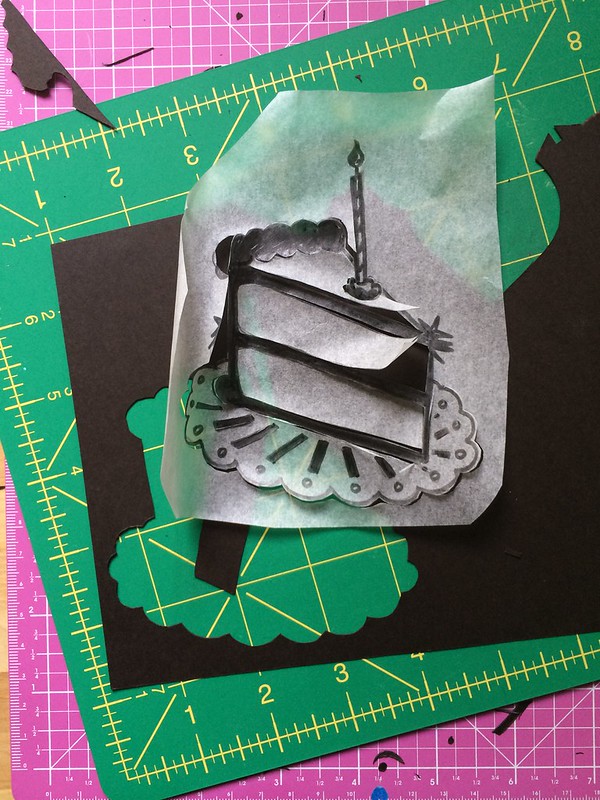
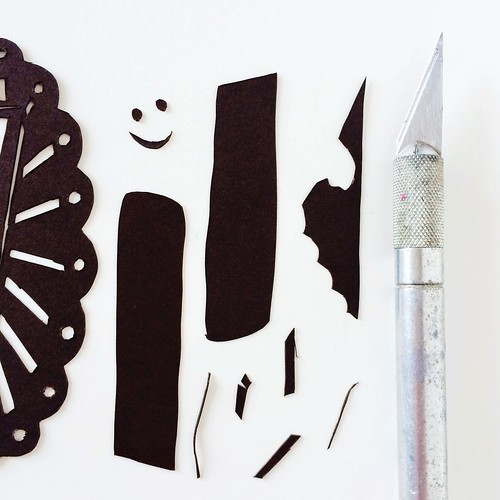
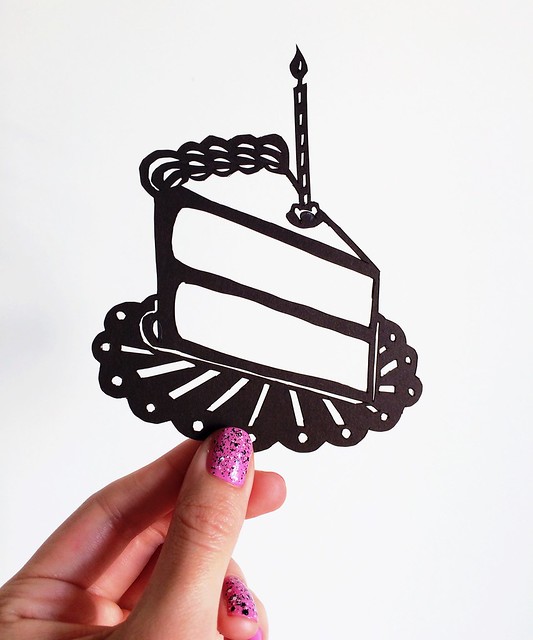
My designs always start out as simple sketches. Sometimes I'll sketch an idea over and over again, but this time I lucked out after only a couple iterations. I knew I wanted this design to turn into a papercut, so I had to think of positive and negative space quite a bit.
I rough-traced it onto tracing paper, then taped it onto my cardstock and got to cutting with my xacto.
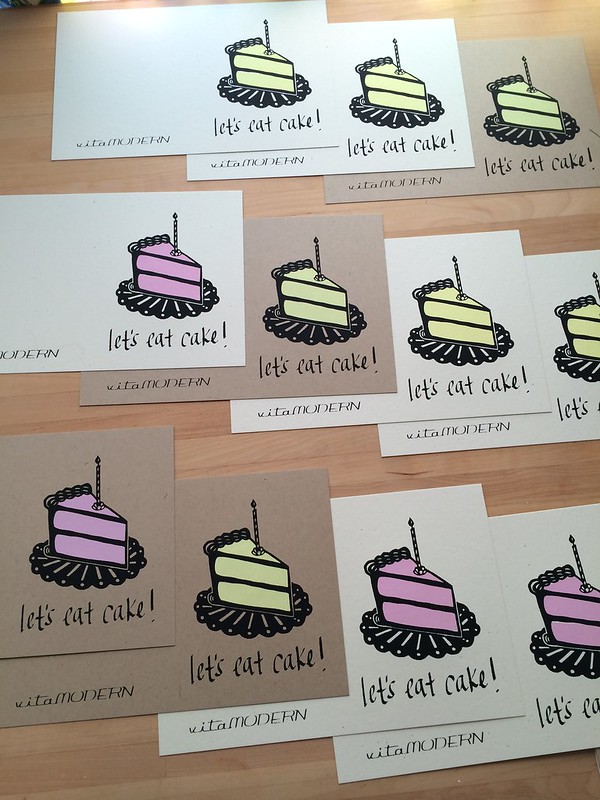
I then scanned the papercut into photoshop to clean up some of the edges and resize to fit on the card. I used my Wacom tablet to hand-write the text straight into Photoshop. After that it's just a matter of separating the two colors, printing out into a transparency, and then exposing it to light on a coated screen. Then I screen print each color onto the cardstock, fold it up, and the card is done!
Let's Eat Cake! is now listed in my shop and my Etsy shop.
5
Speaking of floral...
Tuesday, April 22, 2014
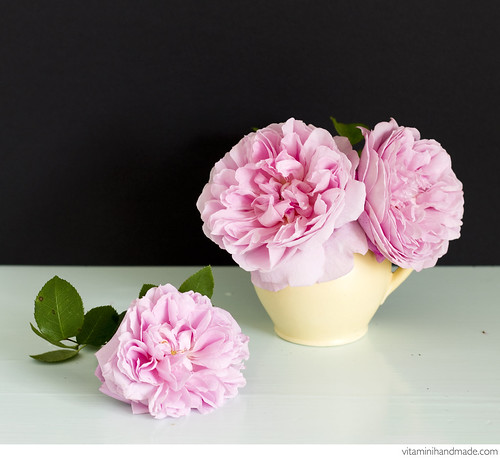
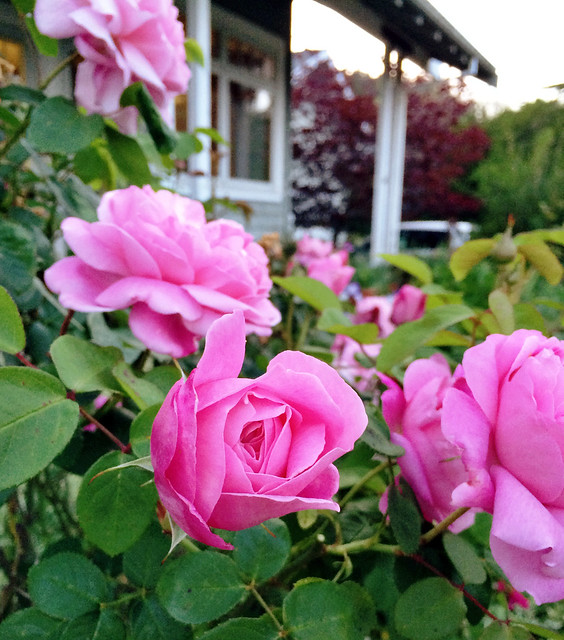
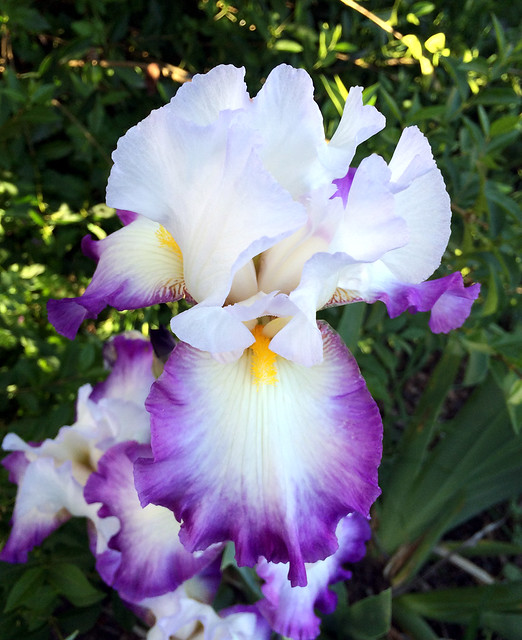
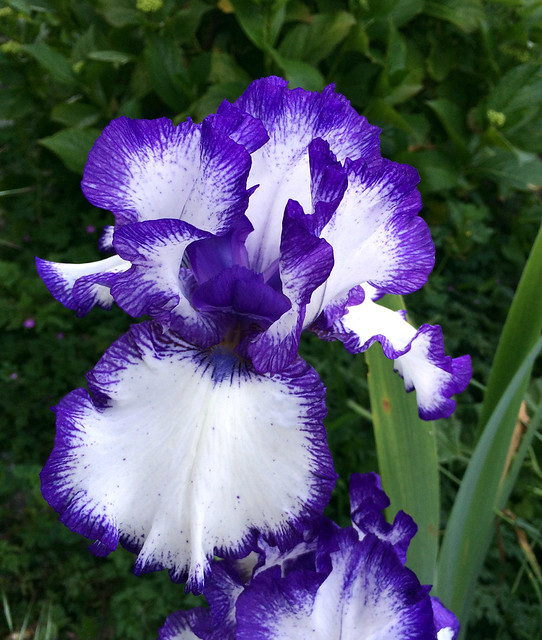
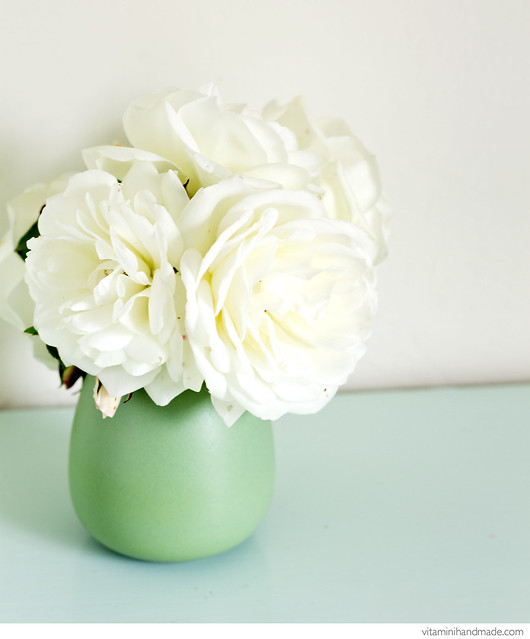
I hope you had a lovely Easter weekend! We lucked out with some seriously beautiful weather. My mom's garden is exploding with color, so I spent lots of time outside snapping photos and taking cuttings for floral arrangements.
Here are some photos I took in the garden and of a couple of my arrangements.
4
6 Floral DIYs to Try
Friday, April 18, 2014
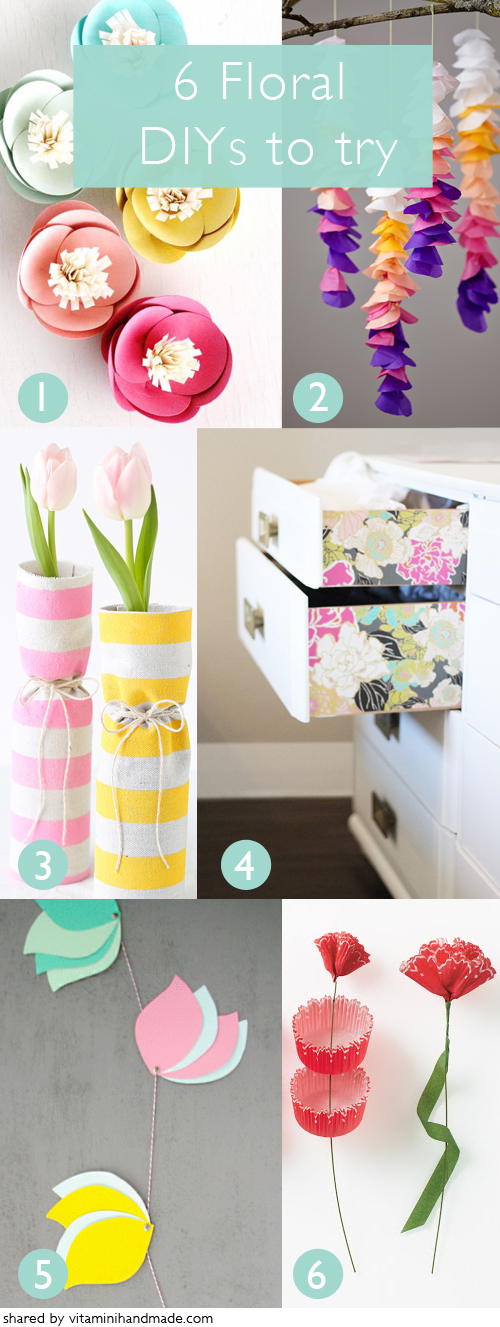
Something about springtime makes people extra crafty, I think. Wildflowers are blooming, the sun's coming out, the birds are singing, and I'm cutting out crepe paper flower petals like nobody's business. Here are some great floral DIY projects from around the web to inspire you to get crafting.
1. Pretty paper flowers from Inspiration Ave. I love these colors!
2. Hanging wisteria from the Land of Nod
3. Fabric wrapped vases from I Heart Nap Time
4. Wallpaper-edged dresser drawers from Bright & Bold
5. Paint swatch garland from Sugar & Cloth
6. Cupcake paper flowers from Martha Stewart
Have a lovely weekend, friends!
*All photos via their respective sources.
94
DIY Origami Bird's Nest with Free Printable
Monday, April 14, 2014
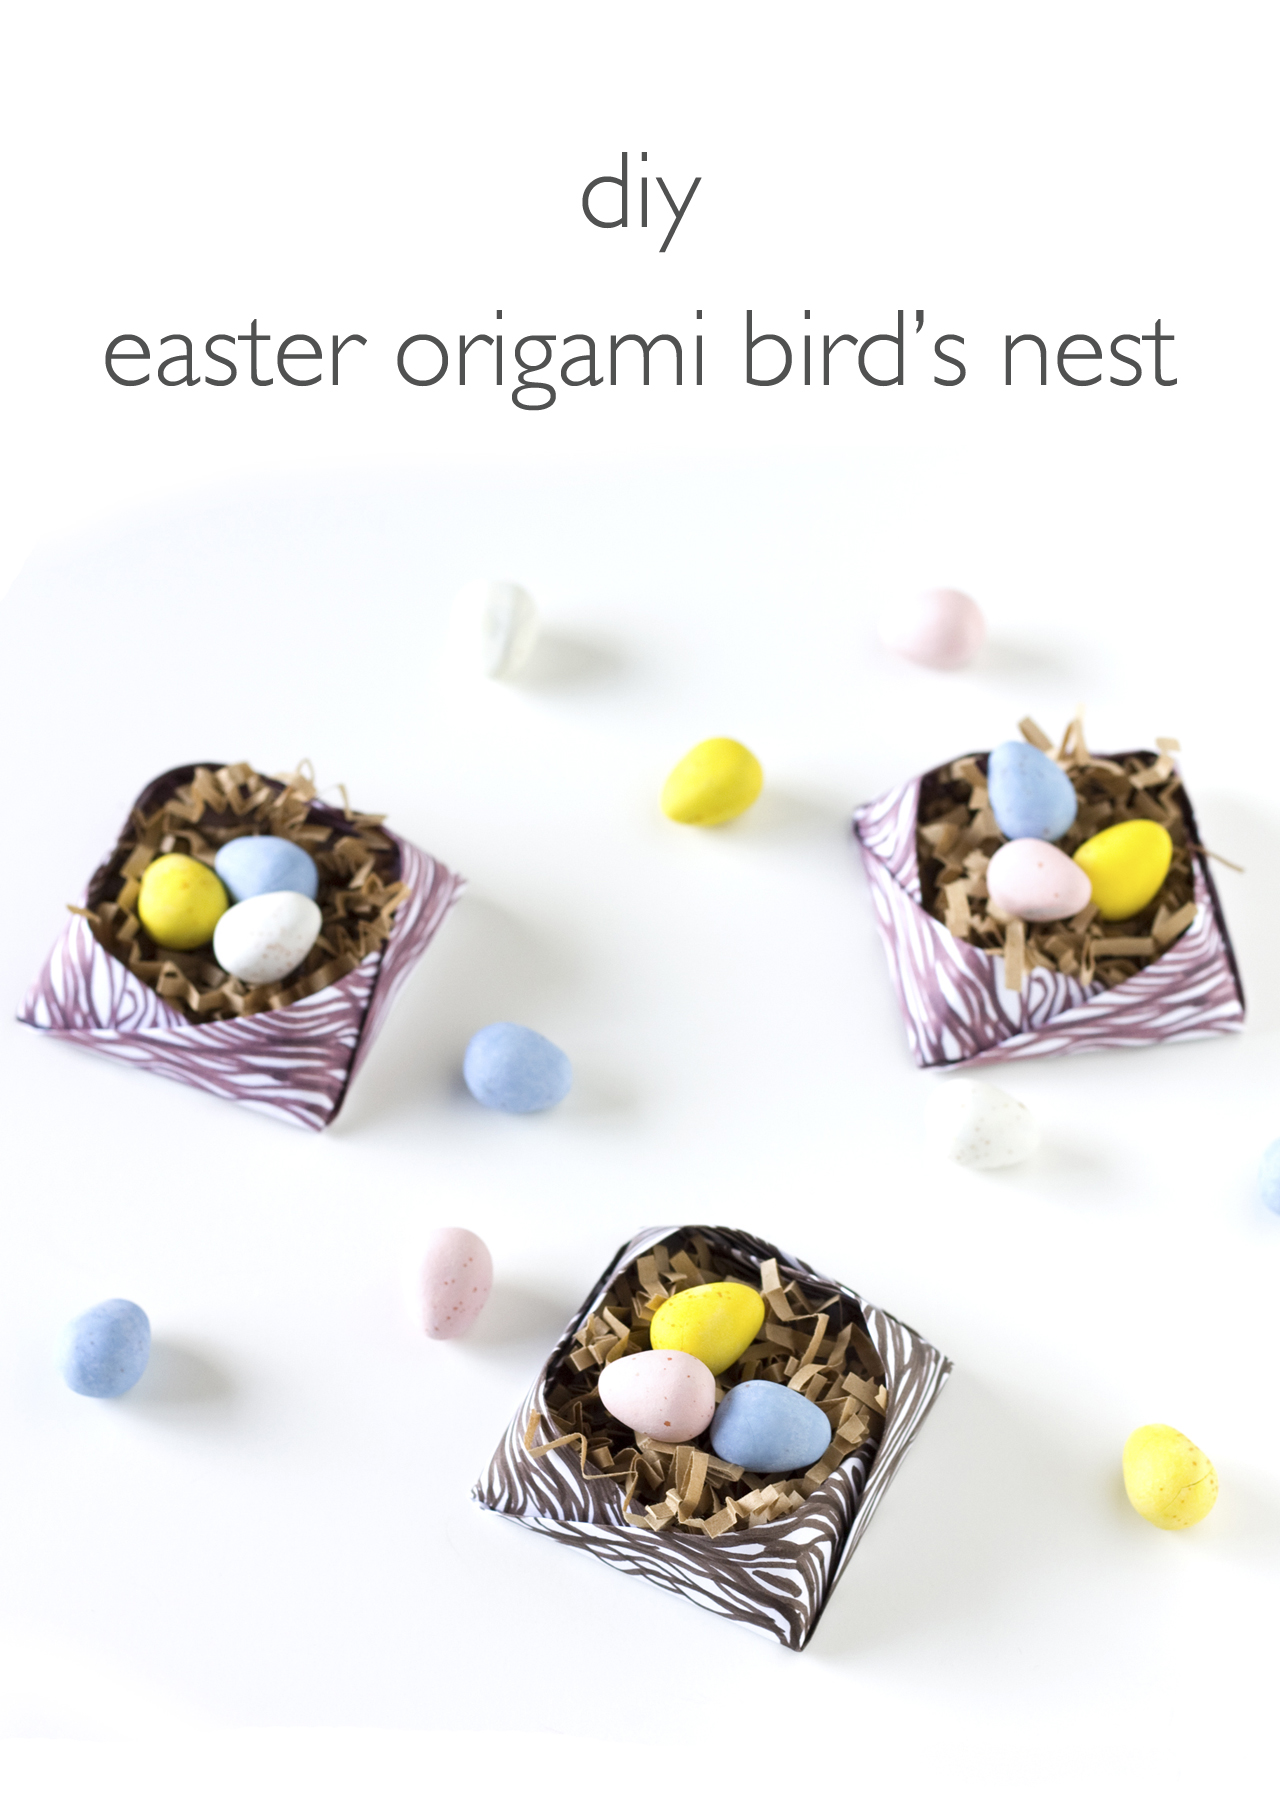
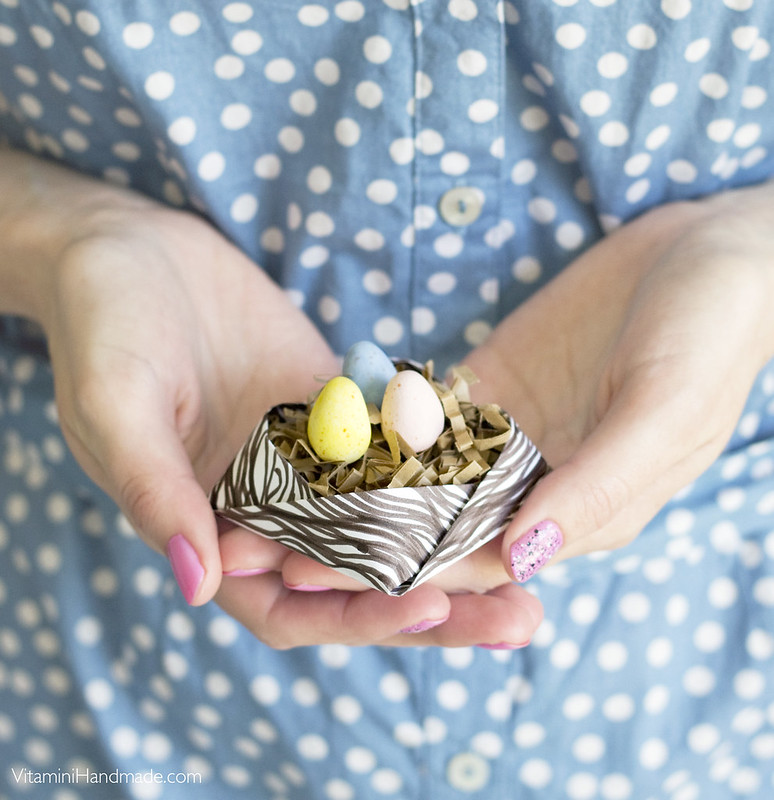
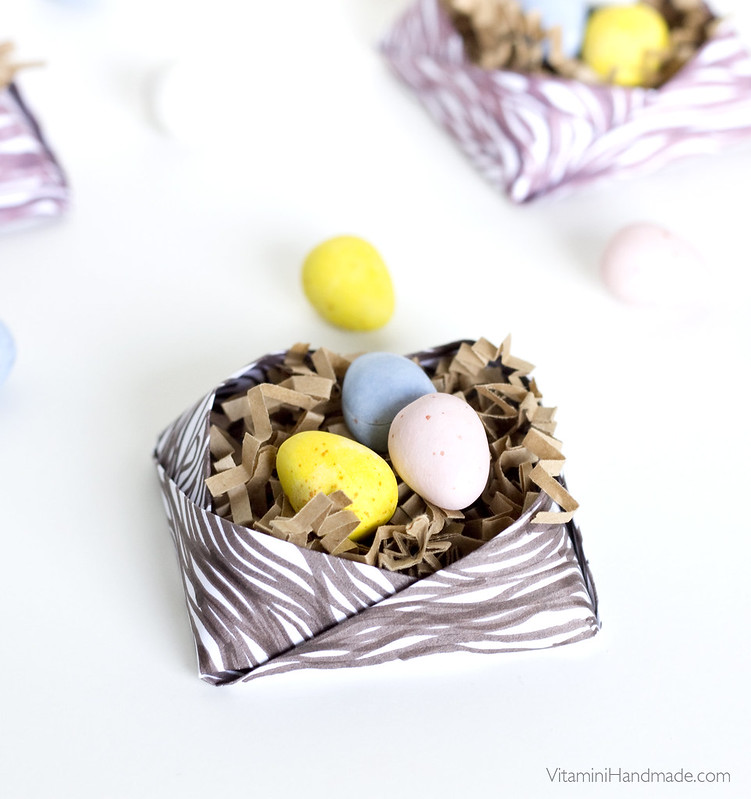
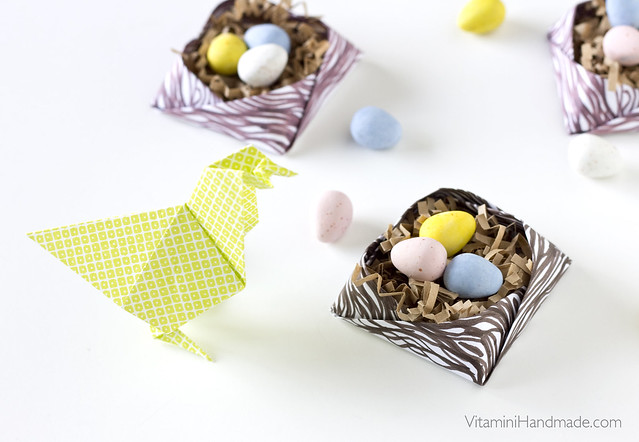
There's still time to whip up a few handmade decorations for your Easter bash this coming Sunday! I transformed this simple origami box into a little bird's nest that's just perfect for those Cadbury Mini Eggs that we've all been
I didn't have any nesty-looking paper for this, so I drew up my own. Click here to download it for yourself!
Here's what you'll need:
- Nest filler - crimped paper or Easter basket grass
- Egg-shaped candies
- Free download, print out at 100% scaling and trim to 6" square
With the printed side down, fold in half diagonally, both sides.
Fold the right paper edge to the center crease, folding only to the lower crease. Fold the corner of this flap upwards. Unfold. Repeat with the three other sides of the square.
Bring the folded edge points to the center of the square. Tuck the corners into each other. Crease the edges into a square shape. Follow along with the video!
Fill with crimped paper and candy eggs. Make a bunch to give to friends and coworkers!
Fold an origami hen or two to go with your nests!
Origami project adapted from Advanced Origami. Check it out for more origami models.
The download provided is not for distribution and is for personal use, only.
15
My Craftcation
Friday, April 11, 2014
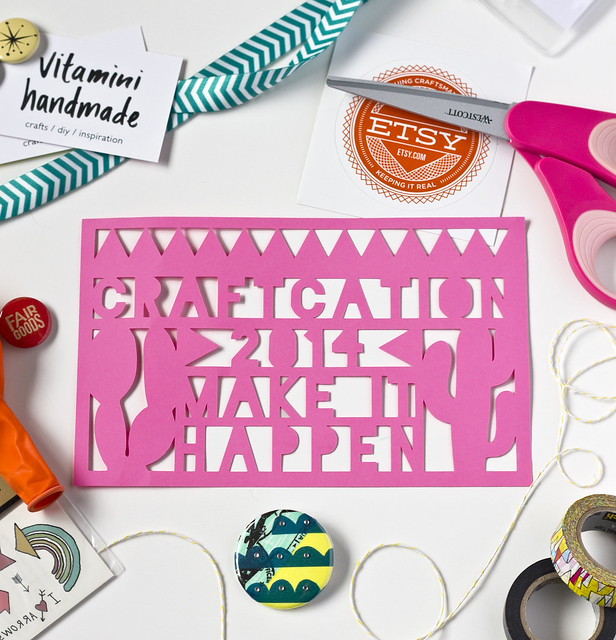
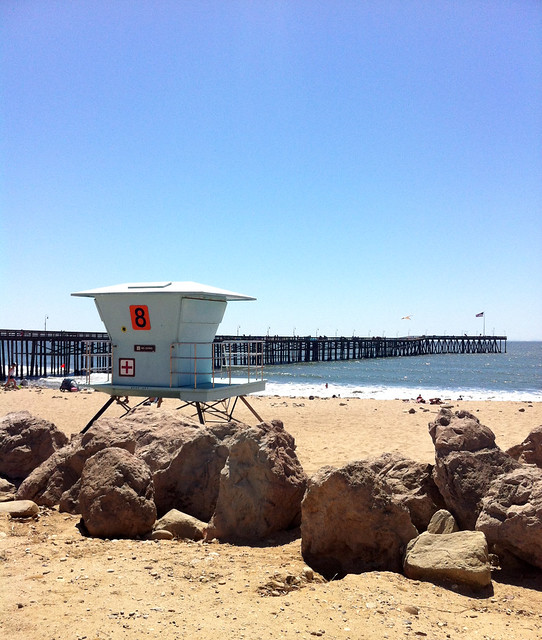
Last week I took off on a road trip to sunny Ventura to spend 4 days with hundreds of other business-minded crafty people at Craftcation, a "conference for creative makers." Let me tell you, it was one of the best things I've done in a long time!
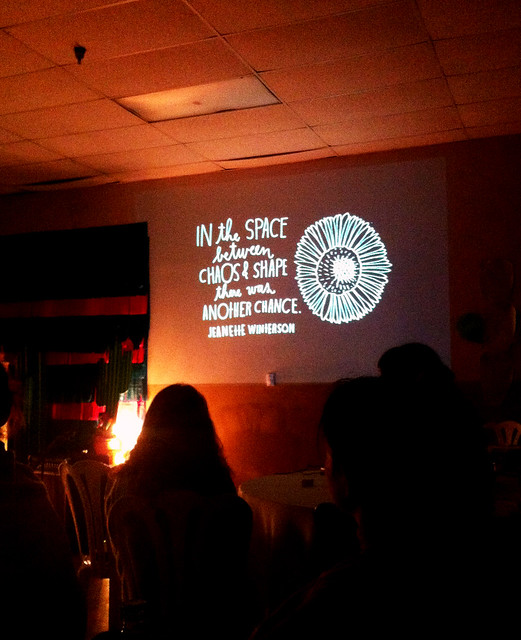
During a theme dinner on the first night, attendees received a warm welcome from conference organizers Nicole and Delilah followed by an inspiring keynote speech by Lisa Congdon. In the days that followed, there were an array of hands-on craft classes, activities, and panels to attend. How to Make Real Money From Your Blog, Getting Started as a Freelancer, From Drab to Fab: Next Level Displays (loved this one!), and PR and Marketing on a Shoestring Budget were just a few of the informational sessions I listened in on.
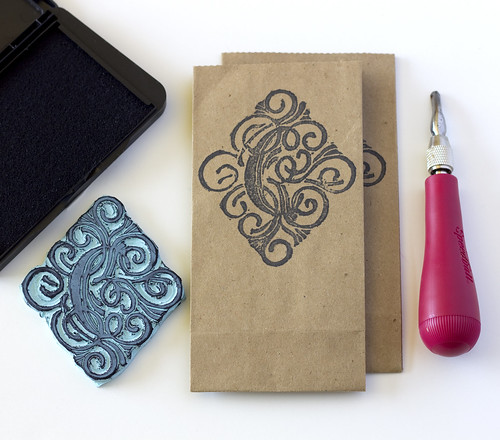
Fairgoods sponsored a monogram stamp carving class. I've shared other stamp carving tutorials before, here and here, but I'd never carved a monogram before. I love how it came out.
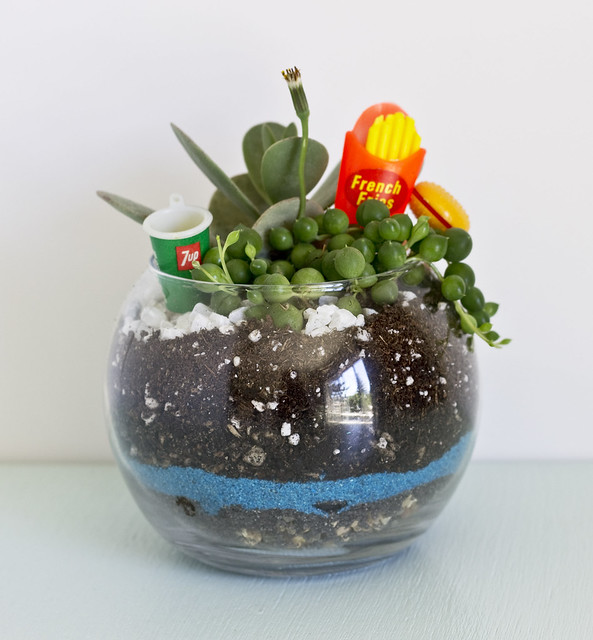
Jennifer of Sprout Studios taught a class on terrariums and I had way too much fun choosing accessories for mine! (I don't think a terrarium has ever made me hungry before. Maybe that's why I had to stop at In-N-Out on my drive home for a cheeseburger!) I chose a Kalanchoe and a String of Pearls for my planter. If you want to learn how to make you own I shared a tutorial for something similar a while back.
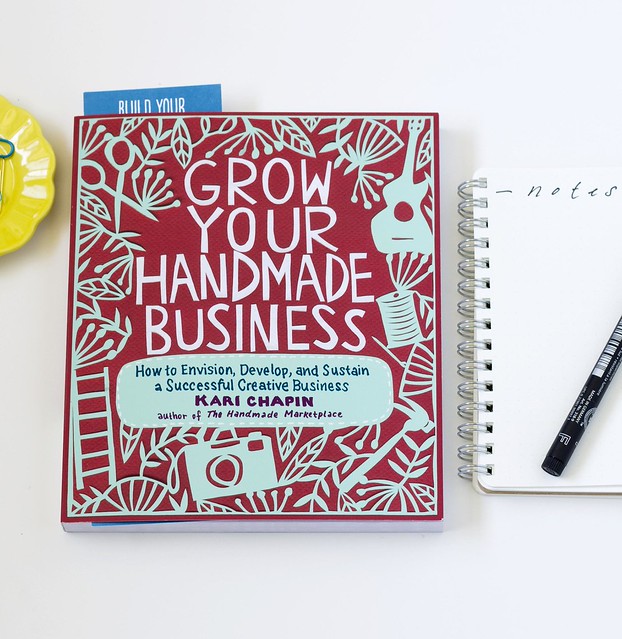
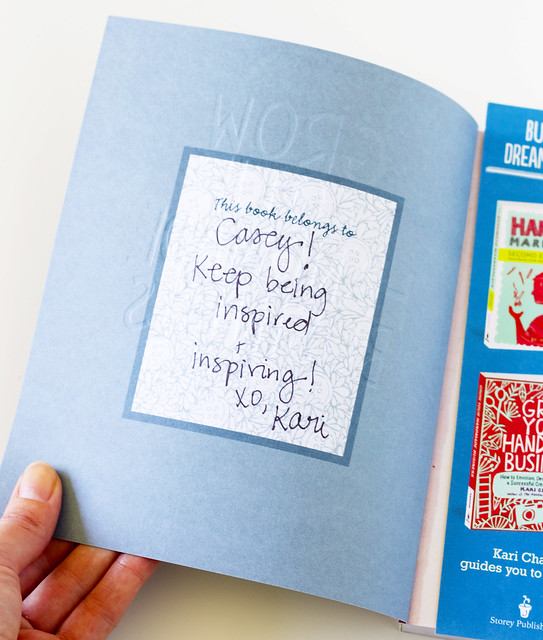
During social times, a handful of crafty authors were there to chat and sign books. Kari Chapin was there and I jumped at the chance to introduce myself and have her sign her new book, Grow Your Handmade Business. Her other book, The Handmade Marketplace, was one of the first I bought and read when I started up my Etsy business years ago! What a treat!
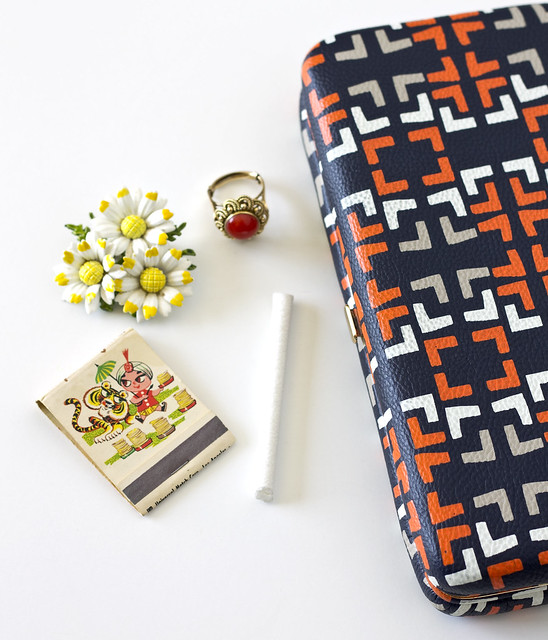
Speaking of treats, Academy of Handmade threw a Mad Men themed bash on Saturday night that was too much fun. I had to laugh when I found a lone candy cigarette in my bag the next day.
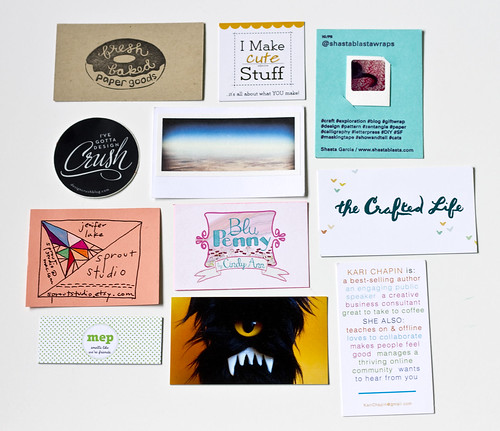
One of the best elements of the conference was getting to meet and hang out with so many creative people! Here's just a handful of the business cards I collected over the 4 days. L-R starting at the top: Fresh Baked Paper Goods, I Make Cute Stuff, shastablasta, Design Crush, Slightly Beneath The Sun, The Crafted Life, Sprout Studio, Blu Penny, Kari Chapin, Maggie Pickavance, Weirdies.
2014 marked the conference's third year and my only disappointment is that I didn't get to attend the two years prior! You'd better be sure I'll be there next year, though. Cheers to Nicole and Delilah for organizing such a fun and inspiring event!
*Update: Registration is open for the 2015 session! I'll be teaching a simple screen printing workshop there and would love to meet you!
30
DIY Marbled Paper Mache Easter Eggs
Tuesday, April 8, 2014
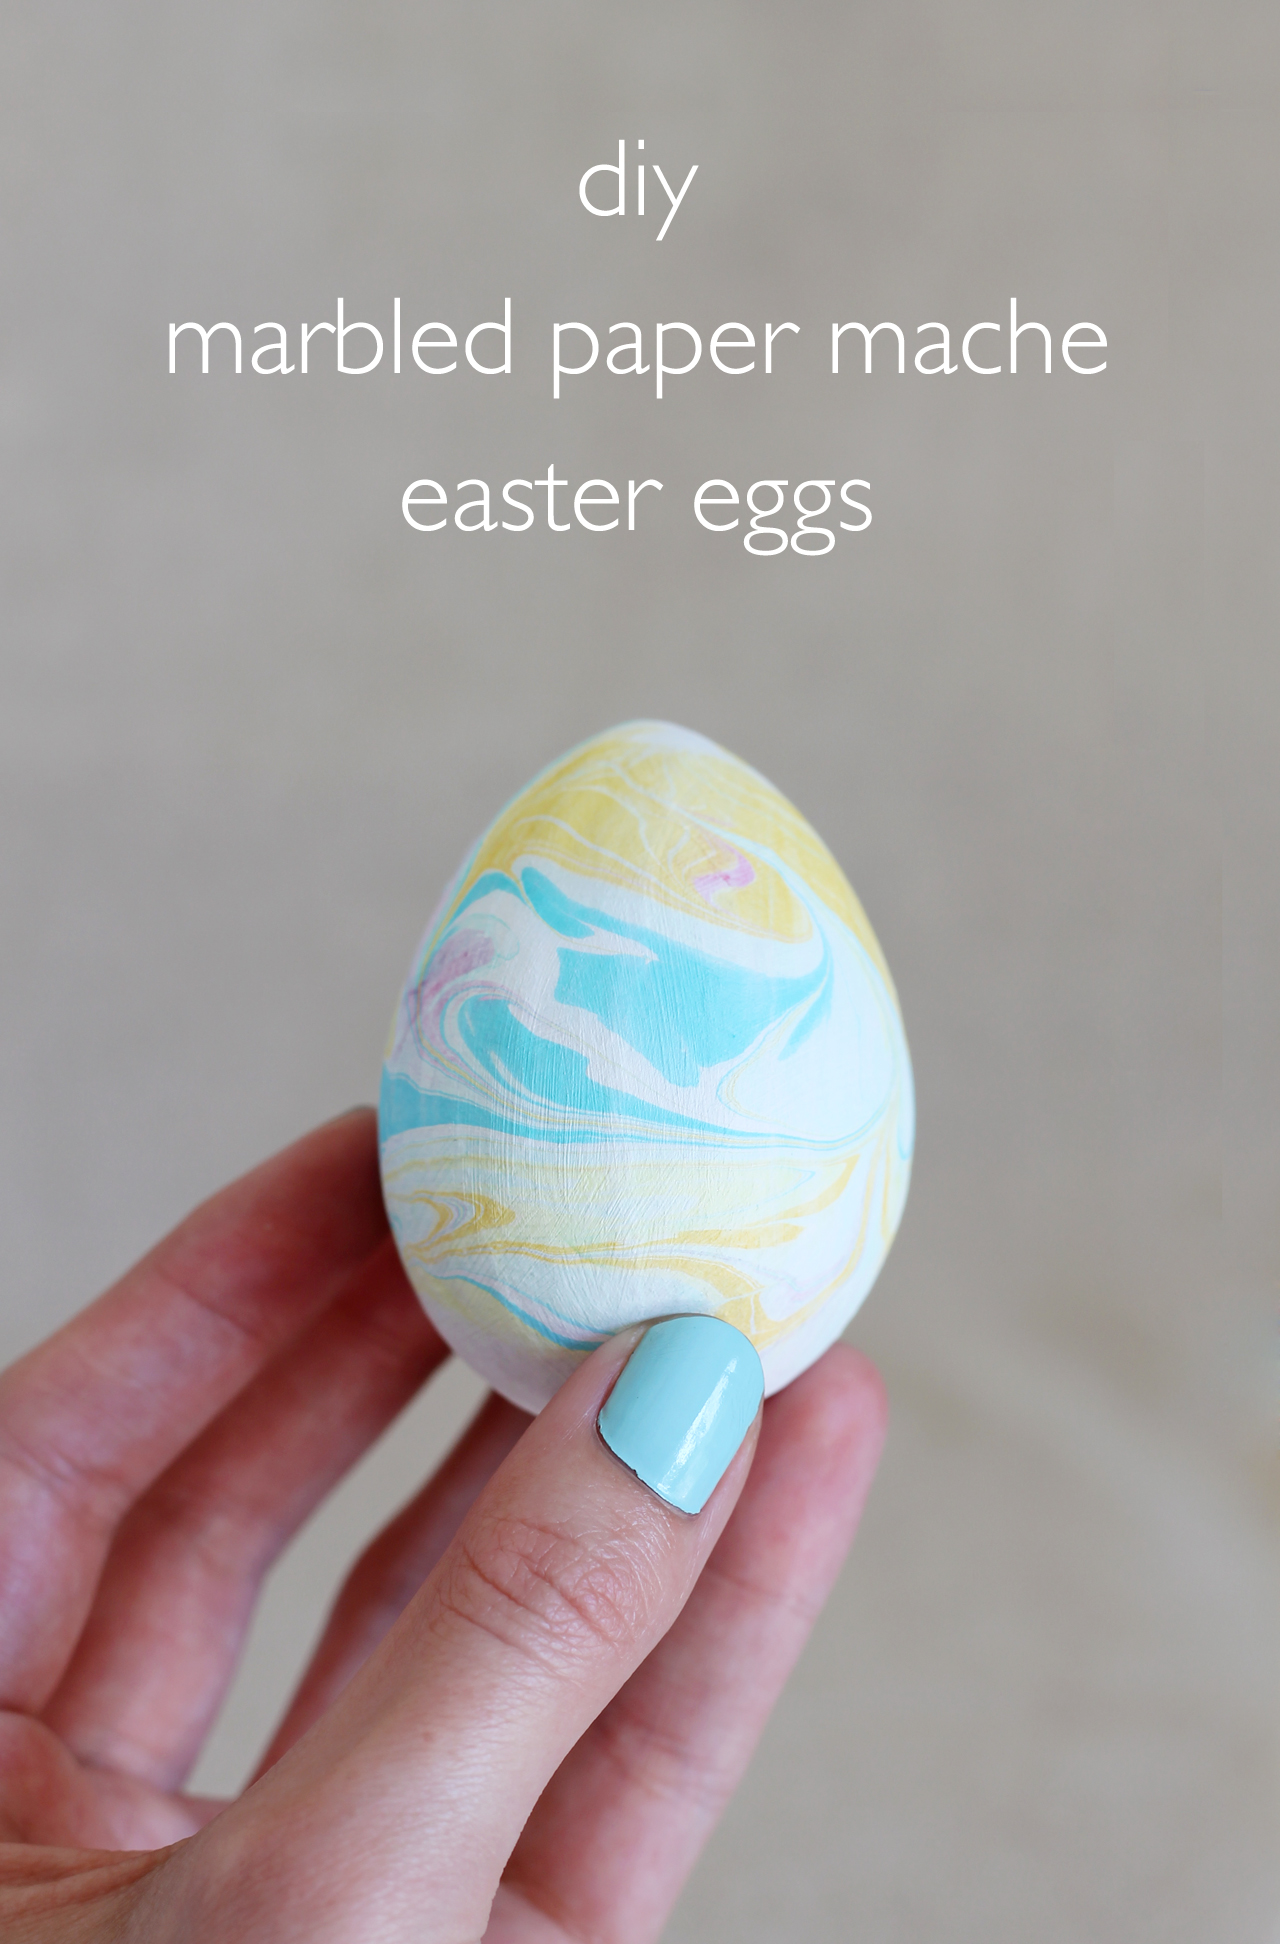
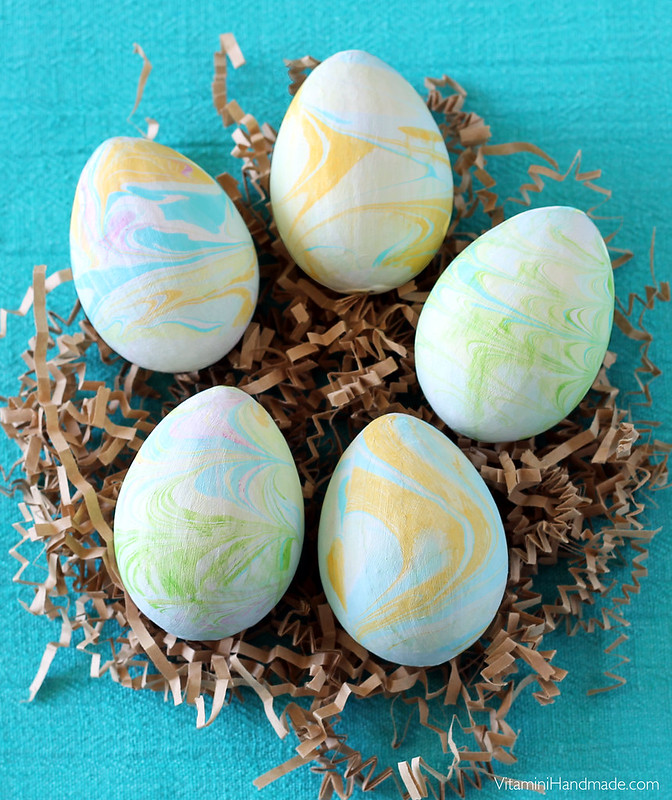
I have fond memories of marbling Easter eggs with my grandma every year as a kid. She wasn't big on craft projects, but she always had a Paas Marble Kit ready for my sisters and me a couple weeks before Easter. I thought of her when I decided to marble some eggs this year. This time, however, I used traditional marbling supplies and techniques on paper-mache eggs so that I can enjoy them for many years.
This technique is time consuming and a little messy, but I'm sure you'll enjoy both the process and the results once you get going.
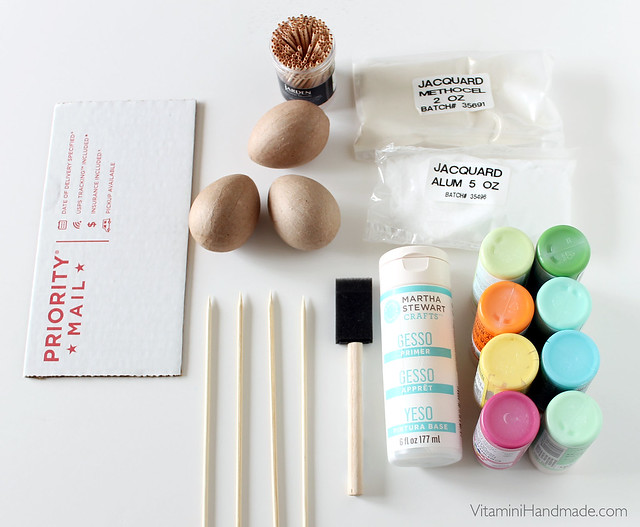
Here's what you'll need:
- Powdered Alum and Methocel. This Jacquard Marbling Kit comes with both in addition to some primary color paints (that I didn't use).
- Acrylic pants in various spring-time colors
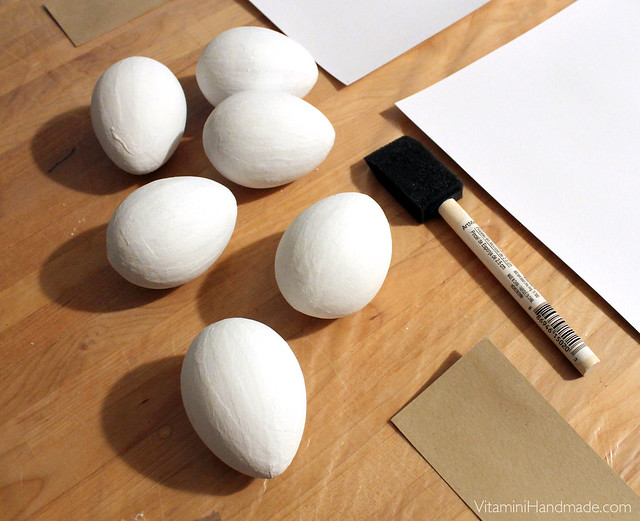
- Paper Mache Eggs
- Gesso Primer or white acrylic paint
- Foam brush
- Bamboo skewers
- Toothpicks
- Cardboard scraps
Prep:
Prime the eggs with the gesso or white acrylic paint and the foam brush. Let dry. Mix the Alum with water per package instructions. Brush a light coat of the alum mixture on the eggs. The alum prepares the surface of the eggs to accept the marbled paint, so this step is very important. Let dry.
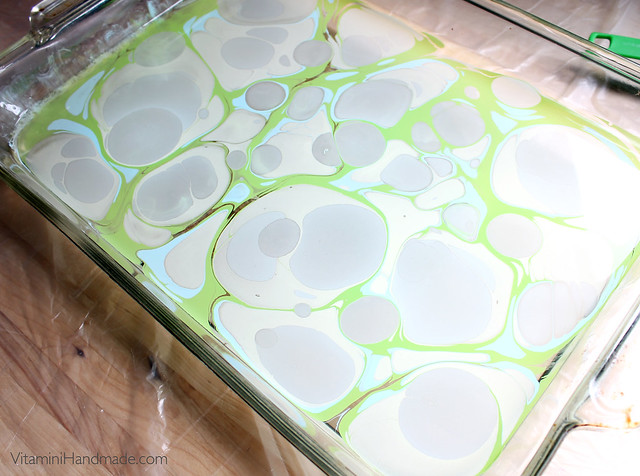
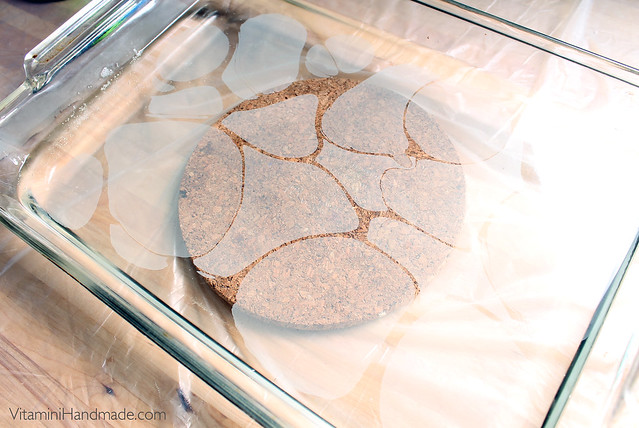
Mix the methocel with distilled water according to package instructions. I halved the batch indicated on the package and used 1/2 gallon of water to 2 tbs methocel powder. Mix with a mixer for 5 minutes to dissolve as much of the methocel as possible. Add 1/2 tablespoon of household ammonia to help dissolve the rest of the methocel. The mixture will be clear when it's fully mixed. Slowly pour into the shallow tray and let sit for at least 30 minutes or until all of the bubbles have dispersed.
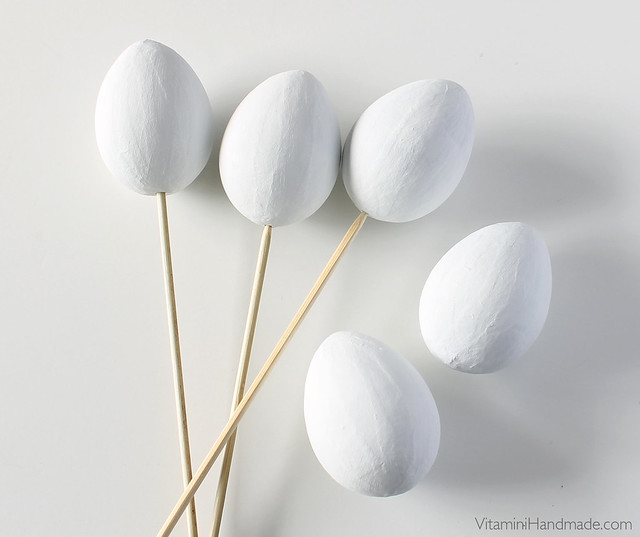
While you wait, carefully push the skewers into the base of the eggs. Cut a small X on the bottom of each egg with a craft knife to make it a little easier.
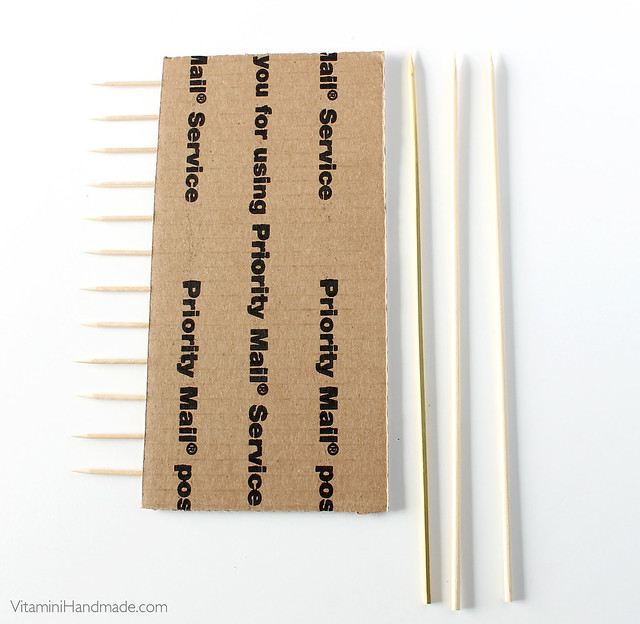
Make a rake by poking toothpicks into the end of a piece of cardboard at a regular interval.
Dilute each acrylic paint color in a small container with a little bit of water. The paints should be about as thick as whole milk.
Marbling (the fun part!):
After the 30 minutes, scrape the top of the tray with a piece of paper (like skimming the top of a swimming pool) to remove dust and bubbles. Dip a skewer into the first paint color and flick it over the tray. The paint droplets will settle on the surface and spread. Continue with other colors in a random pattern.
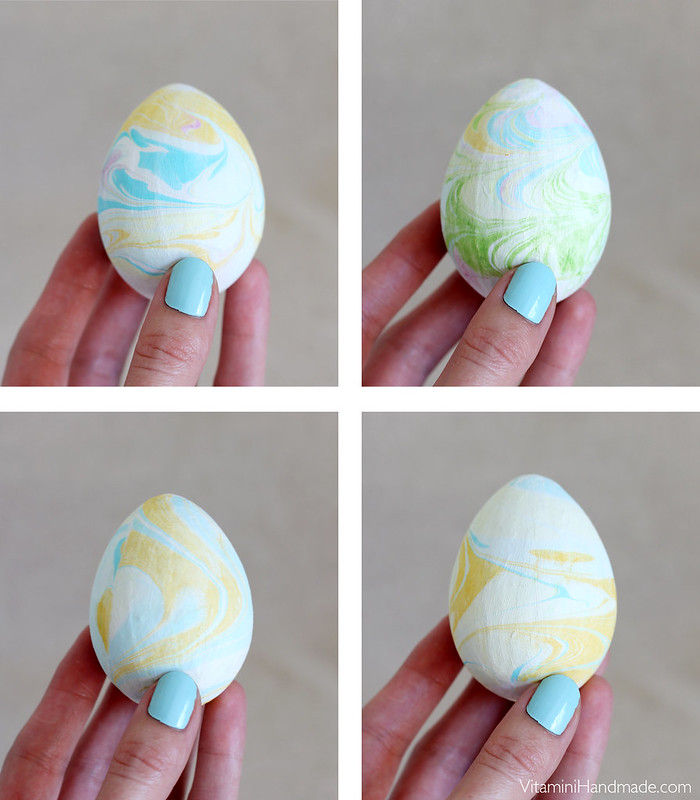
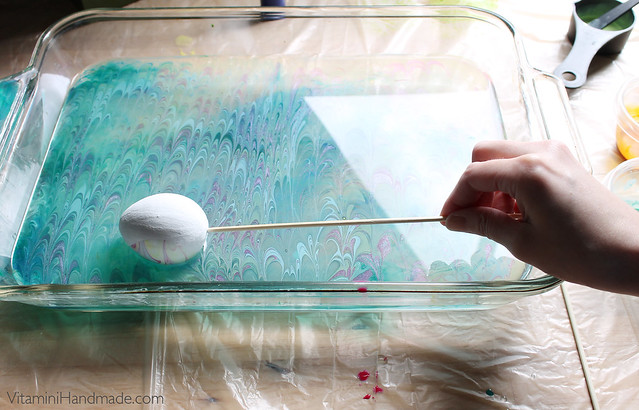
Use a skewer or the toothpick rake to swirl the paint colors in a pattern that you like. Slowly roll the egg across the surface of the paint to pick up the pattern. Rinse carefully with water to remove the methocel. Let dry vertically on the skewer in a jar or mug.
Repeat the steps with each egg. To start a new pattern or color combo, lay a piece of scrap paper on the surface and carefully lift off to remove excess paint. Start over with the same steps. Play with different color layers and swirl patterns.
Tips:
It's best to start each batch of color/pattern with a clean methocel surface. Residual paint may affect the color and pattern of the next application of paint.
Bright paint colors work the best. Light shades of pink, light blue, and light yellow won't show up as well as more saturated colors.
If the paint sinks to the bottom of the tray instead of staying on the surface it is too thick. Dilute with more water until it spreads across the surface. If the paint sinks it will not affect the color/pattern.
Cleanup:
Cover the methocel to re-use later! It will keep up to a week at room temperature, longer if refrigerated. If you're done, pour it into a can or milk carton and discard. The package instructions said it can be poured down the drain if flushed with hot water, but I also heard that it can clog drains, so I played it safe. Save the alum, too, and treat other papers or fabric pieces to prep for marbling.
I had so much fun with this technique. Have you ever tried traditional marbling? If you want to read more about marbling and its history, Design Sponge has an informative article all about it. (I just located this post and thought, "Hmm, I wonder if I commented on this when it was posted last year." Sure enough, I got the first comment spot. Too funny.)
Let me know if you try this. I'd love to see how your Easter eggs turn out!
*If you follow me on Instagram or Twitter you may have noticed my many posts about Craftcation. I got back late last night and am so inspired for my blog and handmade business. I'm going to share a post all about it later this week, so stay tuned!