I'm thankful for so many things this year. The biggest thing of all, though, is that I get to spend the day with my whole family. Thankful that I still have my mom to call when I'm in the craft store and need advice on what kind of glue to buy. Thankful that my dad powered through his health problems and is still around to bombard me with questions about his Kindle as soon as I walk through the door. Haha. I'm also incredibly grateful that I've found an outlet that lets me connect with other creative folks and hopefully inspire others to start making things. Thank you for reading and keeping me motivated to dream up projects to share with you. Have a wonderful Thanksgiving if you celebrate! And if you don't, it wouldn't hurt to think about all the things you're thankful for, too. Like being able to perfectly baste a turkey.
63
From my sketchbook: Holiday Card
Tuesday, November 26, 2013
All of my design work starts with sketches. I often sketch and idea multiple times to work out design elements and refine proportions. Here's a little glimpse at the preliminary design work for this year's holiday card.
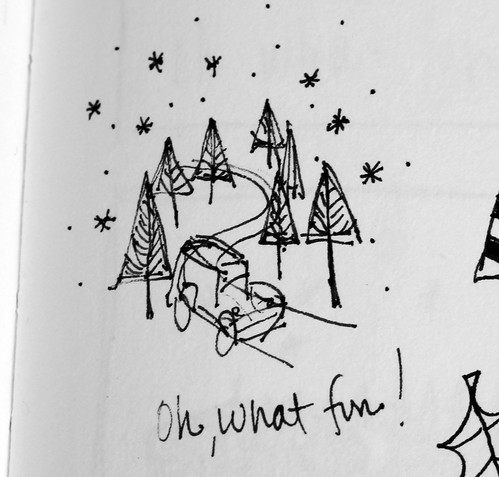
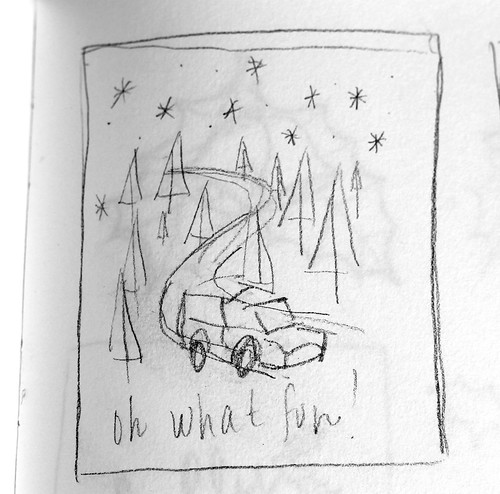
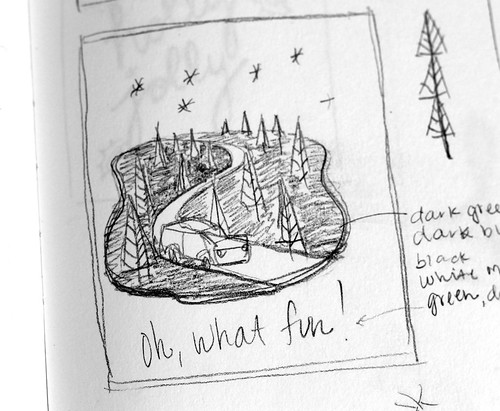
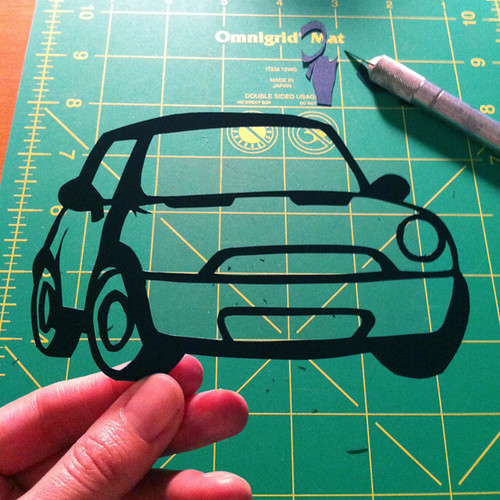
I ended up drawing the background landscape and stars by hand, but I made a papercut of the Mini to place into the scene. I just love how papercut edges look, and having to work within the constraints of something I could cut in a nice challenge and lends a little more interest to the design.
All of this (and a little more behind the scenes work) combined to create this!
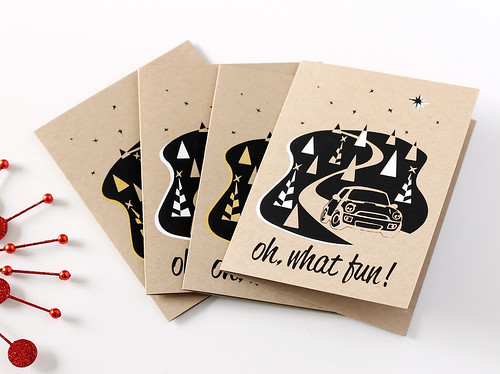
These and my other cards are available in my Etsy shop.


I ended up drawing the background landscape and stars by hand, but I made a papercut of the Mini to place into the scene. I just love how papercut edges look, and having to work within the constraints of something I could cut in a nice challenge and lends a little more interest to the design.

All of this (and a little more behind the scenes work) combined to create this!

These and my other cards are available in my Etsy shop.
137
DIY: Holiday Pompom Wreath
Thursday, November 21, 2013
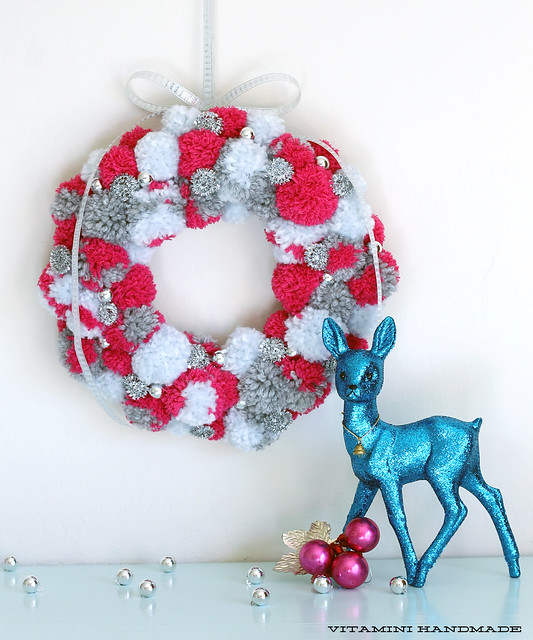
I started making a stash of handmade pompoms a while back. I didn't have a project in mind for them at the time, just thought they'd be fun to make (and they totally are!). It wasn't until later that I decided to make a holiday wreath and put them to good use. Here's what I did and how you can make your own!
You'll need:
- Yarn in various colors. I used super soft pale blue, bright pink with sparkles, and heather gray. I'm all about non-traditional holiday colors!
- Clover PomPom Makers, or you can make your own with cardboard
- Wreath form
- Large needle
- Metallic pipe cleaners
- Small shiny beads (not shown)
- Ribbon
- Scissors
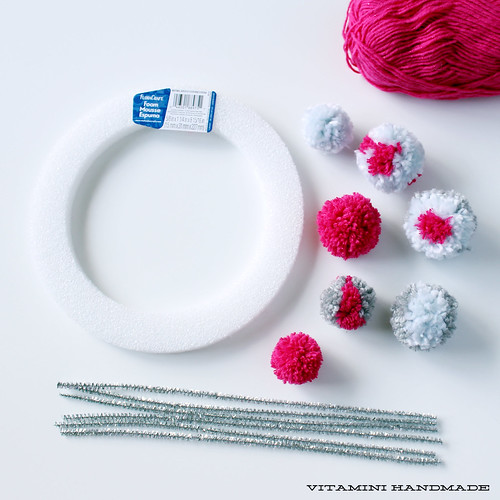
First, make a ton of pompoms! I've made mine using lots of different methods, from fork wrapping, to cardboard, and plastic pompom makers. I like the makers the best because I can get the fluffiest, fullest pompoms with them. And they're fun to use. I made all of the small blue ones with a piece of cardboard and that worked just fine, too. My finished wreath used around 60+ pompoms.
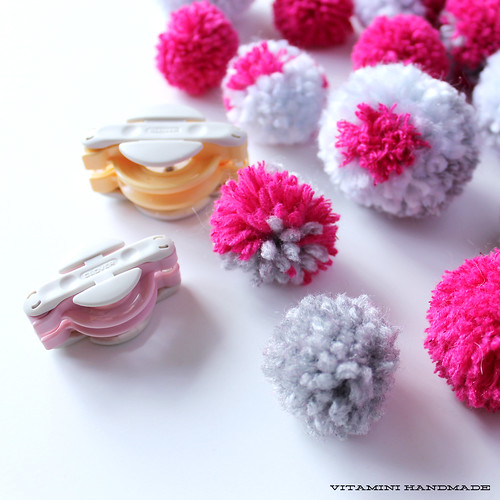
Make them in a variety of sizes. Combine the yarn colors to make stripes and dots in the larger pompoms. I decided not to leave long tails on my pompoms after I tied them off in the center. I just trimmed those along with the rest of it during the trimming step - my favorite part!
Once your pompom collection is ready, wrap the foam wreath form with the base color yarn. Don't worry if every spot isn't perfectly covered. Tie the yarn off in the back when you've wrapped the entire wreath. Leave some yarn tails for tying later.
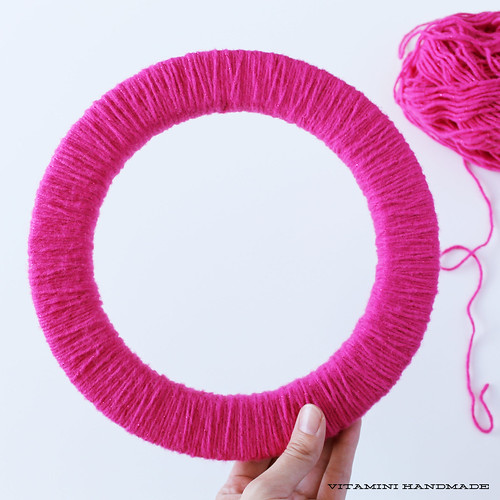
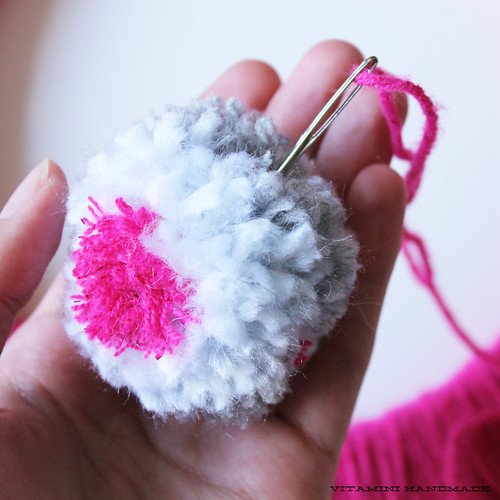
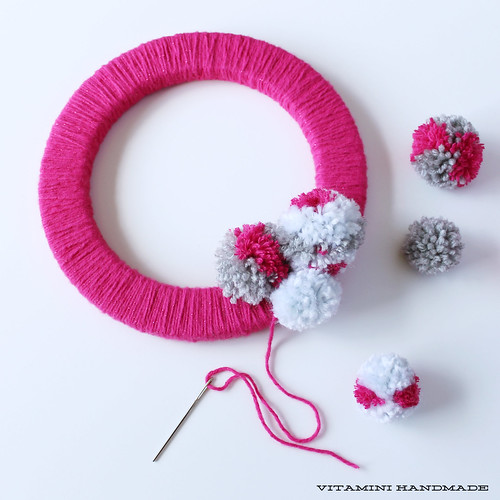
Thread the needle with a length of about 10" of yarn. Thread the needle under a couple strands of yarn on the front of the wreath and tie a knot. Locating the center of one of your pompoms, thread the needle through the center and pull tight against the wreath. Thread the needle under two more strands of yarn close to your first knot to secure the pompom in place. Continue adding pompoms, mixing the colors and sizes. Thread one on the needle, position it on the wreath, and secure it with a stitch. Keep going until it's full.
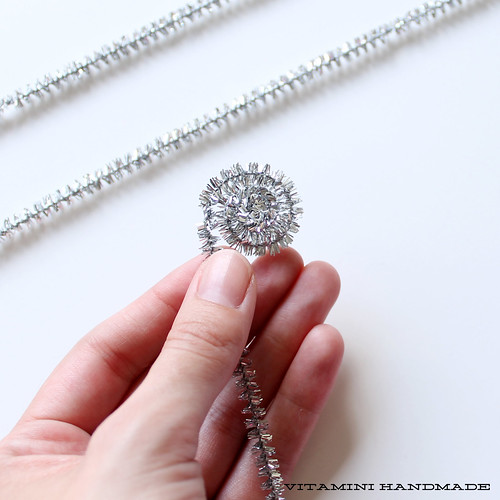
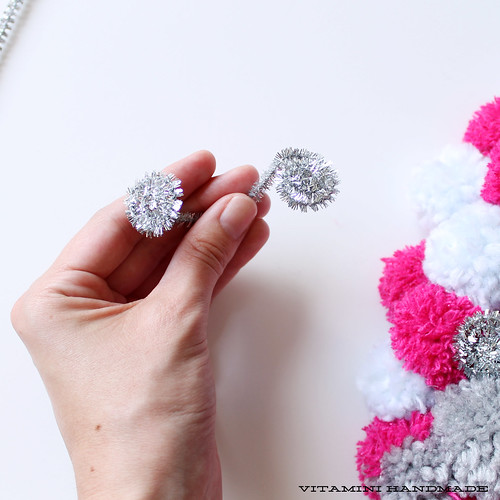
To add a little sparkle, just coil up each end of a metallic pipe cleaner. Make a u-shape with the center and simply nestle it into the space between the pompoms. No need to secure these with glue. The pompoms will hold them in place. I also added a few silver beads to up the shine. I secured these with hot glue.
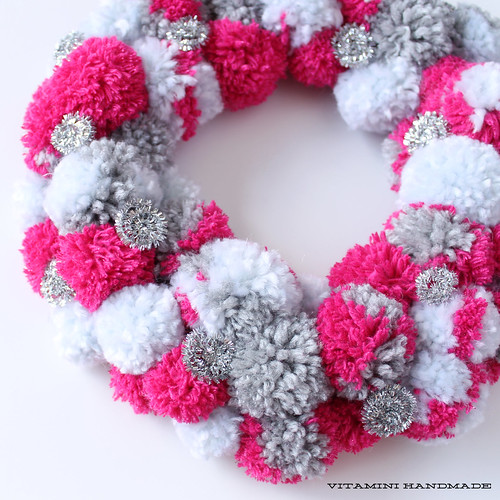
Using a coordinating ribbon, tie a long loop for hanging to the long yarn tails on the back of the wreath. Add a bow to the top if you'd like.

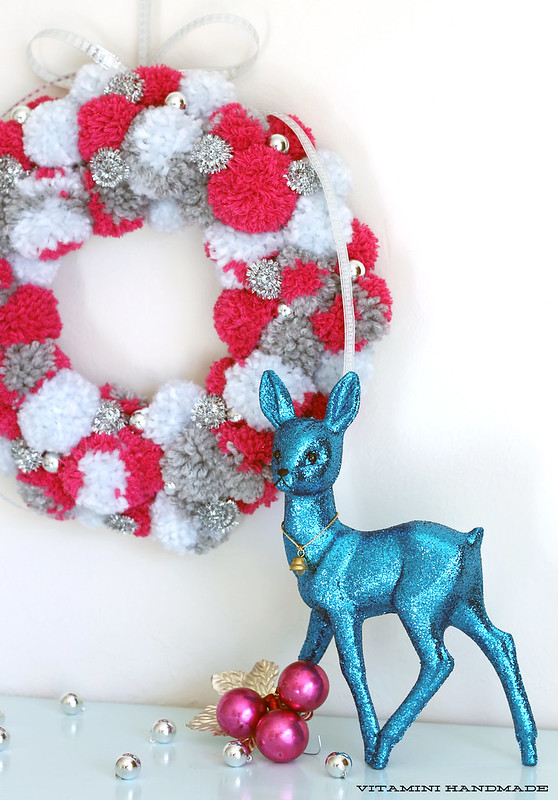
There you have it! A unique holiday wreath made with a few simple, inexpensive materials. Make your own in any colors you choose. Wouldn't one in shades of white and light blue be beautiful? This project would be great to use for other holidays as well. Just mix up the colors.
*Disclosure: Affiliate links are used in this post. I may receive a small commission on a sale that is made by using the above links. But, as always, all opinions are my own.
17
New Fabric Ornaments for Vitamini
Friday, November 15, 2013
I'm excited to share my newest item in the shop - new Mini fabric ornaments!
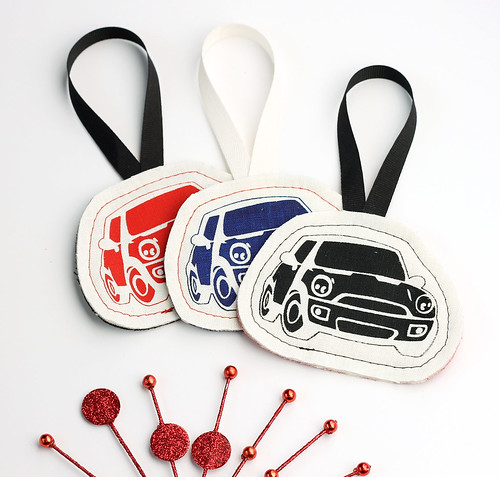
I've been busy getting the shop and my inventory ready for the holidays and I thought it would be fun to make a new fabric ornament. I printed these in red, black, and deep navy and sewed them together with fun contrasting prints on the back. I think my favorite is the black with pink polkadots.

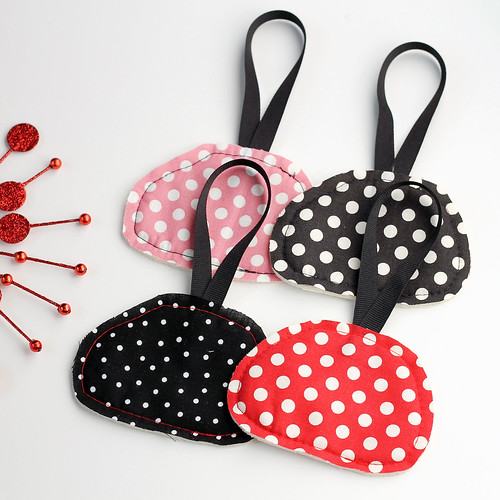
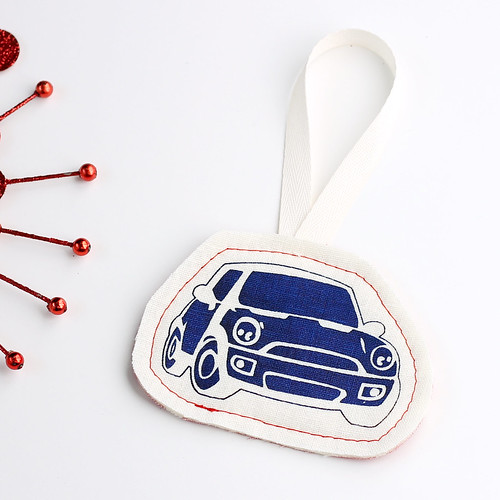
You can find all three in my Etsy shop (along with the last two ornaments that I have left from last year). Happy Friday!

I've been busy getting the shop and my inventory ready for the holidays and I thought it would be fun to make a new fabric ornament. I printed these in red, black, and deep navy and sewed them together with fun contrasting prints on the back. I think my favorite is the black with pink polkadots.


You can find all three in my Etsy shop (along with the last two ornaments that I have left from last year). Happy Friday!
17
A little reminder...
Monday, November 11, 2013
...that You Got This! Beautiful hand-lettered desktop wallpaper downloads for your computer by Oh My Deer for Designlovefest. Head over to download this one and others. Happy Monday!
189
Pop-Up House Party Invitation.
Friday, November 8, 2013
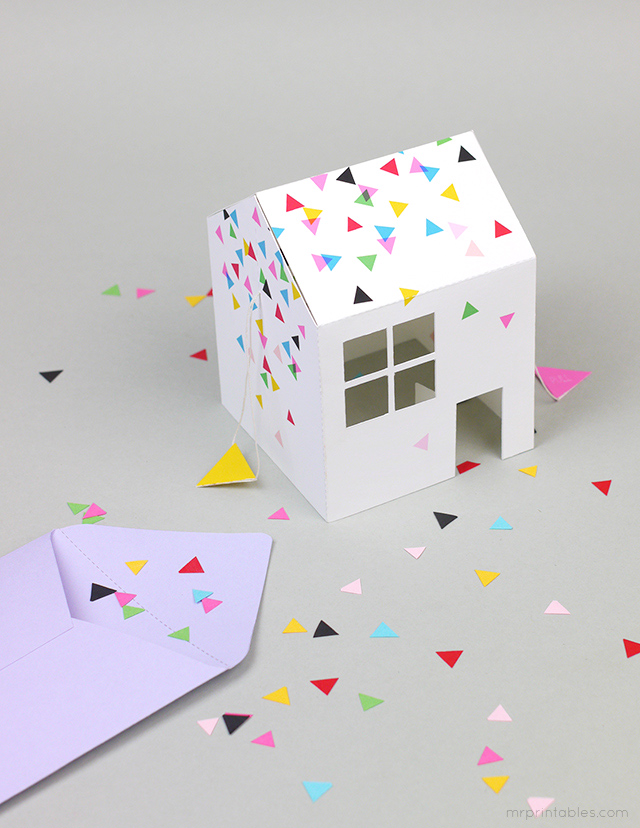
Happy Friday, friends! I've been so busy around here with my holiday shop preparations and other big things life has handed me recently. But I have some new (and super fun!) projects and products on the way that I can't wait to share with you. In the meantime, I just stumbled across this cool Pop-Up House Party invitation from Mr. Printables that I thought was genious!
All you need is a printer, paper, a bit of string, and an xacto knife. Head over to download the template and make one (or a bunch)! Have a wonderfully crafty weekend!
*Images from Mr. Printables
67
Quiet corners.
Thursday, November 7, 2013
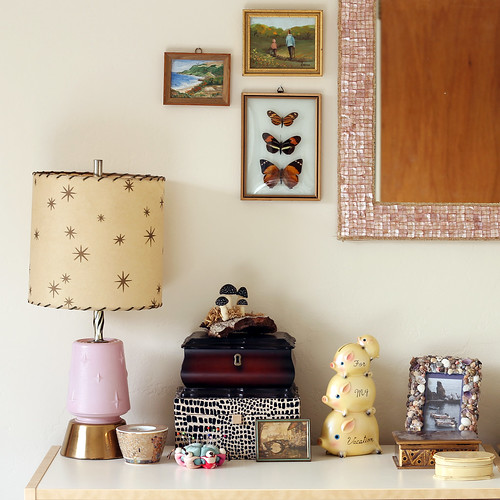
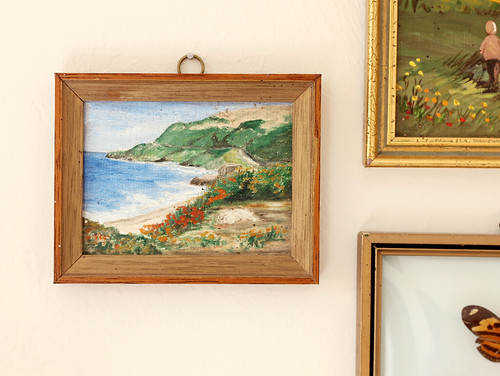
I was taking a few product shots over the weekend. My bedroom tends to be the best place to do this lately, since it gets the most light. After I had taken all the shots I needed, I looked up and saw this little scene on my dresser and it made me happy so I took a few shots just as it was. I'm definitely not a minimalist when it comes to my home decor, and I LOVE my "things." Little objects capture memories and I just enjoy looking at them. The pink lamp is one of a pair that I bought for my first little Victorian apartment in San Jose. The piggy bank was a celebratory purchase after I was hired for my current job (5 years ago). The seashell picture frame I made for a craft class I taught to kids at the 4-H summer camp in 2005. It has a I took at Cinque Terre inside. The mini paintings were part of my grandmother's art collection. I made the black plaster mushrooms just for fun.
50
Oh, what fun! New Vitamini Holiday Cards
Friday, November 1, 2013
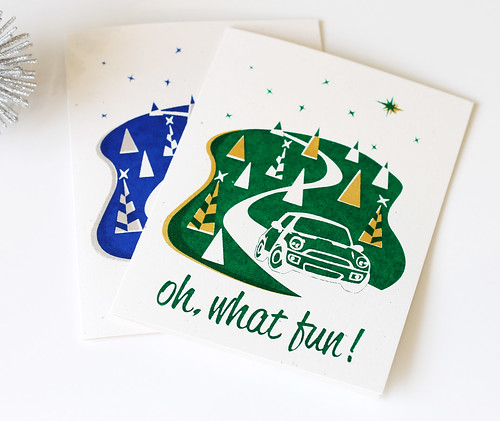
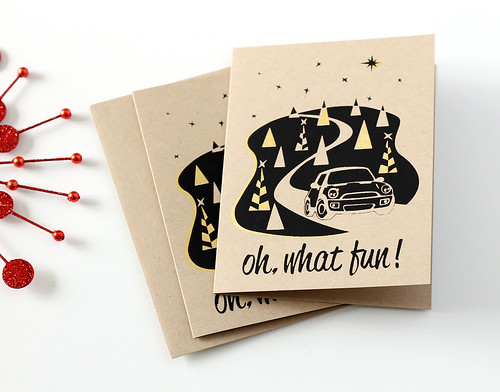
And just like that, it's November and I can already feel the holidays barreling towards us! So on that note, I'd like to introduce my new holiday cards for 2013! I've been hard at work on these for a few months now and I'm so pleased to have them in my shop!
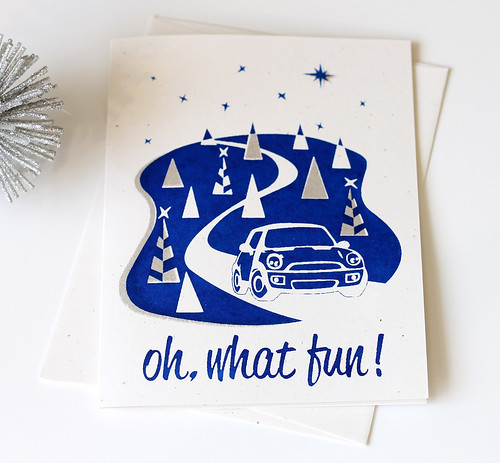
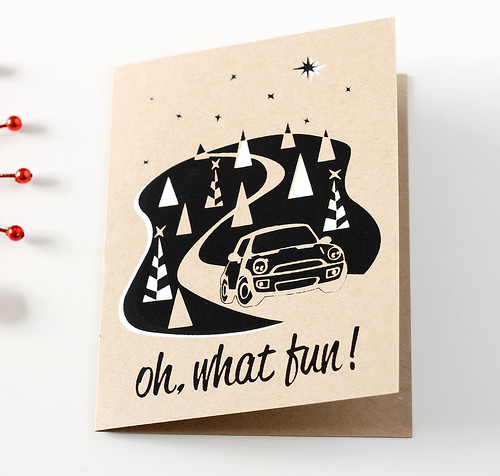
Go on, try not to sing that song after checking out my new "Oh, what fun!" cards! While I've never done it myself, I can imagine how exciting it would be to go dashing through the snow in my MINI. This card features a woodsy scene with a windy mountain road. Some stars and a evergreen trees make it a very merry holiday setting!
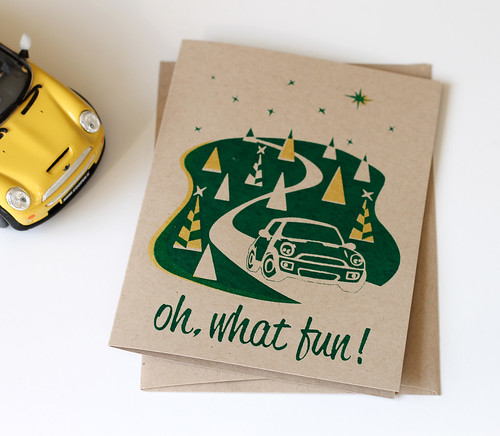
The cards are all hand screen printed by me with a two color process. I use water-based acrylic inks and thick 100lb stock from French Paper. They are currently available in three different colorways - silver and deep blue on speckled white, bright gold and forest green on speckled white, and bright gold and forest green on kraft brown. I'm hoping to print another color combo on the kraft brown this weekend, so keep an eye out for that.
I used a few different artistic methods to create this design - I'll share a few behind the scenes glimpses into my process next week! Have a wonderful weekend.
UPDATE: I couldn't resist trying out a couple other colorways over the weekend and I think they are my favorites, yet! Now available in kraft brown, black and white, and kraft brown, black and metallic gold. All are now listed in the shop!
