The country is in a tizzy over pumpkin spice everything right now. Call me a weirdo, but I'm not really into it. I've never even had a pumpkin spice latte... Uh oh, I hope I don't lose followers for that honest confession... All joking aside, I just realized that I
do have an obsession (albeit, completely different) that pops up when October rolls around: skulls! Every Halloween season I manage to make something with a skull. An
embroidered felt skull headpiece (one of my first blog projects), a
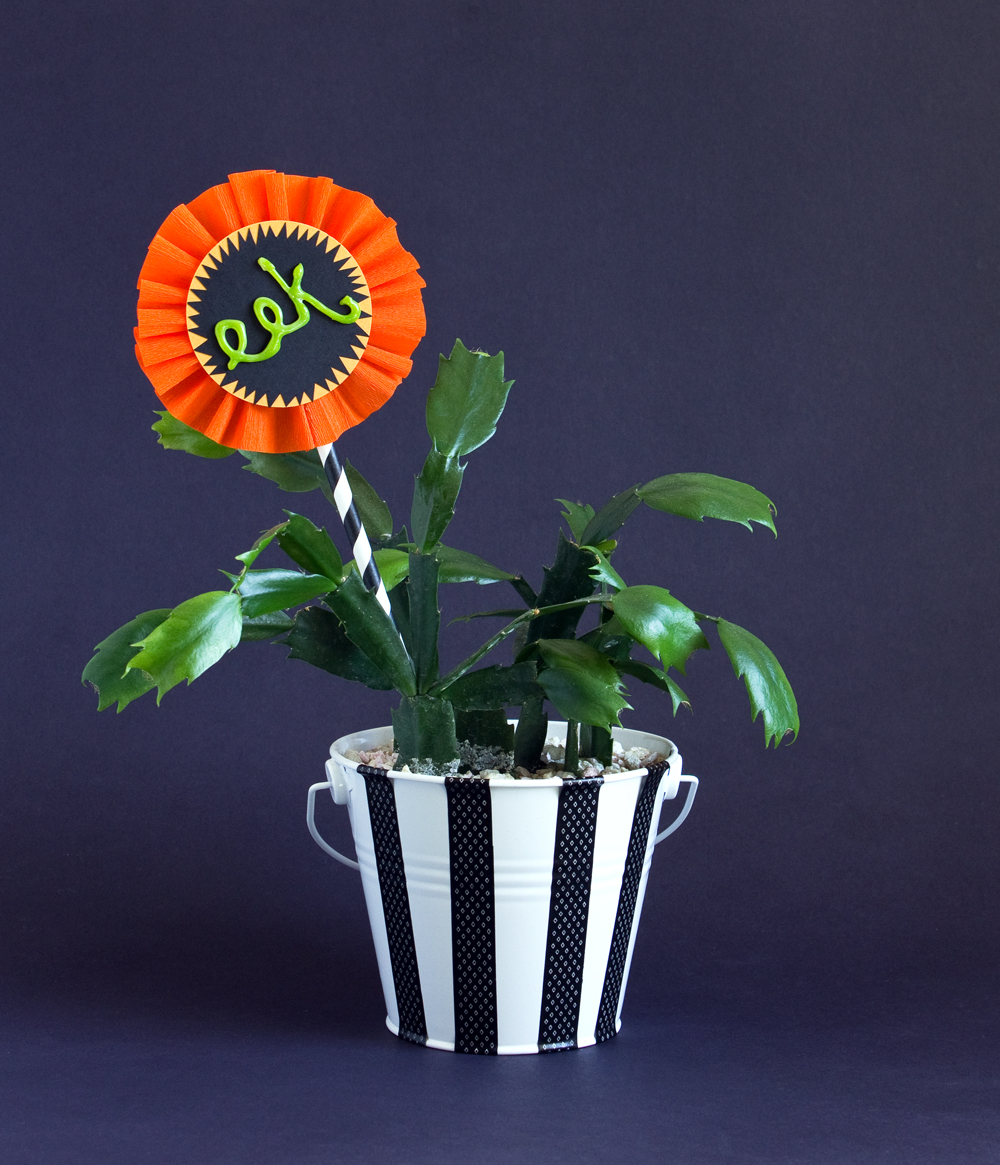
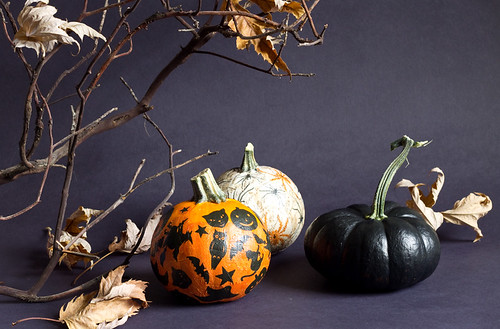
Halloween planter complete with skull prop,
mini shrine,
skull garland,
coffin candy boxes with skull pattern, and now this fancy paper rose with skull center. I guess I'll have to call the skull my Halloween mascot!
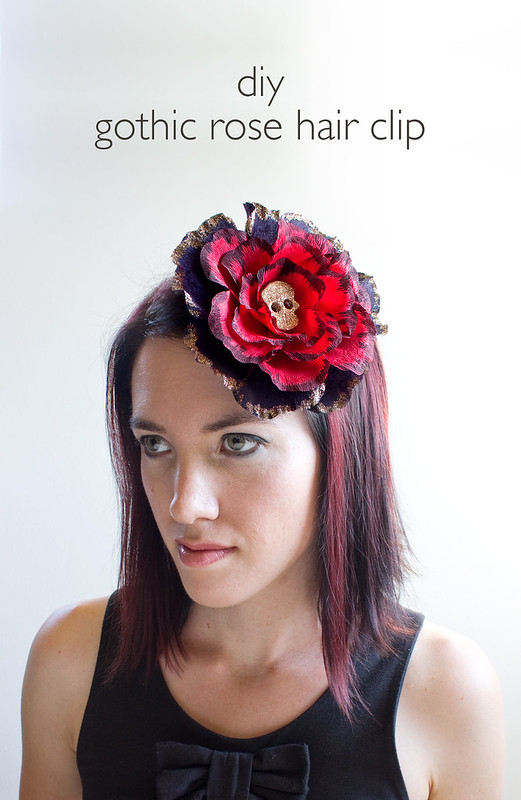
This pretty paper rose hair clip is relatively simple to make, and if you've made paper flowers before, you may have all of the materials on-hand! I love working with paper clay, but it can be substituted with polymer clay if you'd like. The crepe colors can be customized to match your Halloween costume, though I think red and black is a classic combination.
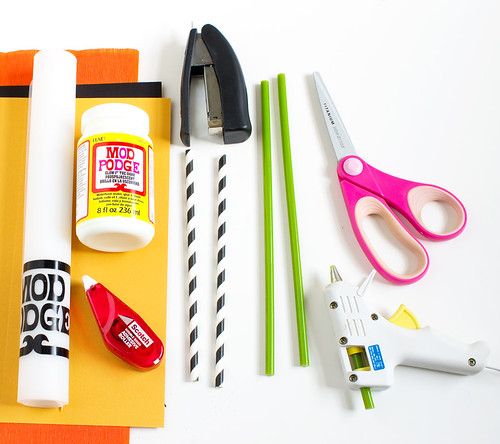
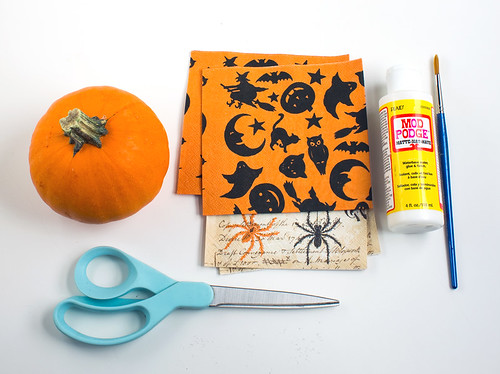
Here's what you'll need:
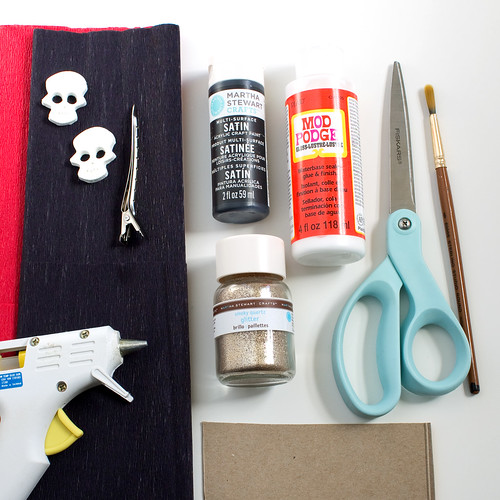
- Single-sided crepe in red and black
- Paper clay skull (made with La Doll clay. Check out my Skull Garland DIY project for instructions)
- Glitter. I used my favorite, Martha Stewart Smoky Quartz
- Scrap cardboard from a cereal box
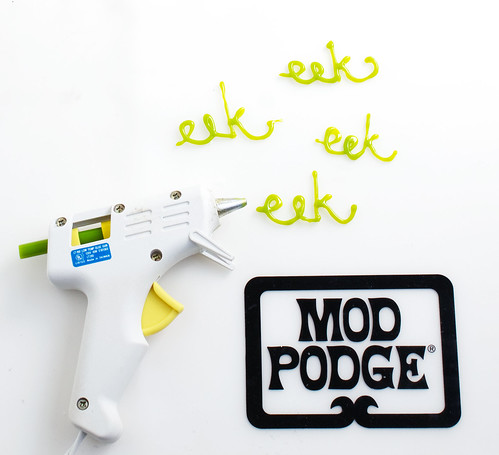
- Hot glue gun
- ModPodge
- Brush
- Black craft paint
- Hair clip
- Scissors
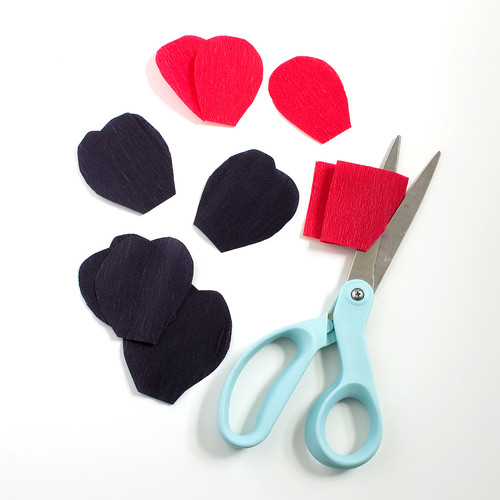
Cut out the flower petals. The grain will run vertically on all petals. The flower I made used:
- 8, 2.5" wide x 3" tall petals in black
- 6, 2" wide x 2.5" tall, red
- 6, 2" wide x 2" tall, red
- 5, 1" wide x 1.5" tall, red
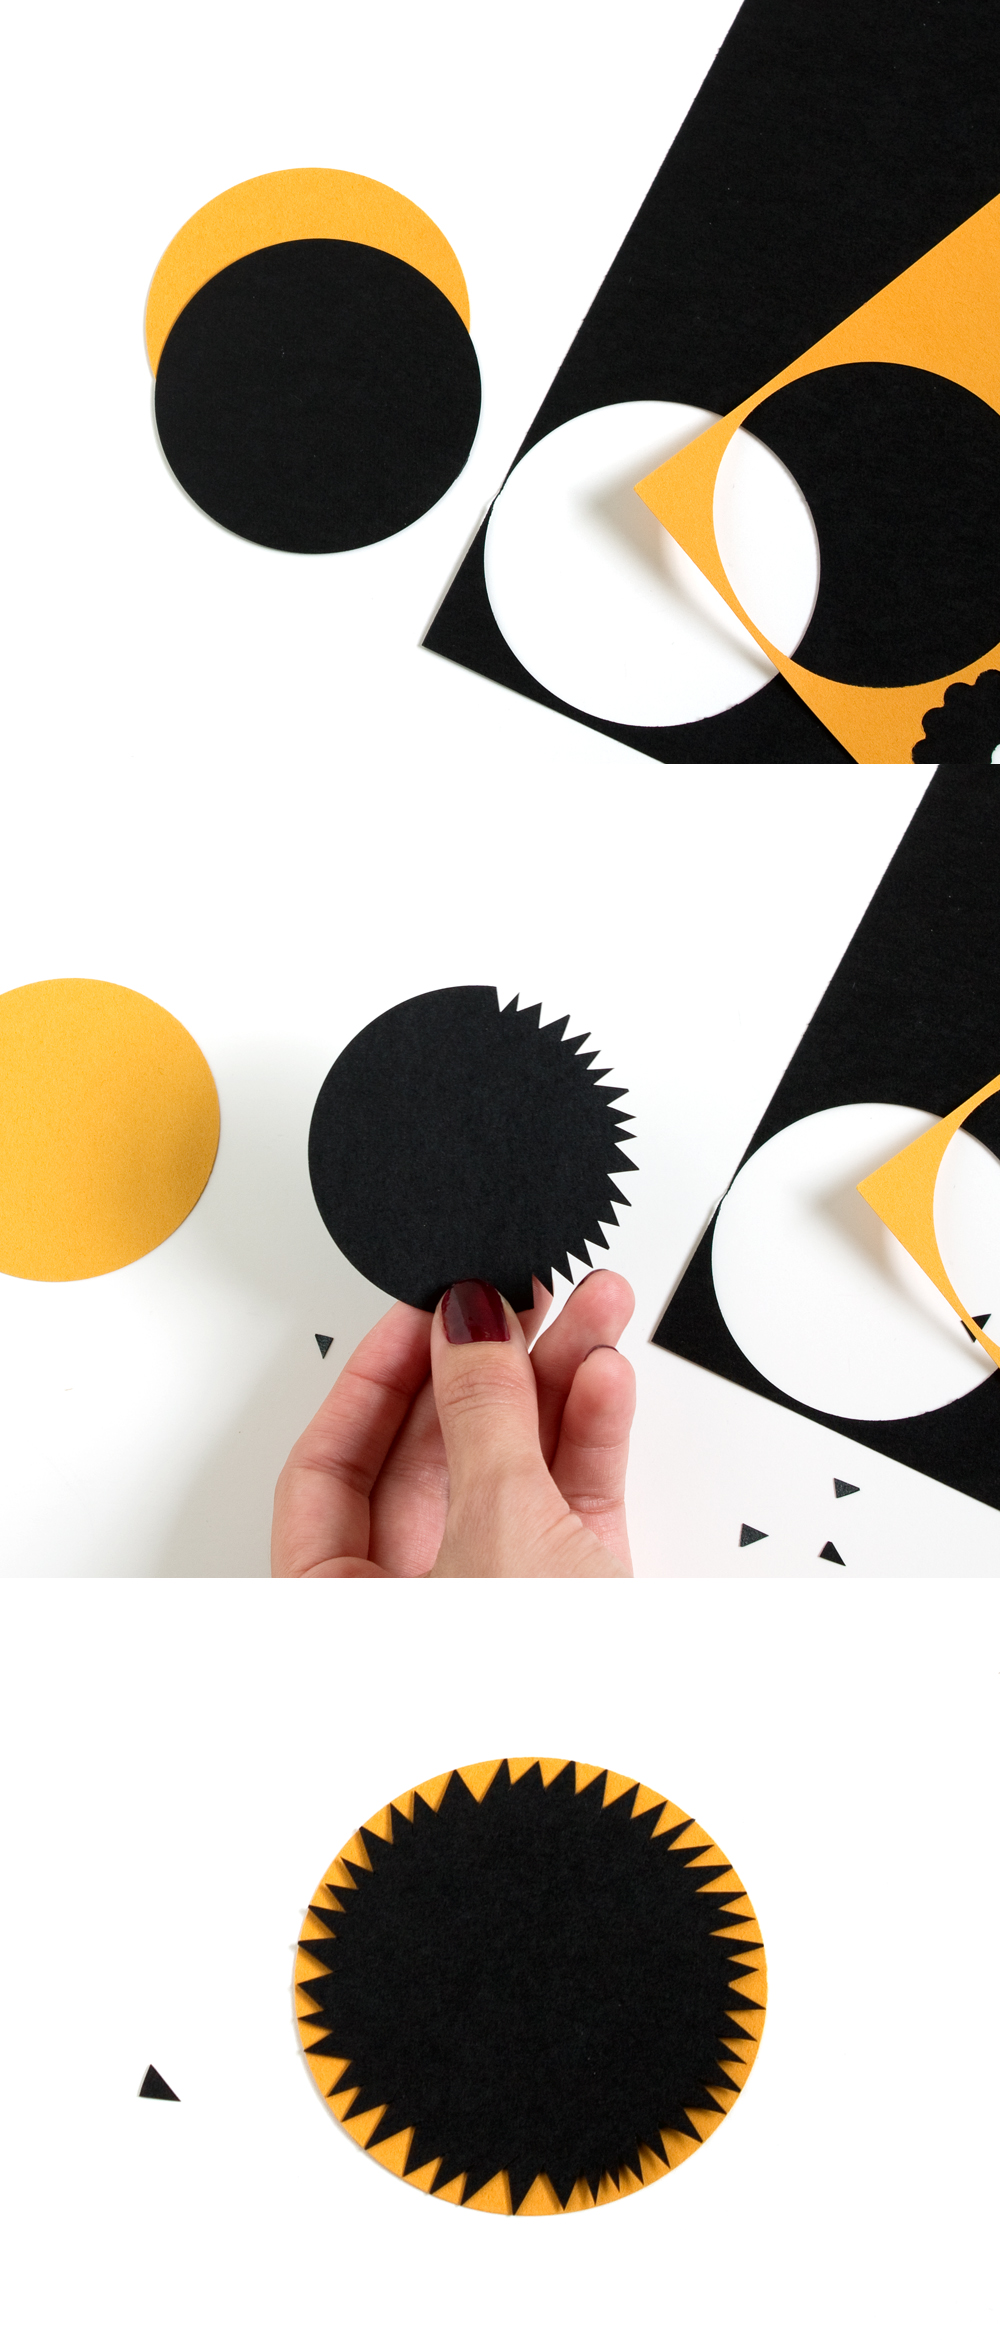
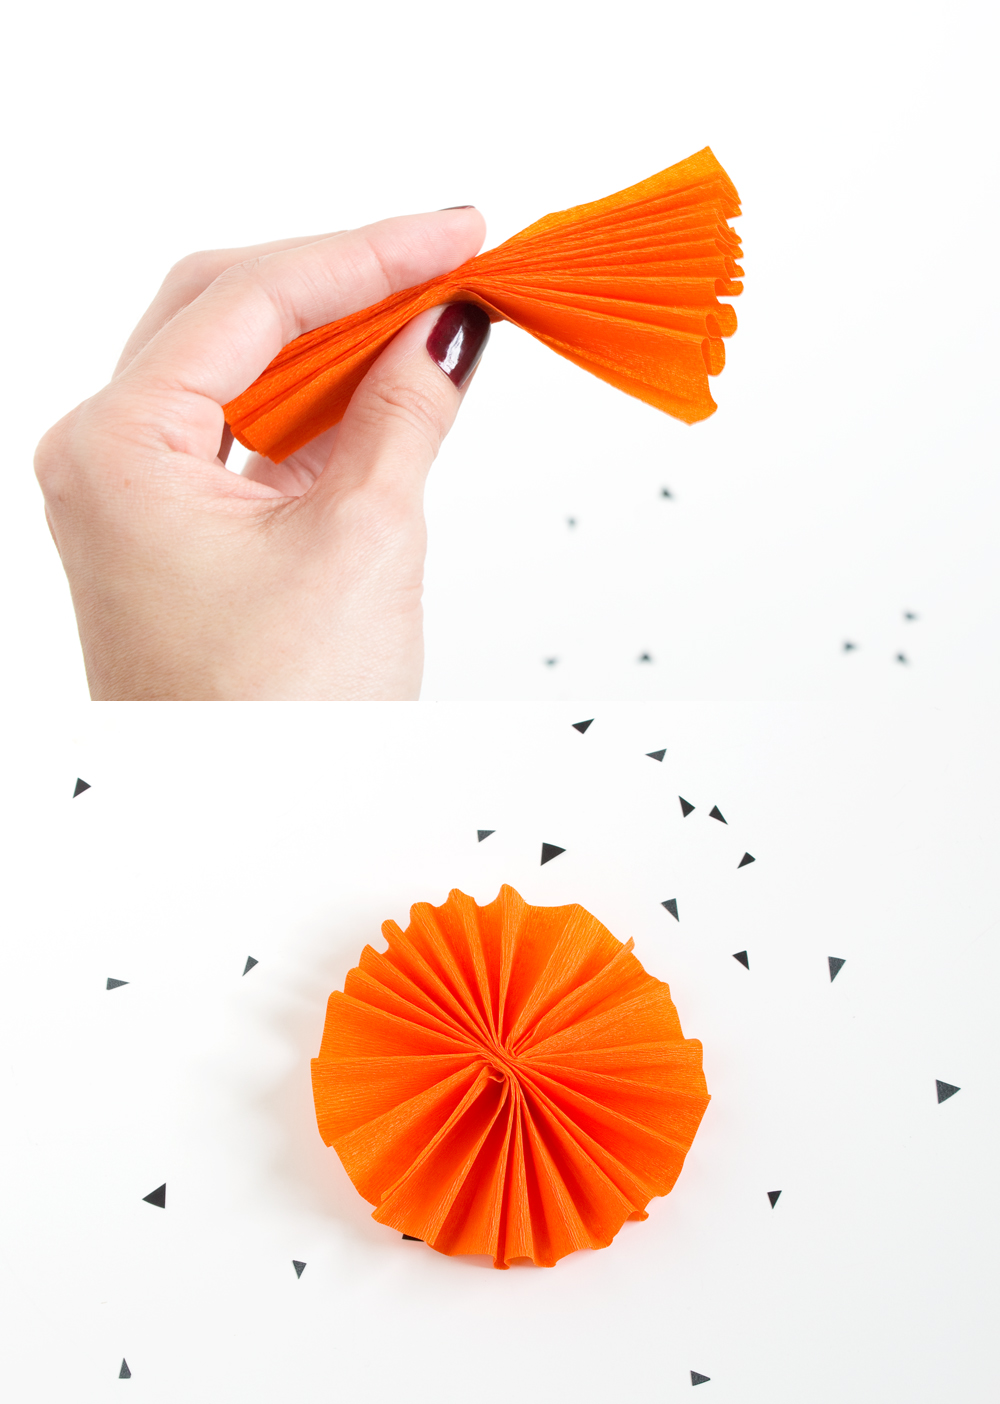
It's nice to have a few spares on hand, so cut a few more than you'll need. The easiest way to cut these it to cut a long strip of crepe the height of the petal, fold it like an accordion, then cut multiples all at once. Cut a circle from the cardboard, about 2" in diameter.
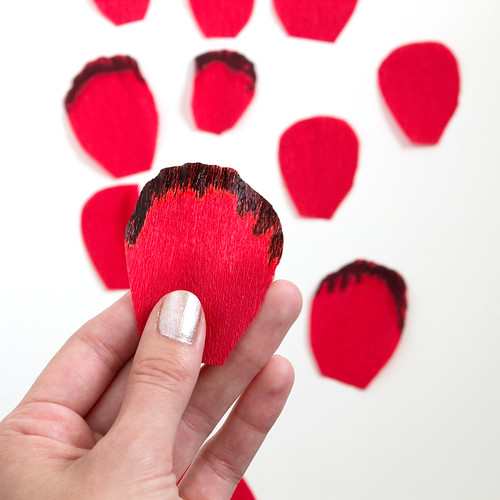
Dilute the black paint with a little bit of water to get the consistency of cream. Brush the paint on the end of the red petals. The paint will bleed into the grain of the paper and make a nice, uneven edge. Let dry.
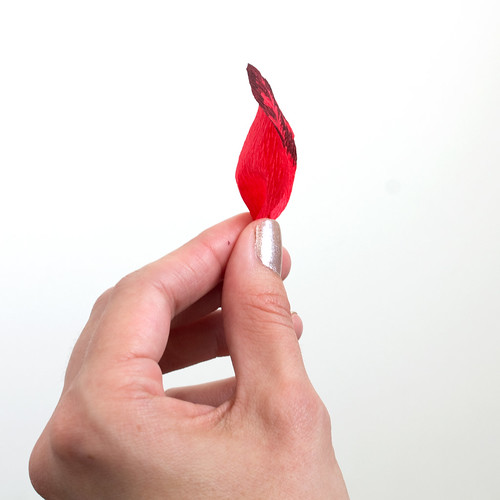
Cut a slight heart shape out of the top of each petal. Cup the center (gently stretch outward) of each petal, and stretch the tops backwards. Gather the bases. Here's a side view of what the petals should look like.
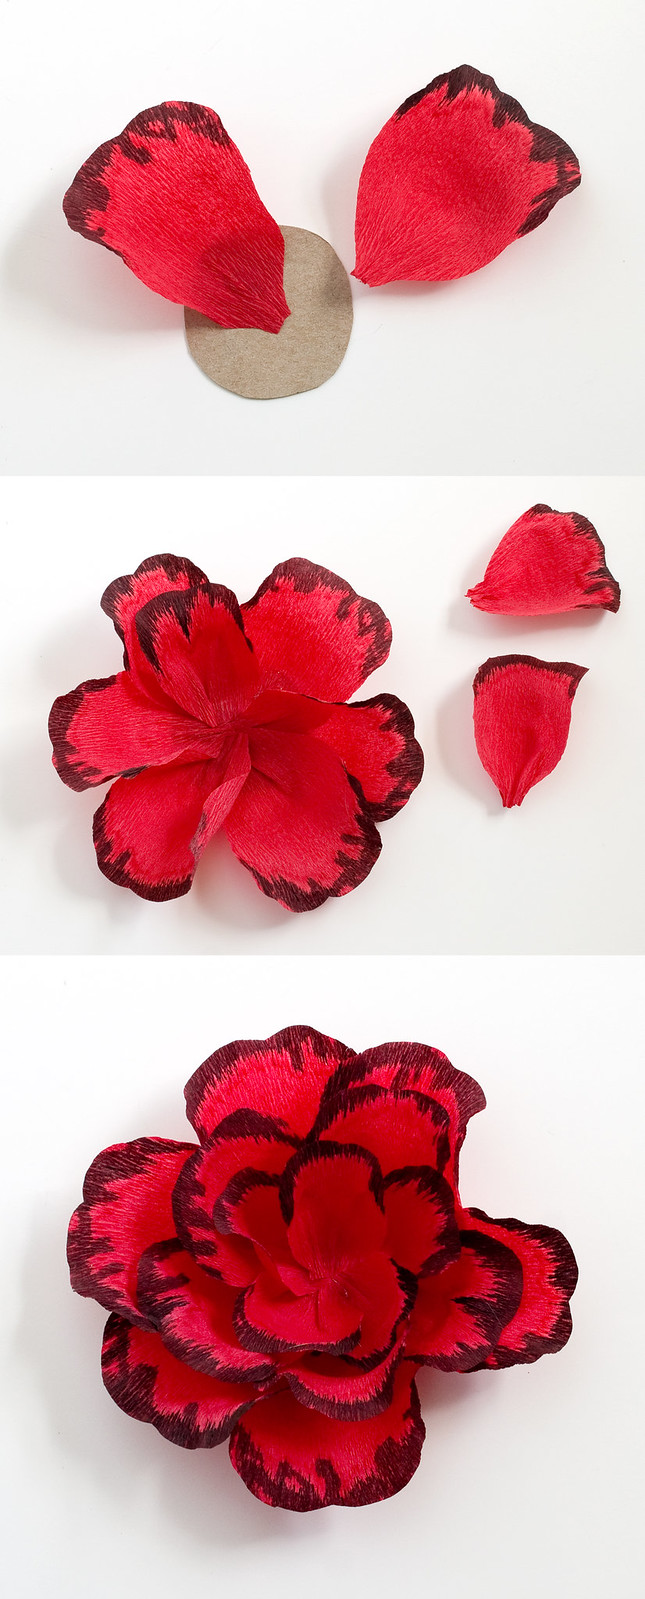
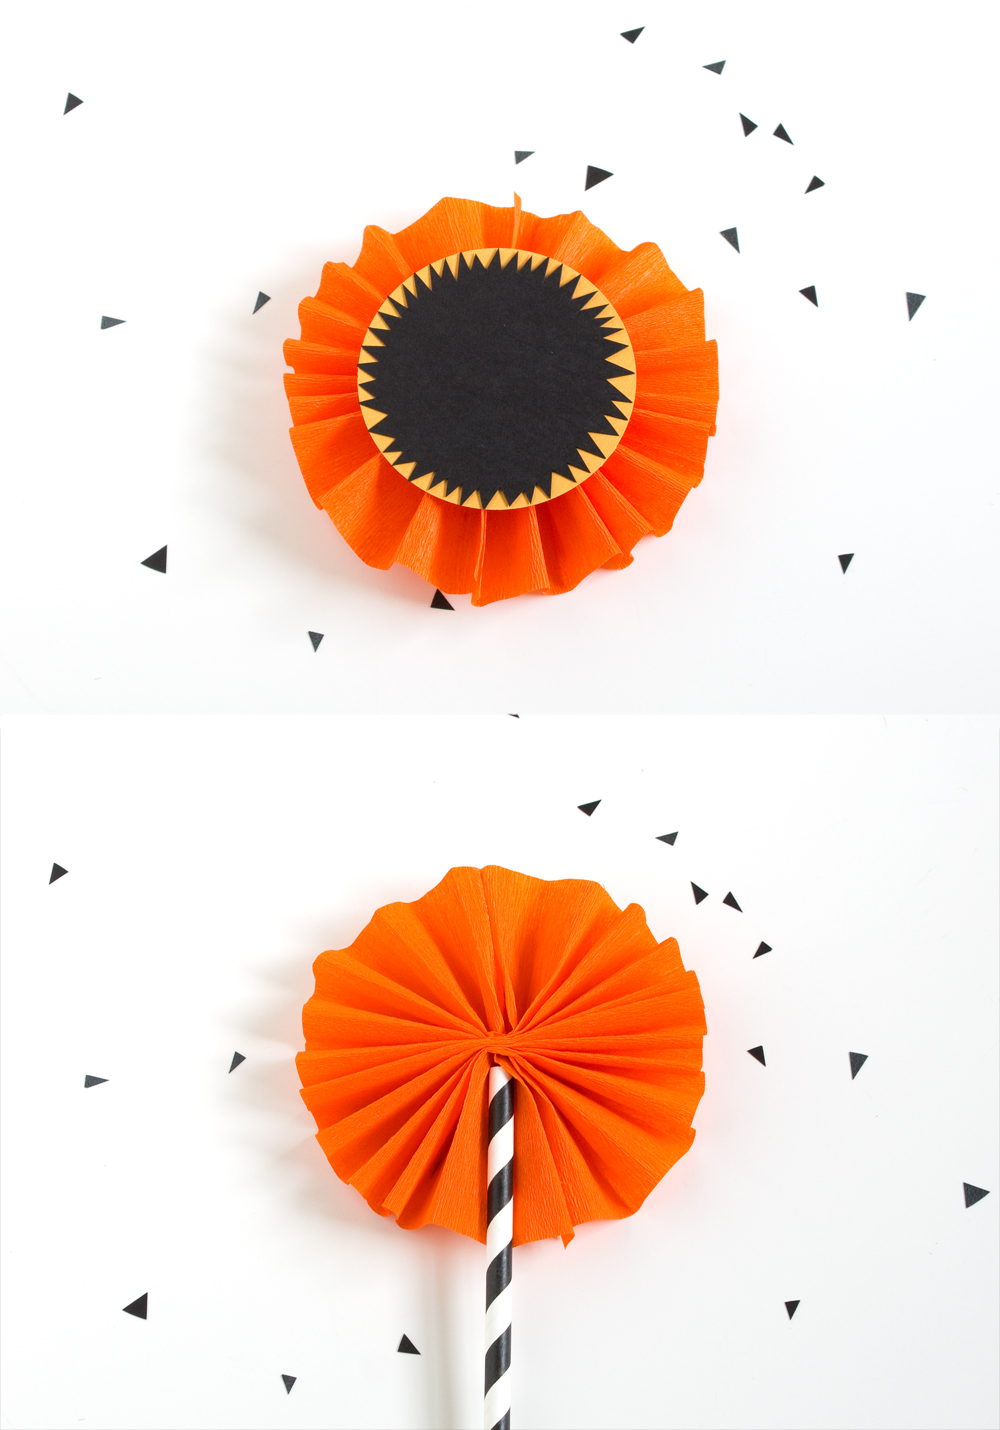
Starting with the largest red petals, glue them onto the cardboard round, slightly overlapping each. Continue adding petals of the same size until the circle is completed, then move on to the next smallest petals, and the next. Make sure to leave open space in the center of the flower.
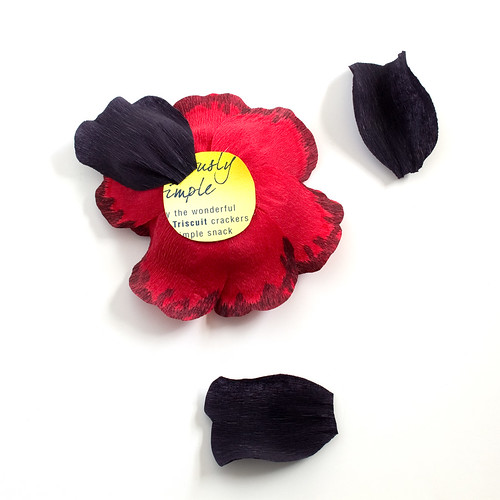
Flip the flower over and glue the black petals to the back of the cardboard, overlapping each slightly.
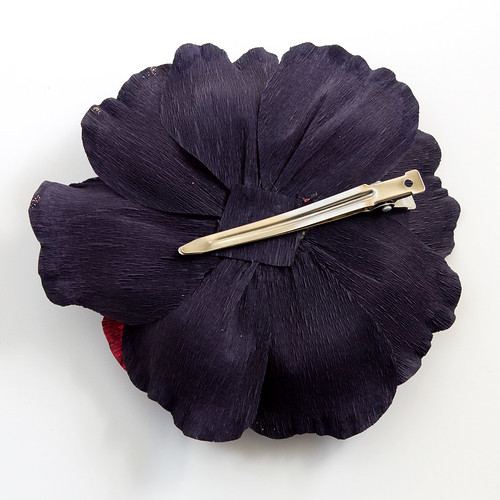
Add a piece of black crepe to the back to cover any exposed cardboard. Attach the clip with hot glue.
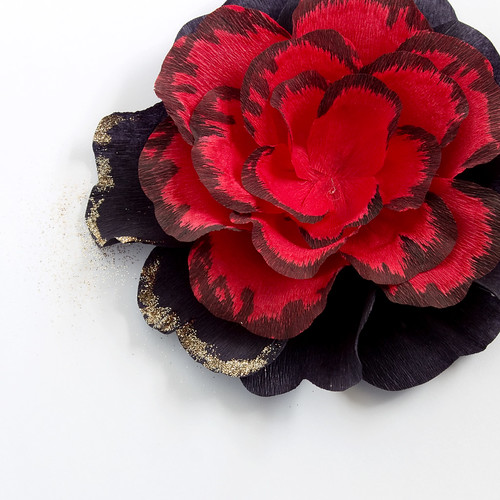
Brush a light layer of modpodge to the edges of the black petals. Sprinkle with glitter and shake off the excess. Repeat with the skull.
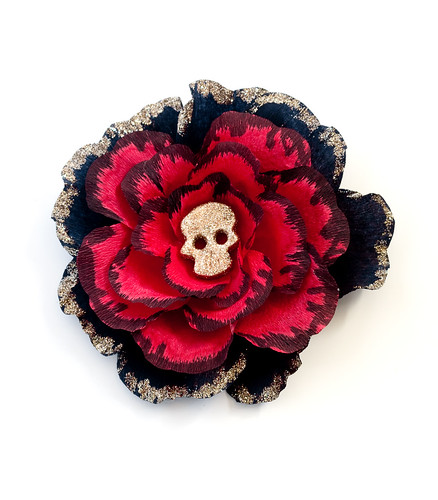
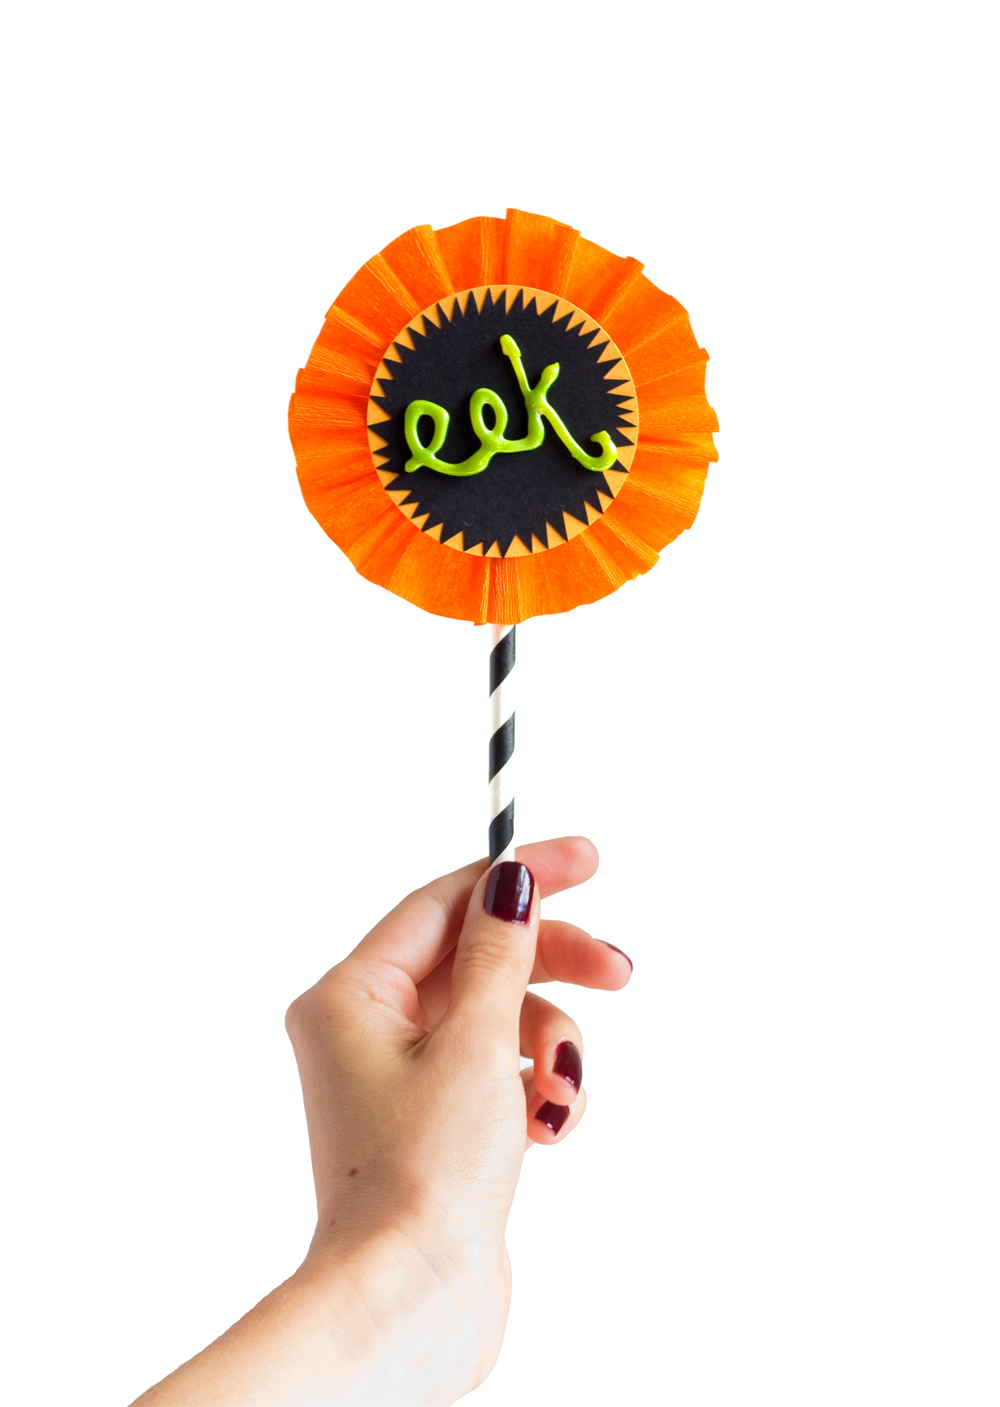
Glue the skull to the center of the flower with hot glue.
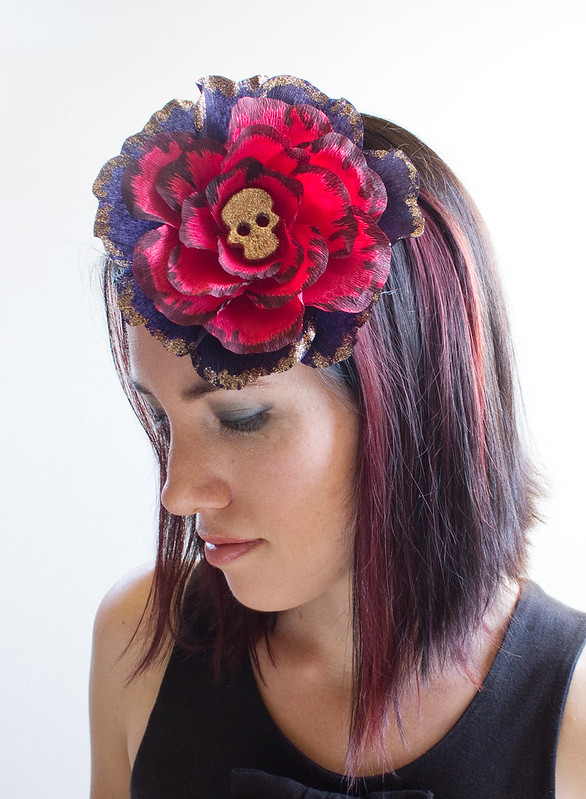
Sport your new headpiece! This would be a nice compliment to a Dia de los Muertos costume, or a classy, last minute piece to wear to work on Halloween!
I hope you like it!