2
What's in my carry-on.
Thursday, June 27, 2013
I LOVE traveling. Flying...eh, not so much. But a well-packed carry-on bag makes a world of difference by making me feel a little more at ease as I'm boarding the plane. So when I prepared for my 10 hour flight to London (eek - 2 months ago!), I made sure to pack all of the necessities and a few creature comforts that would help me chillax. Here's what I packed, in 5 categories: Comfort, Toiletries, Snacks, Technology, and Activities.
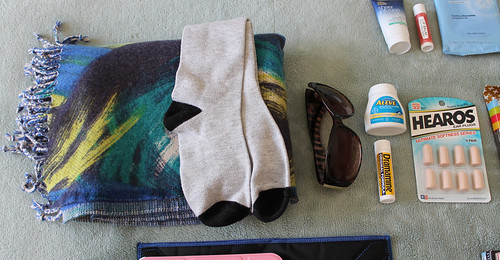
Comfort: Long flights can get cold, so I brought a large scarf to wrap myself up in. Since feet tend to feel fat on flights, I usually like to take my shoes off, and knee-high socks are great to have to keep your feet and legs warm. Nothing worse than cold ankles! Sunglasses are good for when the sun comes up when you don't want it to. Dramamine is unfortunately a must for me, so I always pack it when I'm flying. Pain killer for those jet lag headaches. Earplugs to block out engine noise and crying babies.
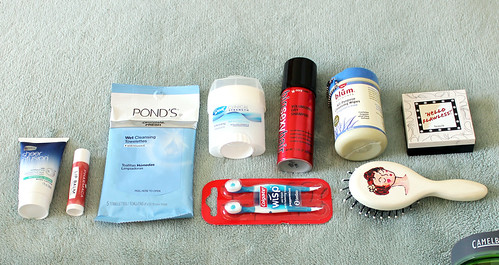
Toiletries: If you're like me, a long flight can leave you feeling a little haggard. Here are my necessities to keep me feeling and looking alive and refreshed when the plane lands: moisturizer, lip balm, makeup removing face wipes, deodorant, dry shampoo, hand wipes, mini toothbrushes, hairbrush, and pressed powder foundation.
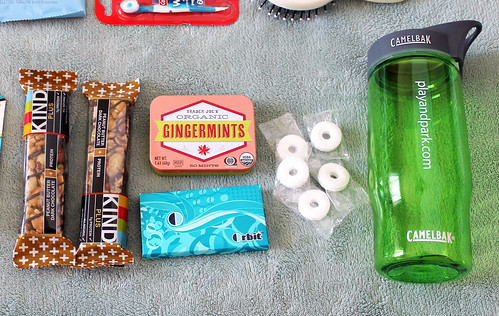
Snacks: I hate depending on those random meal times on the plane, so I pack a few things to help tide me over if I feel like I'm starving. Kind Bars. Have you tried these? So good. I always pack a variety of mints and gum. And an empty water bottle to fill up when you get past security.
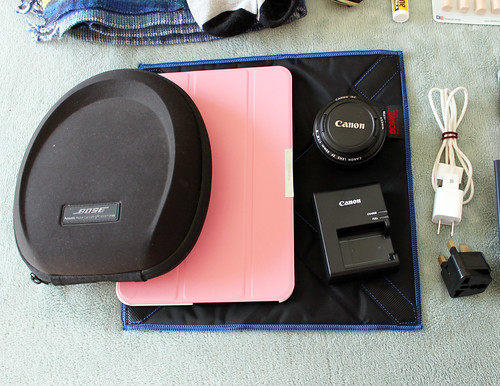
Tech: Nothing like having some tech stuff to keep you distracted. I brought my Kindle Fire HD - Great for watching movies. I borrowed my Mom's Bose Noise Cancelling Headphones, and I think they saved my life. The airplane engines were practically silent inside these bad boys. Great for listening to movies and music, too. I also brought my camera (not pictured, cause it was taking these photos!) camera batery charger, iphone charger, and a UK Power Adapter. It would be a huge pain if my cell was out of charge and I couldn't plug in when I arrived in London. I also had my cell phone with me. I wrapped my camera and lenses in Domke Wraps. No need for bulky camera bags with these. They worked well and kept my equipment safe and easy to access during my entire trip.
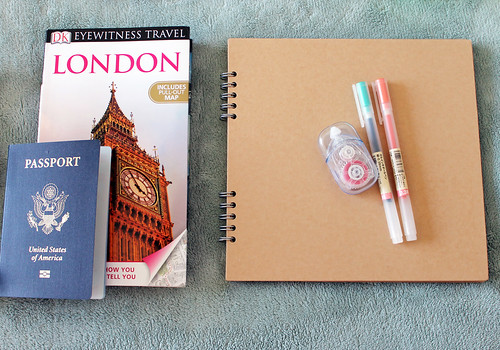
Activities: A guidebook to the place where you're going! Distract yourself with a little hint of the sights you'll see when you get there. My favorites are the DK Eyewitness Guides. If you're feeling ambitious, bring a little scrapbook and some pens to do a some journaling if you're tired of reading or watching movies. Definitely not in the activity section, but don't forget your passport and other travel documents!!
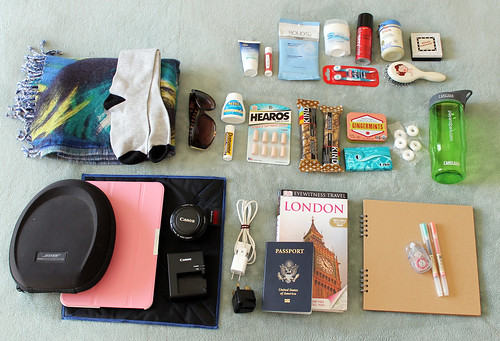
All of this fit nicely in my standard-sized backpack. I also carried a purse with my wallet, phone, etc. Those are my necessities. Do you have anything you can't fly without?
3
Follow me, maybe?
Tuesday, June 25, 2013
A couple months ago Google broke my heart and announced that they were suspending their GoogleReader service. Ha-what?! But I use Google Reader every day to read my favorite blogs! If I just keep using it every day like nothing's wrong, it won't go away, right?
22
Easy gold leaf manicure.
Tuesday, June 18, 2013
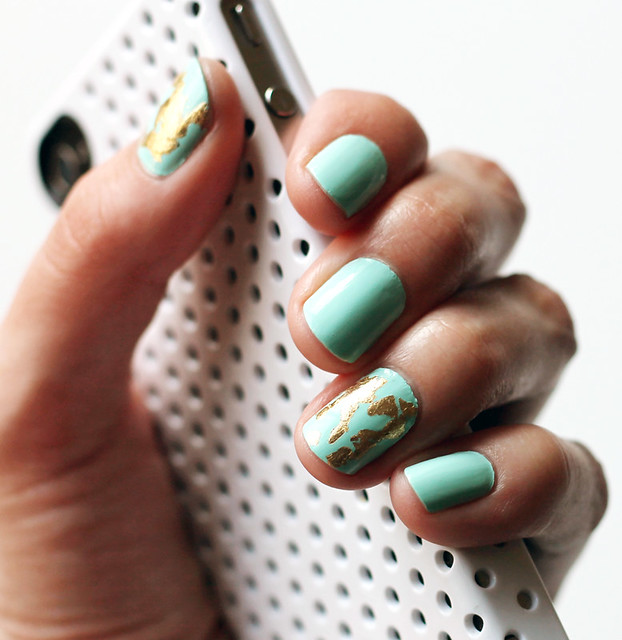
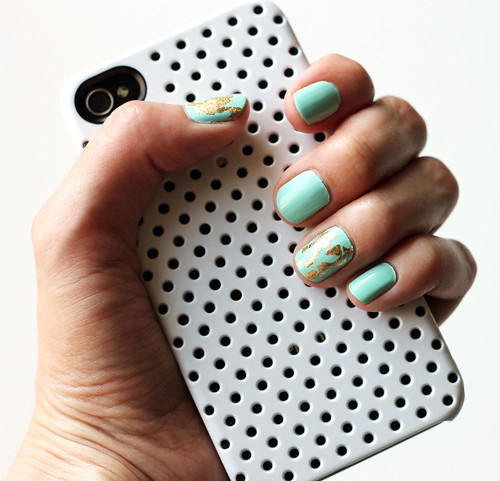
I bought this pretty aqua nail polish a couple months ago and have painted my nails with it probably about 5 times since. It's such a fun summery color! I was thinking of a way to spice up my latest manicure and remembered the little pieces of gold leaf I saved from my DIY Confetti Bowl project. Seriously, I'm incapable of throwing craft supplies away, no matter how small. I'm glad now for my craft hoarding, because my nails look extra snazzy!
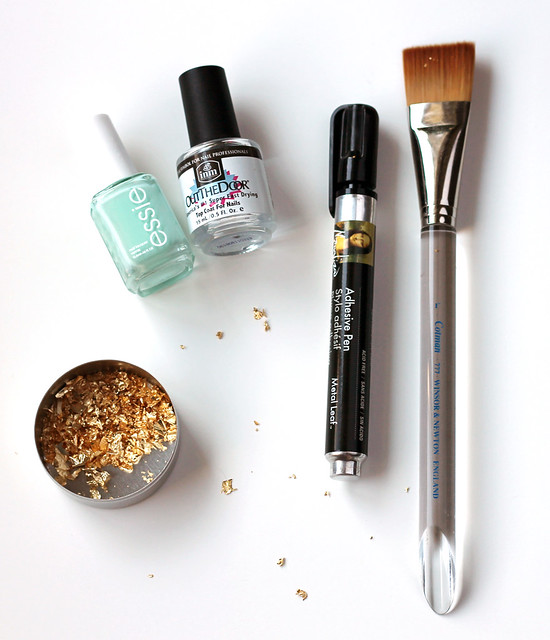
Here's what you need to do it yourself:
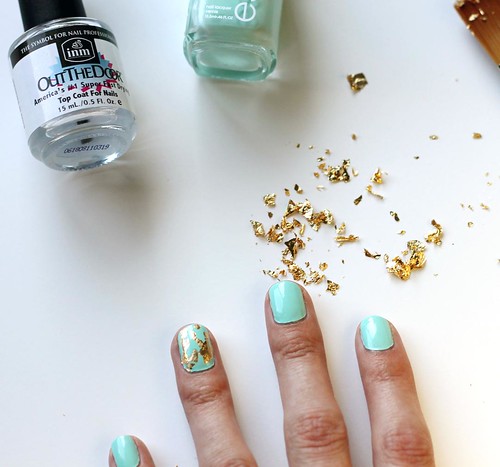
Nail polish in a light, flat color, I used Essie Mint Candy Apple
Gold leaf adhesive pen
Gold leaf scraps (you only need a few little pieces)
Large, soft brush
Clear nail polish topcoat, I used INM Out The Door
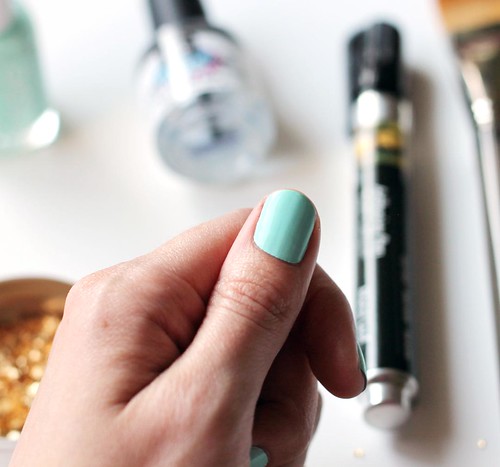
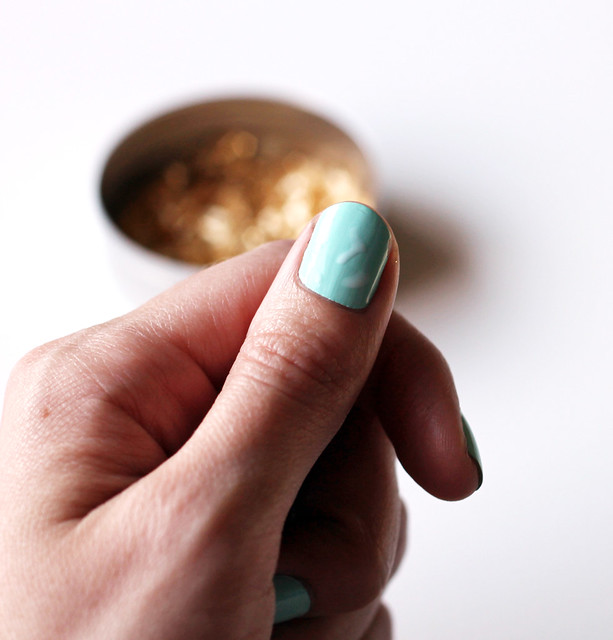
Paint your nails with the color polish. Apply a few coats to get even coverage.
When the polish is dry, dot the adhesive pen on your nail in a random, spotty pattern, on all of your nails or just a couple. Let the adhesive dry.
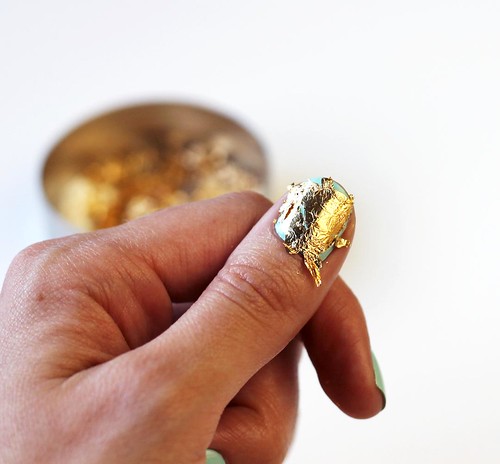
Lay the gold leaf scraps over the adhesive on the nail. Pat it down with your fingertip so it sticks.
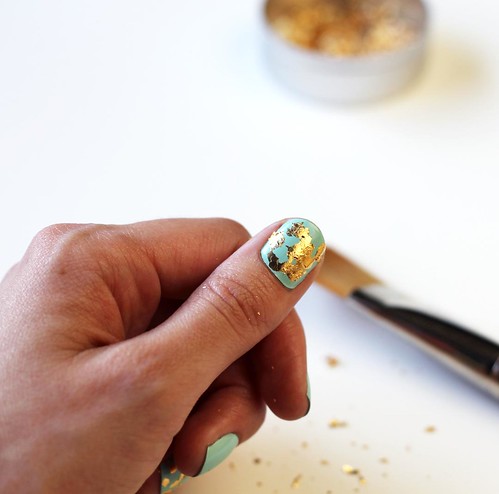
Carefully remove the excess leaf with the brush, brushing it along the edges. Keep at it with the brush - it may take a little while to pick up all of the loose pieces.
Add an even layer of clear topcoat over your gold nails.
This is a great way to rejuvenate a manicure that's a few days old. My nail polish was 4 days old when I added the gold leaf. Now it's a week old and I'm still getting compliments on my nails! It's holding up really well and the gold actually looks a little different every day, as it wears slightly around the edges. It's really pretty! And all it cost me was a little time.
Happy leafing!
320
All Things Paper, by Ann Martin
Tuesday, June 11, 2013
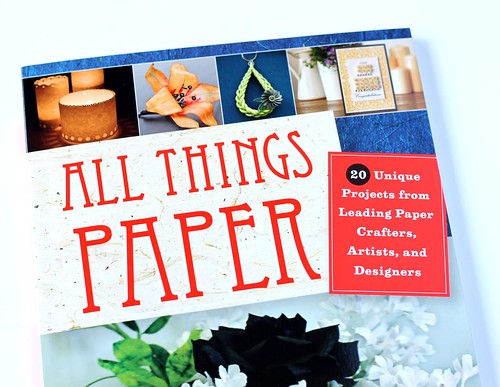
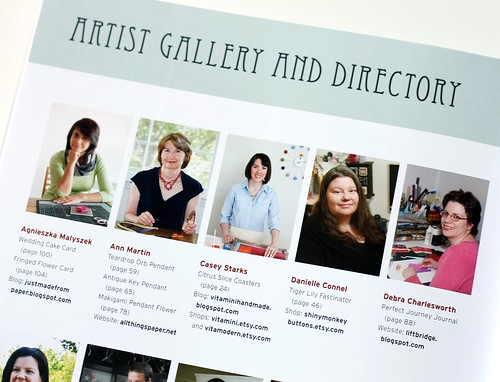
Today is a special day! It's the release day for All Things Paper; a book full of fun paper projects by my friend Ann Martin from the popular All Things Paper blog. I'm so happy for her that this day has finally arrived, but also a little happy for me, because the book includes one of my projects!
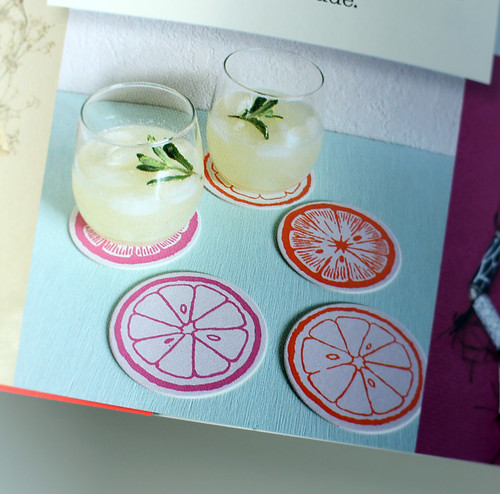
Here are a couple of shots of my screen printed paper coaster project!
I've been waiting on pins and needles for what feels like forever (actually, about a year and a half) for this day. I'm not kidding when I say I did a little happy dance when I received my very own copy a couple of weeks ago. I was excited to scope out my own project and now I'm itching to try out some of the others. There are lots of great projects included for every skill level.
You can find your own copy of All Things Paper on Amazon. There's a Kindle version, too!
*Disclosure: Affiliate links are used in this post. I may receive a commission from a sale made by using the above links. But, as always, all opinions are my own.
692
Customize a metal fan with spray paint!
Friday, June 7, 2013
The warm season has arrived here in Silicon Valley! I'm a total wimp in the heat so this time of year usually brings a little bit of dread. Will I ever get another good night's sleep before Fall rolls around? So I've been on the look-out for stylish fans that I wouldn't be embarrassed to have on display for half the year in my apartment. My dream fan is this Vornado limited edition, that is difficult to find, and then when you find it, it's an arm and a leg. Sigh.
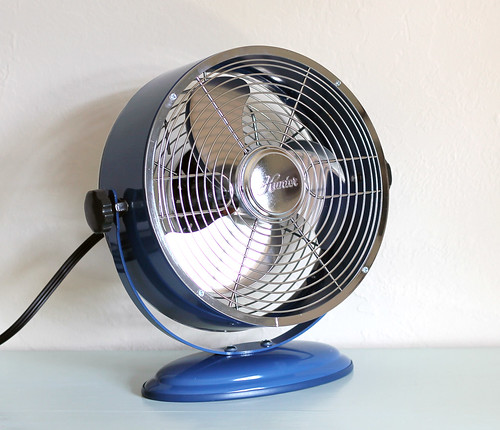
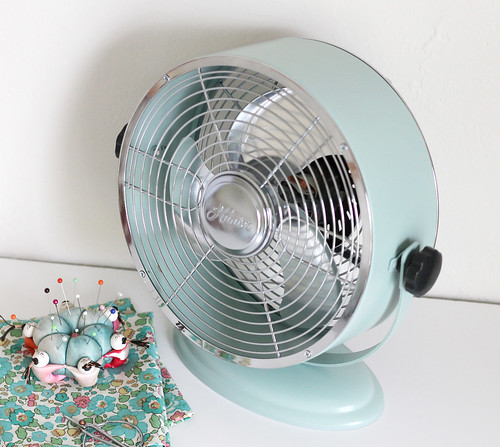
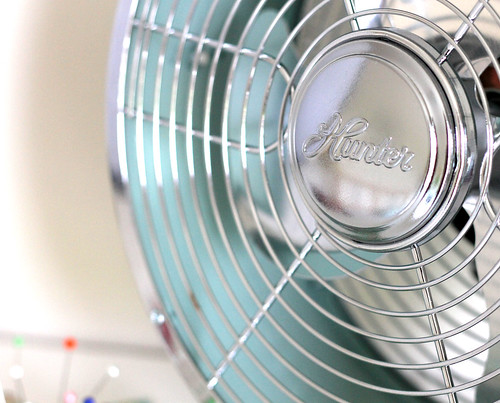
When I spotted this vintage style Hunter model at Target a few weeks ago, I knew I had to have it. I was iffy about the blue, though. It was nice, but not quite right for my decor. When I examined it at the store and noticed something promising: metal screws! That meant I'd have no problem dismantling it and painting the blue pieces the color of my chosing. The screws are also handy for when you want to get in there and clean the dust off of the blades.
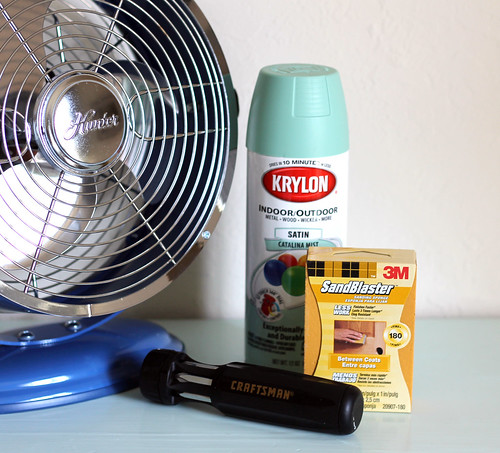
To customize this little fan and make it just right for my space all I needed was a screwdriver, some super fine sandpaper (180 grit worked for me), spray paint, and a drop cloth. It took me a while to decide on this color, after considering yellow and pink, but I made the best choice. It's called Catalina Mist by Krylon and the color is a retro-esque shade of minty blue/green. The only semi-issue I had with it was that it wasn't compatible with plastic. All that meant was I had to pull off that rubbery gasket thing along the bottom of the base. No biggie.
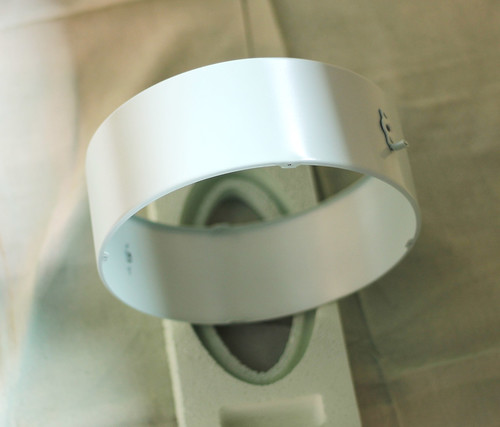
To start, I dismantled the fan, setting the screws aside and remembering taking note of where everything went. When I had the pieces separated, I roughed up the surfaces a little bit with the sandpaper, just enough to make sure the paint would stick.
Using the packaging from the box, I proped up the pieces and got to painting! Beware if you're using a new canvas drop cloth, like I did. After I got started I noticed that it had lots of tiny fuzz particles that were sticking to my painted surfaces. I got most of them off, but it would have been easier if I put it in the dryer for a little to remove the lint before I got started.
I sprayed many light coats, giving each coat at least 15 minutes or so to dry to the touch for the next coat. Looking back, again, this step would have gone faster if I had primed the pieces before I started. That blue was hard to cover!
(Note: The Target website has this fan in lots of colors, including white! That would be a perfect base for any color. And it's on sale! My local store only had the blue.)
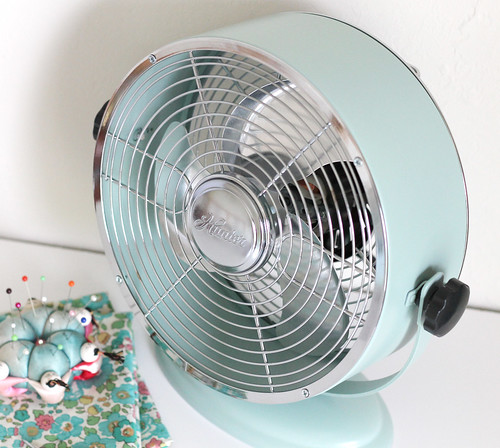
After my pieces were well coated, I let them dry overnight. All I had left to do was put it back together. I'm so pleased with the way it came out! The color is perfect and looks great in every room of my apartment. I love how the minty-blue/green gives it a hint of retro style that I love. It looks great with my mid-century furniture so I'll be happy to keep it out and on display all year! This easy upgrade cost me less than $10 and will make me happy (and cool) every time I walk by.
Have a wonderful weekend! No doubt, I'll have this bad boy running the entire time.
389
Modern embroidery.
Tuesday, June 4, 2013
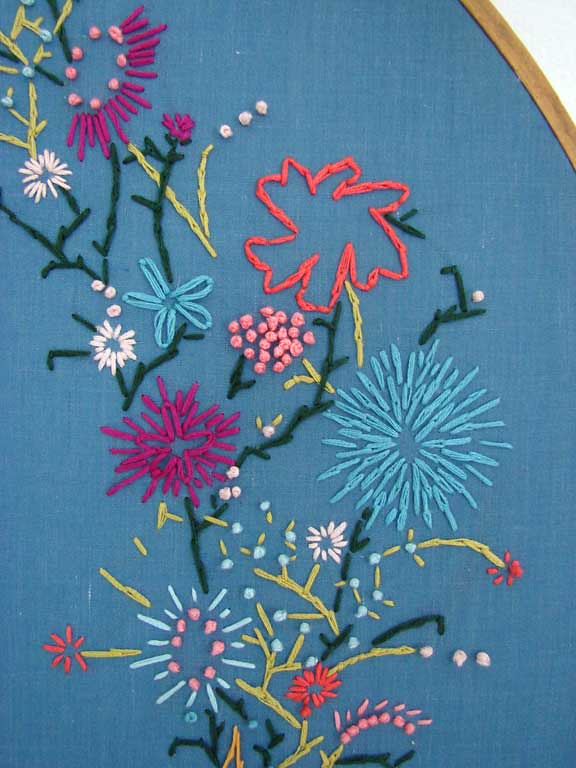
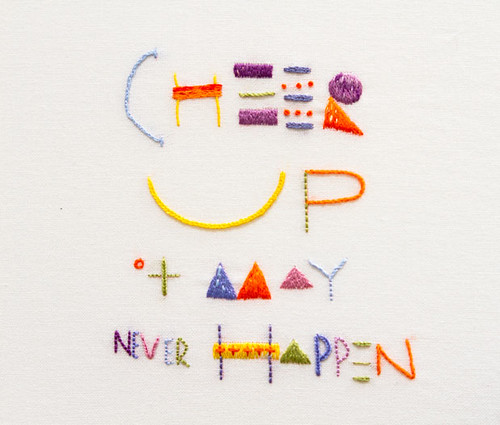
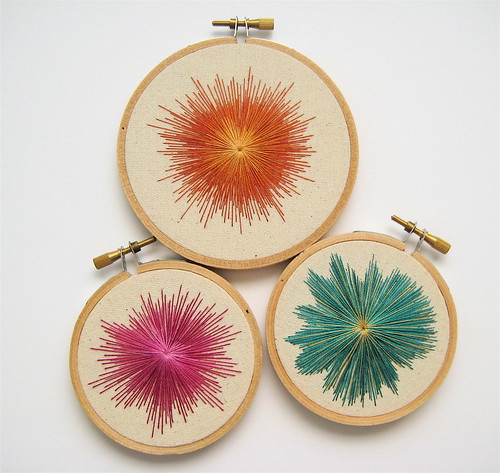
Ever notice unintentional trends in your Pinterest pins? I was sorting thorugh tons of my "likes" the other day and kept seeing beautiful examples of modern embroidery. This craft must be getting popular, because there are so many gorgeous examples floating around the internet! Here are a few of my favorites. They have me itching to get stitching!
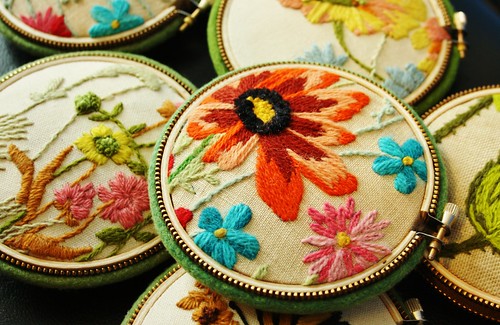
Check out these beautiful pincushions made from vintage crewel pieces. From Odile Gova on Flickr. The embroidery hoops are wrapped with a zipper! Such a cool detail.
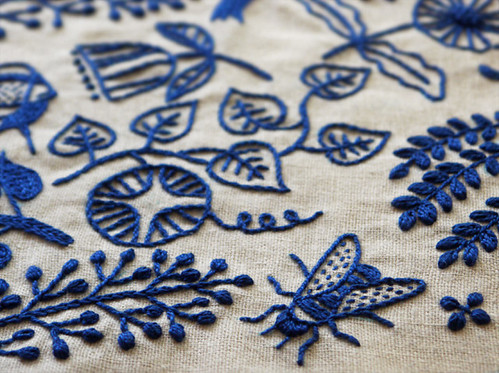
Stunning work from Yumiko Higuchi. Check out her Facebook page and website gallery for more lovely stitches.
Great graphic florals from Aesthetic Outburst.
"Cheer up, it may never happen" I've shared the work of Maricor/Maricar before. I love this piece, too.
Pretty ombre starbursts, from PhDStressRelief on Flickr. Available for sale in Felt Fuzzy on Etsy.