Bottle brush trees are some of my favorite holiday decorations. Last year after Christmas I picked up a few packages of plain green ones on super sale to keep handy for crafting. I'm so glad I did so I could try dying them! This project turned out to be a great one because I already had everything I needed in my craft supply stash! Love it when that happens.
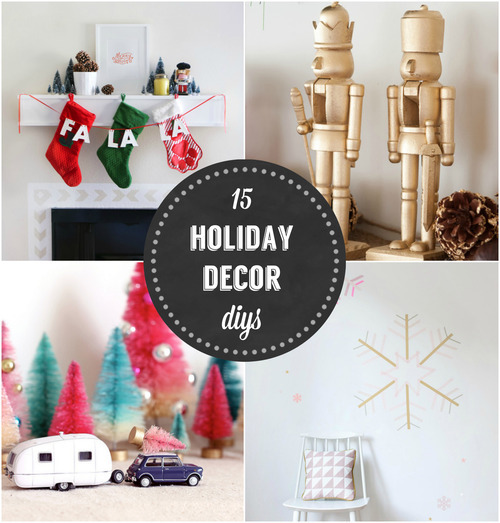
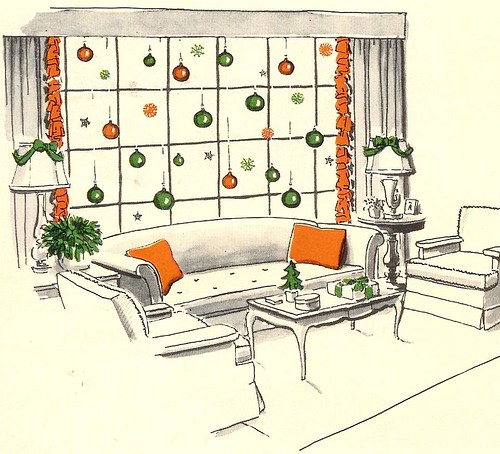
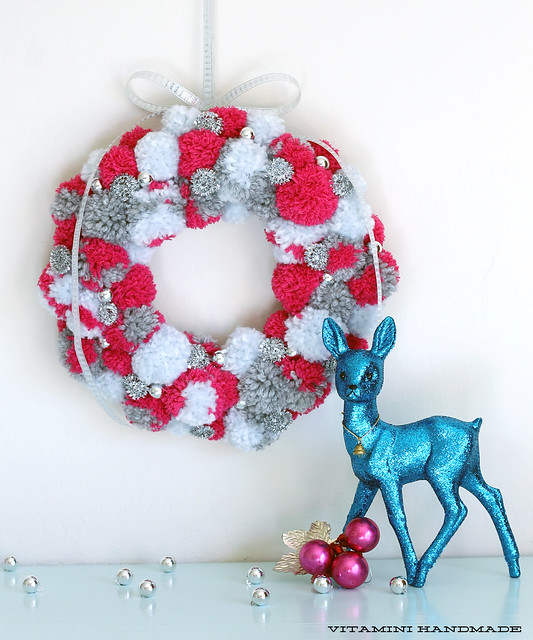
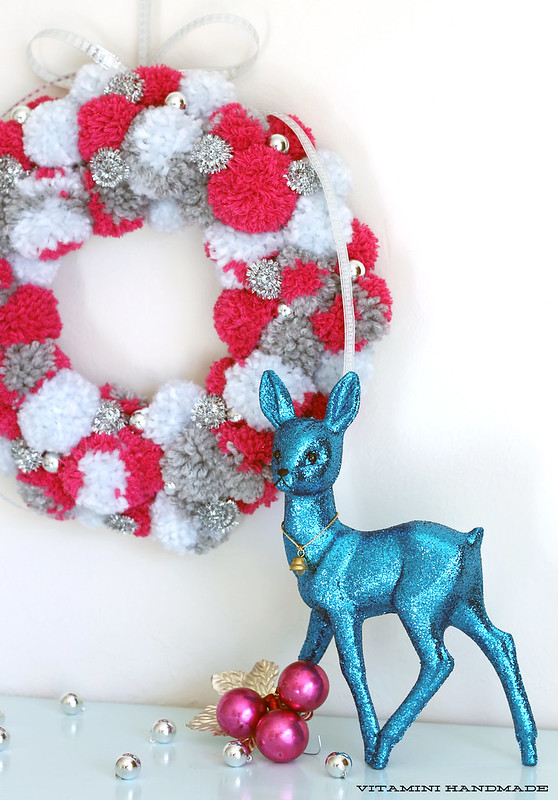
*update: I've received so many sweet comments about the photo above (so happy you love it as much as I do!). I'm excited to share I have it available as an
8x10 print in my shop! It would make a sweet addition to your retro/pastel holiday decor, or even some sweet art for a child's room. Ok, on to the tutorial!
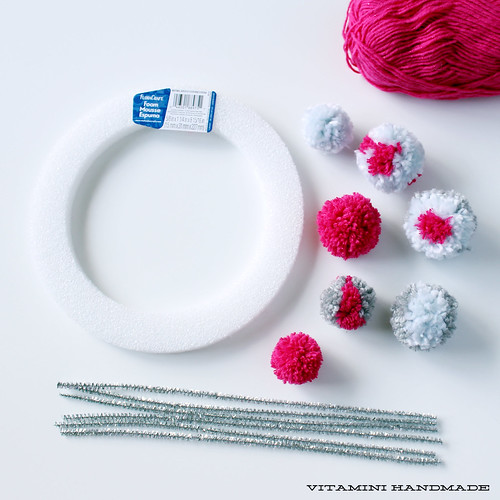
Here's what you'll need to dye and decorate your own:
- Bottle brush trees. I got mine at a fabric and craft store
- Rit powder dye. I used Magenta and Teal
- Bleach
- Small plastic tub
- Rubber gloves
- Paper towels
- Cardboard box
- Craft paint for the tree bases. I used gold
To decorate:
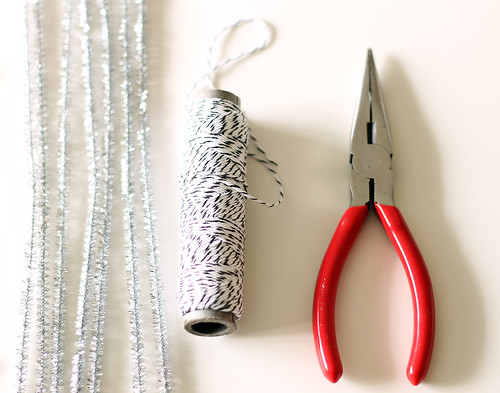
- Hot glue gun
- Metallic beads. I had some leftover from my holiday corsage project from last year.

Fill the small plastic tub with about a gallon of room temperature water. Add 1/3 cup concentrated bleach (or 2/3 cup regular bleach). Stir it up and drop in the trees! Some of mine started lightening immediately while others took some time. My small trees were done in about 20 minutes and the largest one took about 4 hours! When they are light enough, fish them out with a gloved hand and rinse with clean water to remove the bleach solution. Let dry on a paper towel.

Now for the fun part! Sprinkle about half a teaspoon of powdered dye (eyeball it) into a tall glass that's wide enough to dip your largest tree into. Add hot water and stir with a chopstick. Stir up a second glass of hot water with a little less dye than the first to achieve a lighter shade. I had two glasses of dye for each of my colors.
For solid color trees, hold the tree by its base and lower it into the dye until all of the bristles are submerged. Experiment with the timing. The longer it's submerged the more saturated the color will be.

For color blocked trees, dip the tree but don't cover the lower bristles. For ombre trees, start with a quick dip down to the bottom bristles, then pull it up out of the dye about 1/4" and count to 20. Pull it up again another 1/4" and count to 30. Continue to the top. Experiment with timing for different color blending effects.
Let the trees dry on a scrap of cardboard with the trunk elevated a little. Paint the tree base with acrylic craft paint. I used gold.
The trees look great as-is, but add some beads for a little more bling. Just hot glue them on.


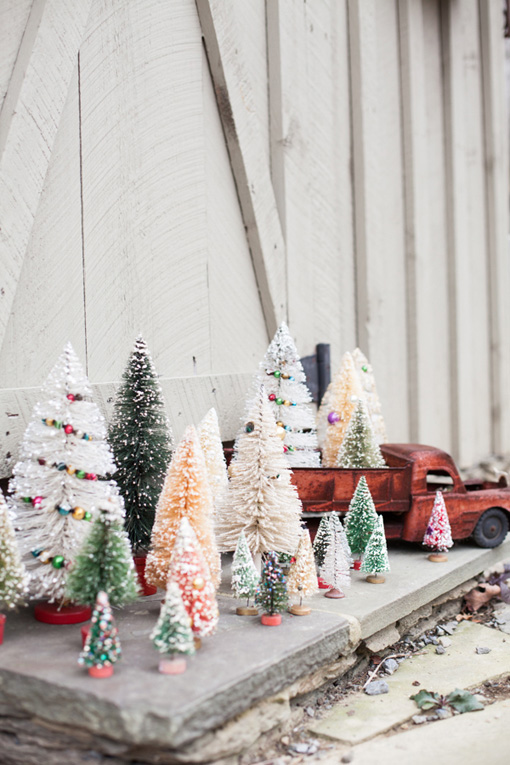
Line them all up to make a crazy-colored forest.

These little trees have quickly become some of my favorites in my collection. Have you tried dying and decorating your own? I'd love to hear how they turned out!


 Hey there! I hope you're enjoying the end-of-the-year wind down. I had a nice Christmas with my family and have been dreaming up lots of fun projects for the coming year. I'm really excited to jump in with both feet and share everything with you! Thanks you so much for coming along for the ride with me!