11

DIY Raffia Embroidered Tote

Monday, April 27, 2015


DIY Raffia Embroidered Tote | click through for the full tutorial!

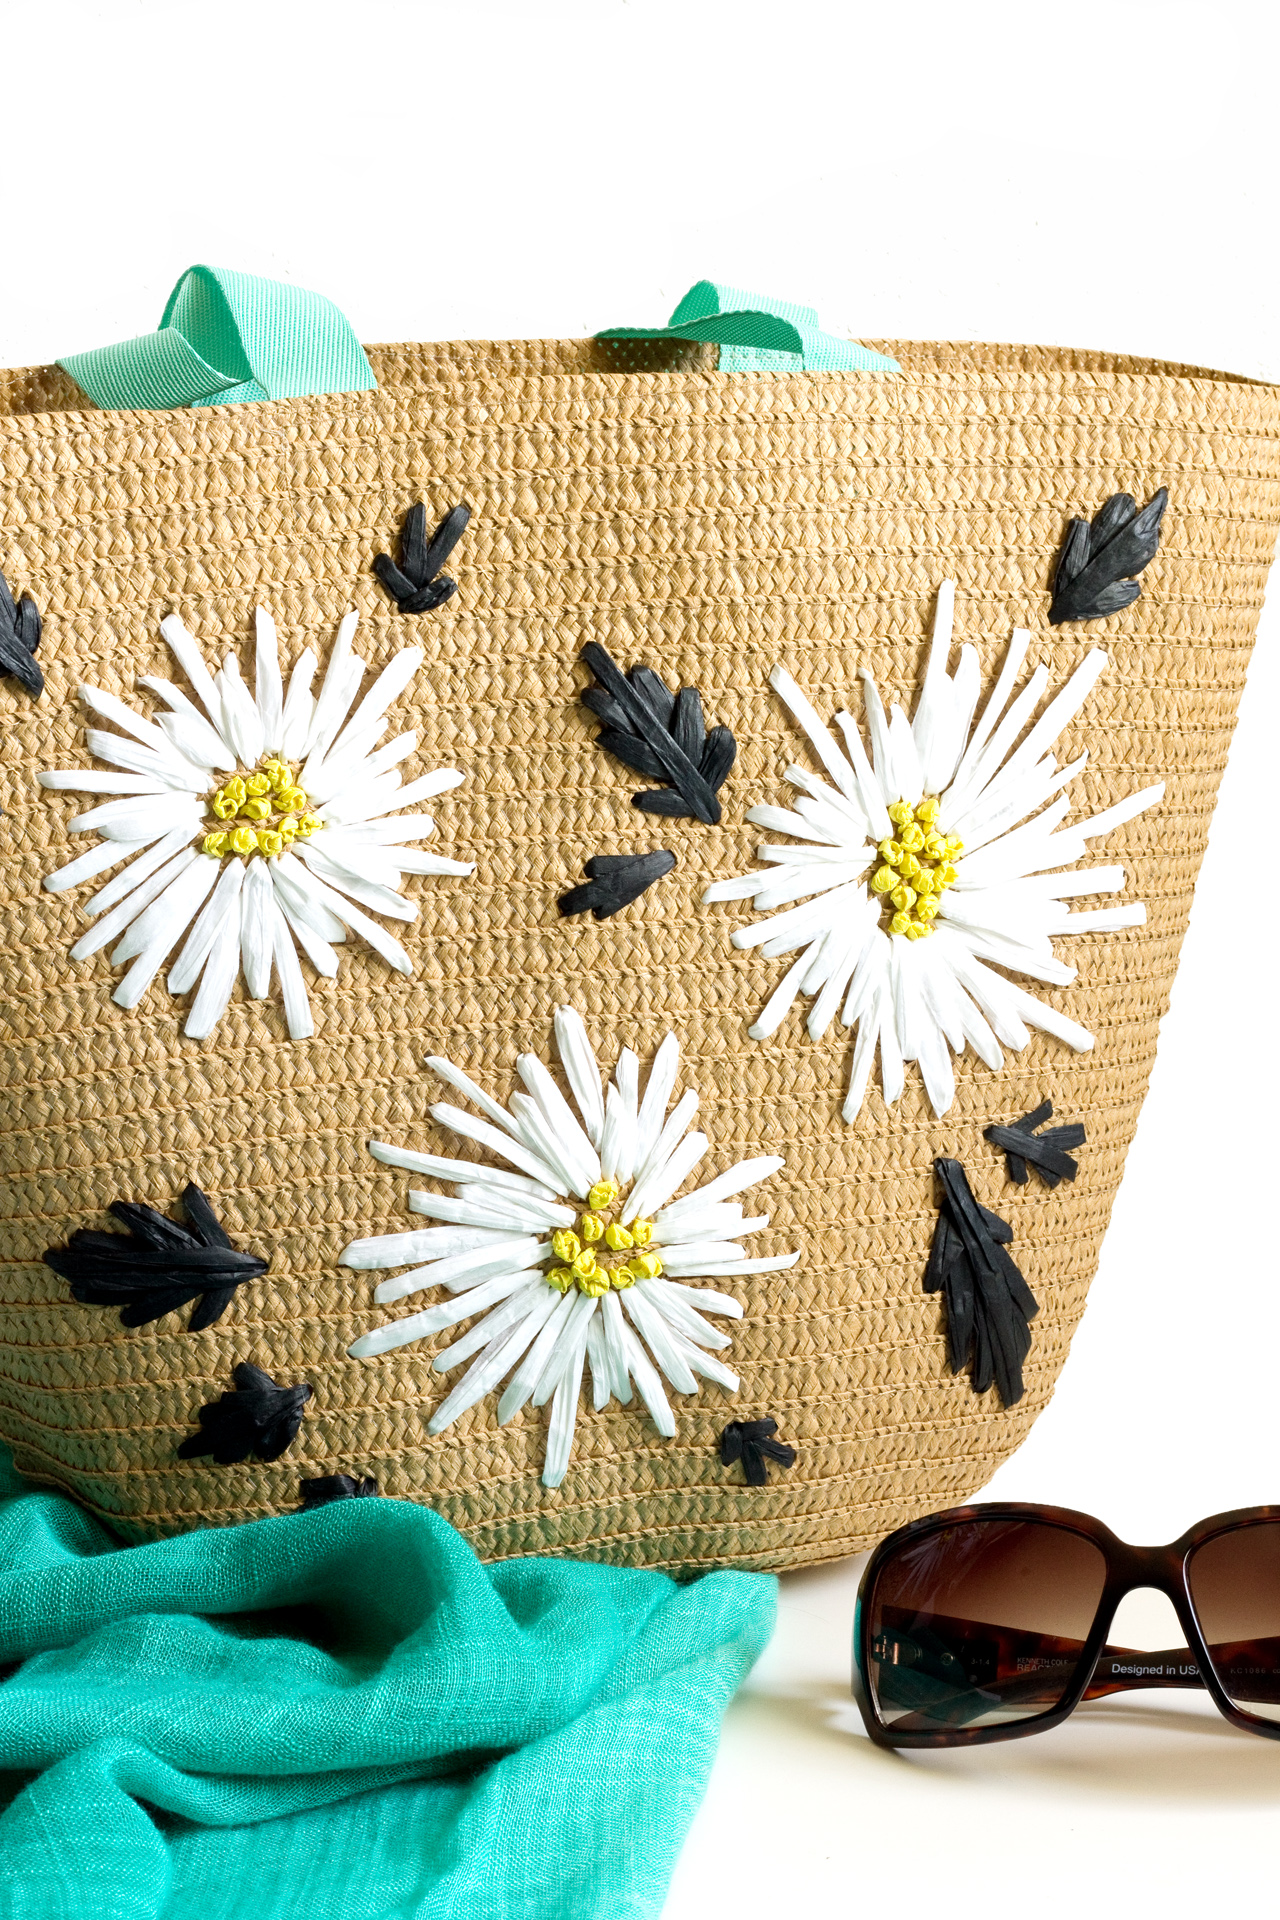
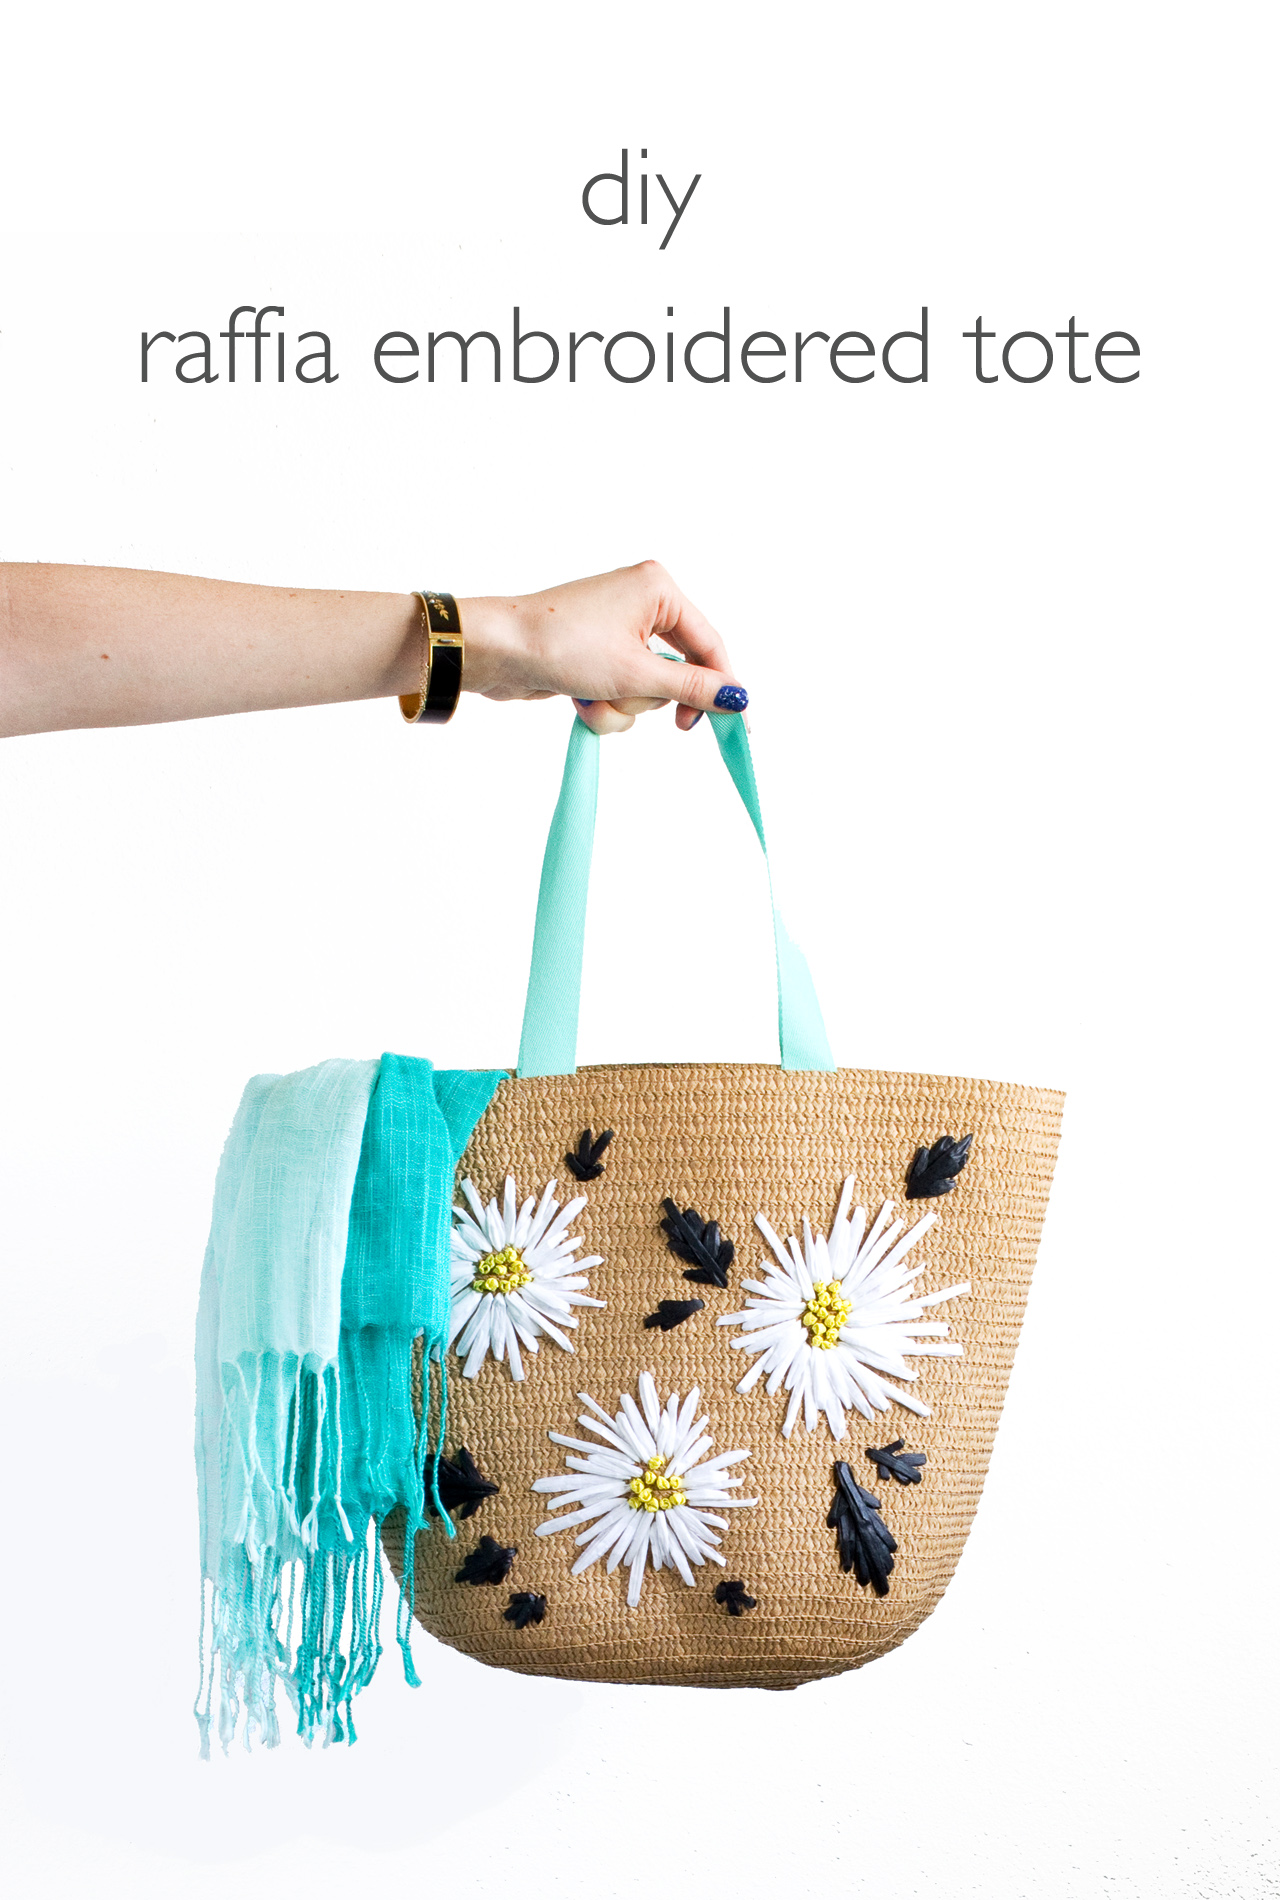
Whenever I go thrift shopping I always check the purse section to see if there are any of those awesomely retro raffia embroidered bags. You know the ones, they're usually made with a natural woven fiber, big enough to carry to the beach or farmer's market, and the embroidered designs were either simple or totally over the top. I spotted these plain straw tote bags in the Target Dollar Spot (only $3 each!) and knew immediately that I wanted to recreate the retro floral vibe that you see on those vintage straw bags. Good news: it's easy and you don't have be an embroidery whiz to recreate the look!

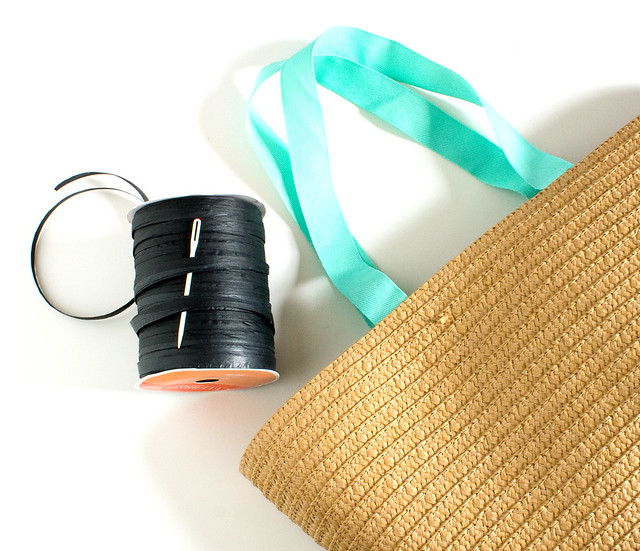
Here's what you'll need to make your own raffia embroidered tote:
DIY Raffia Embroidered Tote | click through for the full tutorial!
  • Plain straw tote bag. I got mine at Target, but Amazon also has a few similar styles. This one is adorable! Note: if the bag is lined you'll have to open it up to get to the inside of the bag.
  • Raffia Ribbon. I kept it simple and used black, yellow, and white
  • Yarn needle
  • Other stuff: scissors, round items to trace, pencil
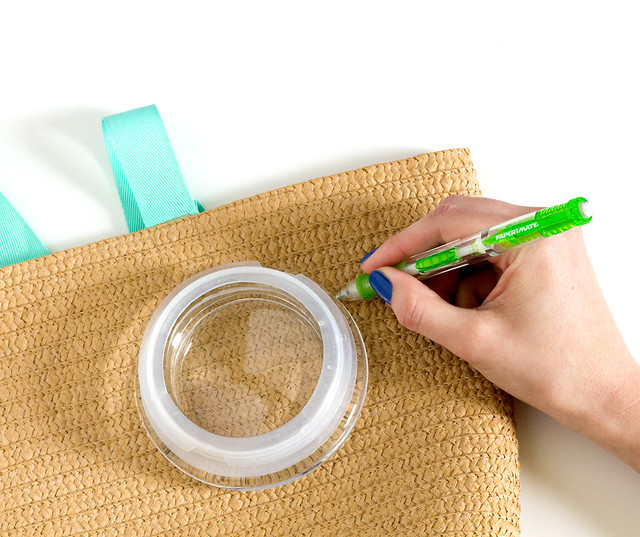
Start by deciding on an arrangement for the flowers. Odd numbers look the best! Choose the placement of the first flower, trace something round like a bowl or plate with a pencil. Trace something smaller like a roll of tape for the center. (It's hard to see the pencil marks, but they're there! The pencil marks also blend in well and can be erased a bit when you're done.)
DIY Raffia Embroidered Tote | click through for the full tutorial!
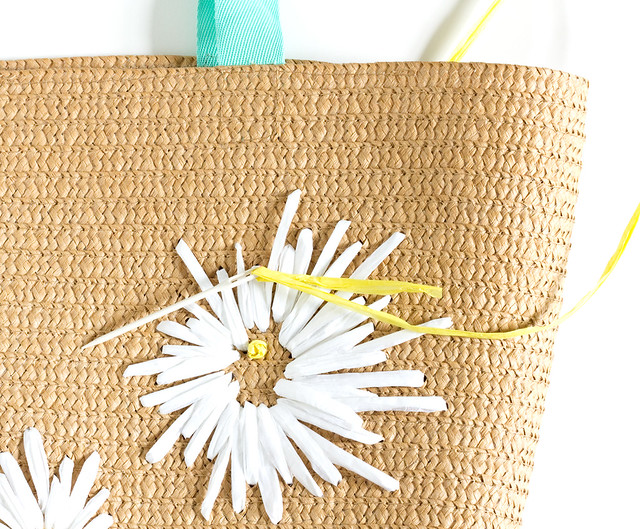
Cut a length of the raffia and tie a knot at one end. Thread the needle and start by stitching simple, large stitches that go from the center circle to the outer circle, with space in between each.
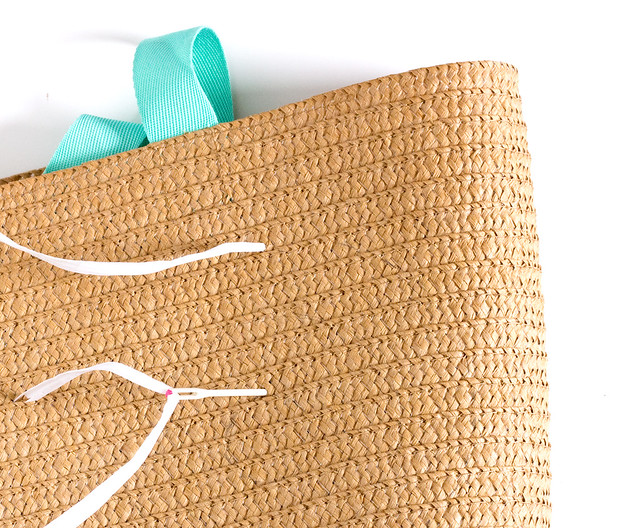
DIY Raffia Embroidered Tote | click through for the full tutorial! DIY Raffia Embroidered Tote | click through for the full tutorial! Fill in between each stitch with slightly shorter stitches, and repeat again with shorter stitches, filling in all of the gaps. It doesn't have to be perfect! I found that a more relaxed arrangement of stitches actually looked more natural than perfectly exact ones.
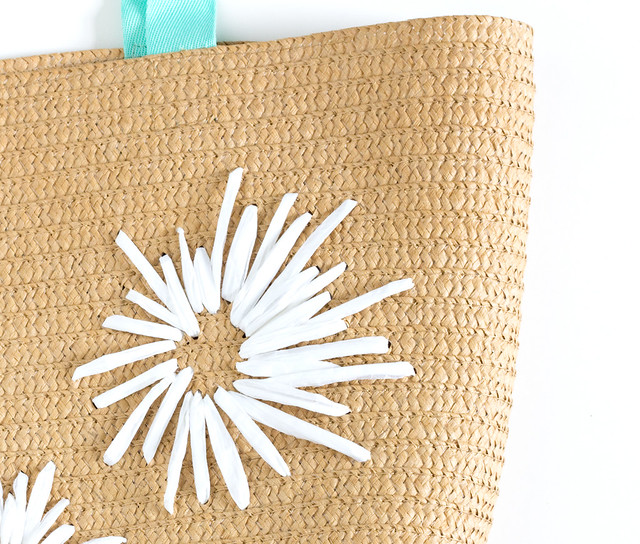
DIY Raffia Embroidered Tote | click through for the full tutorial!

Tips
  • Don't pull the raffia too tight. The goal is for the stitches and the bag to lie flat.
  • Untwist the raffia as you go.
  • Finish each length of raffia with a knot inside the bag, as close as possible to the bag.
  • Make sure to pull the raffia all the way through when you're stitching.
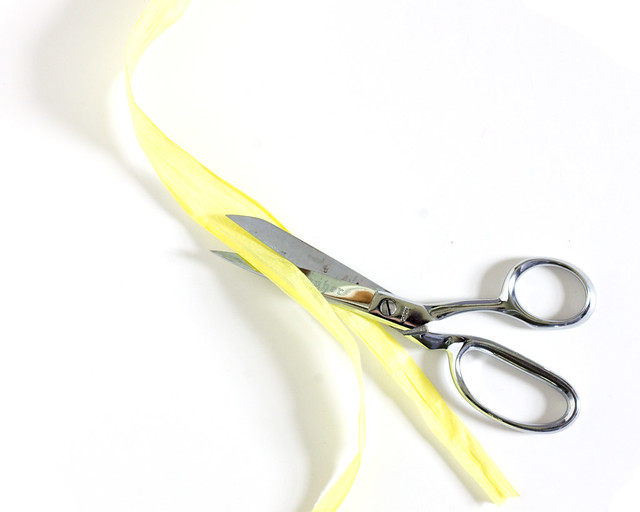
Add some french knots to the center of each flower. Cut a length of yellow raffia and unfold it. Cut in in half along the length and refold.

DIY Raffia Embroidered Tote | click through for the full tutorial!
Tie a knot on one end and thread onto the needle. Come up in the center of a flower, twist the raffia twice around the needle, and push the needle down into the bag, just next to where the needle came up. Pull tight.
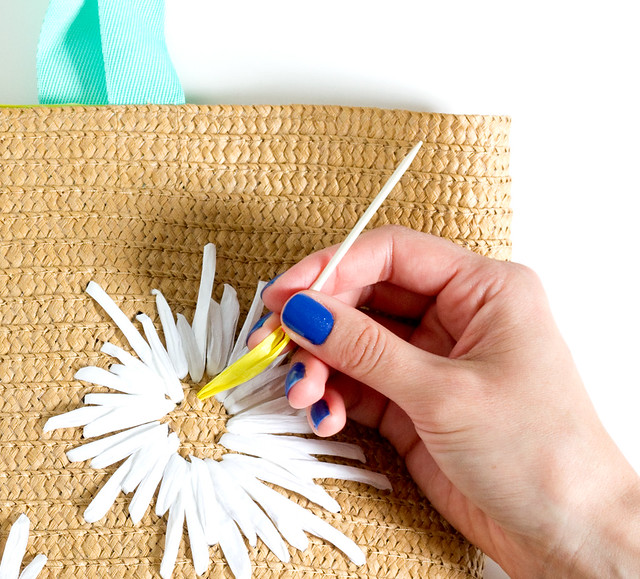
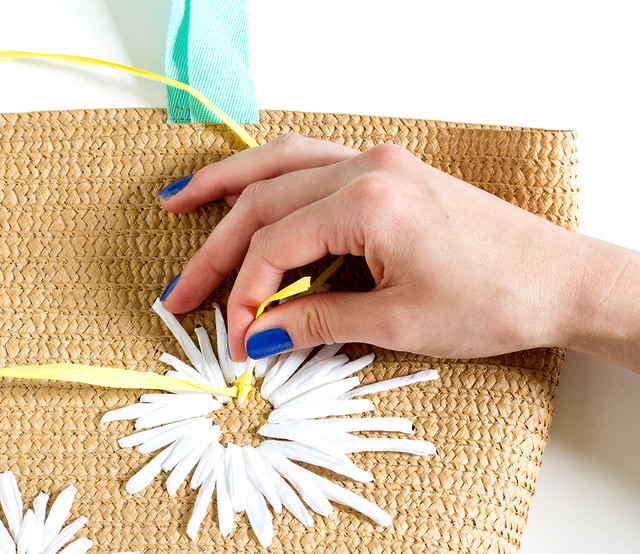
DIY Raffia Embroidered Tote | click through for the full tutorial! DIY Raffia Embroidered Tote | click through for the full tutorial! DIY Raffia Embroidered Tote | click through for the full tutorial! If you need a little extra help this french knot tutorial has a great explanation. Fill in the center with a bunch of french knots!
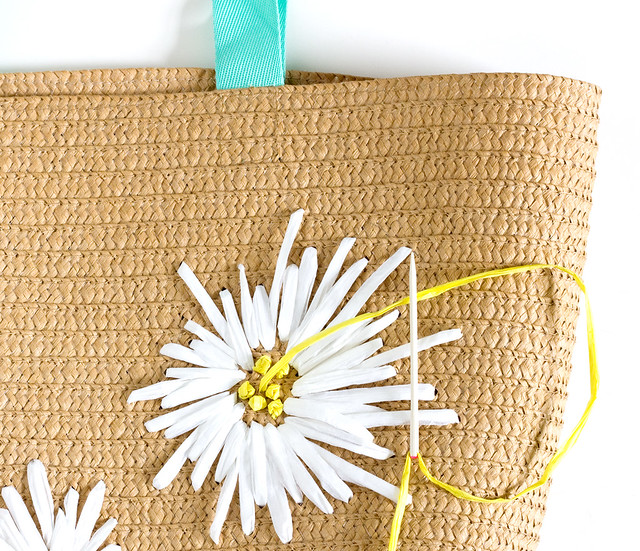
DIY Raffia Embroidered Tote | click through for the full tutorial!
Stitch some leaves around the bag in varying sizes. I stitched simple V-shapes and then added a long stitch through the center.
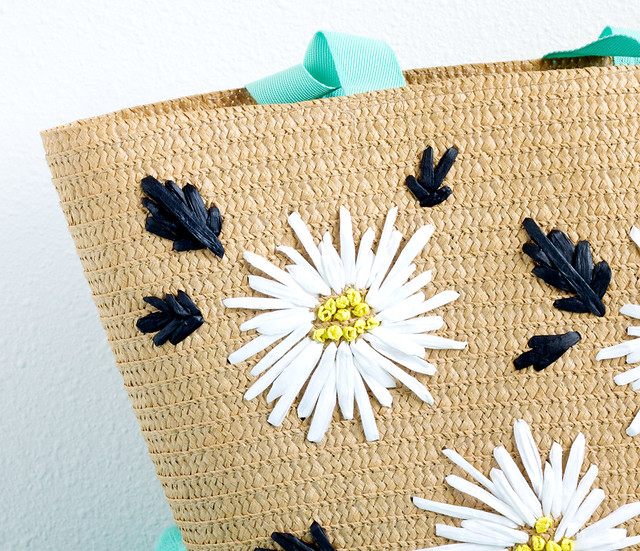
DIY Raffia Embroidered Tote | click through for the full tutorial!
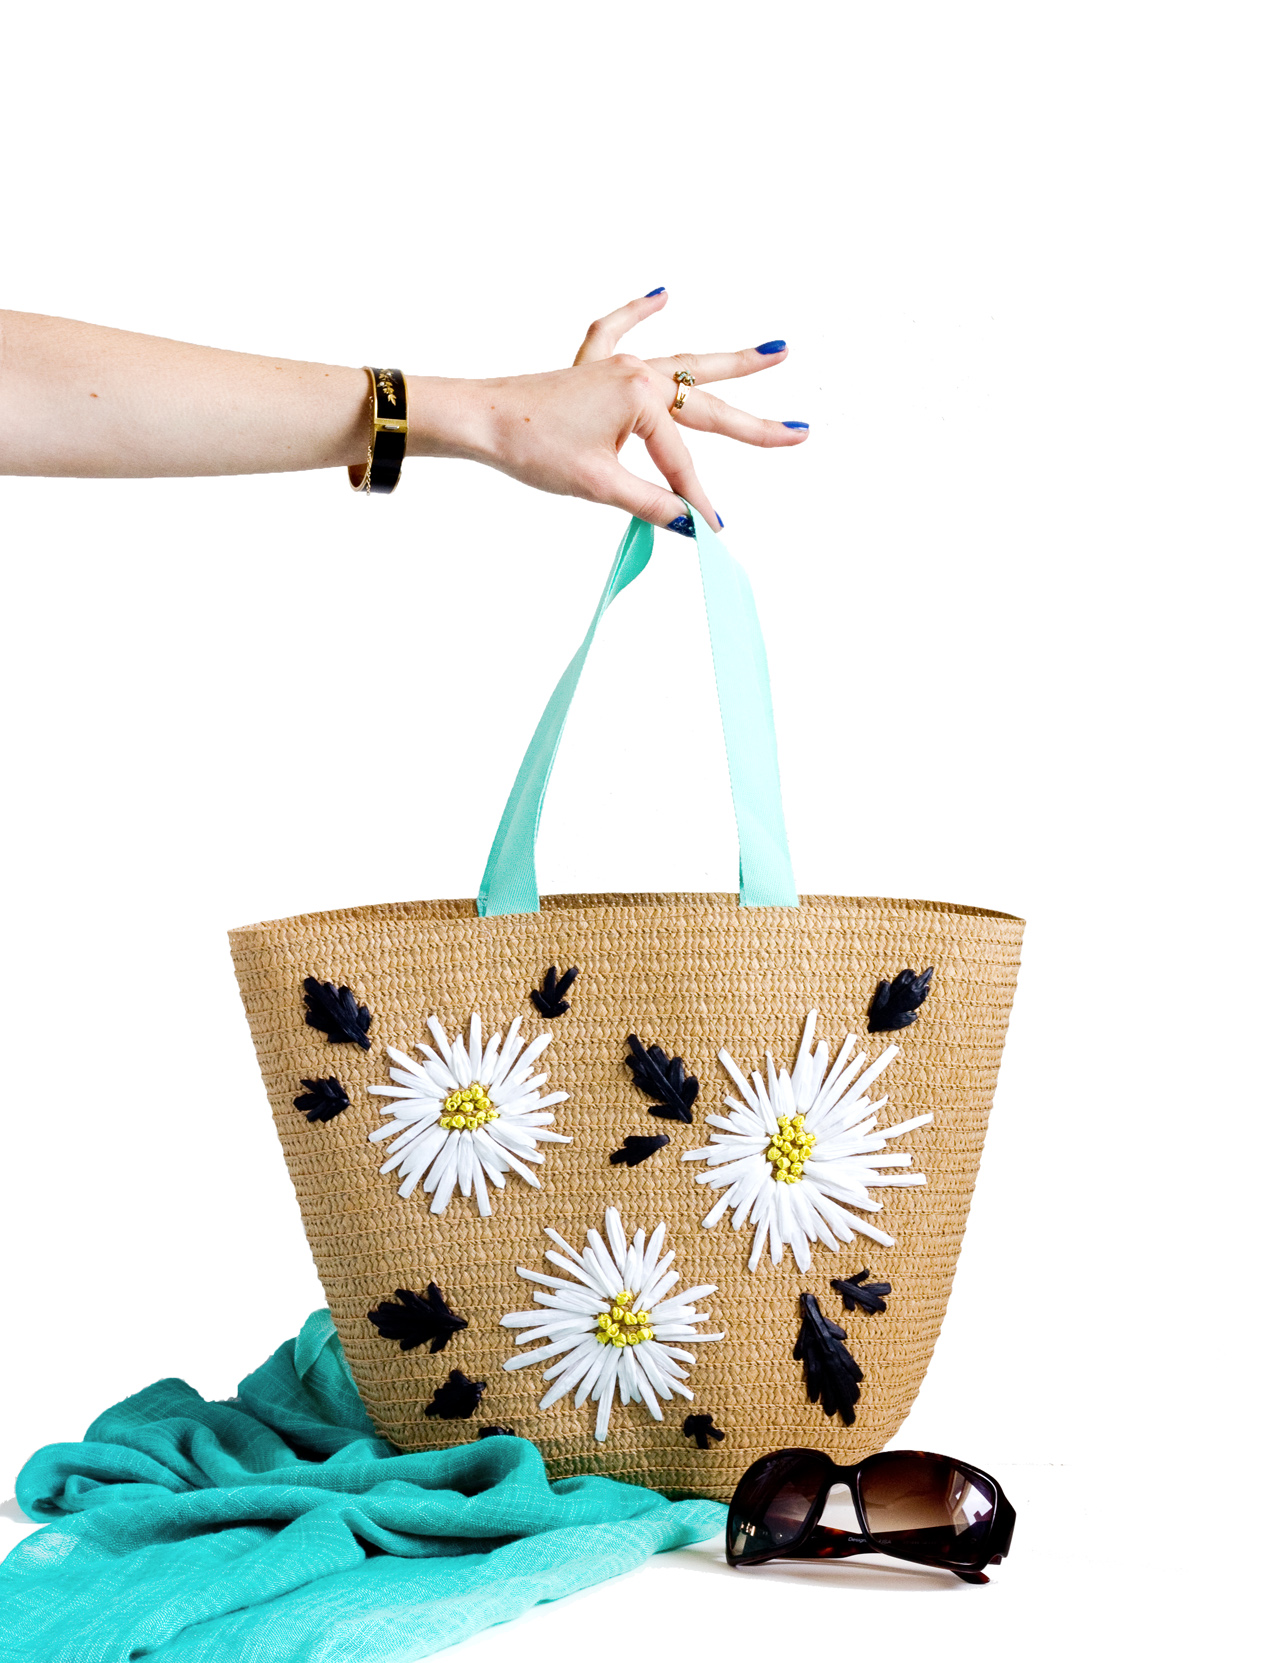
That's it! Can you believe how easy that was? I'm so excited to take my new, retro bag out and about. DIY Raffia Embroidered Tote | click through for the full tutorial! DIY Raffia Embroidered Tote | click through for the full tutorial! Keep an eye out for those simple straw bags that are just asking for a vintage-inspired makeover so you can try this technique out yourself!
3

Friday Finds 4.24.15

Friday, April 24, 2015

Weaving detail by @vitaminimodern on instagram Happy Friday to you! I hope you had a nice week. I've been working on a few different things - some diy projects for the blog that are works, shop updates, getting ready for Patchwork Show, Oakland in a couple weeks. And just for fun, I started working on another weaving. I really enjoy the how relaxing it is! Maybe I'll work on a post about it here on the blog. In the meantime, here are a few cool things for you to peruse:
  • I love these painted wood bowls
  • Learn how to embellish a basic tank top with sweet and simple embroidery stitches
  • I need to get some wood beads so I can make this necklace
  • Jillian Bremer's honest talk about business on Design Sponge is a really good read
  • I just watched Somm. Have you seen it? It's a documentary about the difficult road to becoming a Master Sommelier. It reminded me a lot of taking finals in college and going to job interviews, ie: super stressful! But it also reminded me how fulfilling it can be to work hard to get really good at something. You can find it on Netflix. 
  • If you're missing Don Draper's mod apartment already, you can read about the set and furnishings in this LA Times post from 2012. How had I never noticed that wallpaper in the kitchen before?
  • I kicked off my Small Biz Series last week with the topic of getting started. Check it out and get a free printable, hand lettered by me, of one of my favorite Maya Angelou quotes

Have a lovely weekend!


3

New Greeting Cards in the Shop!

Wednesday, April 22, 2015

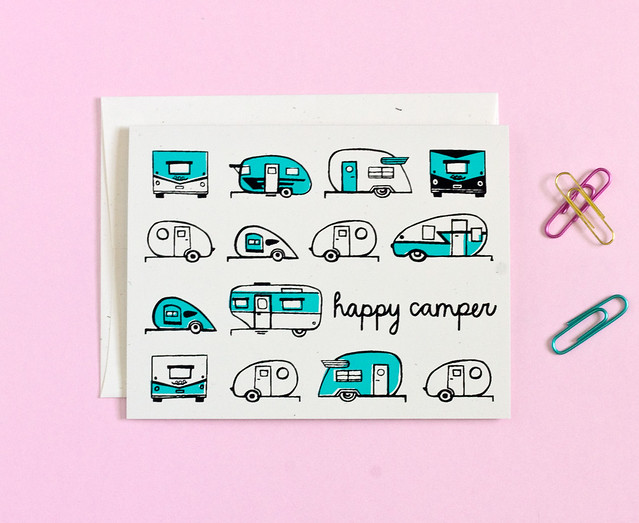
Happy Camper Vintage Trailer Card by Vitamini I've been a busy bee working on new cards for the shop. If you follow me on Instagram you may have seen a preview!

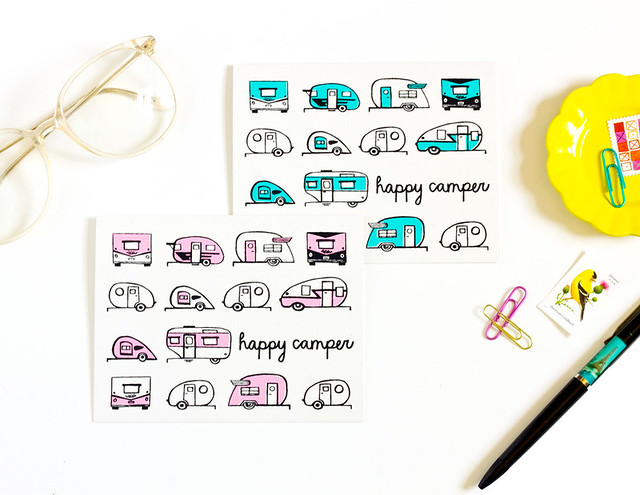
Happy Camper Vintage Trailer Card by Vitamini My Vintage Trailer Caravan fabric print is one of my most popular products and excited to have it on greeting cards! Happy Camper is hand printed in my favorite shades of teal and pink on white stock. So cute! It's a great anytime card.

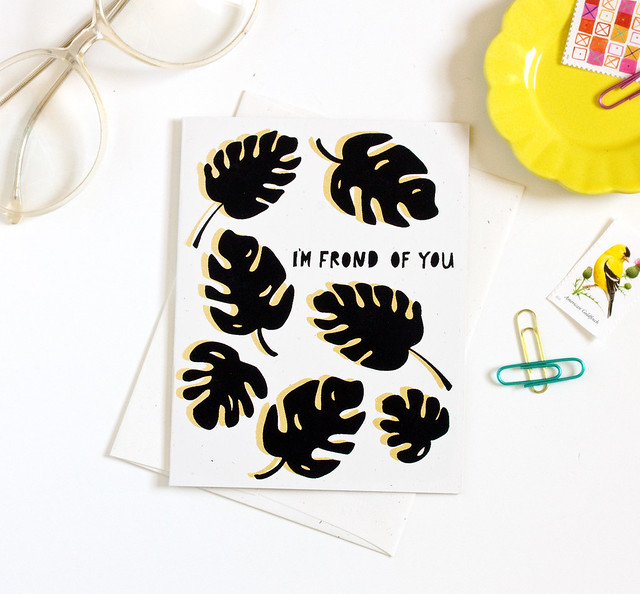
I'm Frond of You Palm Leaf Card by Vitamini I've had the idea for this card in my brain for a while. You know I love me a plant pun! Use these leafy greens to say I'm Frond of You! Printed with velvety black and metallic gold inks, it's graphic with a little bling.

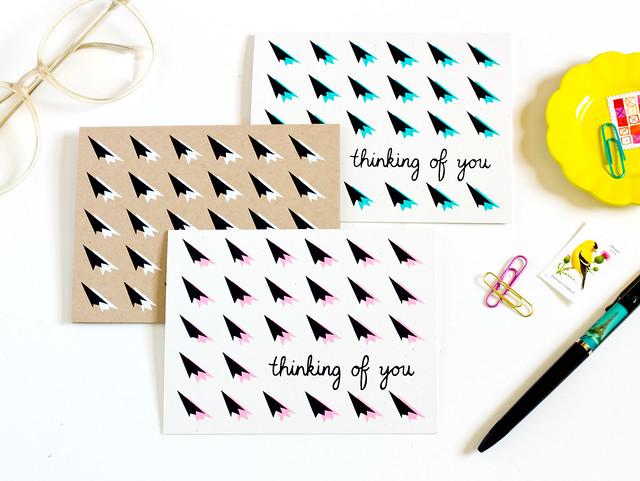
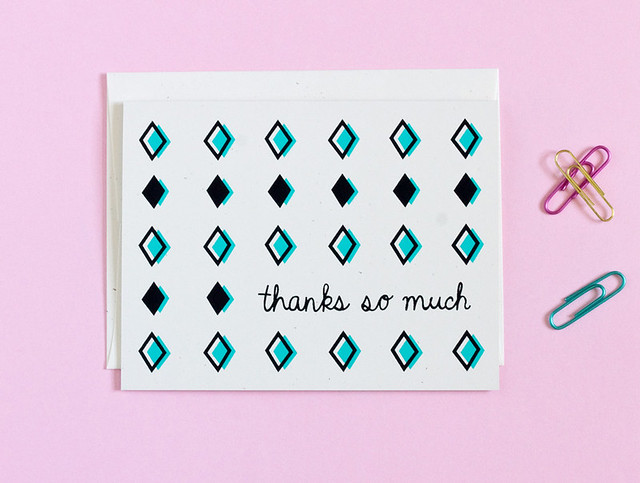
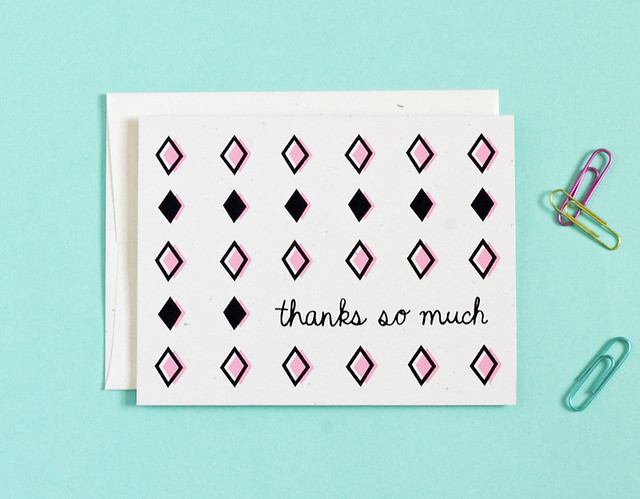
Thinking of You Retro Greeting Card by Vitamini Next up are two coordinating cards, Thinking of You and Thanks So Much. I originally intended to only print these in one or two colors but when I was standing in front of the screen with the squeegee in my hand I couldn't resist trying out a few color combinations. I love them all! Both designs are available in pink or teal on white and white on kraft brown.

Retro Thank You Card by Vitamini Retro Thank You Card by Vitamini

One of the 2015 goals I set for my business was to work hard on diversifying my greeting card line. These new cards included, that makes 13 new cards so far this year. Woohoo!

4

Small Biz: Getting Started (and a free printable!)

Friday, April 17, 2015

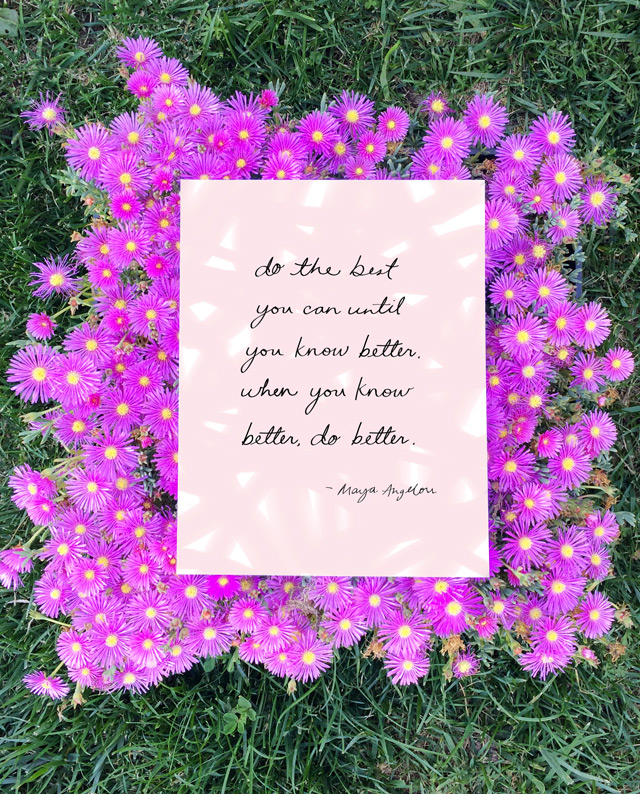
Do the Best You Can Quote, Free Printable by Vitamini Handmade
I announced this blog series last week and I'm so excited to dive right in! I have lots of ideas for very specific topics but I don't want to get ahead of myself, so let's start at the very beginning!

So you have a great idea for a handmade business/podcast/blog/craft workshop/whatever. Now what?

Just Get Started

Yep, that's it. Just start! If there's one thing we all have in common it's that we all have to start somewhere. Usually that somewhere isn't glamorous or perfect or exciting, but it's somewhere. And that's all that matters.

I'll use my experience as an example: Back in 2007 I taught myself how to screen print and started making greeting cards. I thought, hey, people might want to buy these! Back then my plan back then was never to start a business, it was just to have fun and make a little money to support my new hobby. But either way, hobby or business, I had to get started! I opened an Etsy shop, snapped a couple pictures of my new cards, wrote a little description, guessed at a price, and clicked publish on the listing. And there it was! My creation was out in the world for people to see! So exciting! My first card sold within a couple of days and I was officially hooked, excited and ready to work on more products and designs and get other stuff listed.

Sounds great, right? Well, it wasn't as perfect as it sounded. My photos were bad. Terrible, even. I only had 2 products to choose from. I didn't know what my brand was, at all. I didn't have a logo. My prices were too low. Even though all of these things were "wrong" at the time, it's what got me started and gave me the energy to continue. And guess what? I learned everything else along the way! I learned how to take better photos, effectively price my products, focus my brand, and diversify my product line in these past 7 years of doing business. Honestly if I thought I had to have all of those things nailed down when I wrote my first listing I probably would've been too overwhelmed to ever start.

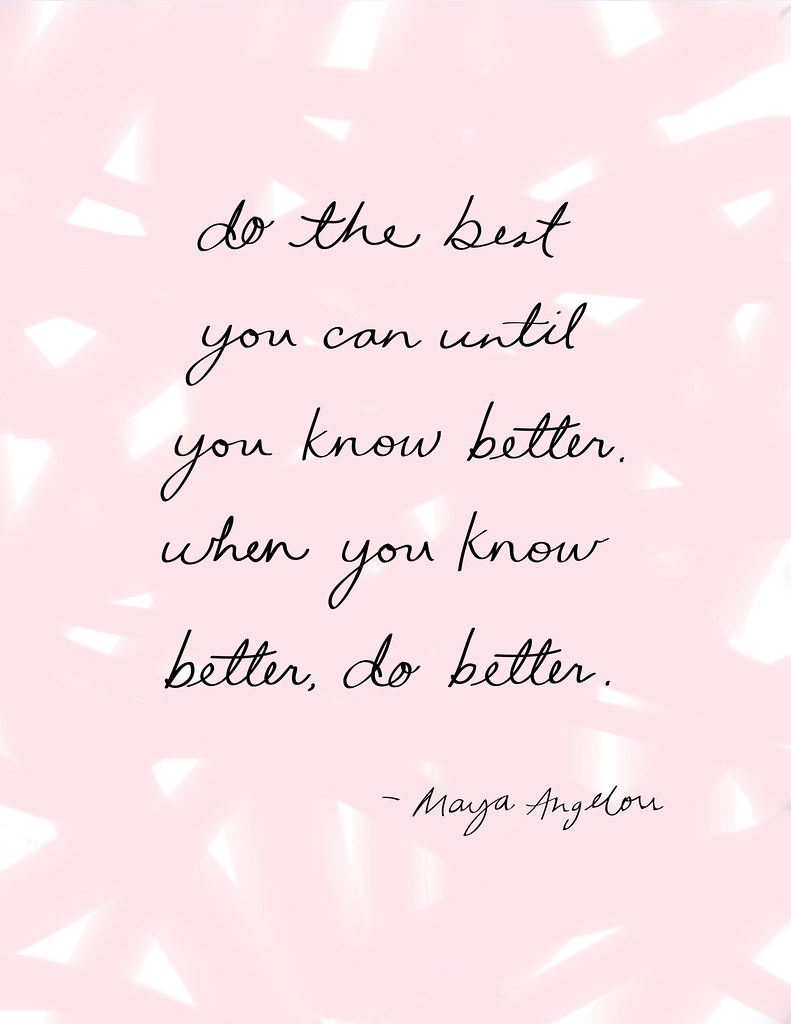
Do the Best You Can Quote, Free Printable by Vitamini Handmade Here are my do's and don'ts for helping you to just get started with a new creative endeavor.

Do:
  • Outline what needs to be done. What are the steps that will get you to your goal? Focus on the necessary ones, only.
  • Give yourself a deadline and stick to it!
  • Enlist a friend to help hold you accountable. Tell someone about your goals and ask them to check in with you about them. It'll be harder to procrastinate if you know someone's expecting you to deliver on your promises.
  • Quit thinking and start doing! Don't get stuck with analysis paralysis.
Don't:
  • Don't get distracted by the details.
  • Don't feel like everything needs to be perfect.
  • Don't spend hours on end searching Pinterest.
I love this quote by Maya Angelou and think it's so fitting for starting something new, doing your best, and learning from it! I liked it so much I made a hand lettered printable for you! Download it right here if you'd like.

I'll continue this series of blog post with other topics, but please let me know if there's something specific you'd like to see covered here. Just leave a comment or send me an email. :) And have a great weekend!


2

Friday Finds 4.10.15

Friday, April 10, 2015

Untitled
We made it to another Friday! How was your week? Mine was jam packed - I've been working on a bunch of new card designs over the past couple of weeks and finished making the final adjustments the other day. I've already made the screens with the designs and now I'm anxious to get them all printed so I can share! I'll be spending some quality time in front of my printing table over the next few days. I'm also planning to take a little road trip to visit a friend this weekend and I'm looking forward to the break since I usually work on the weekends. Anyway, enough of me! I've noticed lots of fun and colorful stuff on the web this week that I thought you would appreciate as well:
Zipper photo from my Instagram feed. Follow me there to see what I'm up to, or to just look at Baci's puppy pics. :) Have a great weekend!

2

Small Biz: A New Blog Column

Wednesday, April 8, 2015

Small Biz Series by Vitamini Handmade

I've had the idea for this in my head for a while and I'm finally ready to make it real. I'm so excited to announce a brand new blog column! For those of you who don't know my background, I started selling my handmade greeting cards and housewares on Etsy in January of 2008. At the time I had no plans of turning that venture into a job, it was just a fun side project to help fund my craft supply shopping. Seven years later and my handmade business, this blog, and freelance gigs make up my career. I've learned so much along the way and have had the pleasure to meet so many inspiring people who are paving their own path and making careers from their creative pursuits. So I introduce my new column, Small Biz. It will have two parts:

Small Biz Tips

After starting my business from scratch 7 years ago (and this blog 4 years ago) I've learned quite a bit and have a few tips and tricks for how I do things. I really want to share those things with you! I'll also be lining up guest posts from other makers, bloggers, and creative business people so they can share their knowledge as well. You won't want to miss this column if you're looking to start, develop, and improve your own small business!

Small Biz Spotlight

I'll be featuring small business owners, sharing their craft, and a little behind the scenes looks at their work spaces. There's so much great stuff being made by really cool people right now. I want to share some of that great stuff and introduce you to the cool people making it!

Come back next week for my first post of the series.

5

Happy Easter!

Friday, April 3, 2015


Happy Easter to you, my friends! I've been catching up on work this week and also trying to get over a cold, so I'll be taking it easy and eating lots of candy. :)

If you're looking for a last minute project, I have lots of good ones in the archives! See all of the Easter DIYs from years past right here.

*Photo of Mary Tyler Moore surrounded by bunnies via Mitch O'Connell

3

DIY Sneaky Easter Eggs

Wednesday, April 1, 2015

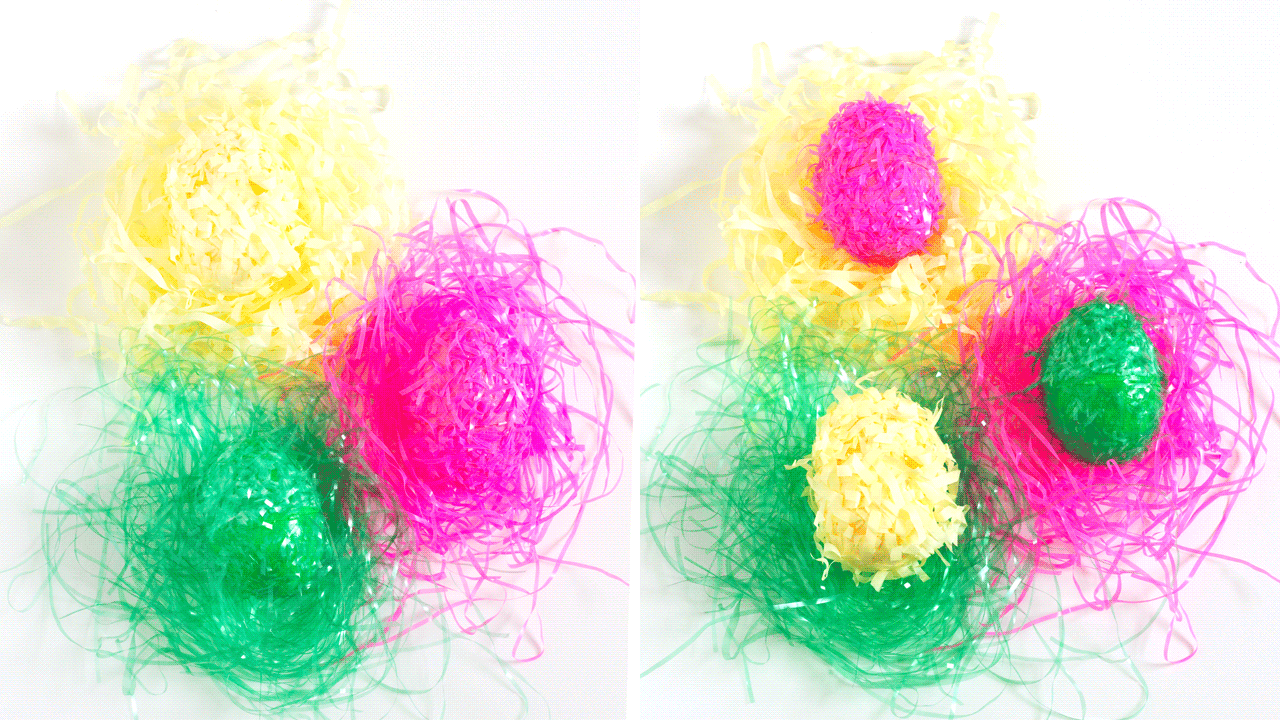
DIY Sneaky Easter Eggs With Easter so close to April Fool's Day this year I thought it would be fun to come up with a little practical joke from the Easter Bunny. These eggs will practically disappear in the Easter basket because of their funny Easter grass camouflage. They're cute on their own, too, almost like colorful cocoanut macaroons, in egg form.
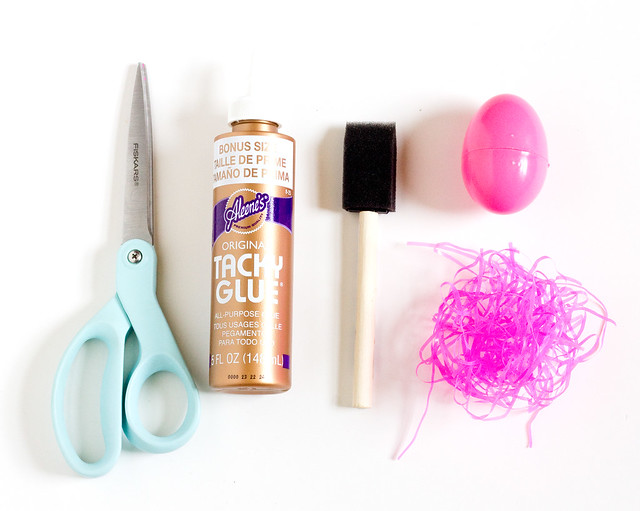
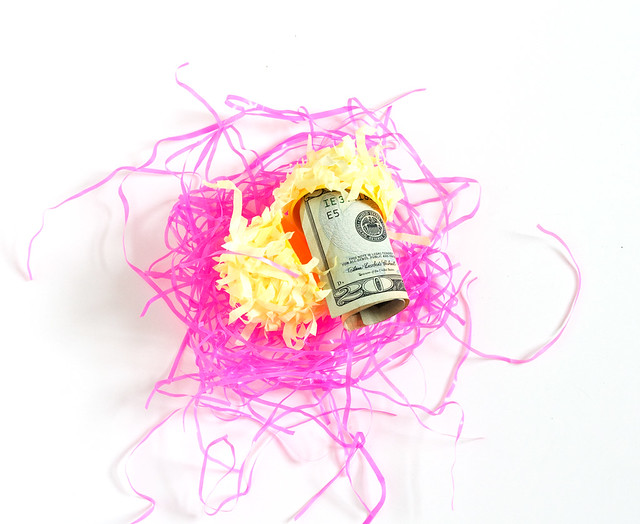
I used Easter grass (basket filler) for this project, but you could use real grass clippings instead for outdoor egg hunts. It would be perfect for older kids and adults who are looking for an extra challenge. Hide the best prizes in the camouflaged eggs!

Here's what you'll need:
DIY Sneaky Easter Eggs
  • Easter grass - I used opaque pink, transparent green, and yellow paper grass
  • Plastic eggs in the same colors as the grass
  • Thick glue - I used Tacky Glue but regular white glue would work, too
  • Foam brush
  • Scissors
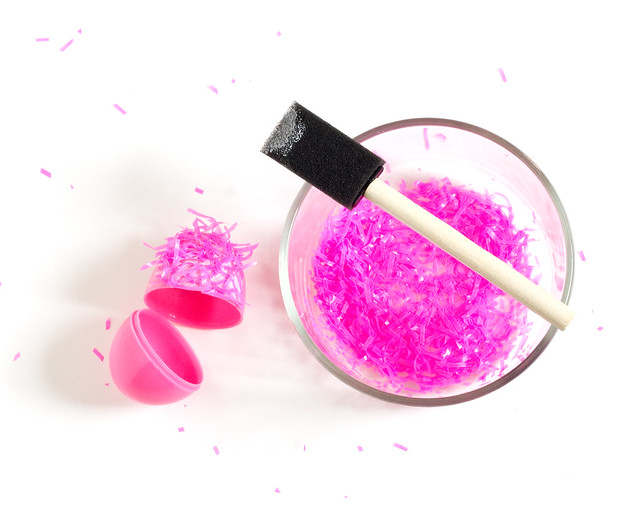
Grab a handful of grass and trim it into a bowl. Cut varying sizes with the largest about 3/4" long.
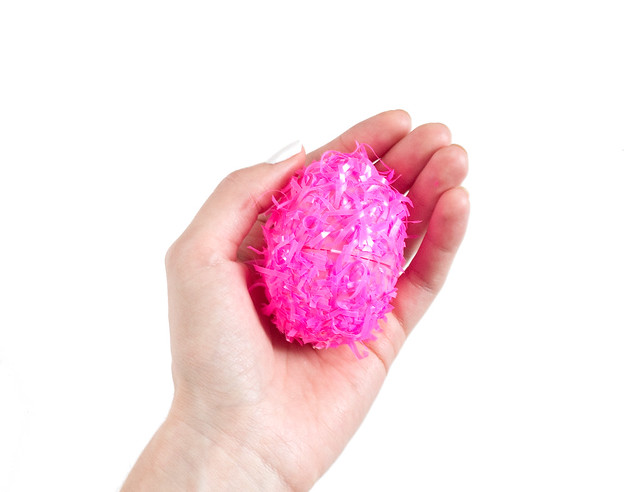
Open up an egg and brush the glue onto one side. Lay it in the bowl of the grass trimmings and cover all of the exposed glue. Repeat with the other side of the egg, making sure not to get glue on the seam. Let dry.
DIY Sneaky Easter Eggs
That's it! Fill them with prizes and hide them in Easter baskets. I had to take pictures of them on different colored grass because they blended in so well they practically disappeared!
DIY Sneaky Easter Eggs

DIY Sneaky Easter Eggs

DIY Sneaky Easter Eggs

Cute, clever, and so easy! I know my 6 year old niece will get a kick out of these on Easter. I hope you'll make a few! Happy April Fool's Day!
 

vitamini handmade © All rights reserved · Theme by Blog Milk · Blogger