3

Thankful

Thursday, November 27, 2014


Happy Thanksgiving to you! I'm thankful for so many things this year, one of the big ones being the opportunity to pursue a career doing what I love. And I'm so very thankful for each of you! Thanks for clicking through to see what I'm up to and the projects I dreaming up.  Nobody ever said it would be easy, but I'm still thrilled that I get to follow my own path every day and create my own future. Thanks for coming along for the ride!

*Fab photo of a turkey-riding Virginia Gibson via A Shroud of Thoughts

12

DIY Marbled Candle Set

Wednesday, November 26, 2014

DIY Marbled Candle Set | www.vitaminihandmade.com

I'm still thinking up ways to incorporate my hand marbled papers and fabrics (made with this marbling tutorial last spring). Here's an easy way to make a marbled candle with some of those pretty papers. While you're at it, make a marbled matchbox to match! The set would make a nice gift for a coworker, hostess, or just an extra to have on hand for unexpected holiday dinner guests.

Here's what you'll need:
DIY Marbled Candle Set | www.vitaminihandmade.com
  • Candle in glass container. Candles with straight sides work the best.
  • Matchboxes
  • Marbled papers
  • Solid papers
  • Fine sandpaper
  • Rubber cement
  • Double sided tape
  • Xacto knife
  • Cutting mat
  • Ruler
  • Junky scissors

DIY Marbled Candle Set | www.vitaminihandmade.com

Measure the circumference of the candle and cut a strip of the marbled paper to size. Mine was 2" wide. Cut a piece of accent paper the same length but 1/2" wider. Glue them together with rubber cement. Apply to both sides of the paper and join while it's still wet. Add double sided tape to the outside of the candle glass and layer the paper over.

DIY Marbled Candle Set | www.vitaminihandmade.com DIY Marbled Candle Set | www.vitaminihandmade.com

Measure the matchbox and cut pieces of marbled paper to match. Score the folds. Add rubber cement to the outside of the matchbox and the backside of the papers. Fold around the matchbox and let dry. Cut a strip of sandpaper with junky scissors the width of the box and glue over the paper seam on the back.

Pair up a matching marbled candle and matchbox set! Make some extra matchboxes and fill a pretty bowl with them. The custom touch makes them feel fancy!

DIY Marbled Candle Set | www.vitaminihandmade.com DIY Marbled Candle Set | www.vitaminihandmade.com

17

DIY Clay Gift Tags

Friday, November 21, 2014

DIY Clay Gift Tags | www.vitaminihandmade.com

I love thinking up ways to make my wrapped gifts special. The wrapping can be almost a present by itself! Make a bunch of these clay tags and have them ready for when for those late night gift wrapping sessions. They'd also be handy for when you're running out the door at the last minute and need to bundle up a hostess gift!

Here's what you'll need:

DIY Clay Gift Tags | www.vitaminihandmade.com
  • Premier Air-Dry Clay
  • Wax Paper 
  • Rolling pin
  • Cardstock tag templates. Mine were 1.5" x 2" and 1.5" x 3"
  • Xacto knife
  • Small cookie cutters or scrap pieces of cardstock to make your own
  • Baker's twine
  • Liquid Gold Leaf
  • Paint brush
  • Permanent marker or letter stamps and ink pad

DIY Clay Gift Tags | www.vitaminihandmade.com

Roll out a ball of clay with a rolling pin in between two layers of wax paper. Aim for about 1/8" thick. Lay the cardstock template over the clay and cut around it with the xacto knife.

DIY Clay Gift Tags | www.vitaminihandmade.com

Punch out a hole at the top of each using a pen cap or something similar. Cut the star shapes. If you don't have cookie cutters small enough (I didn't) just accordion fold a strip of cardstock 10 times. Glue both ends together. Ta-da! A star cutter that will last you for about 8-10 uses before it starts to fall apart. Perfect for this kind of job and it was free! Smooth out any rough edges with your fingers. Let dry on a drying rack for a few hours. I just left mine overnight.

DIY Clay Gift Tags | www.vitaminihandmade.com

Paint the edges with the liquid gold leaf and let dry. Stamp or write names on the tags. Tie up with baker's twine and add to your pretty packages! They look great layered! DIY Clay Gift Tags | www.vitaminihandmade.com DIY Clay Gift Tags | www.vitaminihandmade.com DIY Clay Gift Tags | www.vitaminihandmade.com

45

New Ornaments, Fabrics, Etc!

Wednesday, November 19, 2014

Handmade Wood Ornaments by Vitamini

Hey there! The busy season has already started and before I get swept away filling orders and sharing new holiday DIYs, I wanted to stop by to share a few updates, shop and otherwise!

Handmade Wood Ornaments by Vitamini

Remember the 
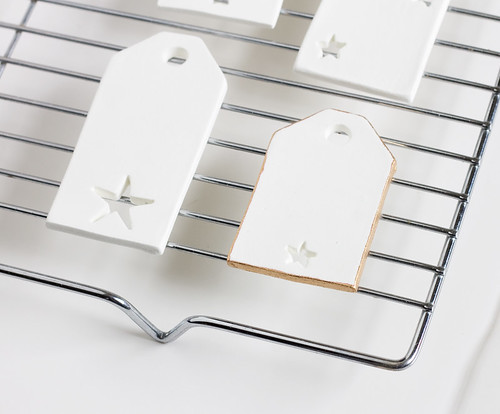
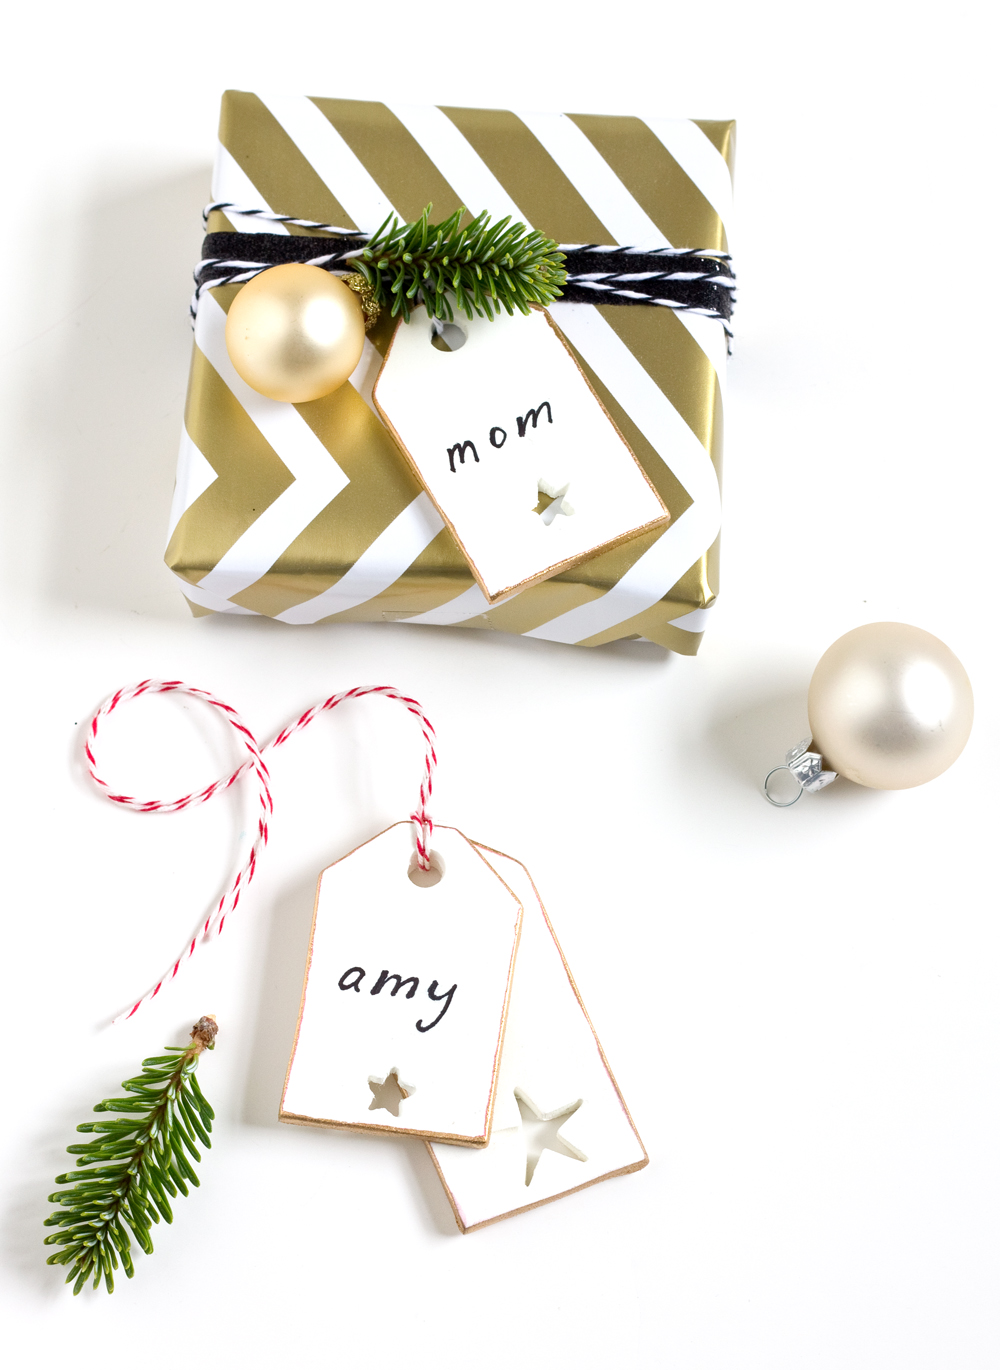
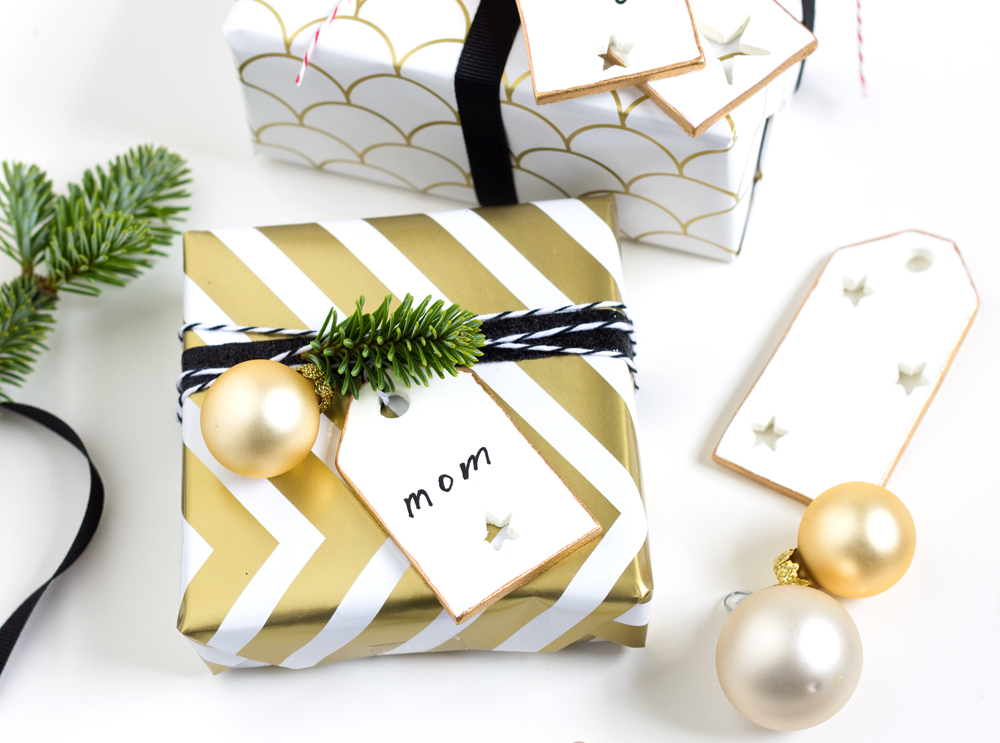
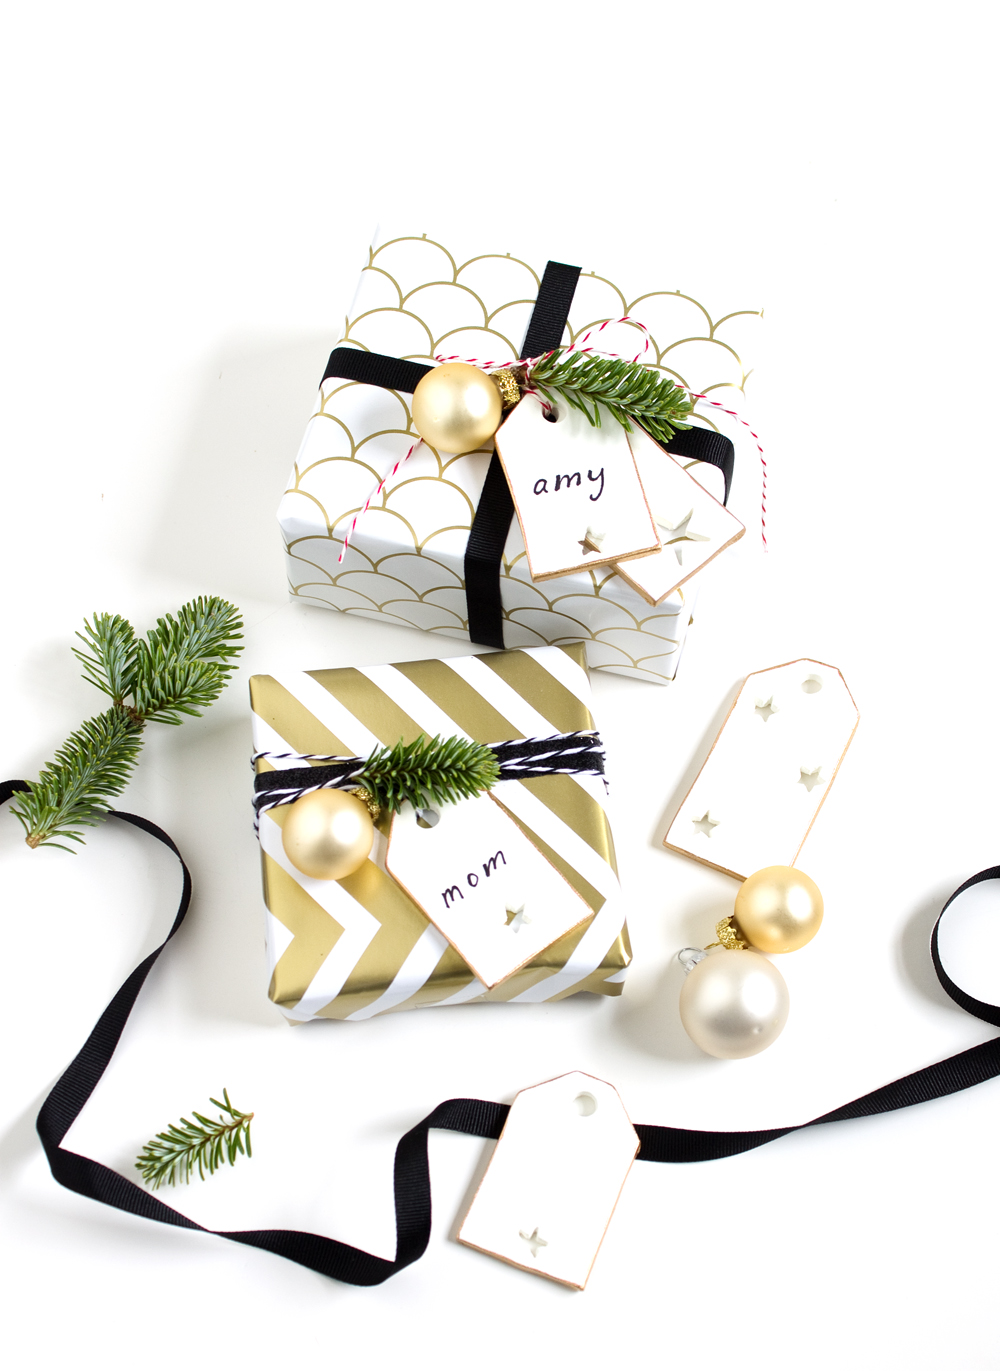
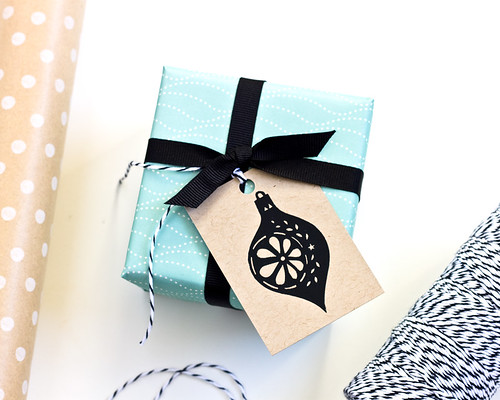
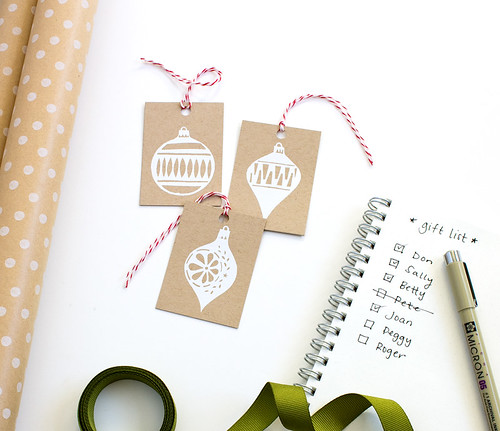
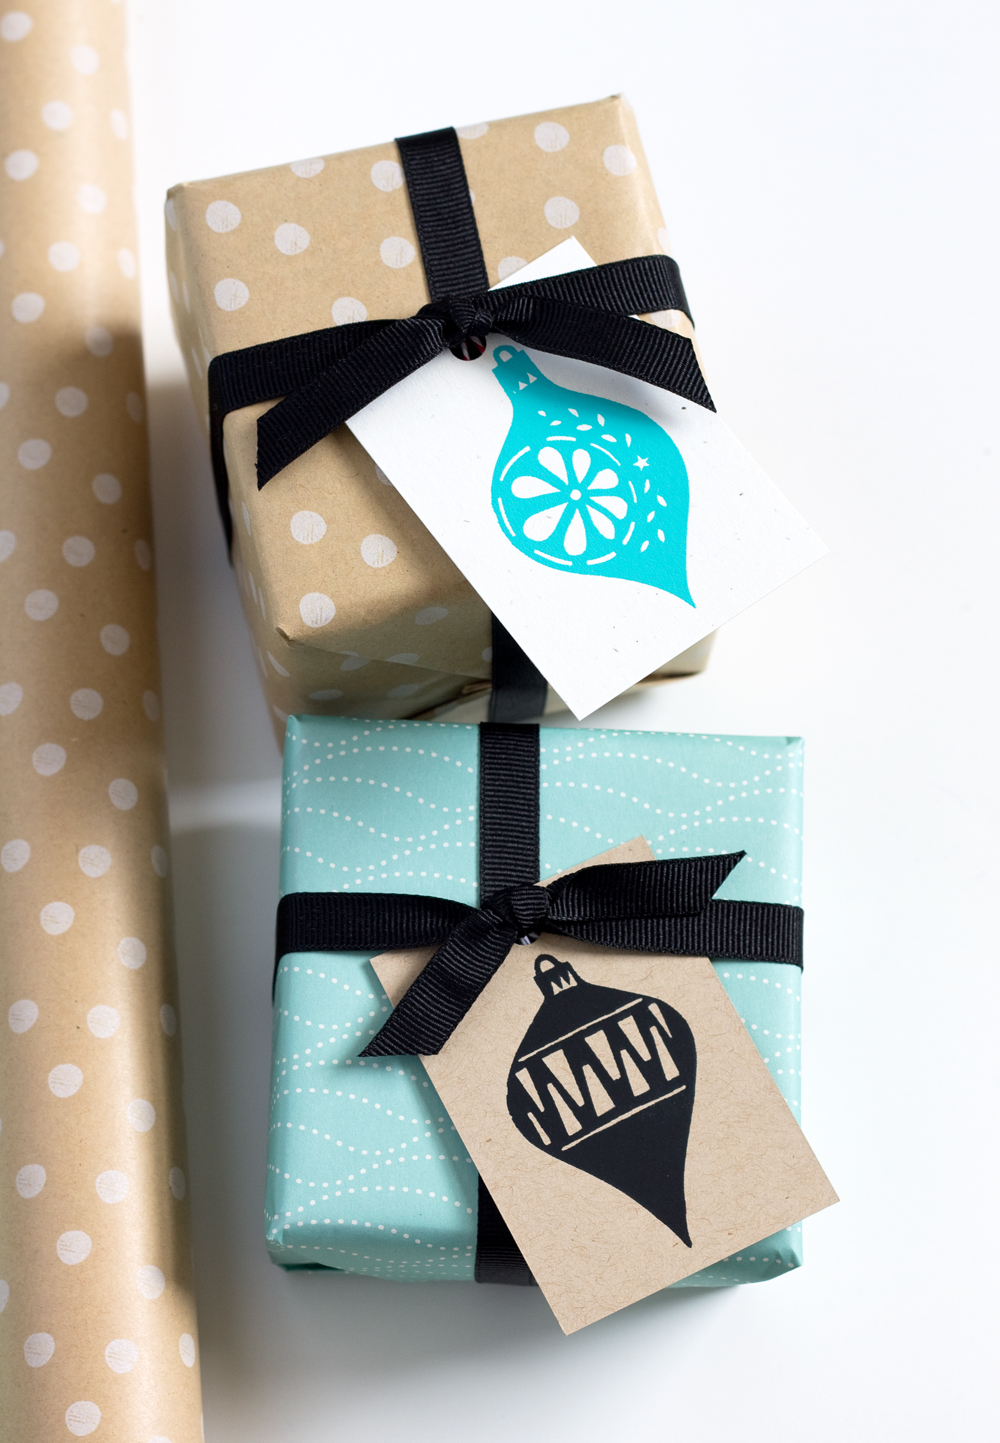
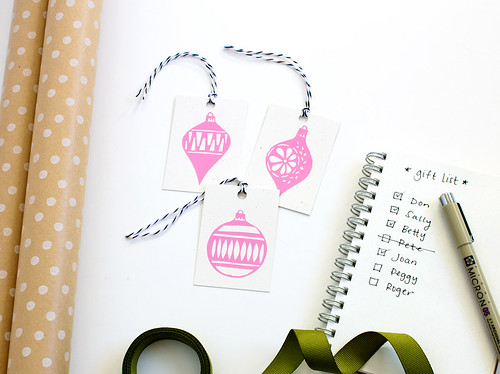
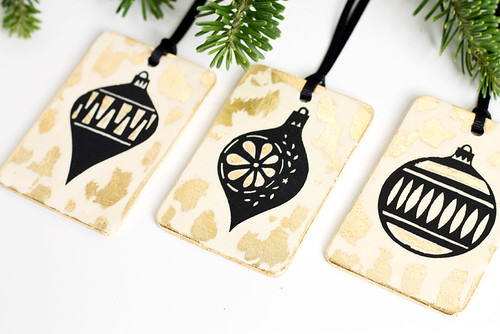
retro ornament gift tags I shared last week? I shared them on Facebook and my good friend Ann suggested I make some actual ornaments out of my ornament designs. As per usual, I immediately got swept up into idea and spent the next two (or three or four) evenings working out a design and refining the technique (and sanding, sealing, printing, leafing, drilling, and sealing some more)! And now here they are! Mixed media (screen print on wood with gold leaf) ornaments. They're available in sets of three in my shop and on Etsy. I hope you like them!

Original Fabric Prints by VitaminiKebab Fabric Print by Vitamini

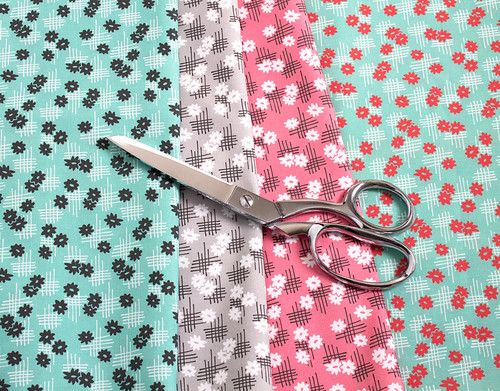
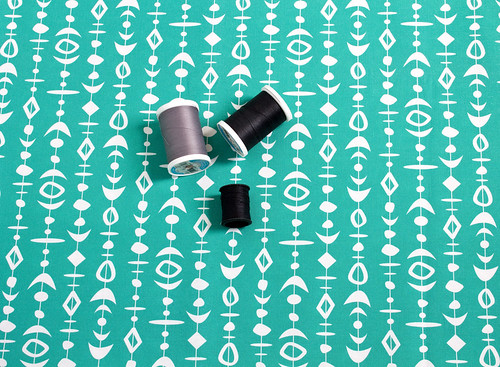
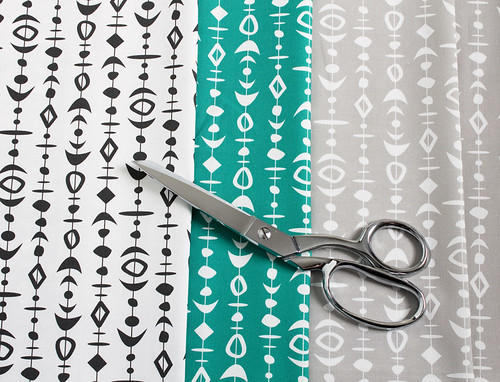
I have some new fabrics in the shop, too. Kebab and Flower Grid. All of the colors coordinate with my other fabric prints. I'm looking forward to sewing something up with these guys.

Kebab Fabric Print by Vitamini

In non-shop news, my Etsy Craft Entrepreneurship class has been going so well! There's only one class meeting left! I can't believe how fast the past 5 weeks have gone. I've been having a great time meeting local artisans and helping them get their shops up and running.

Baci & Me :)

My pup Baci is growing super fast. She's almost 6 months old. In the past few weeks she's been teething like crazy and losing the last of her baby teeth. I feel like our housebreaking training may be coming to a close (thank goodness).

In addition to the usual shop updates and blog diys I'm just about to jump into a bedroom makeover project! I'm currently working out the design details, but I can't wait to roll up my sleeves and get started. Keep an eye out for those posts on the blog, coming soon!

13

DIY Gold Flecked Tray

Thursday, November 13, 2014

DIY Gold Flecked Tray | Full tutorial at www.vitaminihandmade.com

This gold flecked tray is so pretty, you'd never believe how easy it is to make! All you need is some gold leaf scraps, pourable resin and supplies, and a tray to make this unique piece that would look beautiful on a bedside table or dresser. Package it up with some nice bath products and it would make a thoughtful gift!

Here's what you'll need:

DIY Gold Flecked Tray | Full tutorial at www.vitaminihandmade.com

Clean the inside of the tray to remove any dust. Sprinkle the gold leaf into the bottom of the tray. Try to get a good mix of sizes.

DIY Gold Flecked Tray | Full tutorial at www.vitaminihandmade.com

Mix up the resin according to the instructions on the box. Make sure to do this in a well-ventilated area! Slowly pour the mixture into the bottom of the tray, on top of the leaf, to about 1/8" thickness.

DIY Gold Flecked Tray | Full tutorial at www.vitaminihandmade.com

Use the stir stick to rearrange the gold leaf as necessary. Remove any bubbles by popping them with the stir stick or by gently exhaling over the surface. Let cure on a level surface in a well ventilated area. Mix and pour another 1/8" layer of resin after the first one has set for about 24 hours. Let cure.

DIY Gold Flecked Tray | Full tutorial at www.vitaminihandmade.com
DIY Gold Flecked Tray | Full tutorial at www.vitaminihandmade.com DIY Gold Flecked Tray | Full tutorial at www.vitaminihandmade.com

I love how the resin adds dimension and depth to the tray. The leaf almost looks like it's floating. I really like how it turned out! I hope you'll try to make one, too!

7

Holiday Shop Update

Tuesday, November 11, 2014

Hand Screen Printed Holiday Gift Tags

Is it socially acceptable to talk about the holidays yet? I sure hope so! I've been adding festive holiday items to the shop lately, like these screen printed gift tags.

Hand Screen Printed Holiday Gift Tags Hand Screen Printed Holiday Gift Tags Hand Screen Printed Holiday Gift Tags

They feature the same ornament designs from my Merry & Bright holiday cards (I shared my creative process for that design here). Available in kraft & black, kraft & white, white & teal, and white & pink. They'd add a cool, retro vibe to all of those pretty gifts you'll give this season. You can find them all in my shop.

Hand Screen Printed Holiday Gift Tags

5

Milkshake, a free typeface from Fairgoods

Saturday, November 8, 2014

The fine folks at Fairgoods have a brand new typeface, Milkshake, up for grabs on their site. It's a hefty script with a bit of retro flair and is right up my alley. I really got a kick out of the promotional video they made to go with it.


Mmm, milkshakes... Head over to Fairgoods and download it for free!
Happy weekend! 

2

6 Autumn DIYs to Try

Wednesday, November 5, 2014

Fall is my favorite time of year! (Have I said that before?) I've been spotting lots of great projects around the web that look perfect for cool weather craft time. Cozy candles, necklaces that would look great layered over sweaters, festive leaf-themed decorations, and handmade wearables.

6 Autumn DIYs to Try | www.vitaminihandmade.com

1. I love these wood bowls with gold accents from Sugar and Cloth.
2. This leaf garland by I'mDrewScott would bring a colorful, modern touch to your Thanksgiving decor.
3. Pour your own soy candles with this tutorial by Paper and Stitch
4. You'd never guess these sophisticated necklace beads are made out of polymer clay! By The Lovely Drawer.
5. Block print your own scarf like this one from Almost Makes Perfect.
6. I love this wreath made out of textbook pages by Nalle's House.

*Photos via their respective sources
 

vitamini handmade © All rights reserved · Theme by Blog Milk · Blogger