








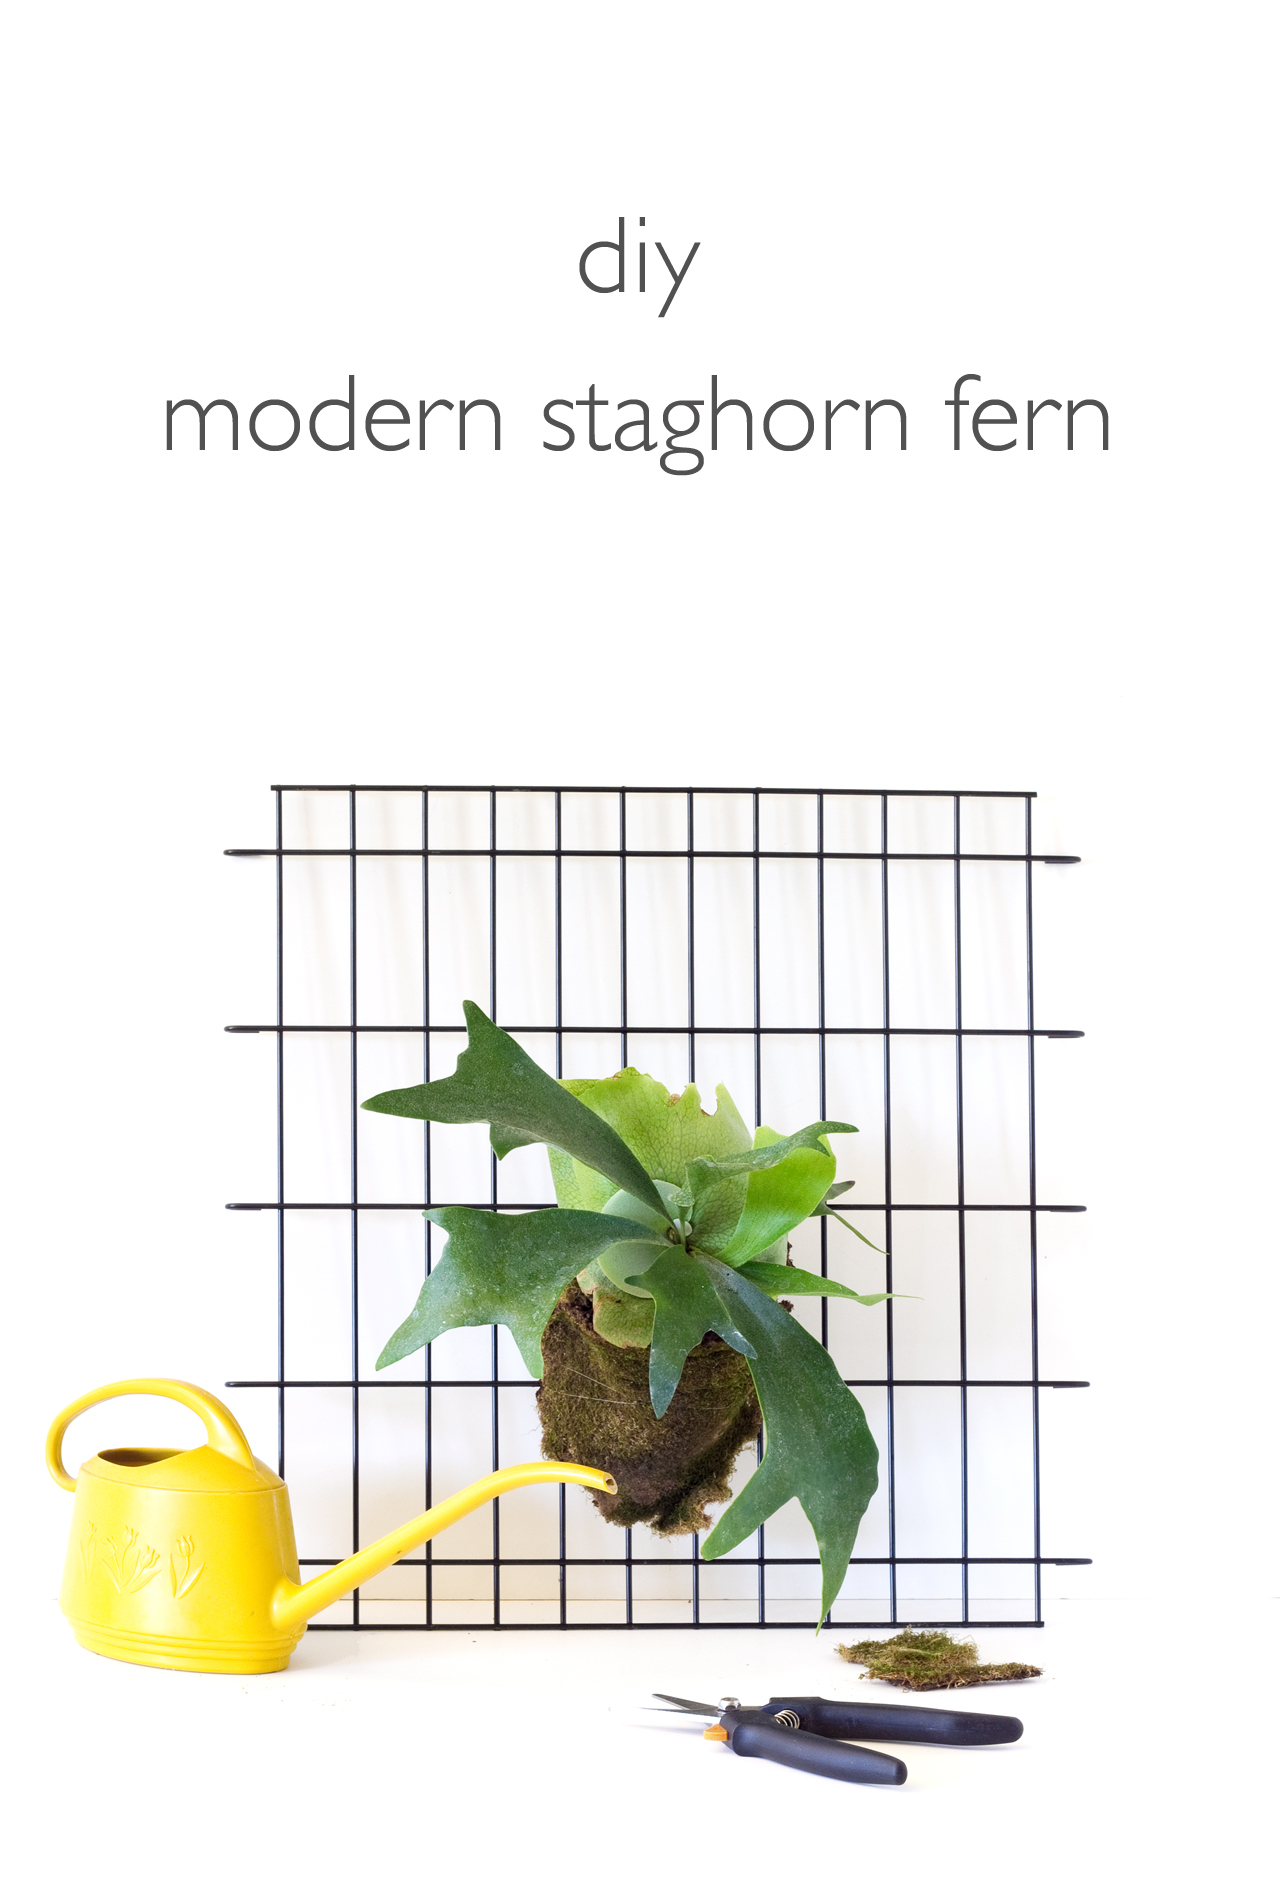
 Hey, did I tell you guys I love plants? I've been on the hunt (ha!) for a staghorn fern for a few years, so I was thrilled when I came across some for sale at a orchid show I attended a couple weeks ago. Staghorn ferns are named for their resemblance to, well, the horns of a stag. They're epiphytes, which means they naturally attach themselves and grow on the trunks and branches of other trees and shrubs. They can also be attached to other vertical surfaces and hung on the wall. They're really cool plants! When I originally picked mine up I planned to mount it to a slab of weathered wood, but I changed my mind and decided instead to attach it to a piece of wire metal mesh. The clean lines of the metal combined with the leafy, organic form of the fern really gives it a modern look. It would look great hanging inside or outside!
Here's what you'll need to make a modern hanging staghorn fern of your own:
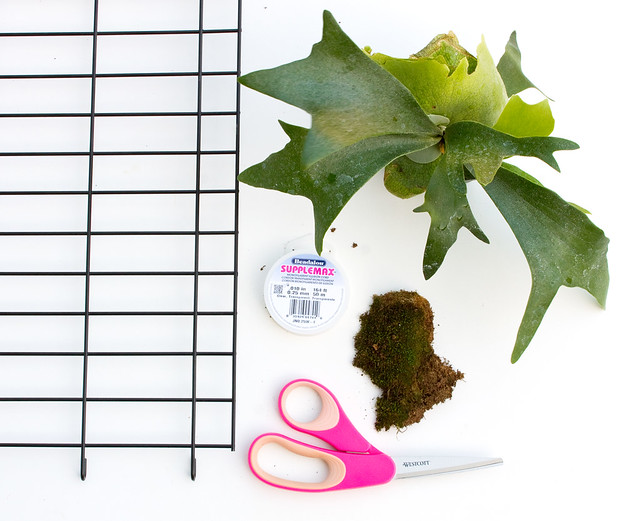
- Staghorn Fern. I bought mine at a local orchid show, but you can find them online and in specialty nurseries.
- Sheet Moss
- Monofilament or fishing line (I used clear beading line from my mobile project)
- Hooks and/or spacers for hanging on the wall. My wire panel has loops on the sides that would prevent it from hanging flush against the wall - that is good! If your panel is flat it would be best to hang it 1/2" or so away from the wall so the moisture doesn't affect it. Try using pegboard spacers for the installation.
- Metal grid. Repurposed (I always see these at the thrift shop) or you can buy and paint a piece of wire mesh from the hardware store. Mine was a divider for my puppy's crate!
- Scissors
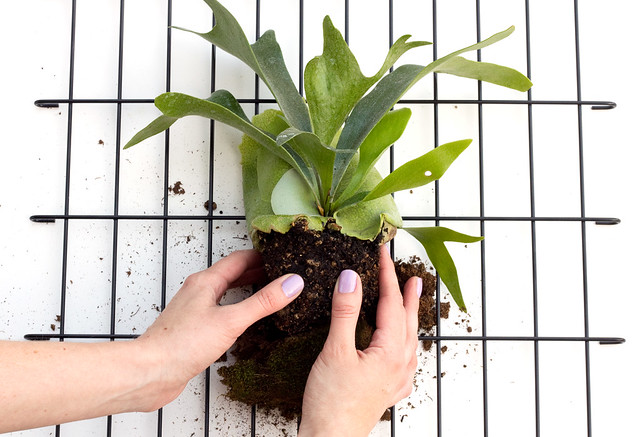
Cut a few pieces of moss and dampen in a bowl of water. Lay the metal panel on your work surface and create a little "nest" shape where you want the fern to go. Make it thicker on the side that will become the bottom when it's standing up. Remove the pot from the fern, remove any loose soil, and loosen the root ball. Don't be afraid to use a little muscle loosening the roots. Set the fern in the moss nest.
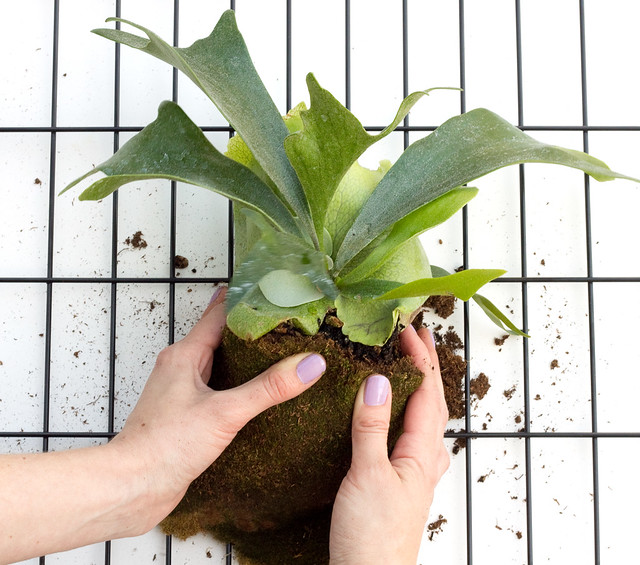
Cut another piece of moss to go over all of the exposed soil. I was able to do this with one piece, but use more if you need to fill in any open areas. Bundle the moss around the roots, covering up any exposed soil.
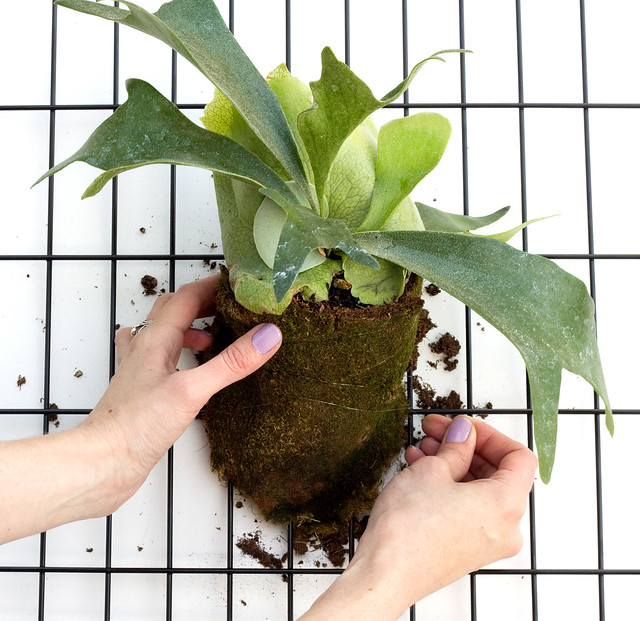
Cut a length of the monofilament, about 3' long. Tie the end to the wire mesh next to the edge of the plant. Pull the line directly across the plant, making sure to go under all of the leaves (so it only makes contact with the moss) and loop on the other side. Repeat, looping back and forth until the entire base of the fern is securely attached to the wire grid. Tie off the end. Tuck additional bits of moss around any visible monofilment if you'd like, to help conceal it.
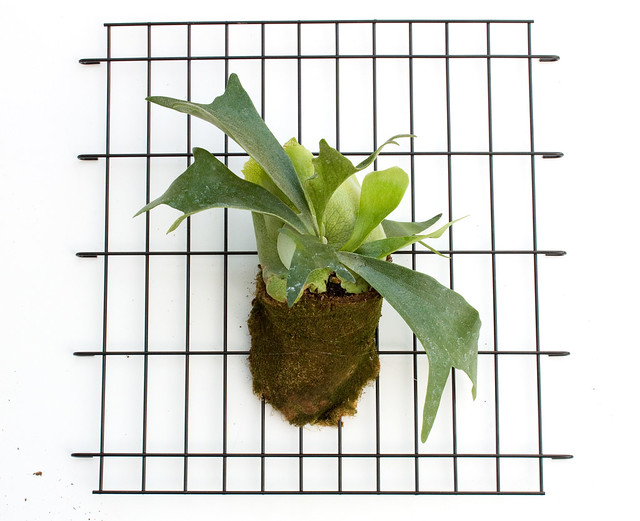
Screw in a two hooks on the wall and hang, or just lean it against a wall. If placing it outside, it will do best in a bright area with no direct sunlight. Morning sun is ok, but it will burn in direct afternoon sun. Bring inside during the colder months to avoid frost. It also likes humidity so place it near a water source like a pond, or hang it in the bathroom when you shower. Give it a soak once a week or when the soil and moss feel dry.
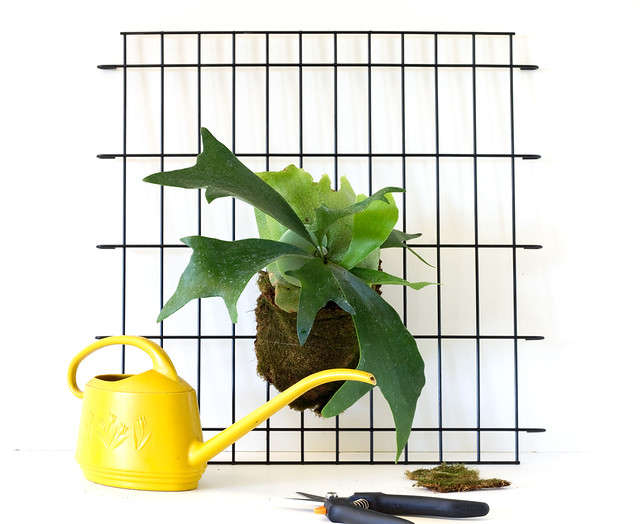
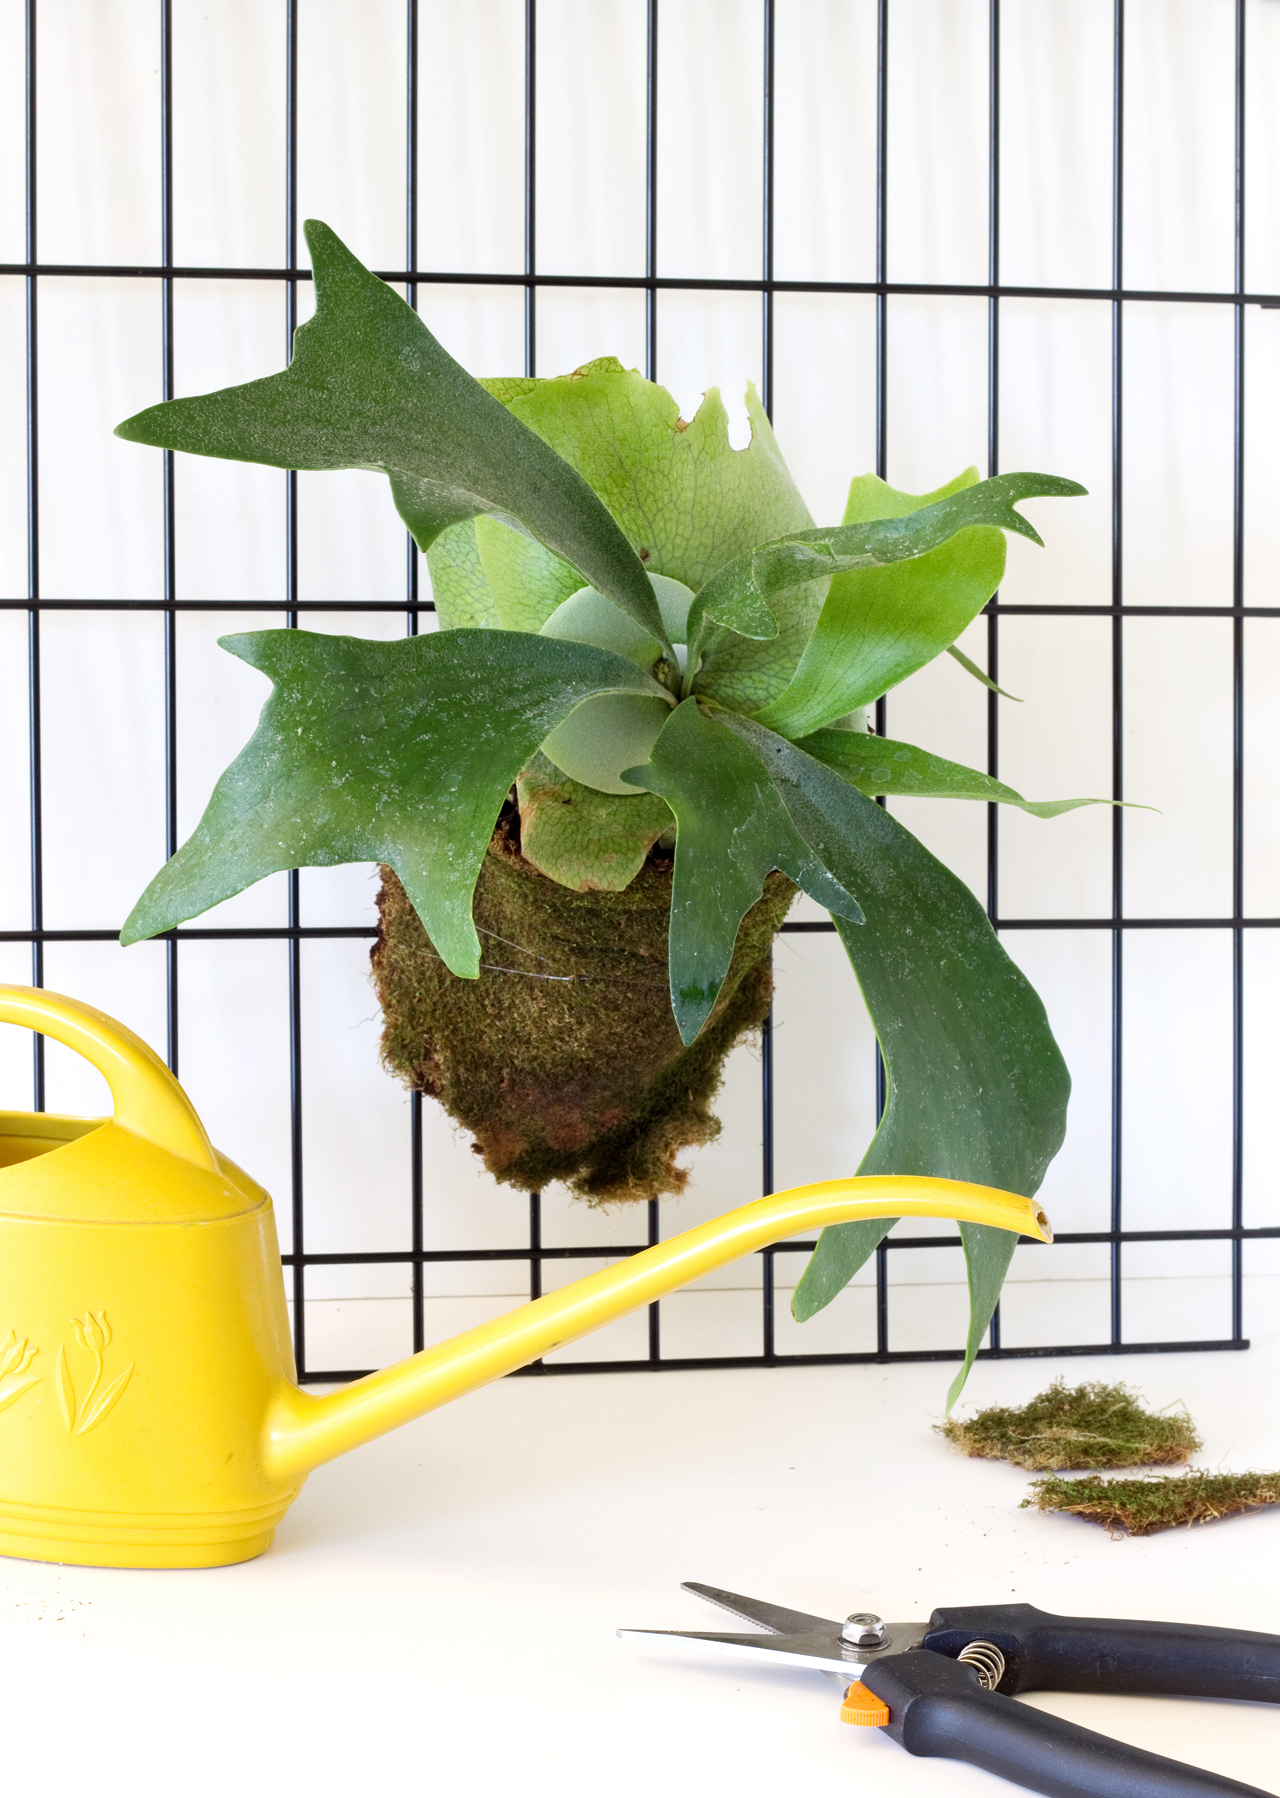
I can't wait for this guy to grow! Do you have any experience with staghorn ferns? Aren't they cool?