


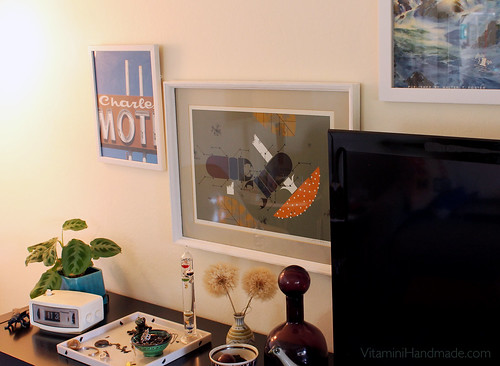
I love arranging art in clusters or galleries. When I'm planning an arrangement I typically spread everything out on the floor, take photos, select a layout, and then transfer the layout to the wall (much like I did with my kitchen plate wall).
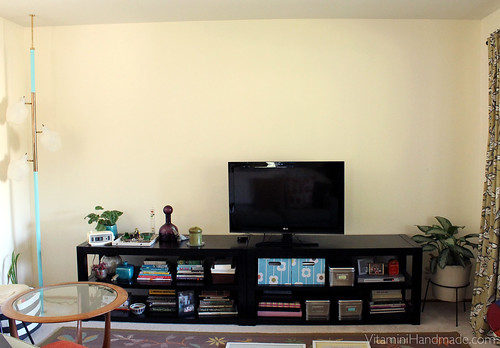
I've had a stack of framed art to go above my media shelves and around my tv for a few months and decided to get to it. Since I was going to be arranging the frames around the tv, playing with arrangements on the floor wasn't going to work. In this case I'd usually measure each piece and then draft different alternatives in AutoCAD. Not everyone has (or wants) access to this program so I went with an analog approach this time. You'll need a pen, scissors, painter's tape, and a roll of kraft or butcher paper.
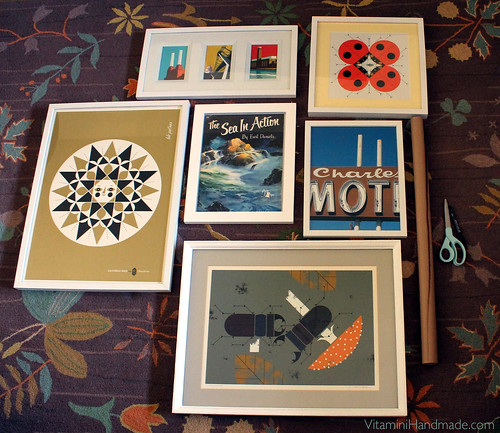

Trace each of your frames onto the paper. Cut each out and label which is which and which side of the paper is up. Take your time arranging and taping each piece of paper on the wall until you find the right layout. I started with 6 frames but ended up only using 5.
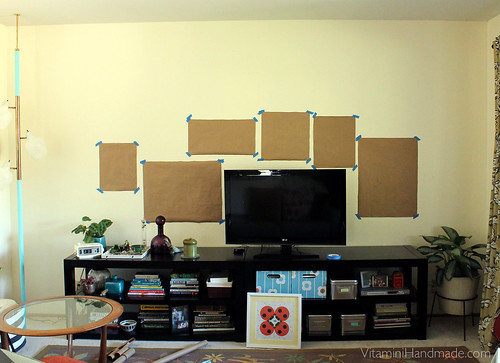

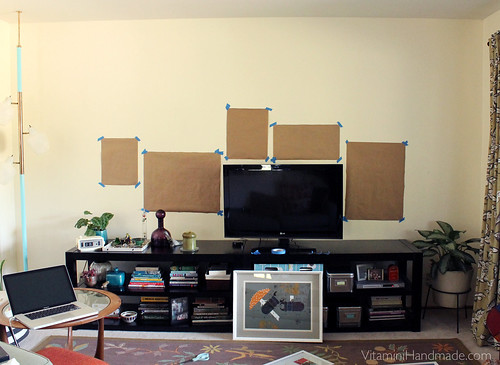
Once you have a layout that you like, all you have to do is determine where the nails or picture hangers need to go for each frame. Mark these points directly on the paper, tap in the nail, then pull the paper away. No unnecessary nail holes!

I like how asymmetrical this is, and that I could easily add more pieces if I want. It really completes the look of this wall and actually makes the room look bigger!
This was so easy I'm thinking I might go the paper and tape route next time. What do you think - how do you plan a gallery wall?
Such a good idea and it certainly saves extraneous nail holes in the wall!
ReplyDeleteSitus Judi Online terbaik dan terlengkap dengan permainan Sportbook, Live Casino, Slot Machine. IDN POKER dan IDN LIVE
ReplyDeleteSitus Judi Online
Daftar Situs Judi Online
Poker Online
Agen Bola Terpercaya
Judi Online Terpercaya
Situs Judi Online Terbaik
Situs Poker online terbaik yang memiliki permainan Texas Hold'em Ceme, Ceme Keliling, Capsa, Super 10, Omaha
Poker Online Indonesia
Poker Online
Domino
Ceme Keliling
Capsa
Super 10
Omaha
Daftar Poker Online
Agen Poker Terpercaya
Situs Togel Online terpercaya yang lengkap dengan prediksi yang dapat membantu anda dalam menuju Jackpot
4D/3D/2D
Colok Bebas
Colok Naga
Colok Jitu
Tengah Tepi
Kombinasi
Dasar
50-50
Shio
Silang Homo
Kembang Kempis
24D
Roulette
Sicbo
12D Games
Head&Tail
Oglok
Dice 6
Red/White
Billiards
Poker Dice
Gong Ball
Suwit
Monopoly
ICNPRODUK
EpicBigWin
RainbowTraveling