


I found this wood jewelry box at the thrift shop back in November. It had a nice shape but definitely needed a little love. Inspired by Jenny's project I decided to pay the $3 for it and see what I could do!
The inside was a little grungy and there was a large crack in the top that needed fixing. So I rolled up my sleeves and got to work!
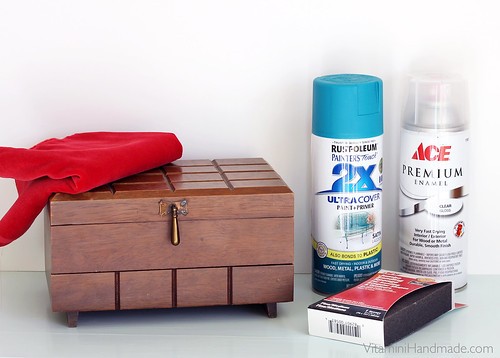
These are the supplies I used:
- medium grit sandpaper
- wood filler (not pictured)
- spray paint. I used Rustoleum Lagoon
- gloss topcoat
- 1/4 yard velvet
- a few pieces of chipboard
- double-sided tape
- hot glue gun
- pliers

I left the hardware on and covered it with a piece of foil. I can't remember how many coats I sprayed onto the box, but it was a few, maybe 5 or 6. Light, even coats are key! When the paint is dry to the touch add the gloss spray. I had trouble getting an even coat of gloss with this one. Maybe it was the brand I used? Not quite sure, but I feel like I had to add so many coats just to start seeing some gloss out of it. I'll have to try a different product next time.
I let the box dry for a day or two before starting in on the velvet lining. I chose this great coral-red velvet to contrast with the bright teal outside. Using the measurements of the inside of the box, I cut out 5 chipboard rectangles: four for the sides and one for the bottom. Then I cut pieces from the velvet about 1" longer and wider than the rectangles.
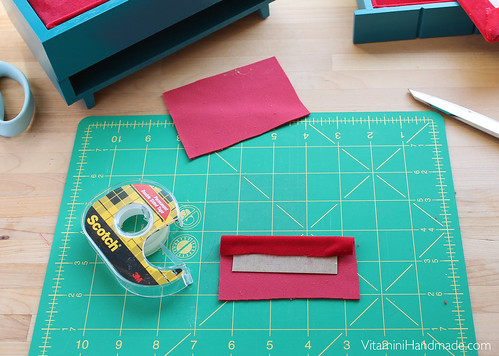

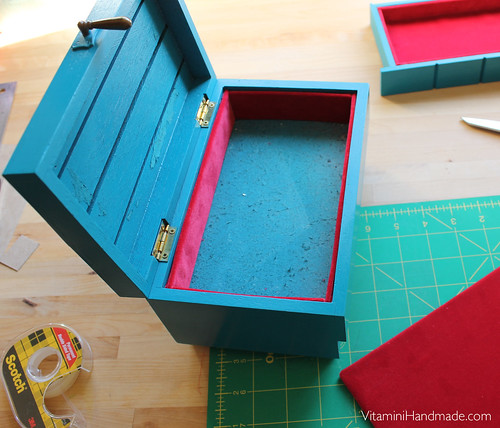
I attached the velvet to the chipboard with double-stick tape on the two long sides first and then trimmed the overlap. Then I folded the end pieces over, making sure to get clean corners (at least on the corners that will show). Hot glue the pieces into the box/drawer. I glued in the long sides, then short sides, and then the bottom.
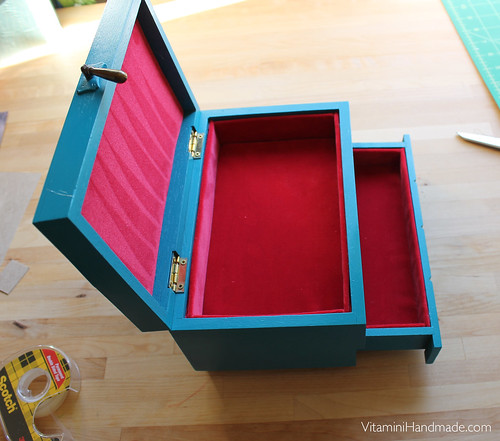
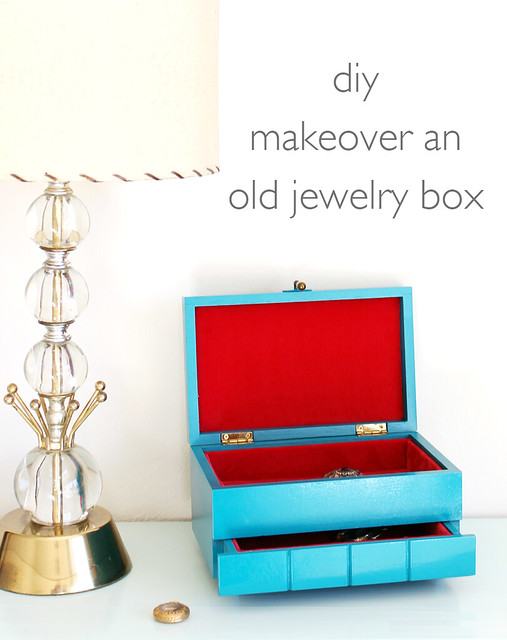
Now it's the perfect home for my vintage brooches.
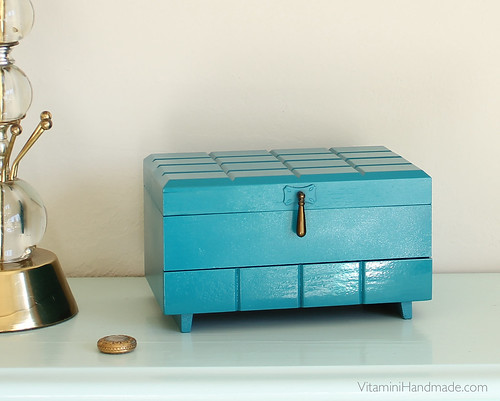
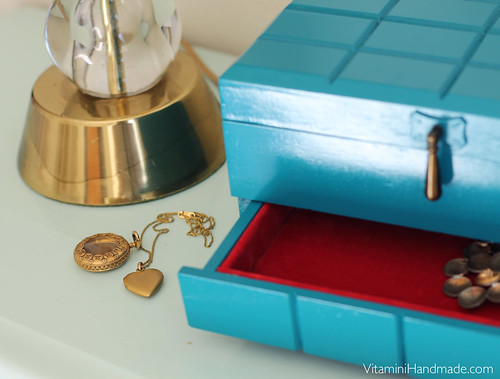
Not bad for $3 and about $10 in supplies! It already has a home on my dresser.

What a great idea! I see old wood jewelry boxes really cheap at Goodwill all the time.They always look pretty beat on the inside. Thanks for a great idea on how to make them fab again. I think an old photo or post card to replace the mirror would look really pretty.
ReplyDeleteThat's a great idea to add a photo or postcard to the inside of the lid! Let me know if you ever revamp a jewelry box of your own. I'd love to see how it turns out!
DeleteSparkling Charms Bead 100% 925 Sterling Silver Charm Fit Original Brand Bracelet Bracelets for Women DIY Jewelry Accessories Gifts for Women
ReplyDeleteFashion Women Faux Leather Wrap Necklaces for Women Wristband Cuff Multilayer Beaded Bracelet Bangle
ReplyDeleteThat's a great idea to add a photo or postcard to the inside of the lid! Let me know if you ever revamp a jewelry box of your own. I'd love to see how it turns out!
ReplyDeleteOKBet Slots Review
Vitamini Hand made is a blog and shop showcasing handmade crafts and artisanal creations. It features DIY projects, personalized gifts, and creative home décor ideas. The platform celebrates craftsmanship and inspires readers to create unique, handmade items.
ReplyDeleteWorkers Compensation for Staffing Agencies Phoenix, Arizona
Workers Comp for Staffing Agencies Little Rock, Arkansas