2

Happy Love Day!

Friday, February 14, 2014

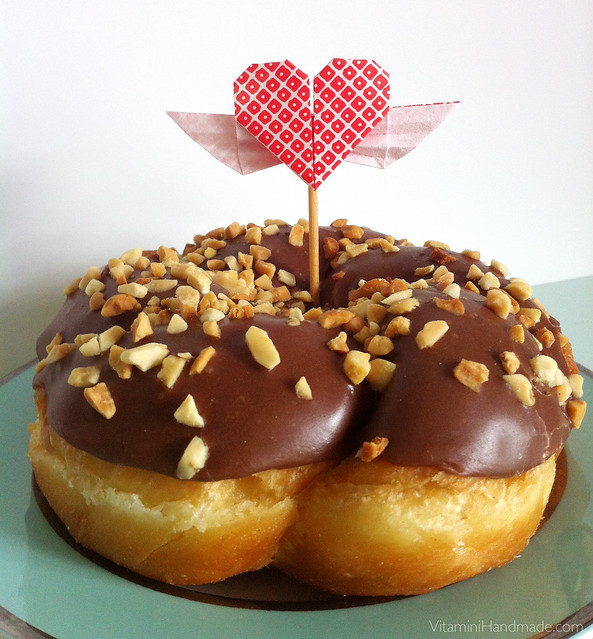
Donut valentine

Happy Valentine's Day, friends! Don't forget to do something sweet for yourself today, while you're sharing the love!

Origami heart topper from this post last year. Click through for instructions if you're still feeling crafty!

2

How to plan and hang a gallery wall.

Gallery wall layout
I love arranging art in clusters or galleries. When I'm planning an arrangement I typically spread everything out on the floor, take photos, select a layout, and then transfer the layout to the wall (much like I did with my kitchen plate wall).

Gallery wall layout
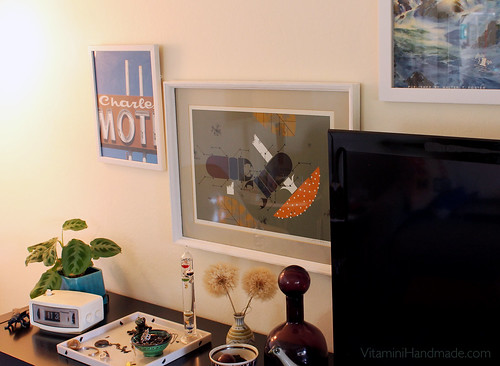
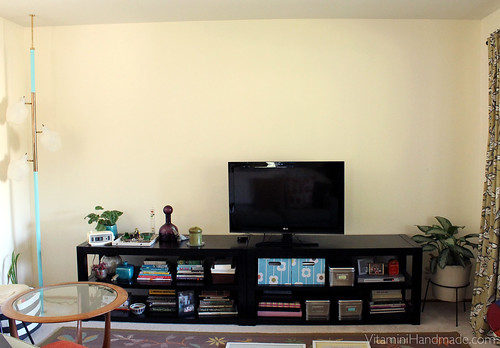
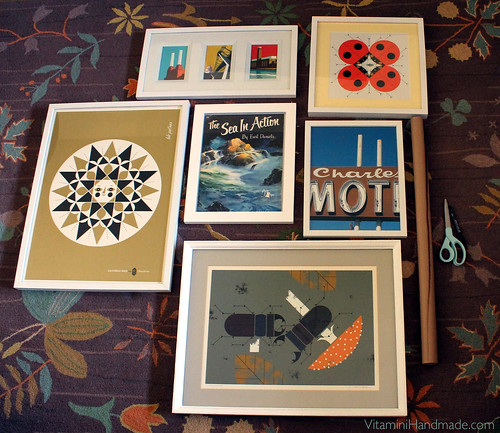
I've had a stack of framed art to go above my media shelves and around my tv for a few months and decided to get to it. Since I was going to be arranging the frames around the tv, playing with arrangements on the floor wasn't going to work. In this case I'd usually measure each piece and then draft different alternatives in AutoCAD. Not everyone has (or wants) access to this program so I went with an analog approach this time. You'll need a pen, scissors, painter's tape, and a roll of kraft or butcher paper.

Gallery wall layout Gallery wall layout
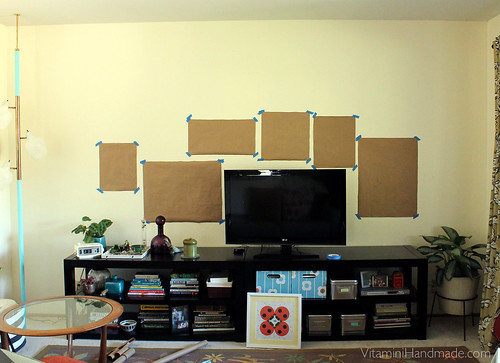
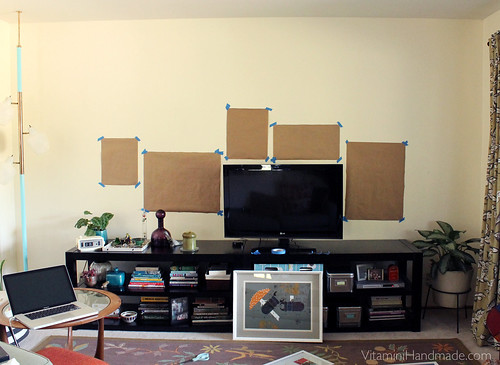
Trace each of your frames onto the paper. Cut each out and label which is which and which side of the paper is up. Take your time arranging and taping each piece of paper on the wall until you find the right layout. I started with 6 frames but ended up only using 5.

Gallery wall layout Gallery wall layout Gallery wall layout
Once you have a layout that you like, all you have to do is determine where the nails or picture hangers need to go for each frame. Mark these points directly on the paper, tap in the nail, then pull the paper away. No unnecessary nail holes!

Gallery wall layout
I like how asymmetrical this is, and that I could easily add more pieces if I want. It really completes the look of this wall and actually makes the room look bigger!

This was so easy I'm thinking I might go the paper and tape route next time. What do you think - how do you plan a gallery wall?


6

Handmade Paper Flowers.

Tuesday, February 11, 2014

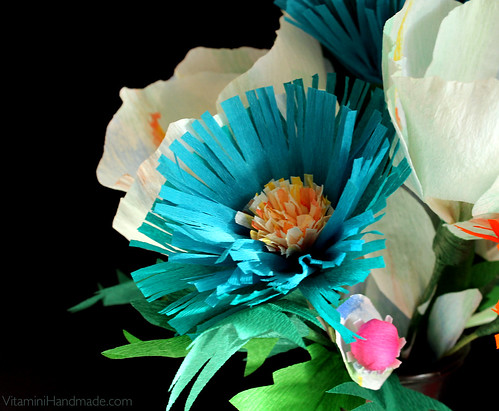
Handmade paper flowers

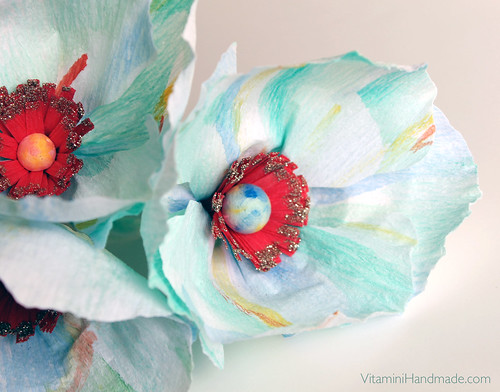
Winter finally caught up with us here in California and we're getting some rain! To combat the gray skies, I broke out my paper flower supplies and started making over the weekend.

Handmade paper flowers

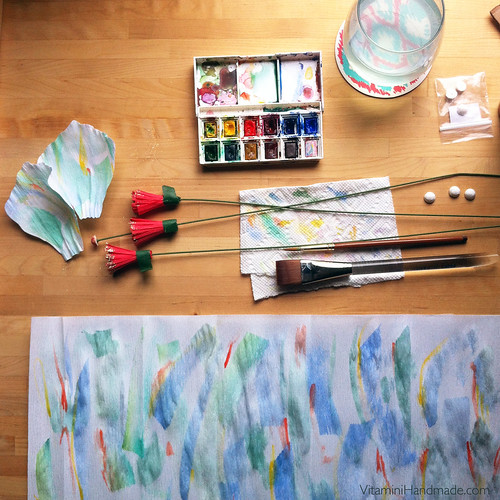
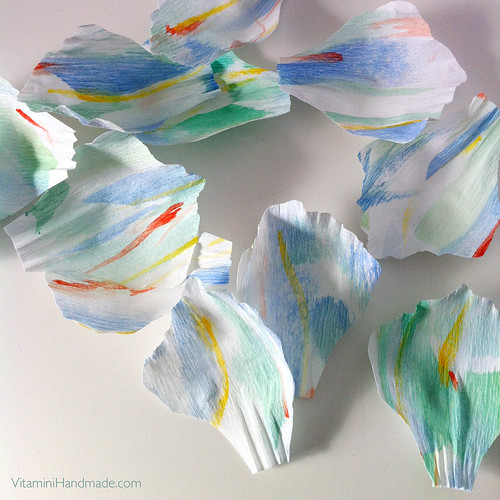
I wrote up a review of Paper to Petal a while back and this is the third flower I've made from the book, the painterly poppy. I was drawn to the color strokes on the petals and since I already had my watercolors out I was ready to get started.

Handmade paper flowers Handmade paper flowers

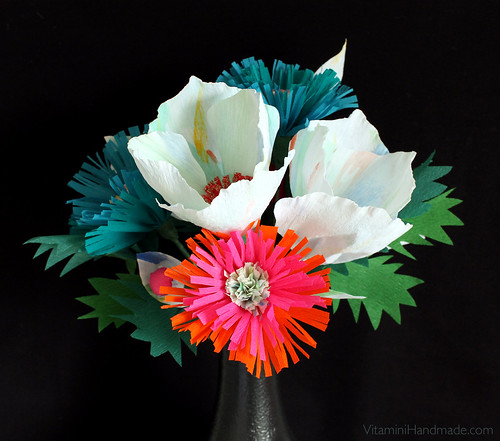
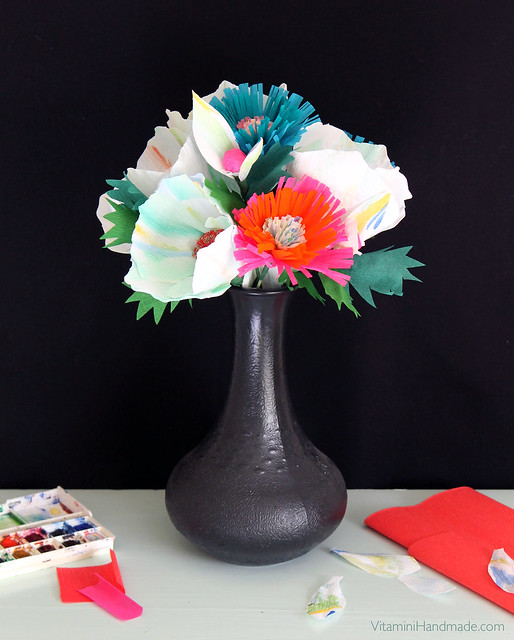
I made a bunch of the poppies, then made a few colorful fillers and some leaf spikes to fill out the arrangement in this cool West German vase I found at the thrift store. It makes for a cheerful, but somewhat moody arrangement, don't you think?

Handmade paper flowers Handmade paper flowers

Have you tried making paper flowers? Are you as hooked as I am?

5

Playing with watercolors

Friday, February 7, 2014

Succulent Watercolors

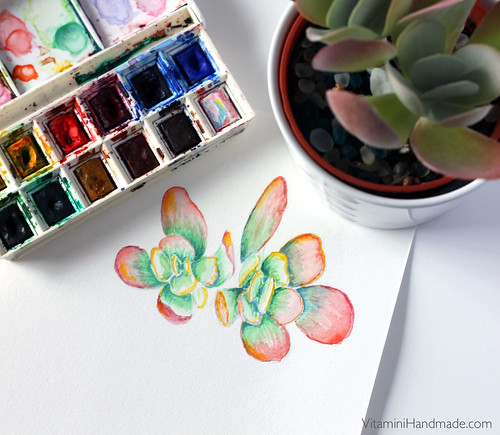
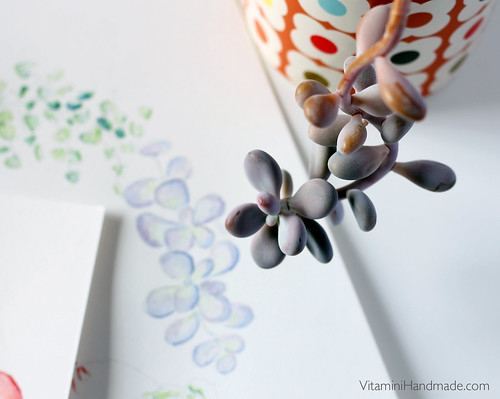
I'd been wanting to play with watercolors for a few months and I finally grabbed the Windsor Newton set I've had since college and got to it. I started painting my Kalanchoe plant and had a lot of fun with it. It has some really great reds and oranges that were a good challenge to show with the watercolors. As soon as I was done with this one I started another! It's not quite done yet, but here's a little peek.

Succulent Watercolors

I hope you have a wonderful weekend. If you've been meaning to try out a different artistic medium, give it a shot! You'll either love it or hate it, but it'll get your mind thinking in new ways. 

6

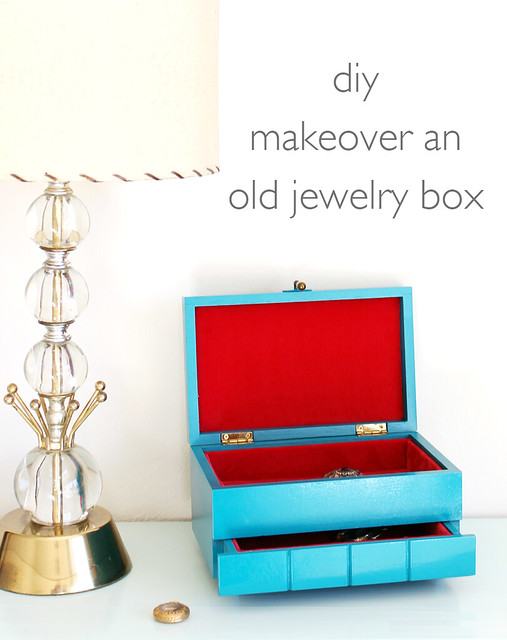
DIY Makeover An Old Jewelry Box

Tuesday, February 4, 2014

DIY Makeover An Old Jewelry Box

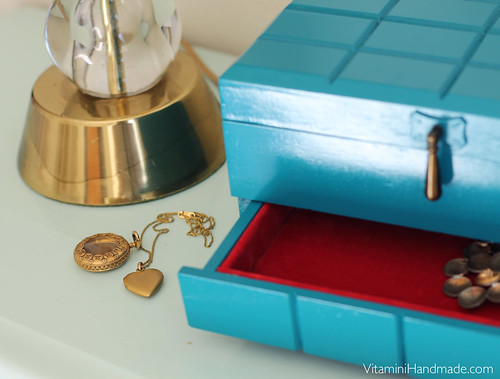
I found this wood jewelry box at the thrift shop back in November. It had a nice shape but definitely needed a little love. Inspired by Jenny's project I decided to pay the $3 for it and see what I could do!
The inside was a little grungy and there was a large crack in the top that needed fixing. So I rolled up my sleeves and got to work!
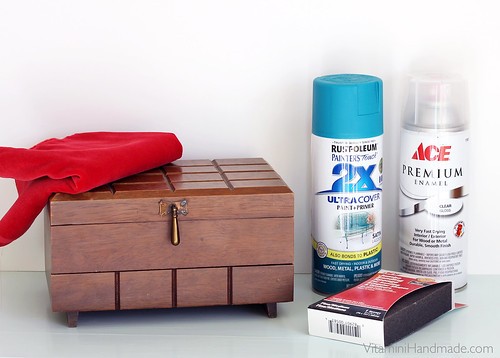
Update a jewelry box

These are the supplies I used:
  • medium grit sandpaper
  • wood filler (not pictured)
  • spray paint. I used Rustoleum Lagoon
  • gloss topcoat
  • 1/4 yard velvet
  • a few pieces of chipboard
  • double-sided tape
  • hot glue gun
  • pliers
Using a pair of pliers, I removed the old velvet and cloudy mirror from the inside of the box. Then I sanded the whole thing down with the medium grit sandpaper. I filled the cracks with a few coats of wood filler, letting each coat dry before adding the next one. Then I sanded down the wood filler to match the box surface and wiped it down with a damp cloth to remove the dust. Time for painting!

Update a jewelry box

I left the hardware on and covered it with a piece of foil. I can't remember how many coats I sprayed onto the box, but it was a few, maybe 5 or 6. Light, even coats are key! When the paint is dry to the touch add the gloss spray. I had trouble getting an even coat of gloss with this one. Maybe it was the brand I used? Not quite sure, but I feel like I had to add so many coats just to start seeing some gloss out of it. I'll have to try a different product next time.

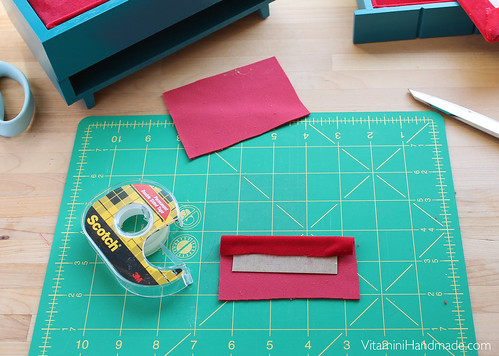
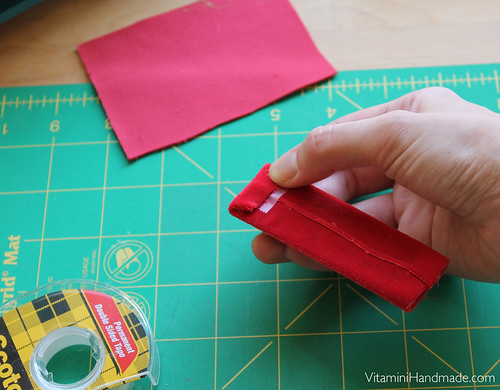
I let the box dry for a day or two before starting in on the velvet lining. I chose this great coral-red velvet to contrast with the bright teal outside. Using the measurements of the inside of the box, I cut out 5 chipboard rectangles: four for the sides and one for the bottom. Then I cut pieces from the velvet about 1" longer and wider than the rectangles.
Update a jewelry box Update a jewelry box
I attached the velvet to the chipboard with double-stick tape on the two long sides first and then trimmed the overlap. Then I folded the end pieces over, making sure to get clean corners (at least on the corners that will show). Hot glue the pieces into the box/drawer. I glued in the long sides, then short sides, and then the bottom.
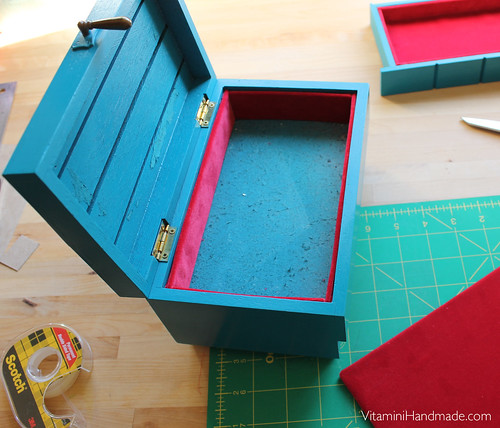
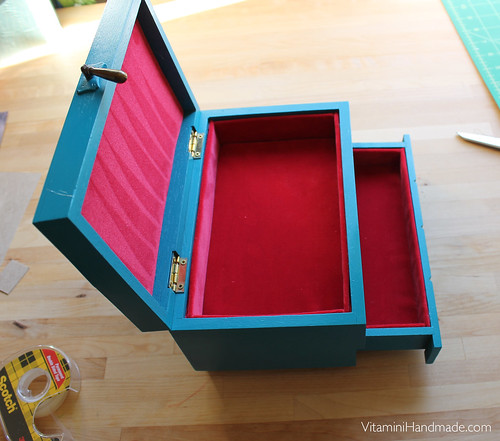
Update a jewelry box Update a jewelry box
Now it's the perfect home for my vintage brooches.
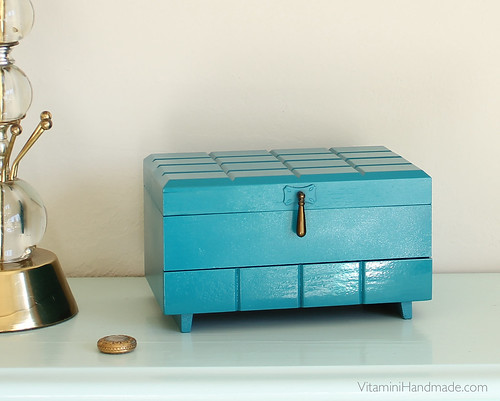
Update a jewelry box Update a jewelry box

Not bad for $3 and about $10 in supplies! It already has a home on my dresser.
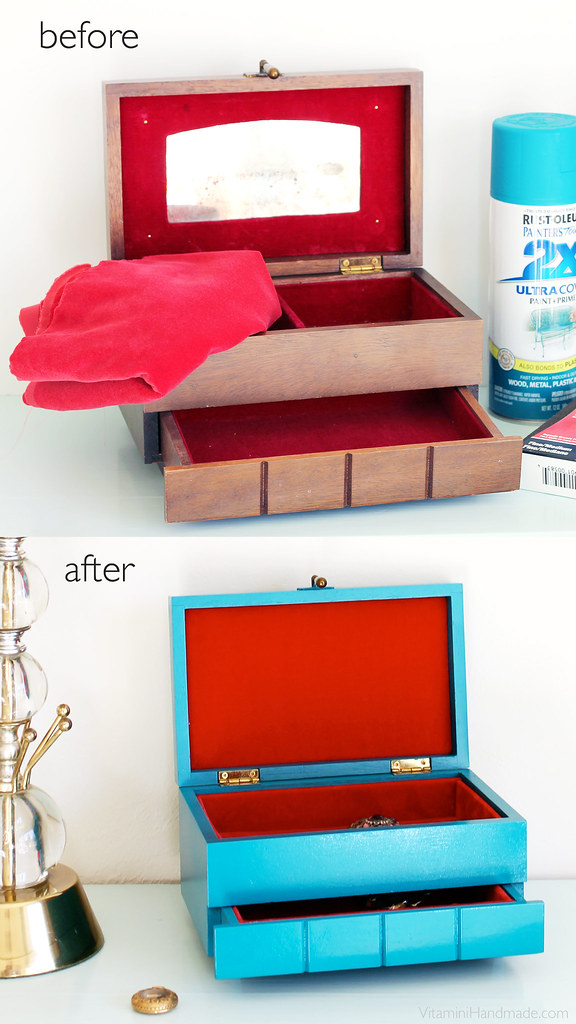
DIY Makeover An Old Jewelry Box
 

vitamini handmade © All rights reserved · Theme by Blog Milk · Blogger