4

Design Process: Merry & Bright Holiday Cards

Wednesday, October 1, 2014

Evolution of a Greeting Card Design

I haven't shared one of these "evolution of a design" posts in a while and I thought it would be fun to go behind the scenes on one of my brand new holiday cards, Merry & Bright. A lot of behind the scenes work goes into my designs, and while my techniques can vary (papercut designs, pencil sketches, inked finished drawings, or digital designs), my overall process is pretty consistent across the board.
Evolution of a Greeting Card Design

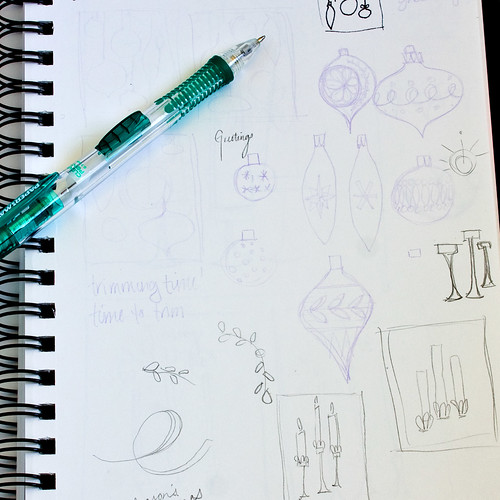
Everything always starts in my sketchbook. Sometimes I'll sketch out ideas multiple times before I'm ready to proceed with a design. Other times, only a couple quick sketches is all I need as a launching  point. For this holiday card, I made a few super-quick sketches in purple pencil (definitely not my usual tool of choice) in the sketchbook and I was ready to go. I knew I wanted to translate these to papercuts and I'll usually work out little details on the actual paper.
Evolution of a Greeting Card Design

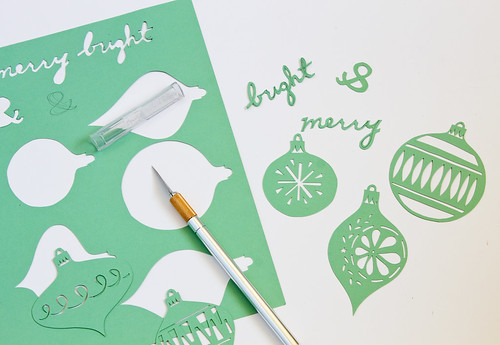
I sketched each ornament and the words "merry & bright" onto the paper and got to cutting with my xacto. The xacto Z series blades are my favorite to work with. Make sure to use a new blade every time you start a new papercut project!
Evolution of a Greeting Card Design

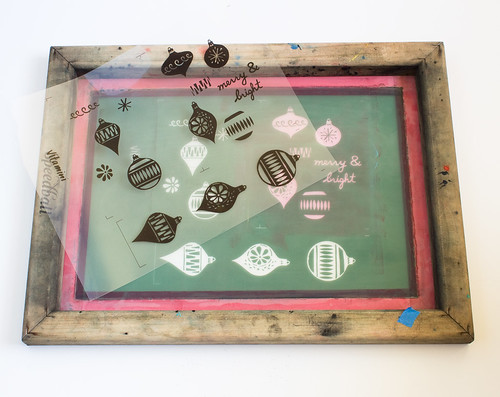
Next, I scanned each of the cut pieces into Photoshop where I cleaned up edges and made sure the text was legible. Then everything goes into Illustrator where I live trace each piece and arrange and scale it onto the size of the card. Sometimes this step takes quite a bit of time! It's like a puzzle, trying to find a good spot for each element so that it compliments the overall design. After I get an arrangement I like, I'll start separating out the color accents. Since I intended this card to be a two color screen print, I had to choose where the color would go, select those elements, and separate them. With a screen print, each color is applied in a separate layer, so this adds a bit of complexity to the design setup in the computer.

I'll separate everything out in illustrator, do a test print on paper to make sure I like the sizes and proportions, and print it out onto a transparency in full black and expose it onto a screen (that I stretched and coated with photo emulsion before-hand). After I wash out the screen, I'll decide on ink colors and get to screen printing the design.

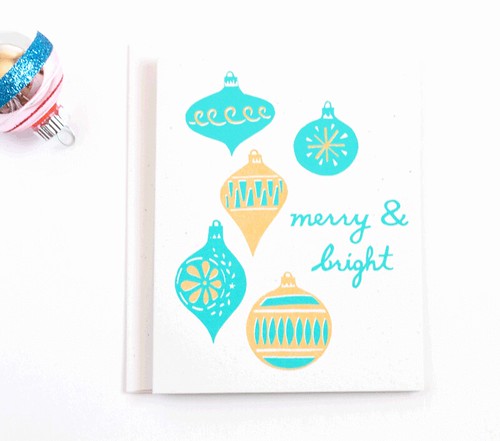
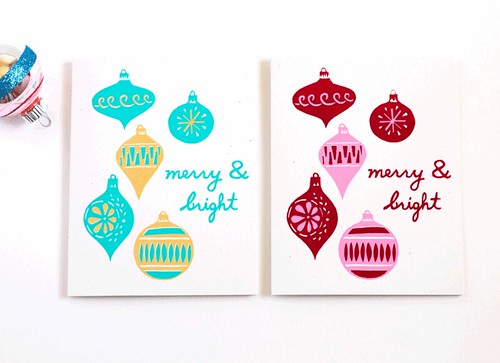
Ta-da! Here are the finished cards. I decided to go with red & pink and teal & gold colorways.
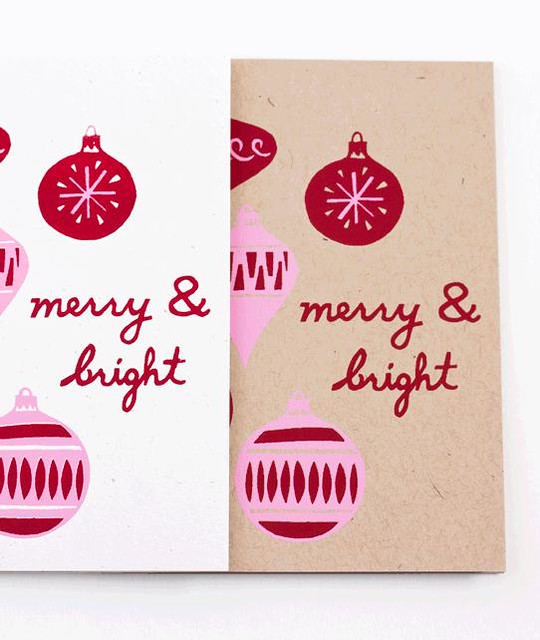
Evolution of a Greeting Card Design Merry & Bright, hand screen printed holiday card by Vitamini

Both are available for purchase in my shop, along with my other brand new holiday card, Season's Greetings, featuring retro candlesticks.
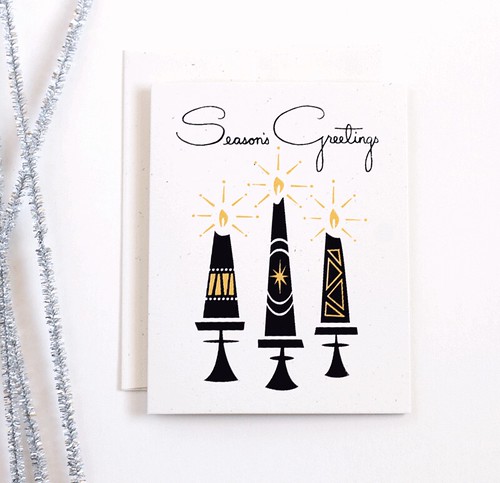
Season's Greetings, hand screen printed holiday card by Vitamini

I hope you enjoyed seeing this little behind-the-scenes glimpse at my process!

4

From my sketchbook: Let's Eat Cake!

Friday, April 25, 2014

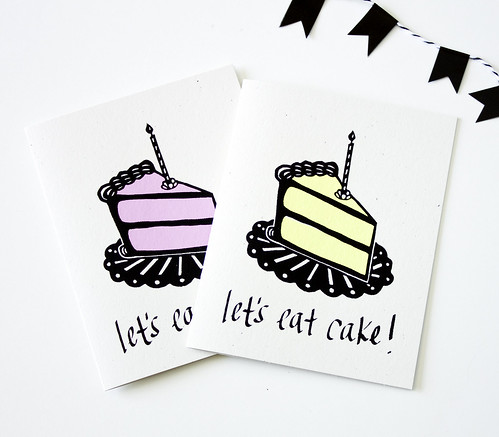
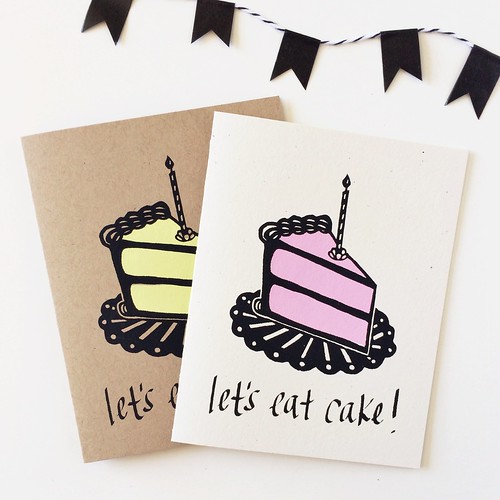
Let's Eat Cake! Original Screen Printed Card

How it is Friday already?! Time's been flying by lately and I've been busying myself with lots of projects. I designed, printed and photographed three new cards this week and thought I'd share a little peek at my design process.

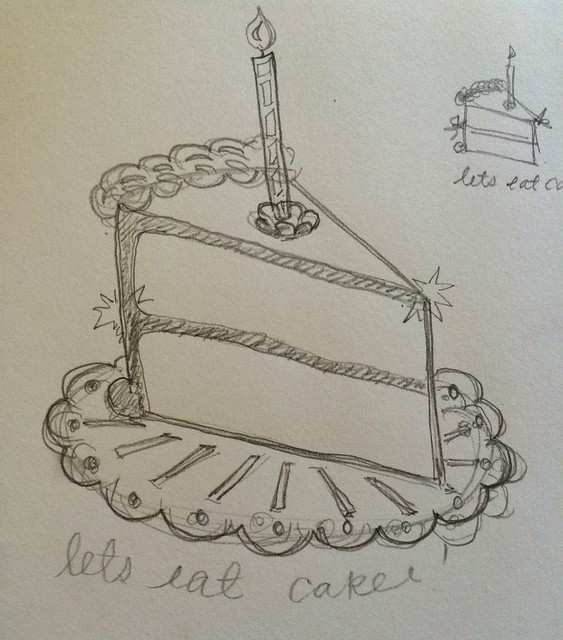
Let's Eat Cake! Preliminary Sketches

My designs always start out as simple sketches. Sometimes I'll sketch an idea over and over again, but this time I lucked out after only a couple iterations. I knew I wanted this design to turn into a papercut, so I had to think of positive and negative space quite a bit.

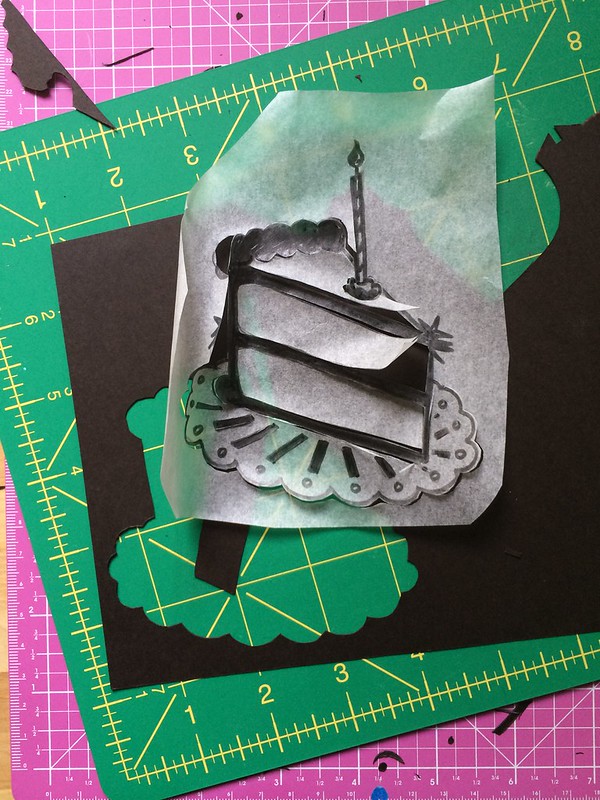
Papercut process photo Papercut process shot

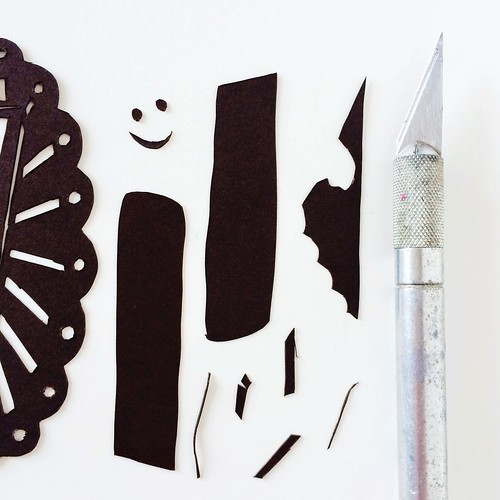
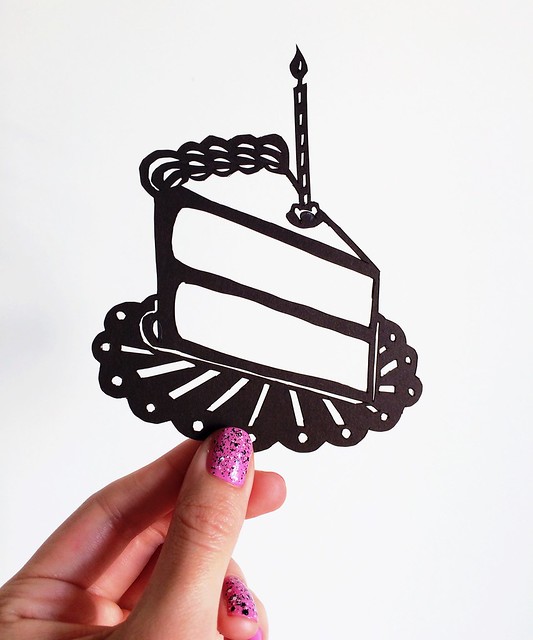
I rough-traced it onto tracing paper, then taped it onto my cardstock and got to cutting with my xacto.

Papercut process shot Original Cake Papercut

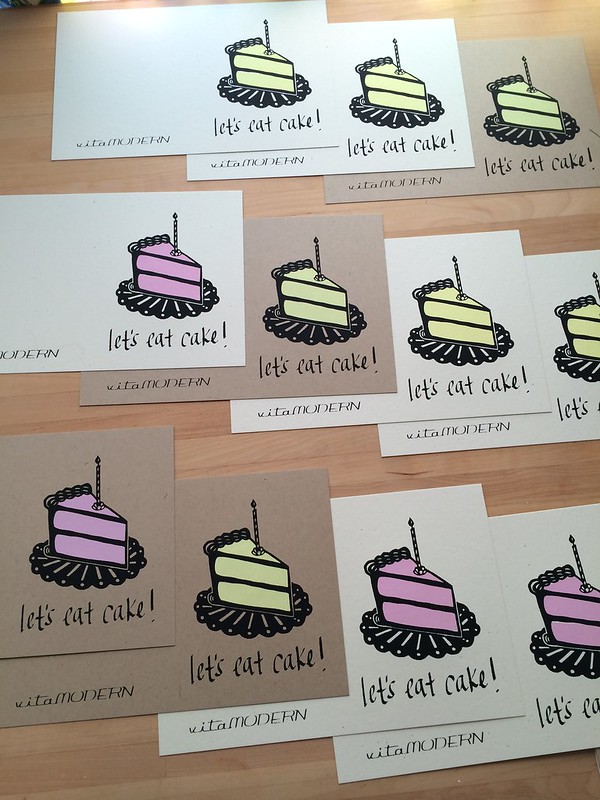
I then scanned the papercut into photoshop to clean up some of the edges and resize to fit on the card. I used my Wacom tablet to hand-write the text straight into Photoshop. After that it's just a matter of separating the two colors, printing out into a transparency, and then exposing it to light on a coated screen. Then I screen print each color onto the cardstock, fold it up, and the card is done!

Let's Eat Cake! Card by Vitamini http://www.vitaminimodern.com/greeting-cards/lets-eat-cake-pink

Let's Eat Cake! is now listed in my shop and my Etsy shop.

5

Evolution of a design.

Thursday, November 8, 2012

Hand screen printed retro holiday cards
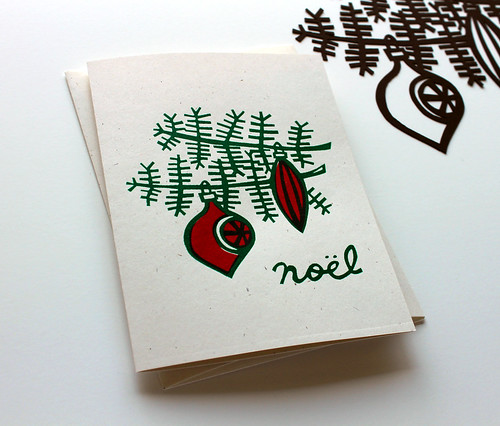
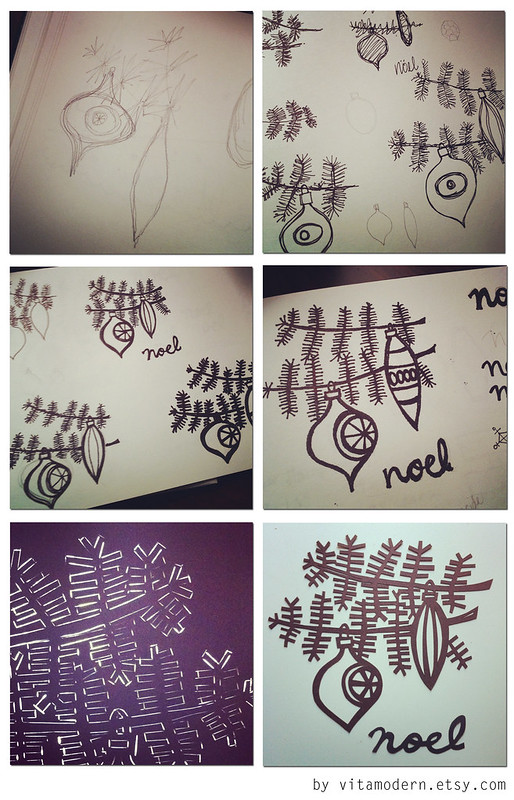
Things have been a little quiet around here lately as I've been busy readying my shops for the holiday season. Can you believe we're already one week into November? I've created a new holiday card design for each of my Etsy shops, and I wanted to share the design evolution with you - from pencil sketch, to papercut, to screen printed design. My first sketch of this design is dated from last November! Sometimes you just need to sit with an idea for a while before you can really work it out and get it right. :) Here are some views into my sketchbook.

Evolution of a design After I had my papercut, I scanned, resized, and exposed a silkscreen with the design. I printed it in a two-color process (deep red and forest green) onto cardstock. Here are my finished pieces.

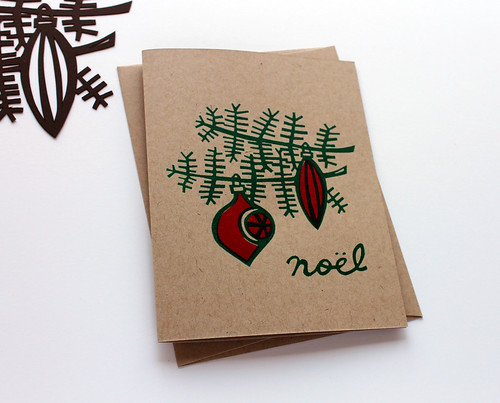
Hand screen printed retro holiday cards Hand screen printed retro holiday cards
Printed on French Paper Speckletone in Kraft and Natural white. Both are available in my Vitamodern Etsy shop.

I really like their retro, earthy vibe. I'm also getting really into working out my designs with papercuts. At first I was intimidated by the complex needles of the pine, but I couldn't resist trying to cut it out of paper. I'm glad I decided to go for it.

5

New, in the shop.

Monday, June 4, 2012

Happy June, friends! I've been keeping myself busy with lots of new designs, screen prints, and projects and I'm so excited to share them! (Though, some are really still in the works, so they'll have to wait a little.) Here are three new screen print designs in my vitamodern shop based on something that may look familiar: my papercut pieces!

Drying.
Original papercut.

 Remember my retro teapot and toaster papercut designs? I've finally got them printed on cork coasters! These would make a nice little housewarming gift for those retro loving friends of yours (or just for yourself!). My sister has already asked me for a set of the toaster coasters. I'll have to come up with a favor she can do for me in exchange. :)

Process pic: cards drying after the first color print.
Original design: cardstock on trace paper.

Here's another card design in the shop. I call it Tiki Shapes (it makes me think of bamboo). This design was also created with cut paper pieces. I started cutting out the shapes with scissors, then arranged them until I saw a layout that I liked. I glued them to a piece of trace paper, scanned it into the computer, and separated the shapes to create the two color design. Pretty simple, but I love the result! I have them in a playful bright magenta and day-glow orange colorway, and a more sophisticated light blue and silver. Check out my etsy shop to see more.

*If you'd like to see more of my process pics, follow me on instagram @vitaminimodern.

233

My New Etsy Shop!

Wednesday, December 7, 2011

I just realized that I never officially announced my newest project: a new Etsy shop! I mentioned it here on the blog when it was just an idea, but now it's real! So, consider this its formal introduction:

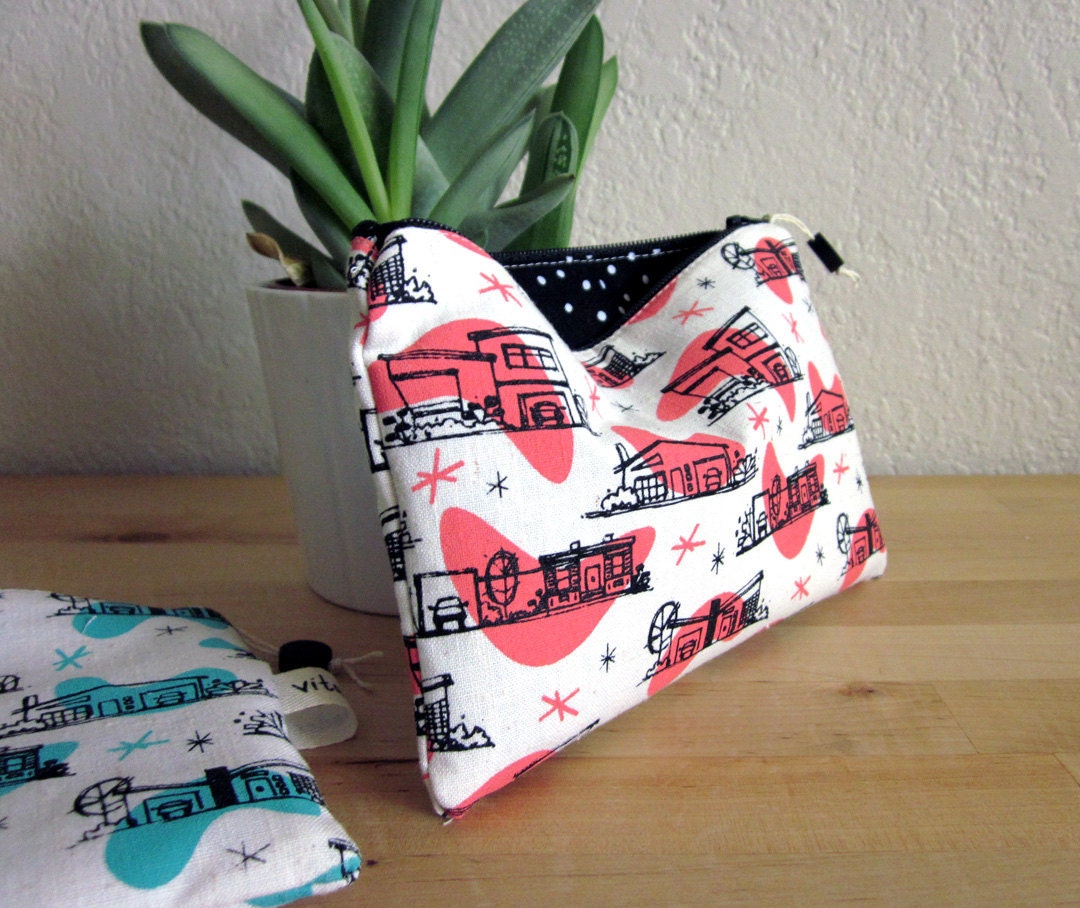
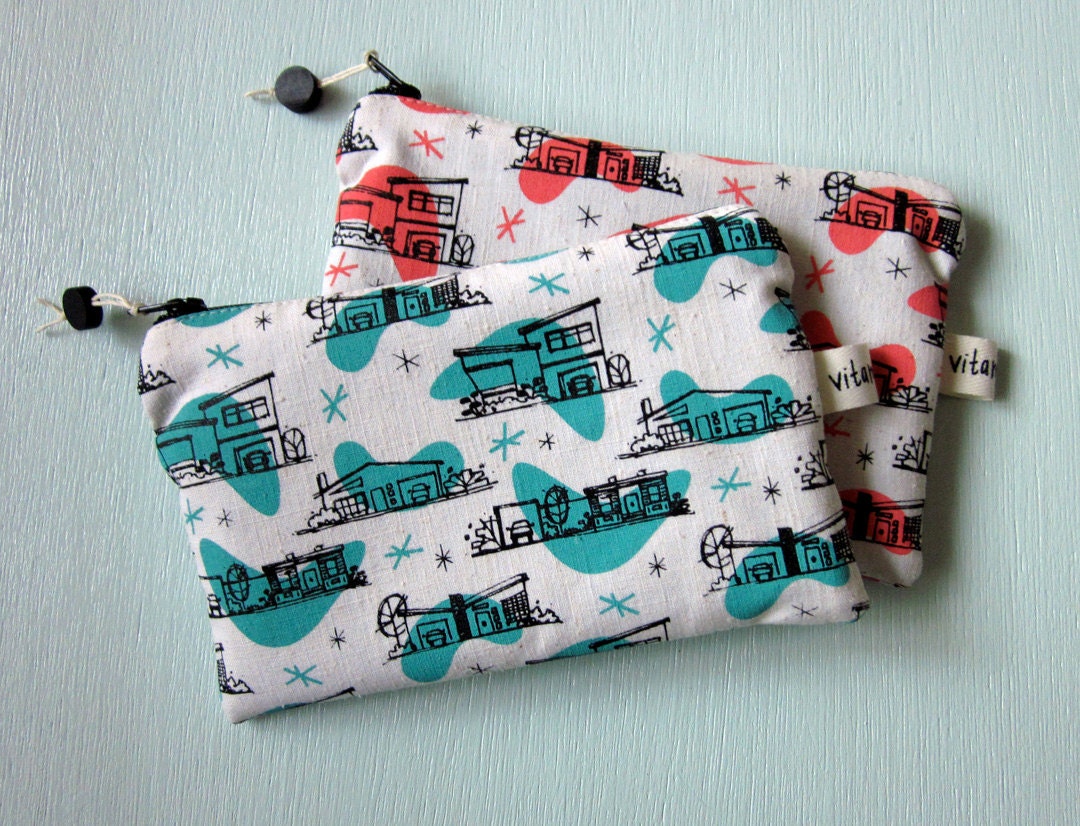
vitamodern: My handmade shop featuring retro gifts and stationery! I've been slowly making products to add to the shop, including these retro house zippy bags in bright coral and teal. The fabric design features my retro house sketches (straight from my sketchbook!) and cool boomerangs and stars!


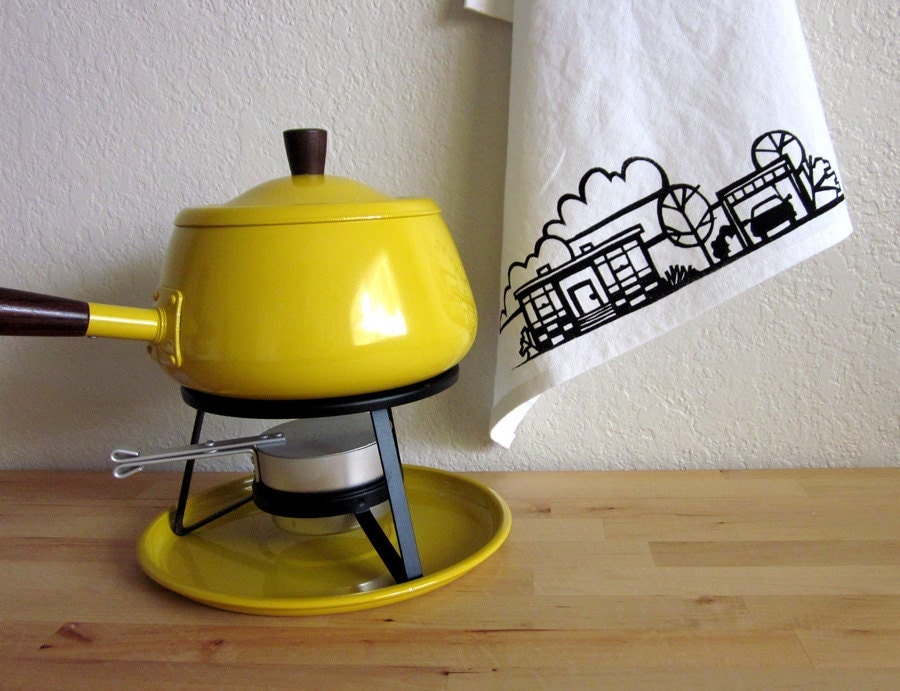
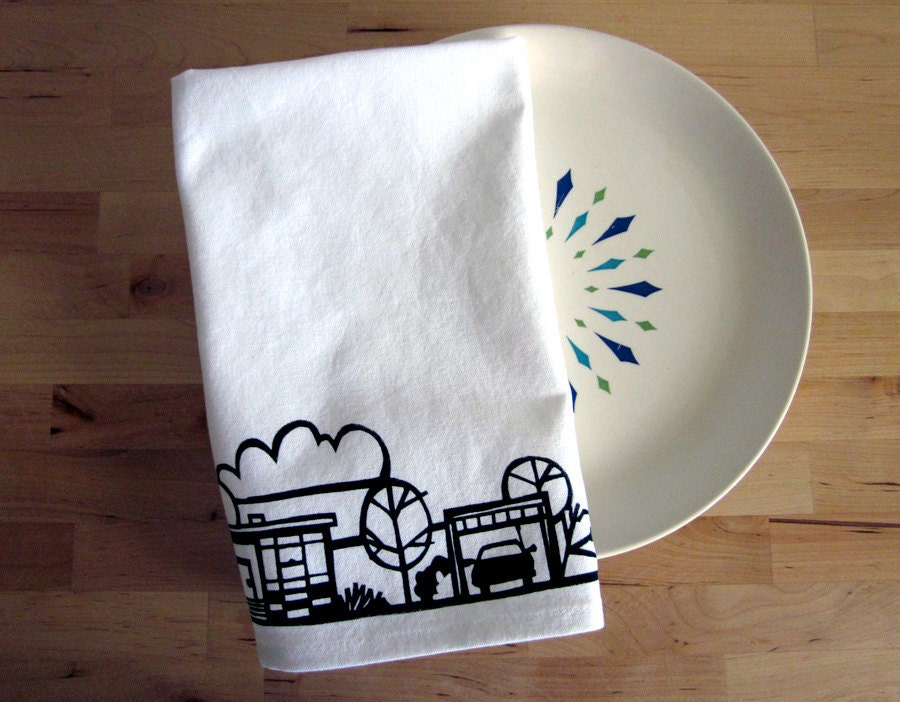
And these screen printed cotton tea towels featuring my retro house papercut design project. I creating a whole series of retro house designs based on some of my papercut work.


I've also been working on these repurposed wood key hook boards, screen printed with my retro ranch designs.


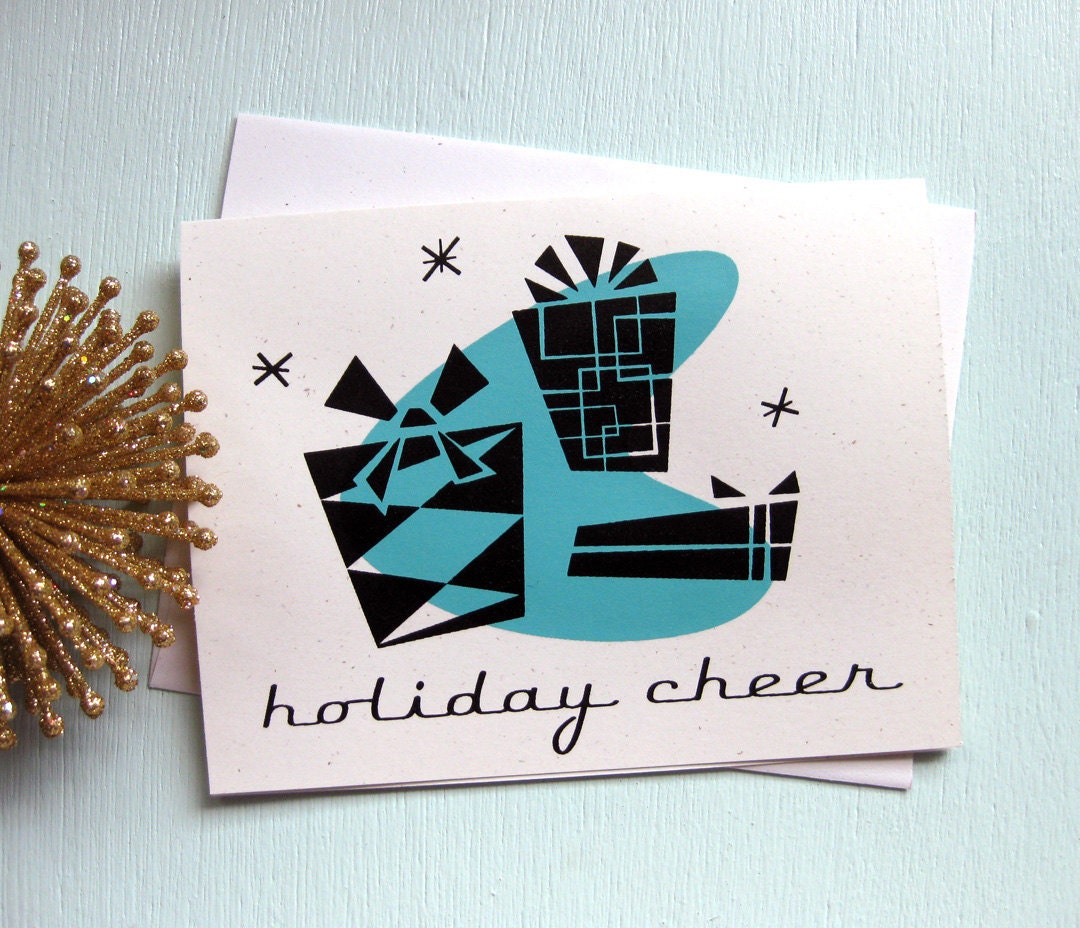
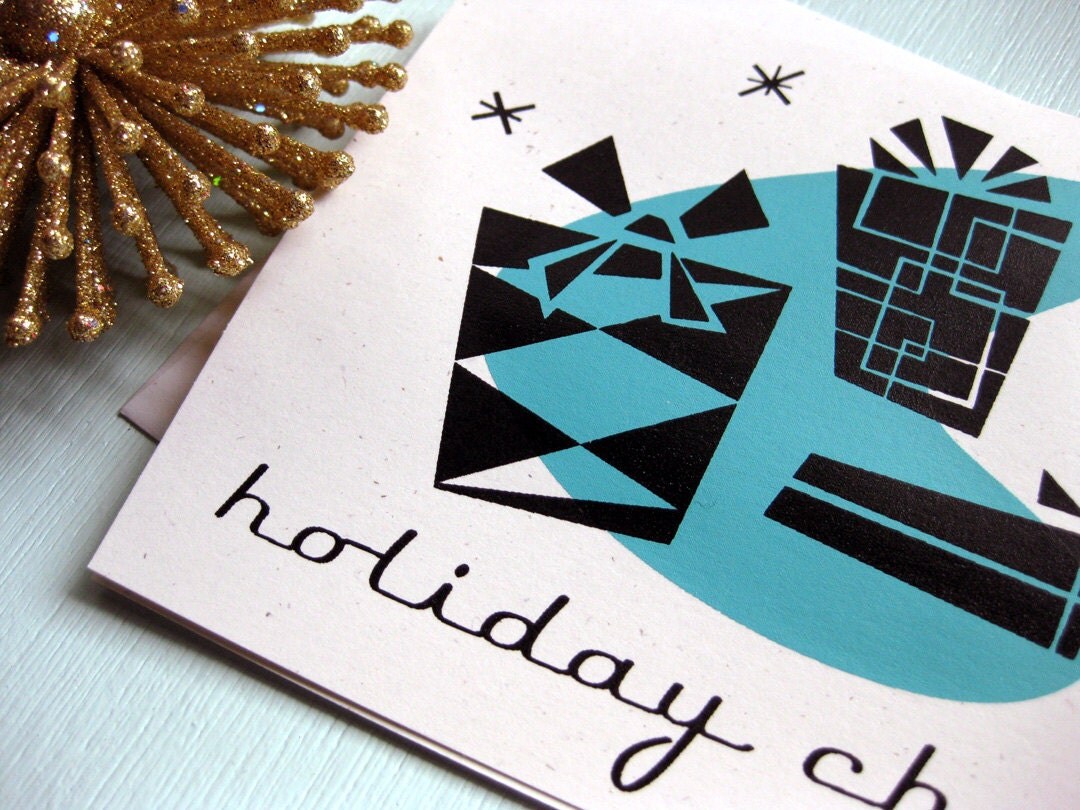
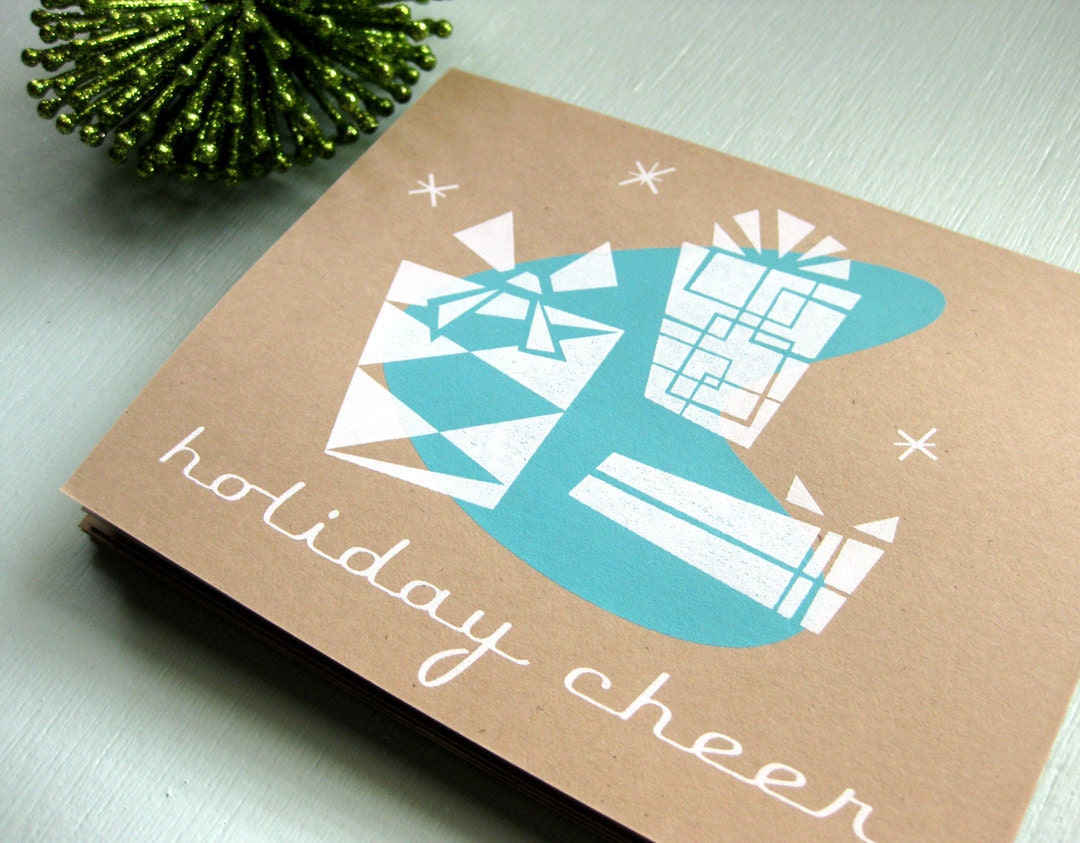
And my current fave, atomic boomerang holiday cards!


I've actually already sold out of the white cards! I still have a few of the kraft brown ones left, so if you are interested head over to the vitamodern shop. I'm very tempted to mail them out myself... I've got tons of more projects in the works, so add my shop to your favorites so you can keep an eye out.

I hope you are all doing well crossing things off your holiday shopping list! There is still plenty of time to buy handmade in time for the holidays. Head over to Etsy and support small handmade businesses this holiday season!

3

Papercuts.

Saturday, October 22, 2011

Since my first attempt at papercutting I've been absolutely hooked! There's something about the graphic contrast that the finish product has, the challenge to make sure I don't cut a key item out (or myself!), and the satisfaction of turning a plain piece of paper into a little piece of art. Here are a few of my finished pieces.


vitamini handmade © All rights reserved · Theme by Blog Milk · Blogger