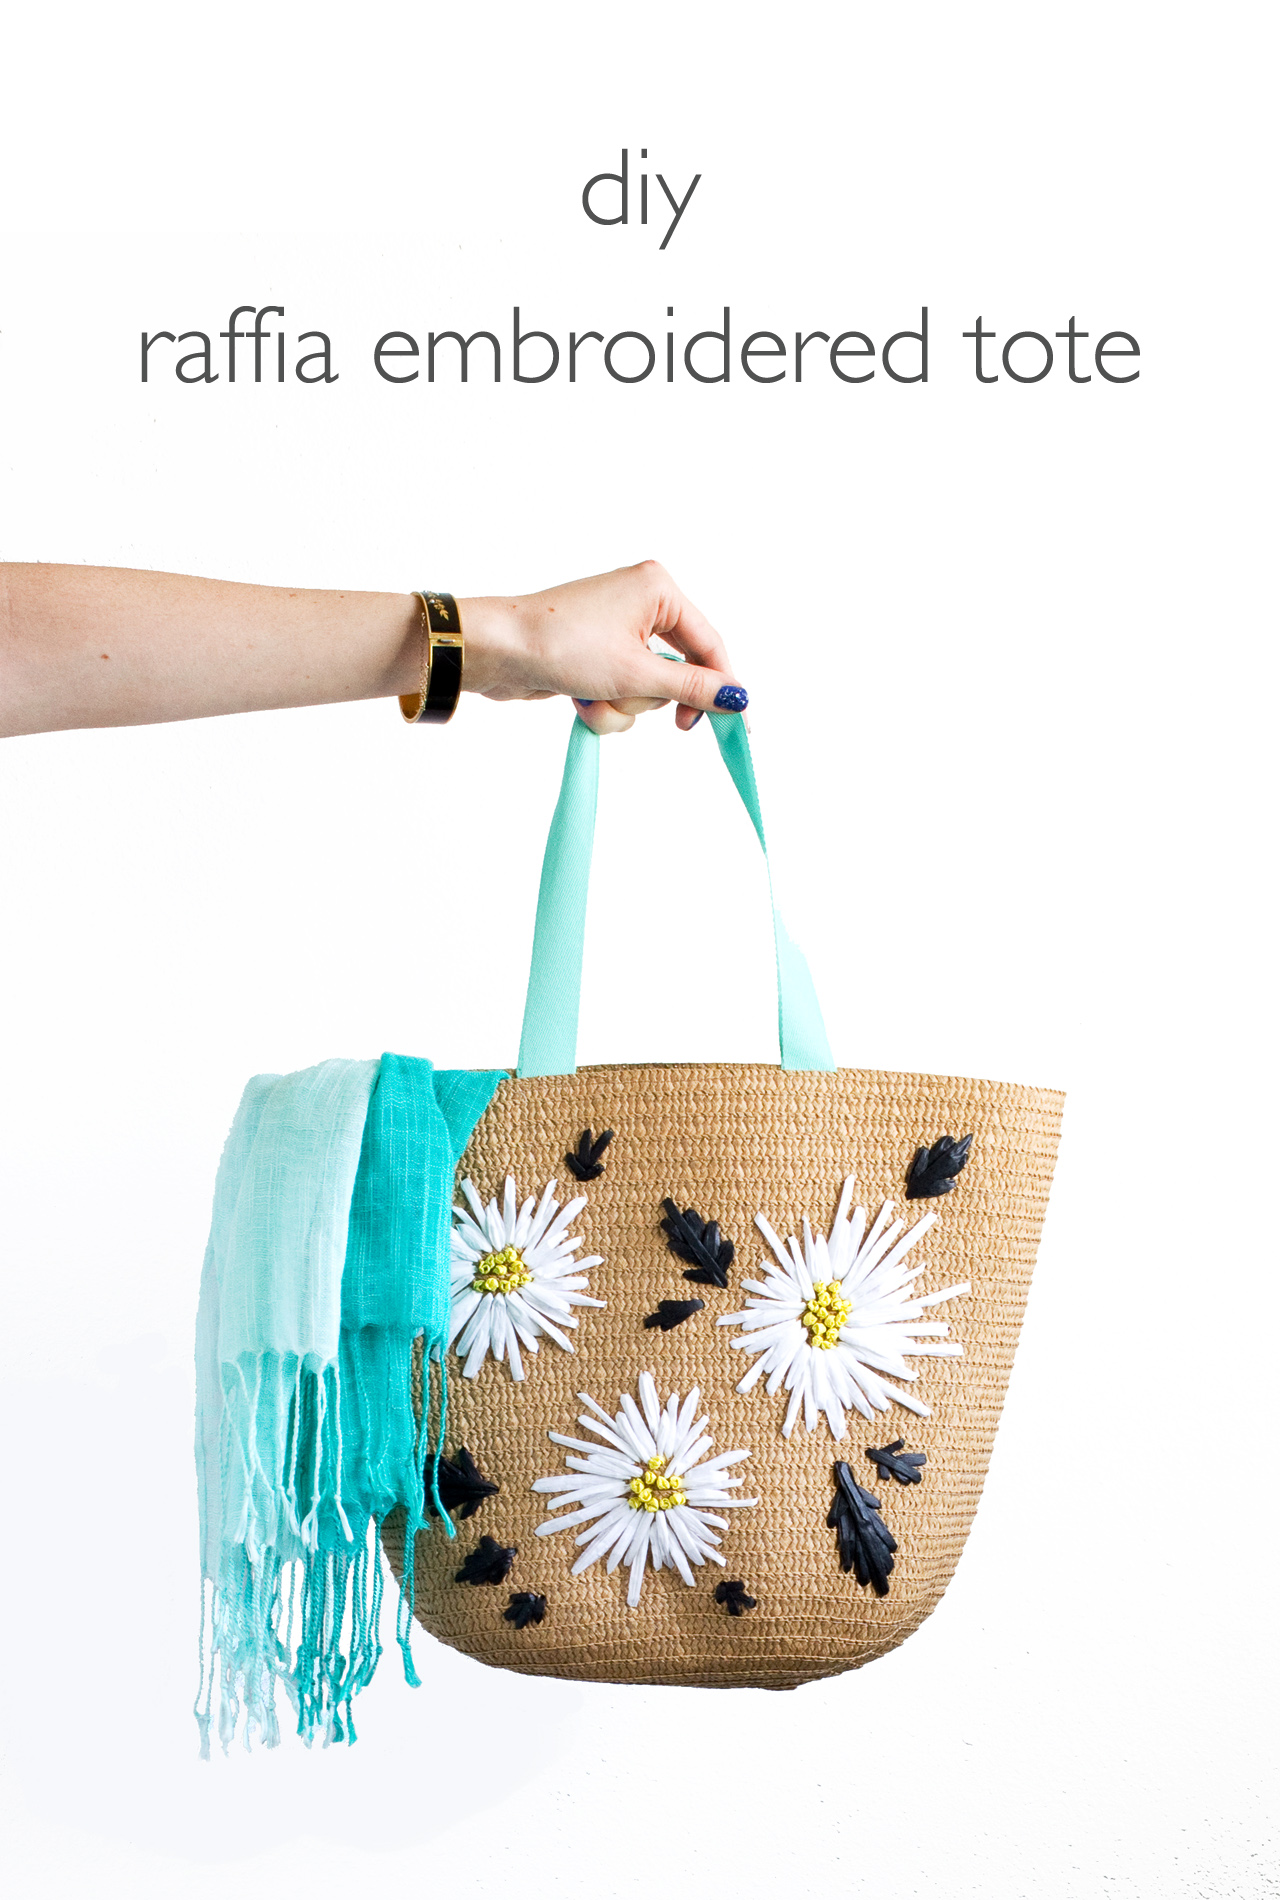
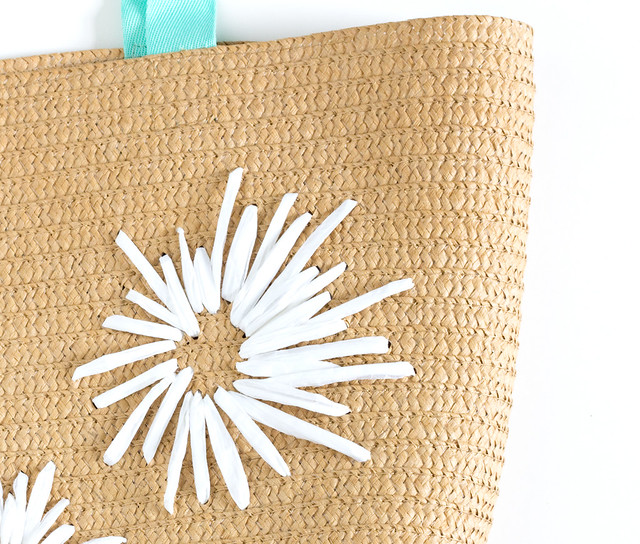
Whenever I go thrift shopping I always check the purse section to see if there are any of those awesomely retro raffia embroidered bags. You know the ones, they're usually made with a natural woven fiber, big enough to carry to the beach or farmer's market, and the embroidered designs were either simple or totally over the top. I spotted these plain straw tote bags in the Target Dollar Spot (only $3 each!) and knew immediately that I wanted to recreate the retro floral vibe that you see on those vintage straw bags. Good news: it's easy and you don't have be an embroidery whiz to recreate the look!
Here's what you'll need to make your own raffia embroidered tote:
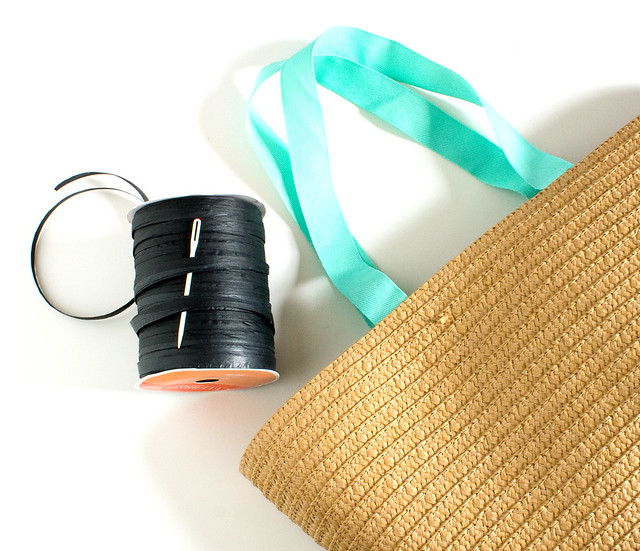
- Plain straw tote bag. I got mine at Target, but Amazon also has a few similar styles. This one is adorable! Note: if the bag is lined you'll have to open it up to get to the inside of the bag.
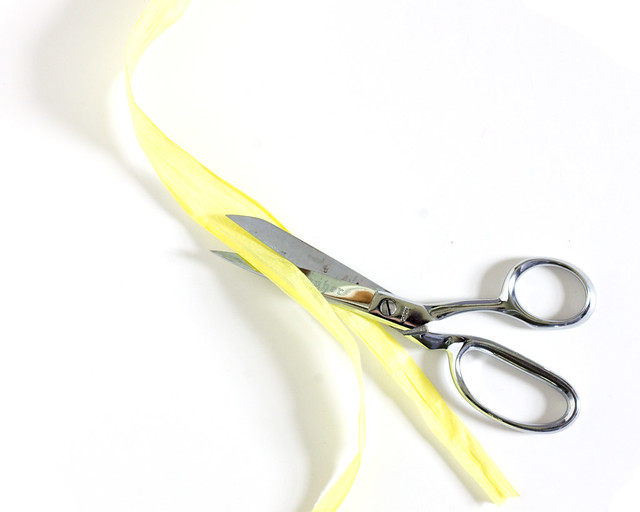
- Raffia Ribbon. I kept it simple and used black, yellow, and white
- Yarn needle
- Other stuff: scissors, round items to trace, pencil
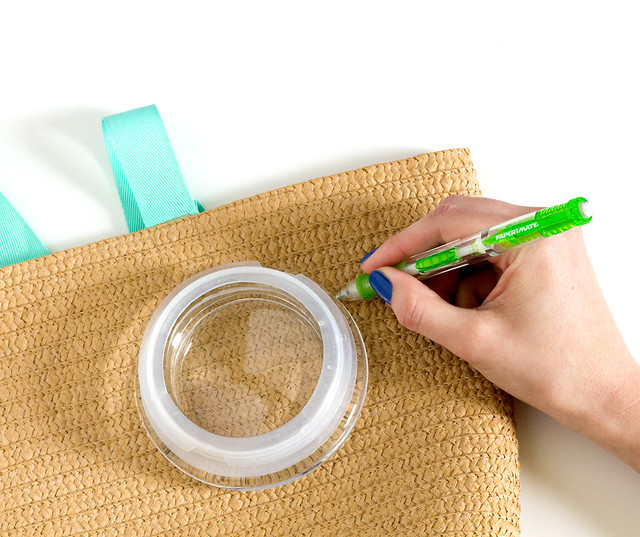
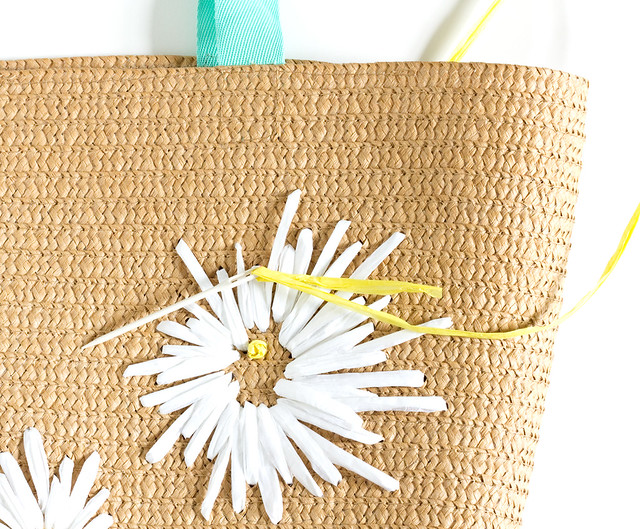
Cut a length of the raffia and tie a knot at one end. Thread the needle and start by stitching simple, large stitches that go from the center circle to the outer circle, with space in between each.
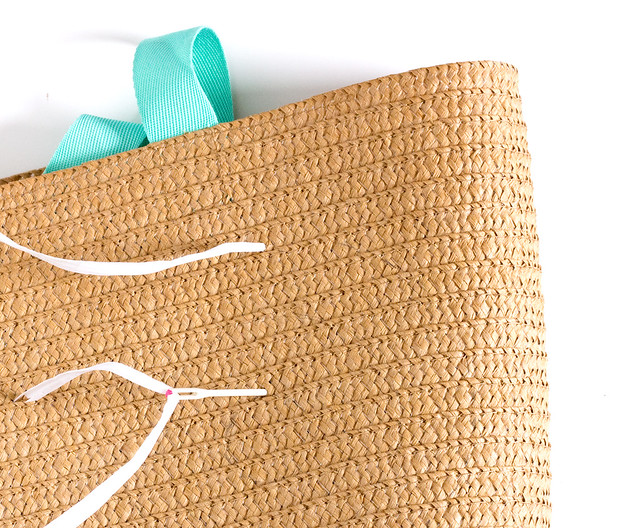
 Fill in between each stitch with slightly shorter stitches, and repeat again with shorter stitches, filling in all of the gaps. It doesn't have to be perfect! I found that a more relaxed arrangement of stitches actually looked more natural than perfectly exact ones.
Tips
- Don't pull the raffia too tight. The goal is for the stitches and the bag to lie flat.
- Untwist the raffia as you go.
- Finish each length of raffia with a knot inside the bag, as close as possible to the bag.
- Make sure to pull the raffia all the way through when you're stitching.
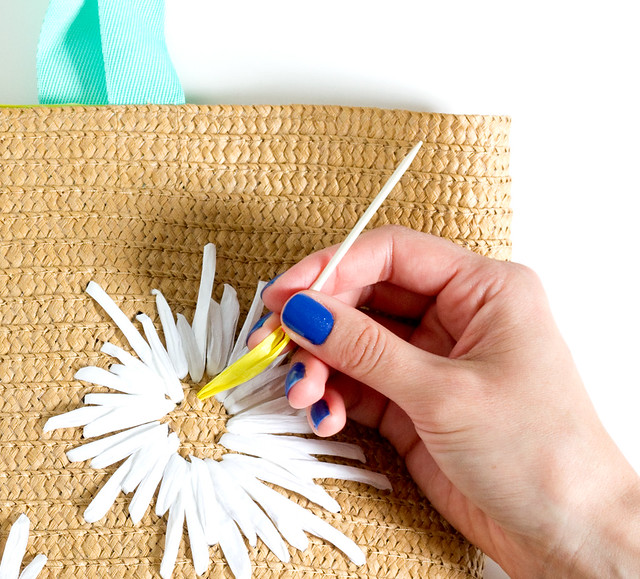
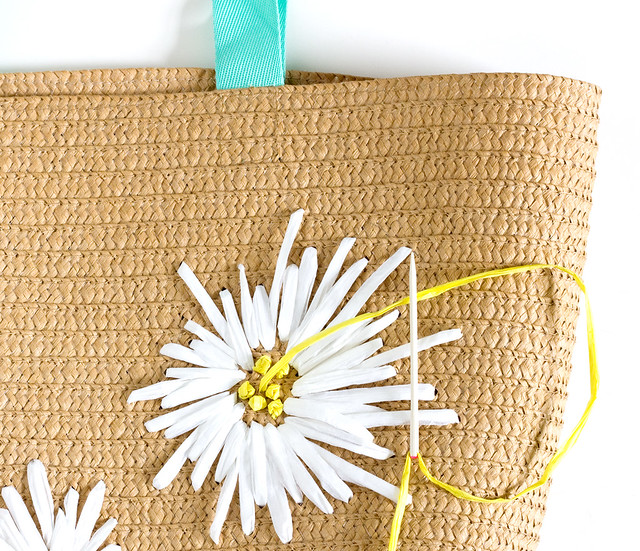
Tie a knot on one end and thread onto the needle. Come up in the center of a flower, twist the raffia twice around the needle, and push the needle down into the bag, just next to where the needle came up. Pull tight.
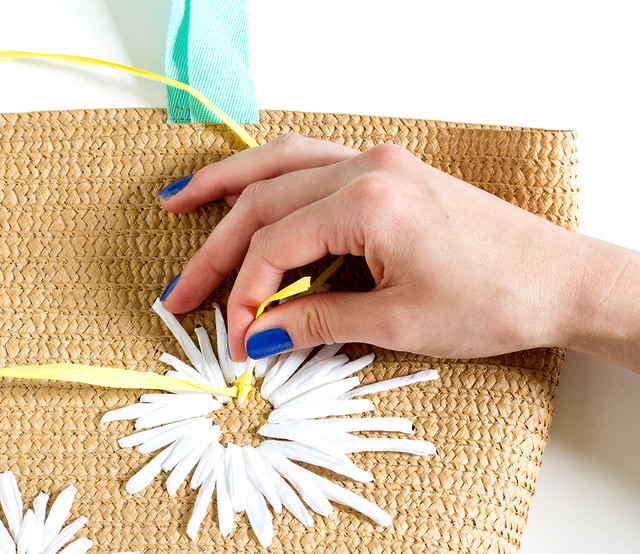
 If you need a little extra help this french knot tutorial has a great explanation. Fill in the center with a bunch of french knots!
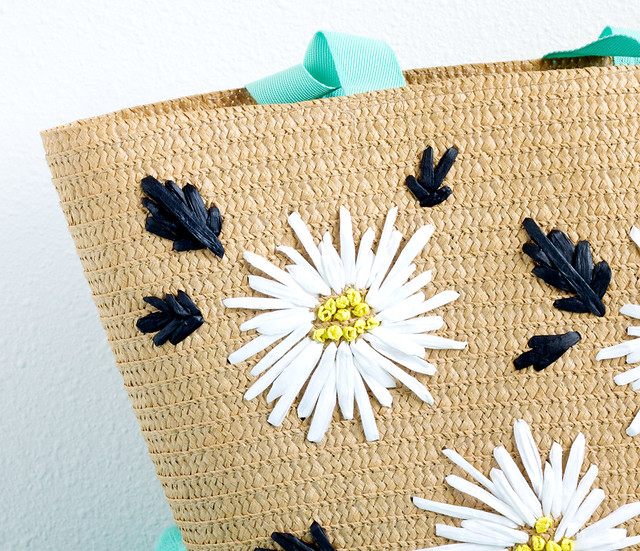
Stitch some leaves around the bag in varying sizes. I stitched simple V-shapes and then added a long stitch through the center.
That's it! Can you believe how easy that was? I'm so excited to take my new, retro bag out and about.
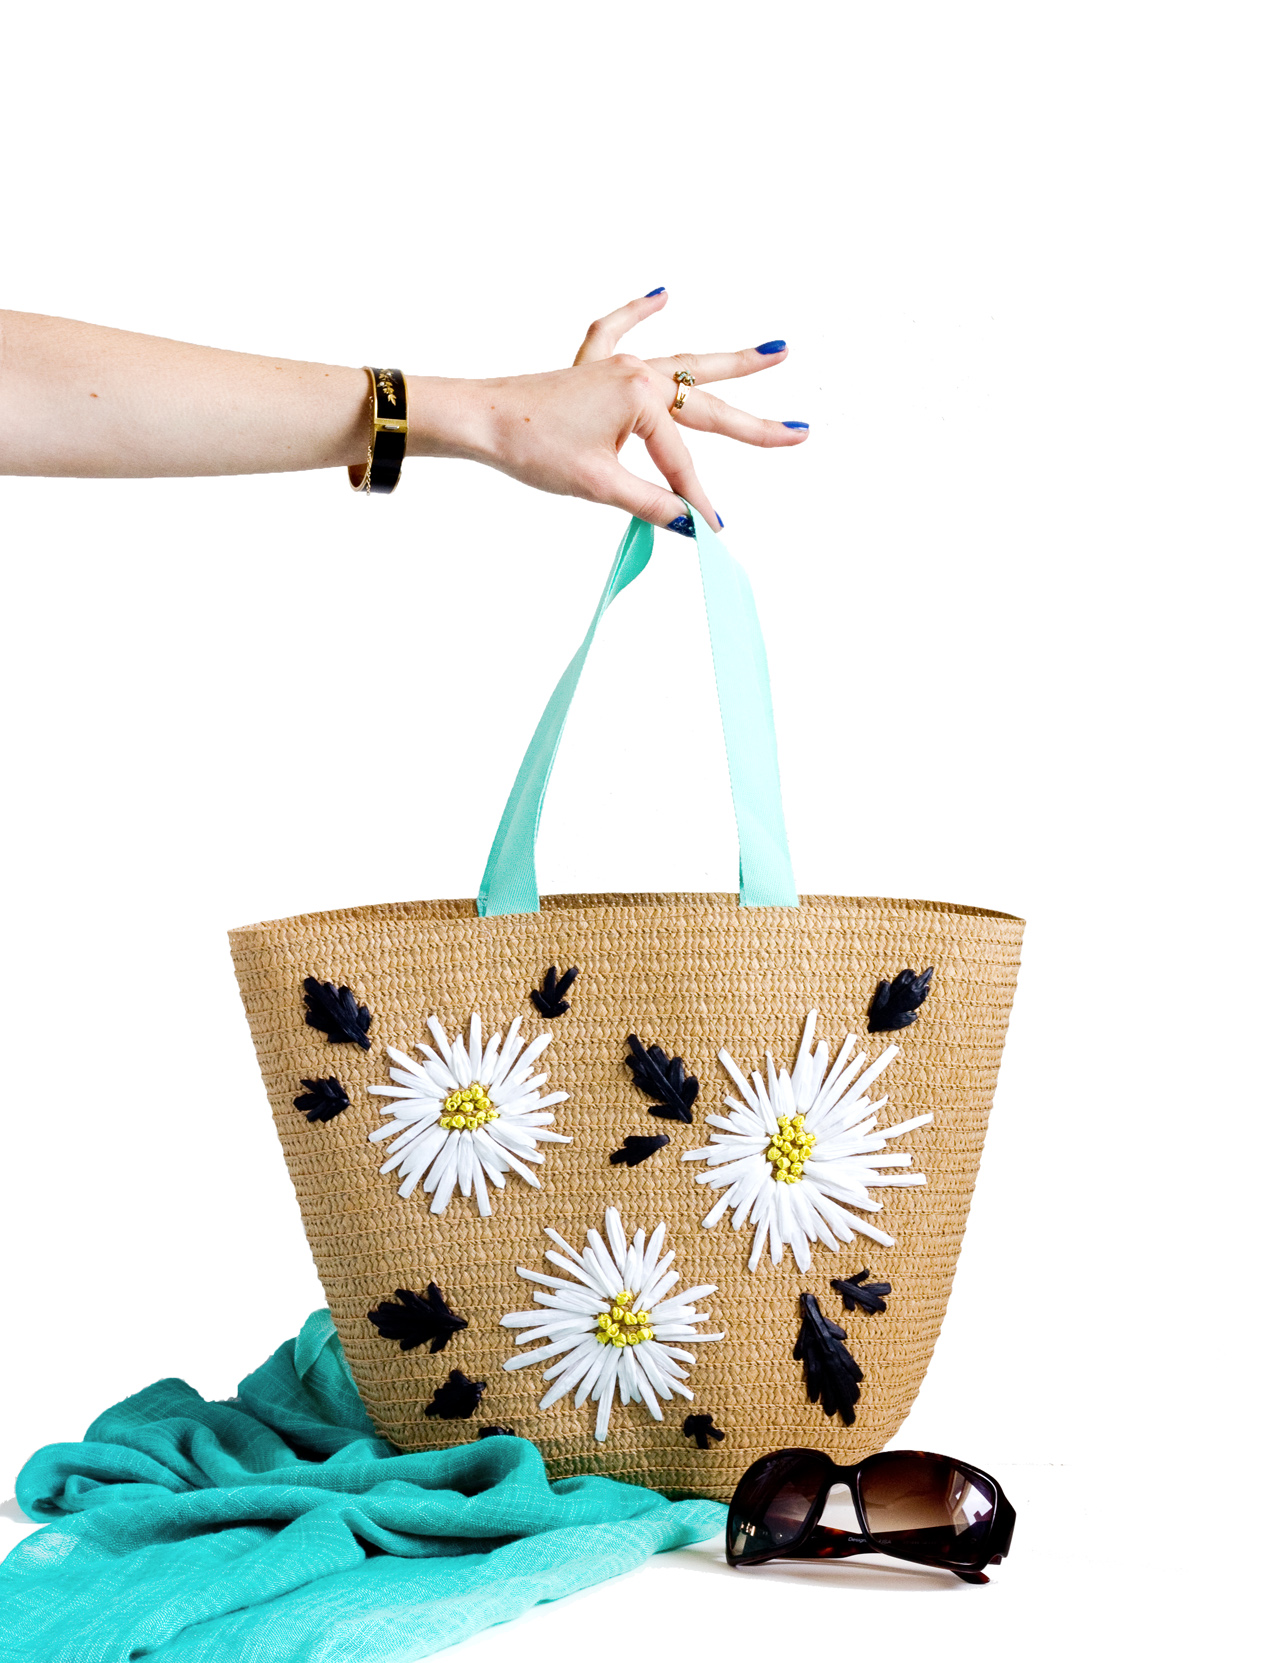
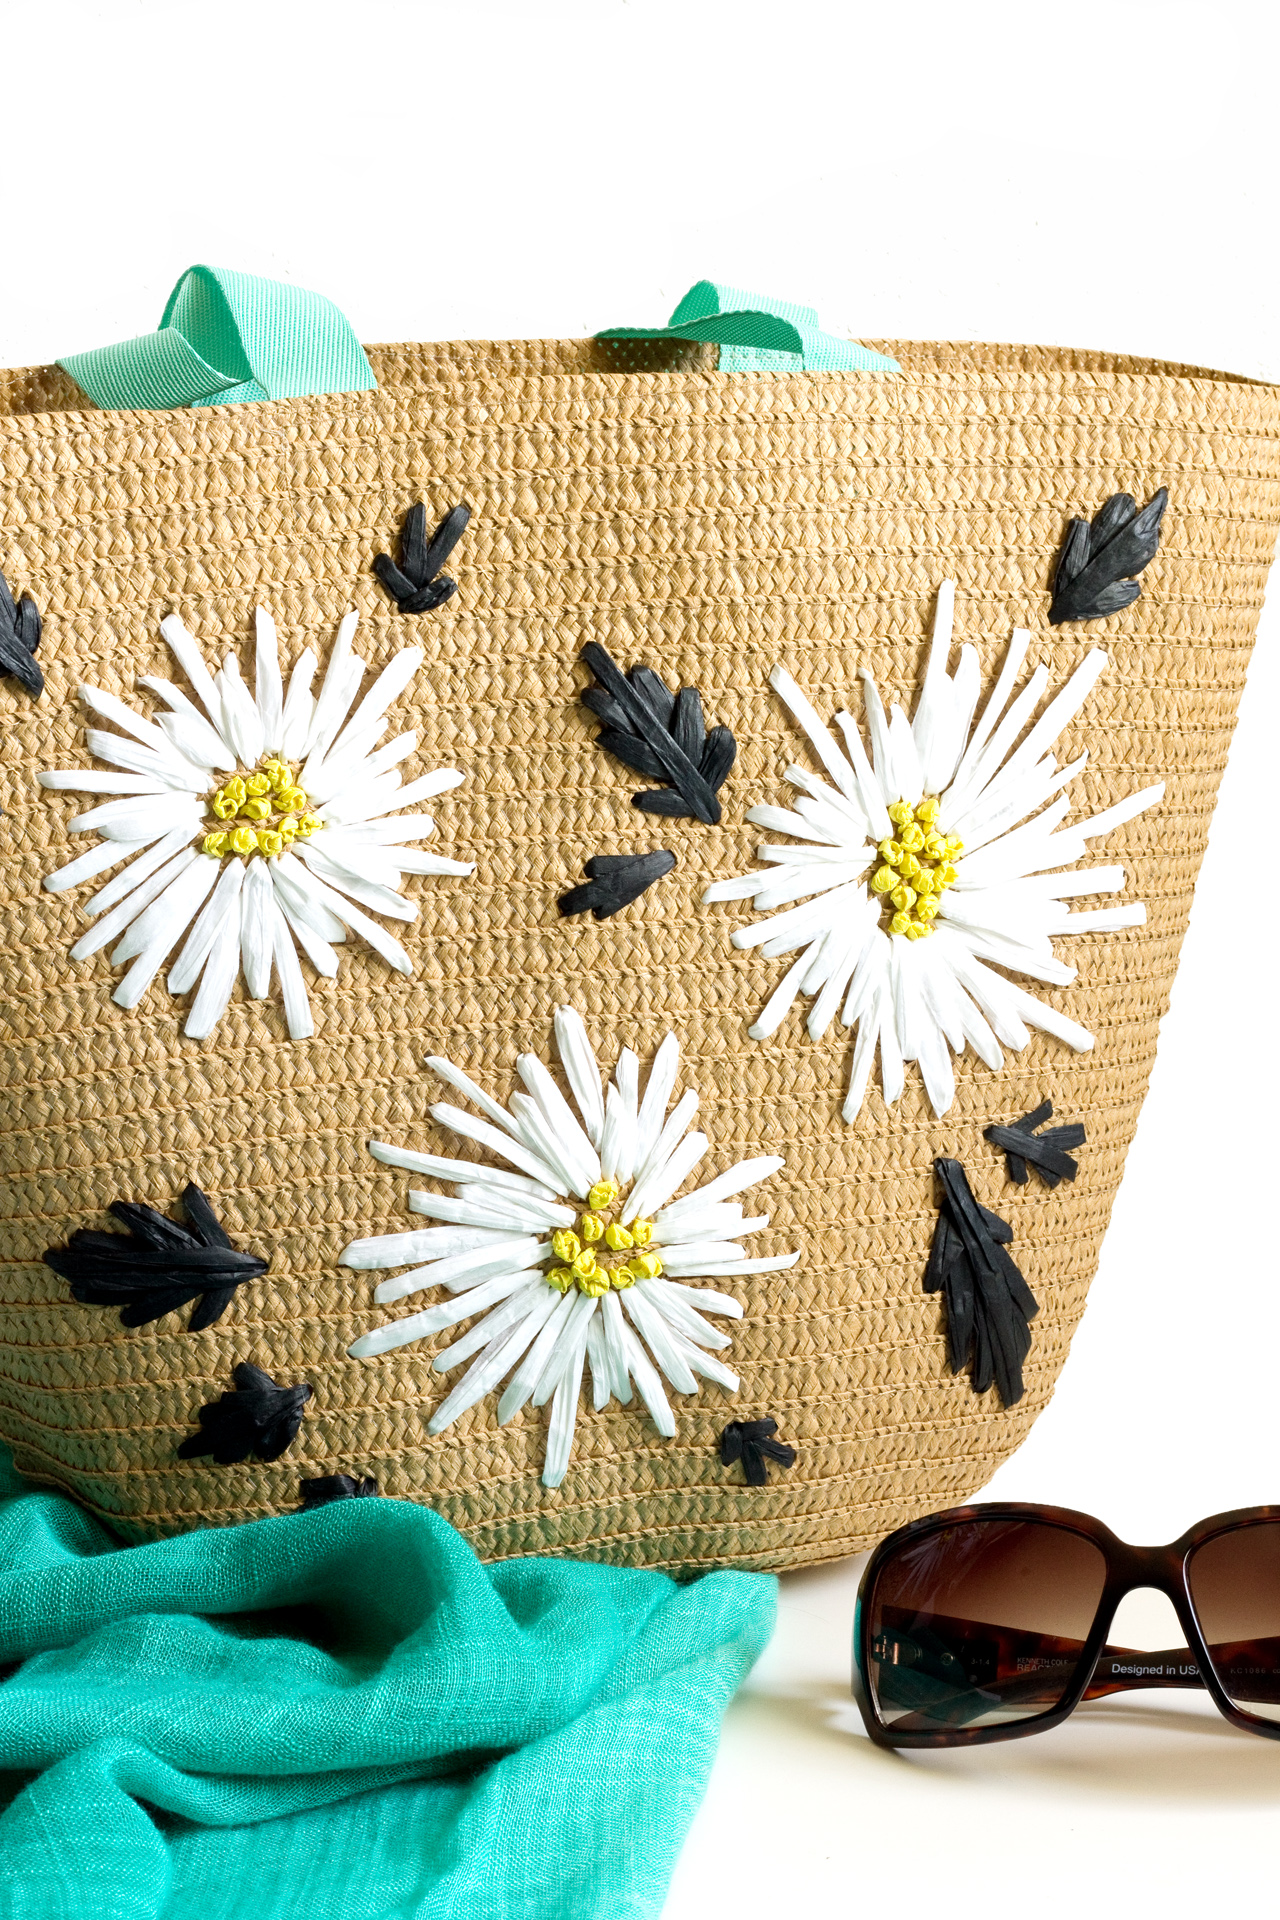 Keep an eye out for those simple straw bags that are just asking for a vintage-inspired makeover so you can try this technique out yourself!


Casey, I adore everything about this!
ReplyDeleteThanks, Maritza! I hope you'll try it! <3
ReplyDeleteThat's such a fun upgrade! Looks easy enough too. Pinning!
ReplyDeleteThanks, Julia! :)
ReplyDeleteYour article is really interesting and mind boggling.
ReplyDeleteWhat a cute idea to refresh the old tote.
ReplyDeleteinstagram viewer
The content looks real with valid information. Good Work
ReplyDeleteStitch some leaves around the bag in varying sizes. I stitched simple V-shapes and then added a long stitch through the center. double bed bedsheet cotton , pretty bed sheets , best quality bed sheets online , bridal satin sheets , sateen duvet cover set , baby razai set , 3 cushion sofa covers , crushed velvet bedding
ReplyDeleteStitch some leaves around the bag in varying sizes. I stitched simple V-shapes and then added a long stitch through the center. new lawn collection , new lawn collection
ReplyDeleteThis comment has been removed by the author.
ReplyDeleteExplore the allure of retro raffia embroidered bags, where vintage charm meets modern style. These timeless accessories boast intricate embroidery on natural fibers, adding a touch of artisanal elegance to any outfit. With embroidery digitizing made easy and simple, creating personalized designs for these bags is a breeze, allowing you to showcase your unique flair and creativity effortlessly. Elevate your accessory game with these chic and versatile statement pieces.
ReplyDeleteGreat Geoguessr Free idea, I love this bag
ReplyDeleteThe color Mapquest Directions scheme is a balanced mix of greens, blues, and whites, with occasional splashes of accent colors to highlight important features.
ReplyDeletethe creative minds behind Ragdoll Hit, this chaotic brawler lets you control a floppy stickman in hilarious, action-packed battles.
ReplyDeleteGreat idea I really like this bag melon playground
ReplyDeleteAppleBlox brings iOS-style customization to your Roblox client with sleek menus, refined typography, and optimized performance. This theme pack (compatible with Bloxstrap) transforms your interface with Apple-inspired aesthetics while keeping modifications safe and account-friendly. Enjoy a premium, minimalist redesign without violating Roblox's terms of service.
ReplyDelete