




21

DIY Raffia Embroidered Tote

Monday, April 27, 2015


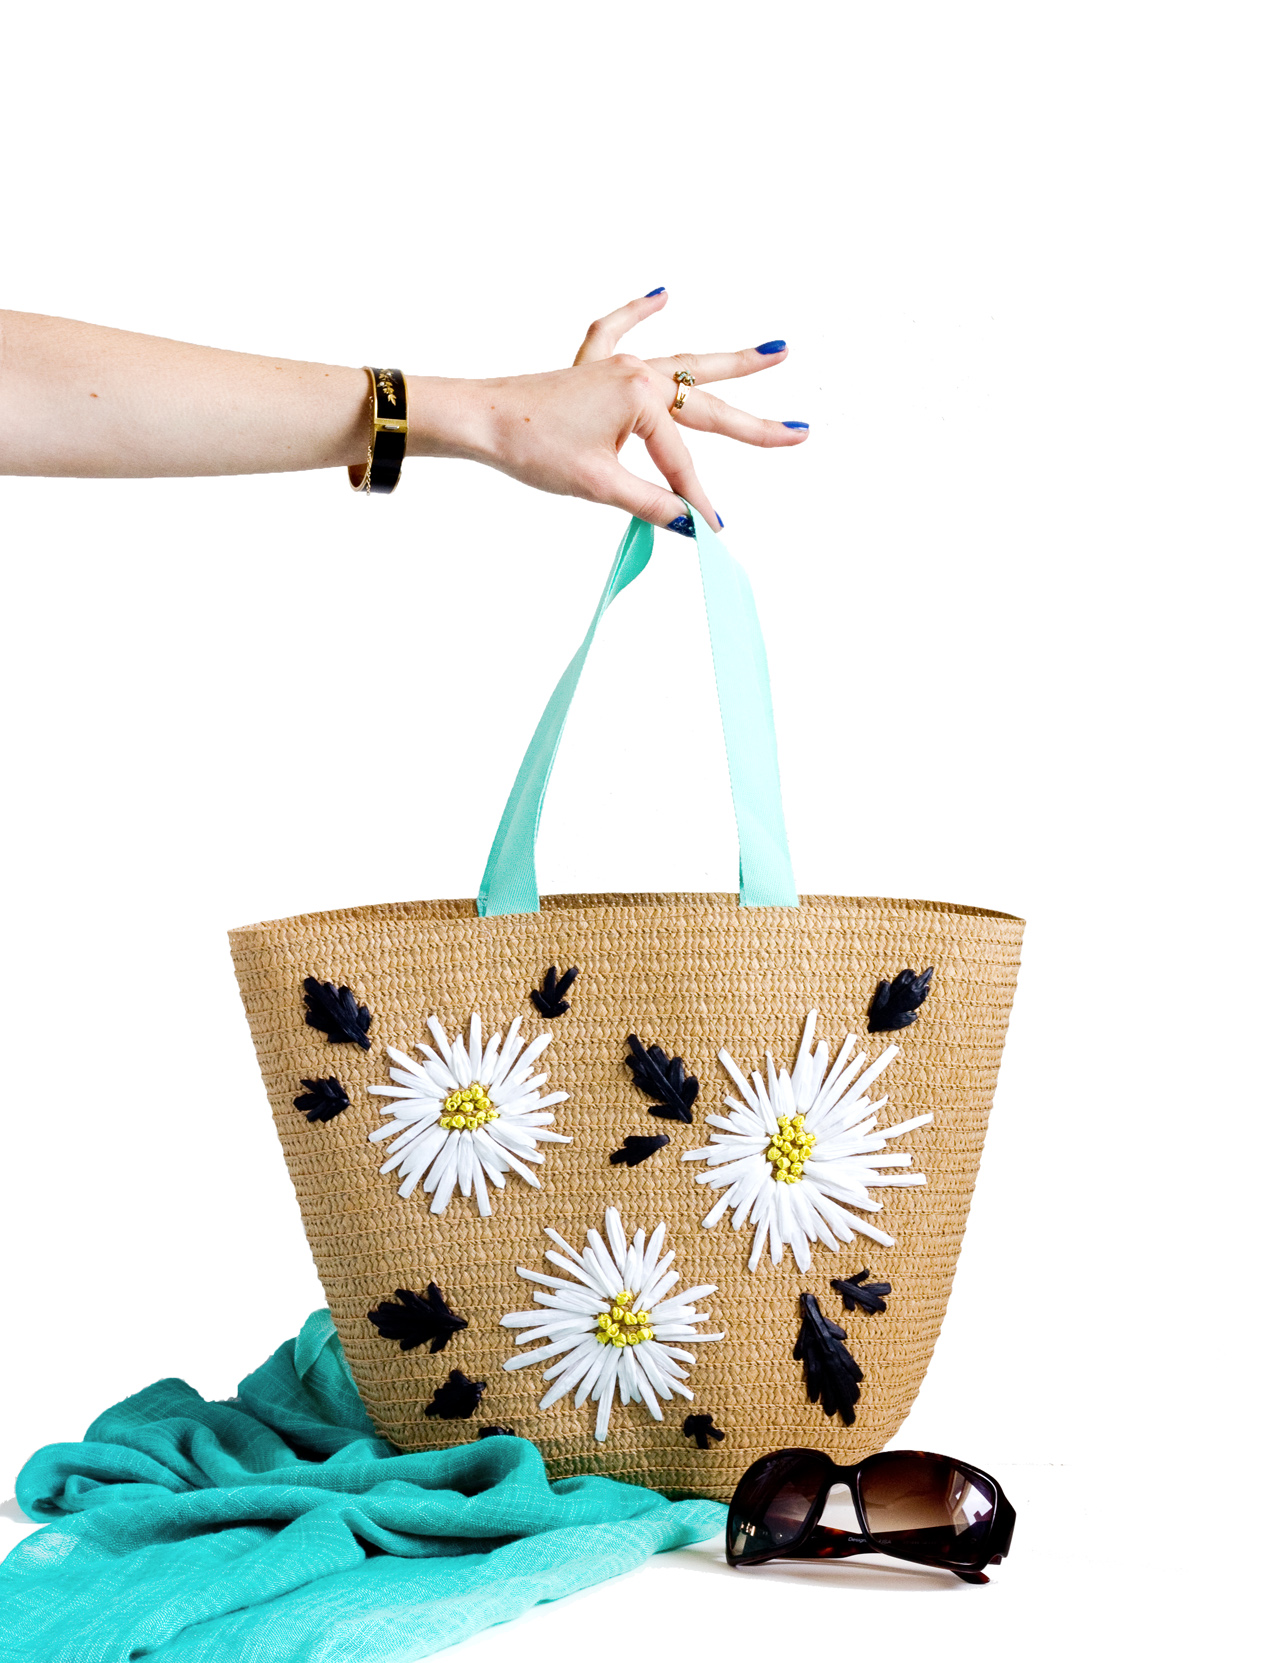
DIY Raffia Embroidered Tote | click through for the full tutorial!

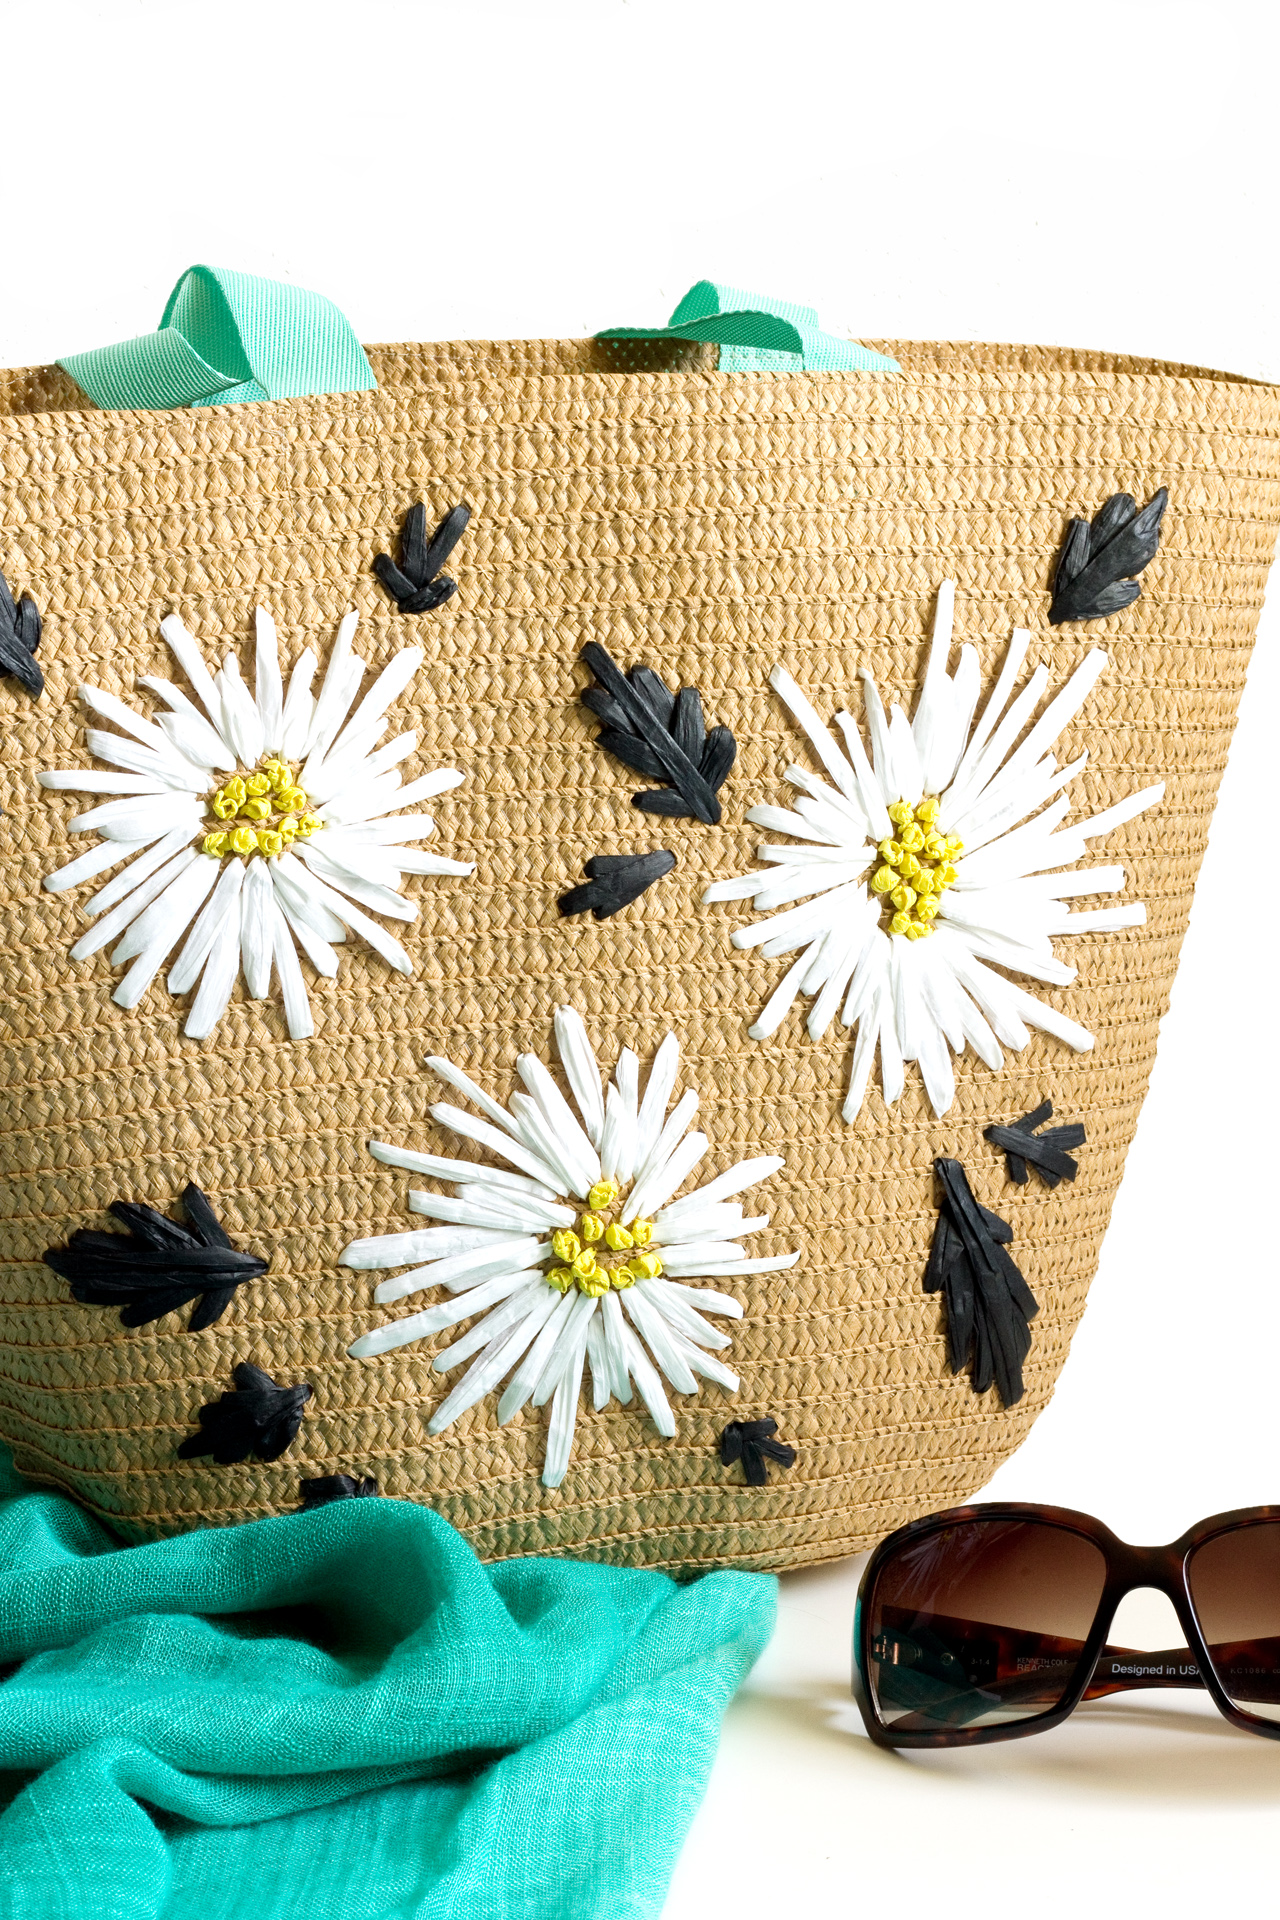
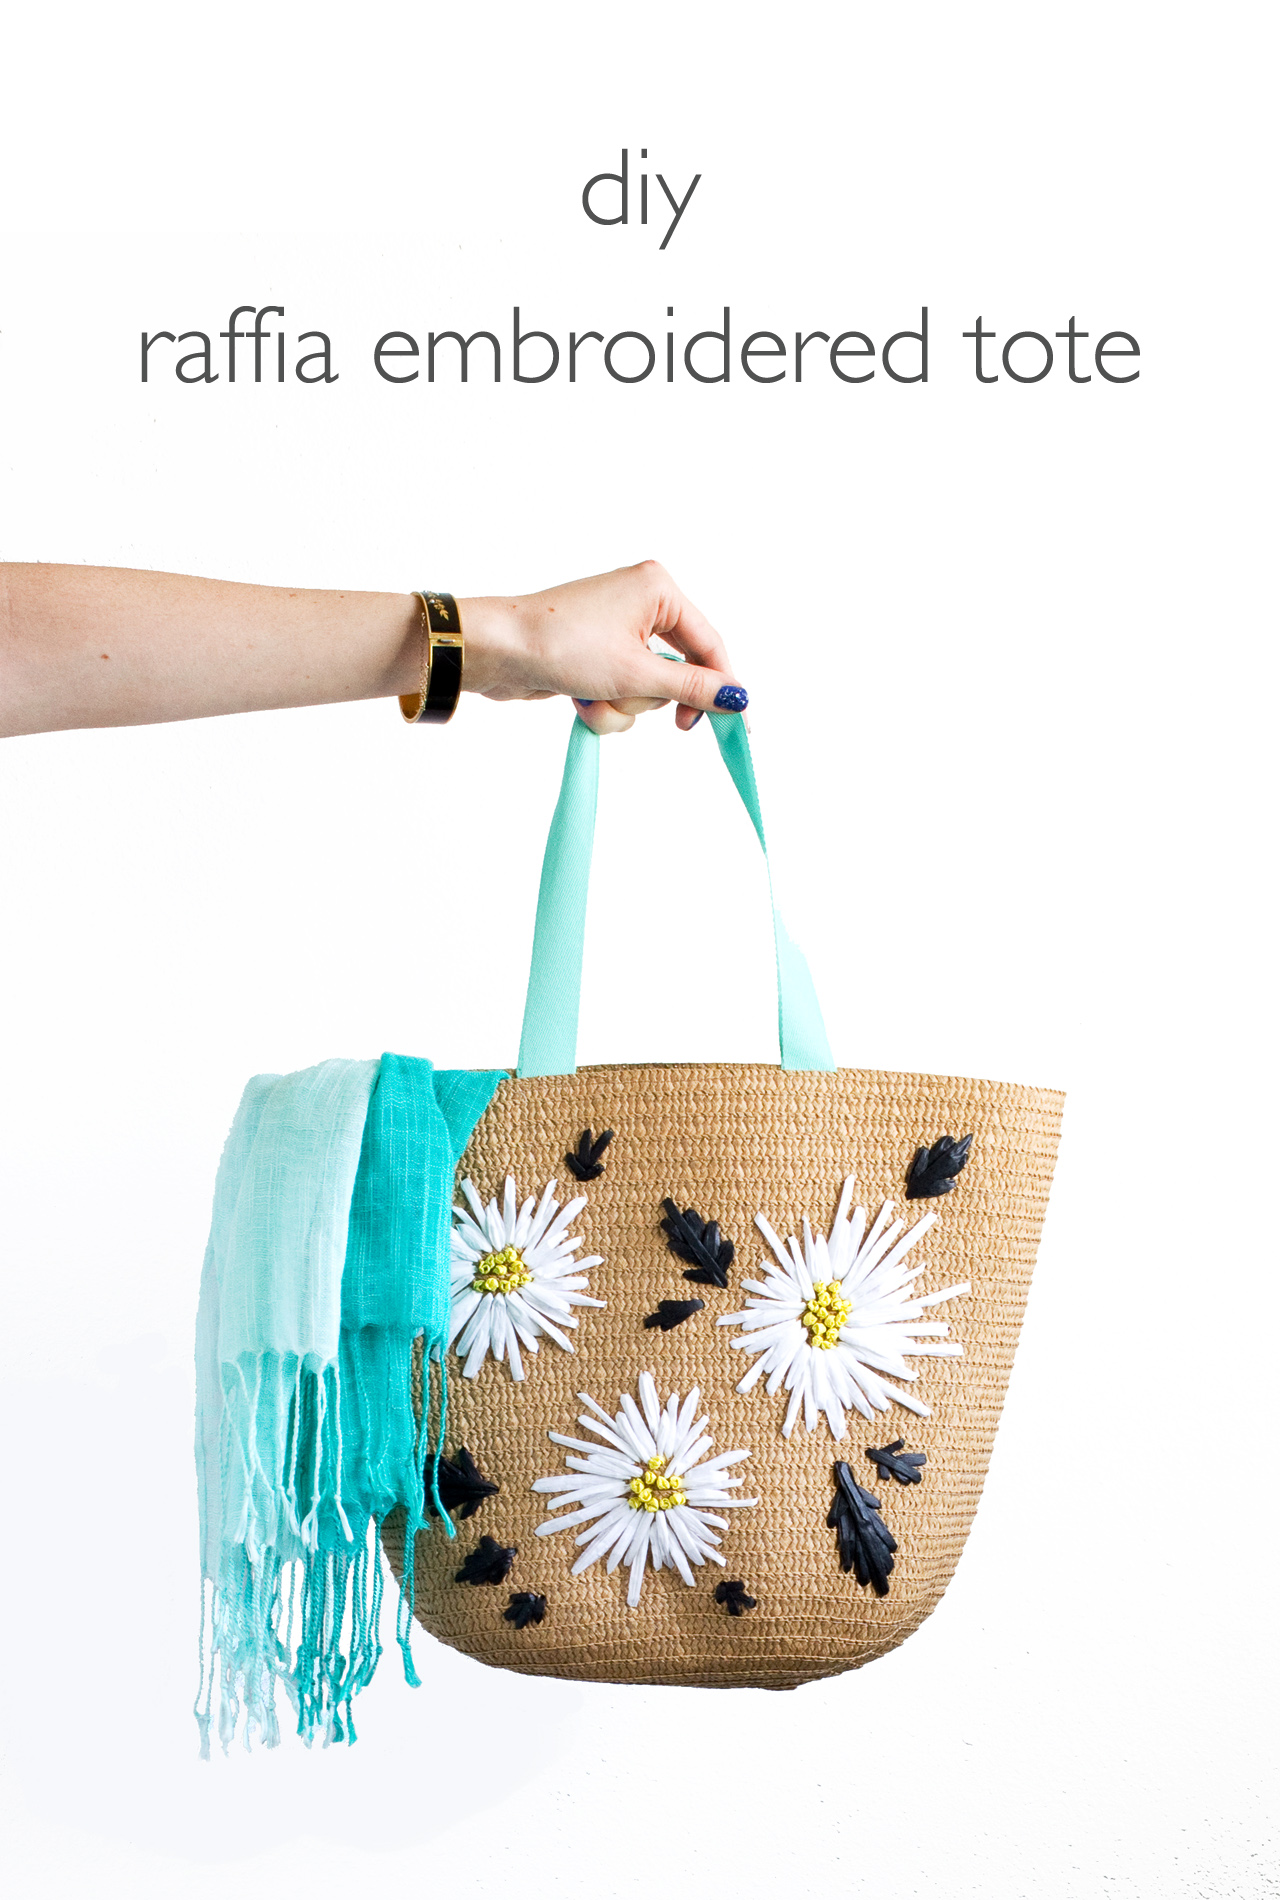
Whenever I go thrift shopping I always check the purse section to see if there are any of those awesomely retro raffia embroidered bags. You know the ones, they're usually made with a natural woven fiber, big enough to carry to the beach or farmer's market, and the embroidered designs were either simple or totally over the top. I spotted these plain straw tote bags in the Target Dollar Spot (only $3 each!) and knew immediately that I wanted to recreate the retro floral vibe that you see on those vintage straw bags. Good news: it's easy and you don't have be an embroidery whiz to recreate the look!

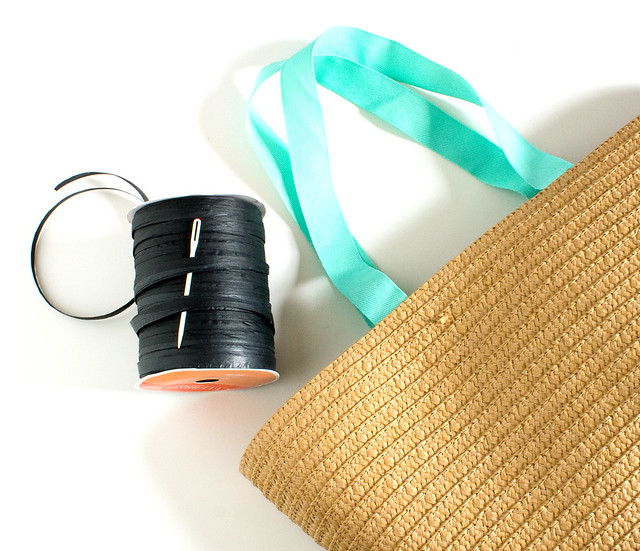
Here's what you'll need to make your own raffia embroidered tote:
DIY Raffia Embroidered Tote | click through for the full tutorial!
  • Plain straw tote bag. I got mine at Target, but Amazon also has a few similar styles. This one is adorable! Note: if the bag is lined you'll have to open it up to get to the inside of the bag.
  • Raffia Ribbon. I kept it simple and used black, yellow, and white
  • Yarn needle
  • Other stuff: scissors, round items to trace, pencil
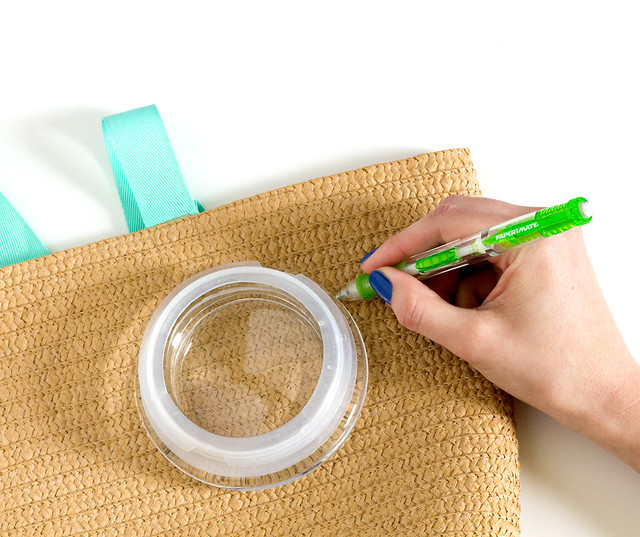
Start by deciding on an arrangement for the flowers. Odd numbers look the best! Choose the placement of the first flower, trace something round like a bowl or plate with a pencil. Trace something smaller like a roll of tape for the center. (It's hard to see the pencil marks, but they're there! The pencil marks also blend in well and can be erased a bit when you're done.)
DIY Raffia Embroidered Tote | click through for the full tutorial!
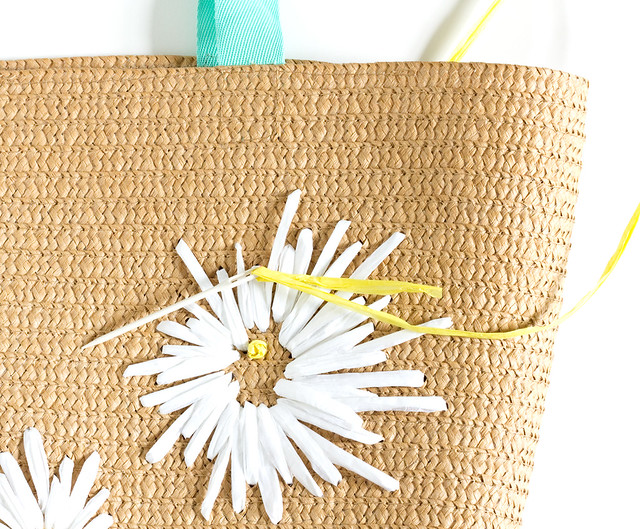
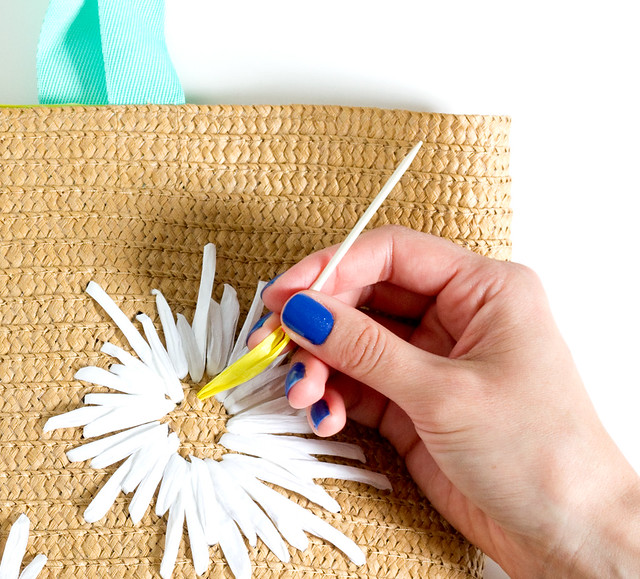
Cut a length of the raffia and tie a knot at one end. Thread the needle and start by stitching simple, large stitches that go from the center circle to the outer circle, with space in between each.
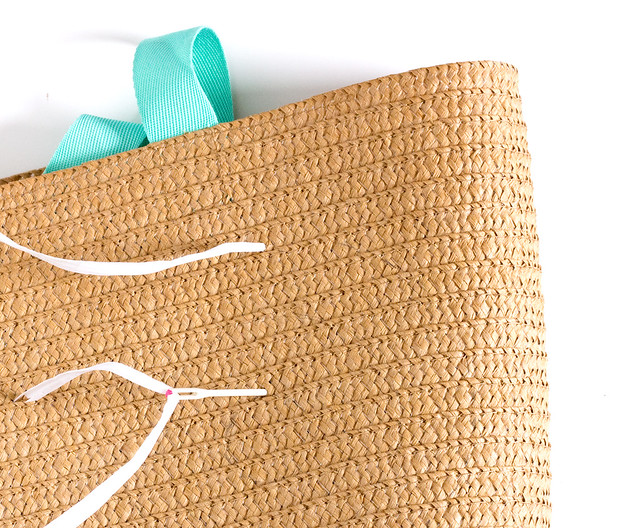
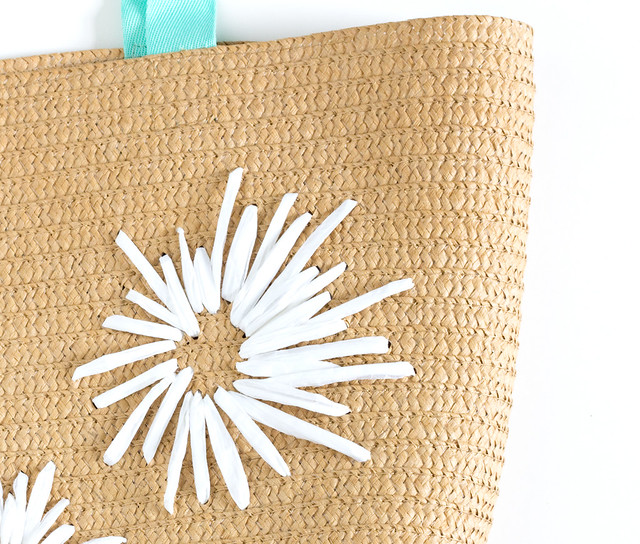
DIY Raffia Embroidered Tote | click through for the full tutorial! DIY Raffia Embroidered Tote | click through for the full tutorial! Fill in between each stitch with slightly shorter stitches, and repeat again with shorter stitches, filling in all of the gaps. It doesn't have to be perfect! I found that a more relaxed arrangement of stitches actually looked more natural than perfectly exact ones.
DIY Raffia Embroidered Tote | click through for the full tutorial!

Tips
  • Don't pull the raffia too tight. The goal is for the stitches and the bag to lie flat.
  • Untwist the raffia as you go.
  • Finish each length of raffia with a knot inside the bag, as close as possible to the bag.
  • Make sure to pull the raffia all the way through when you're stitching.
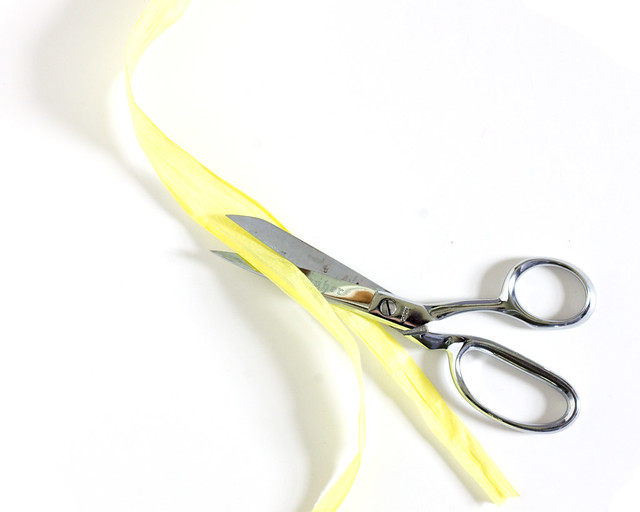
Add some french knots to the center of each flower. Cut a length of yellow raffia and unfold it. Cut in in half along the length and refold.

DIY Raffia Embroidered Tote | click through for the full tutorial!
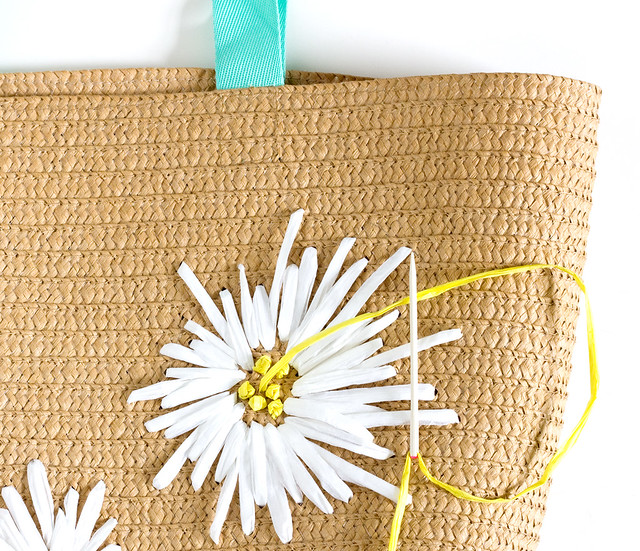
Tie a knot on one end and thread onto the needle. Come up in the center of a flower, twist the raffia twice around the needle, and push the needle down into the bag, just next to where the needle came up. Pull tight.
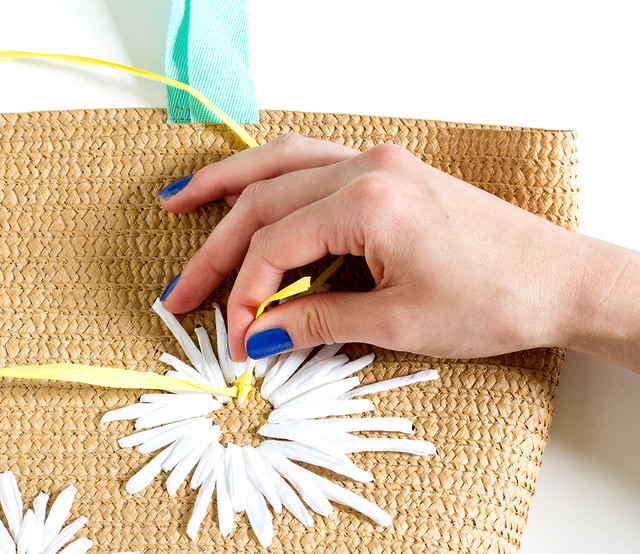
DIY Raffia Embroidered Tote | click through for the full tutorial! DIY Raffia Embroidered Tote | click through for the full tutorial! DIY Raffia Embroidered Tote | click through for the full tutorial! If you need a little extra help this french knot tutorial has a great explanation. Fill in the center with a bunch of french knots!
DIY Raffia Embroidered Tote | click through for the full tutorial!
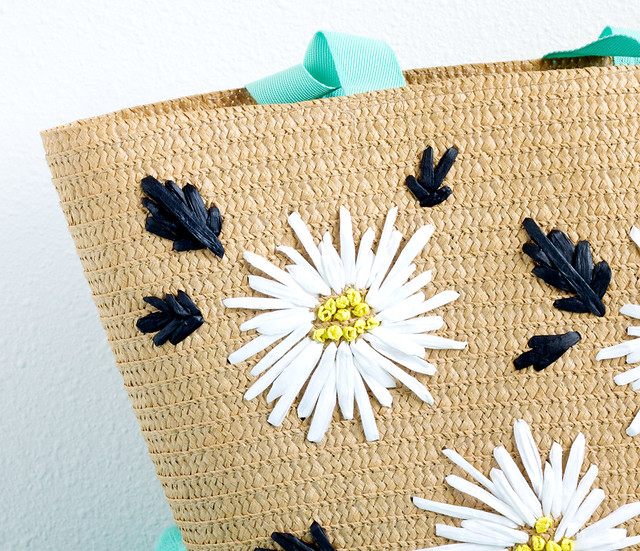
Stitch some leaves around the bag in varying sizes. I stitched simple V-shapes and then added a long stitch through the center.
DIY Raffia Embroidered Tote | click through for the full tutorial!
That's it! Can you believe how easy that was? I'm so excited to take my new, retro bag out and about. DIY Raffia Embroidered Tote | click through for the full tutorial! DIY Raffia Embroidered Tote | click through for the full tutorial! Keep an eye out for those simple straw bags that are just asking for a vintage-inspired makeover so you can try this technique out yourself!
81

DIY Faux Porcelain Cactus Ring Holder

Wednesday, March 25, 2015

DIY Faux Porcelain Cactus Ring Holder
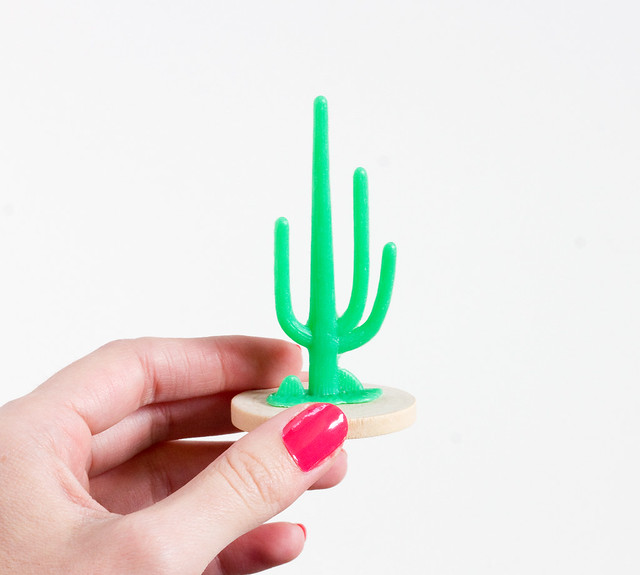
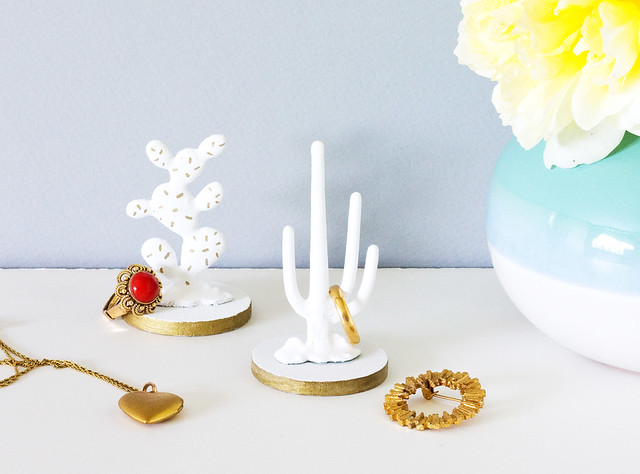
Sometimes the idea for a project just pops up and then you seek out the materials, but other times the materials themselves inspire a project. The latter was definitely the case for this project - I must have looked at these plastic cacti in Michaels ten times wondering what I could make with them. Then I remembered seeing a beautiful porcelain cactus ring holder online a while back and thought it would be super cool if I could try to recreate it. With a little bit of experimentation I figured out how to make these faux porcelain cactus ring holders with the help of a little plaster and white and gold paint! Best part is, you can make your own, too!

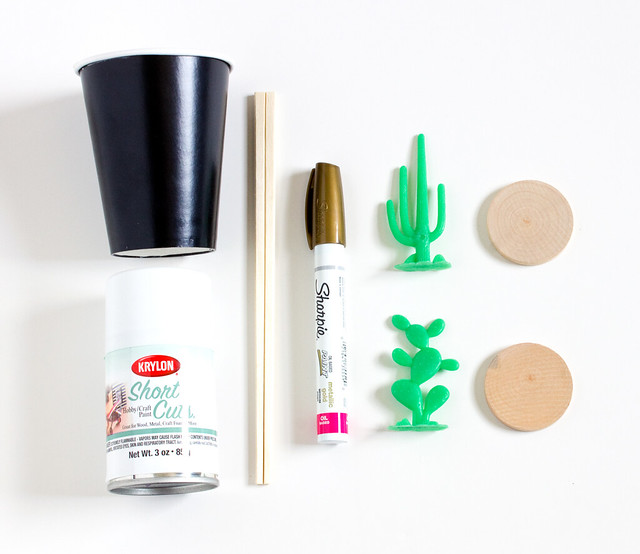
Here's what you'll need:
DIY Faux Porcelain Cactus Ring Holder
  • Plastic cacti. These came 3 to a package at Michael's
  • Wood disks. Mine were 1 3/4" diameter
  • Hot glue
  • Plaster (not pictured). Simple craft plaster is fine
  • Paper cup
  • Stir stick
  • White spray paint
  • Oil-based gold Sharpie
Hot glue the cactus to the center of the wood disk.
DIY Faux Porcelain Cactus Ring Holder
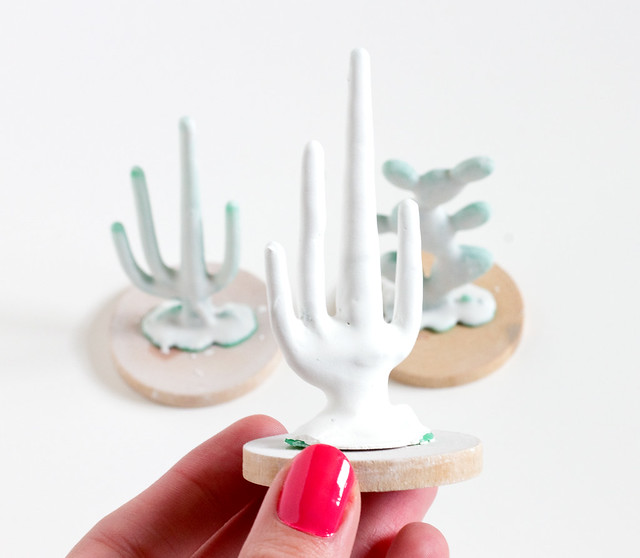
Mix up the plaster in the paper cup according to the directions (mine was 1 part cold water to 2 parts plaster). Stir it up well with the chopstick. It will start setting up quickly so be ready! When it's about the consistency of a milkshake, hold the wood disk and dip the cactus into the plaster until the plastic is all coated. If parts of the base aren't covered, spread the plaster around with a toothpick to get all of the nooks and crannies. I got the best results when I tipped the cup to the side and dipped one side of the cactus and then the other. Let dry upright. If a second dip is needed, let dry overnight and repeat.

DIY Faux Porcelain Cactus Ring Holder
Let dry completely and then spray paint, 2-3 coats. Draw some gold accents around the base and on the cacti themselves if you'd like. I added a few prickles and dashed lines on some and left others plain.

DIY Faux Porcelain Cactus Ring Holder
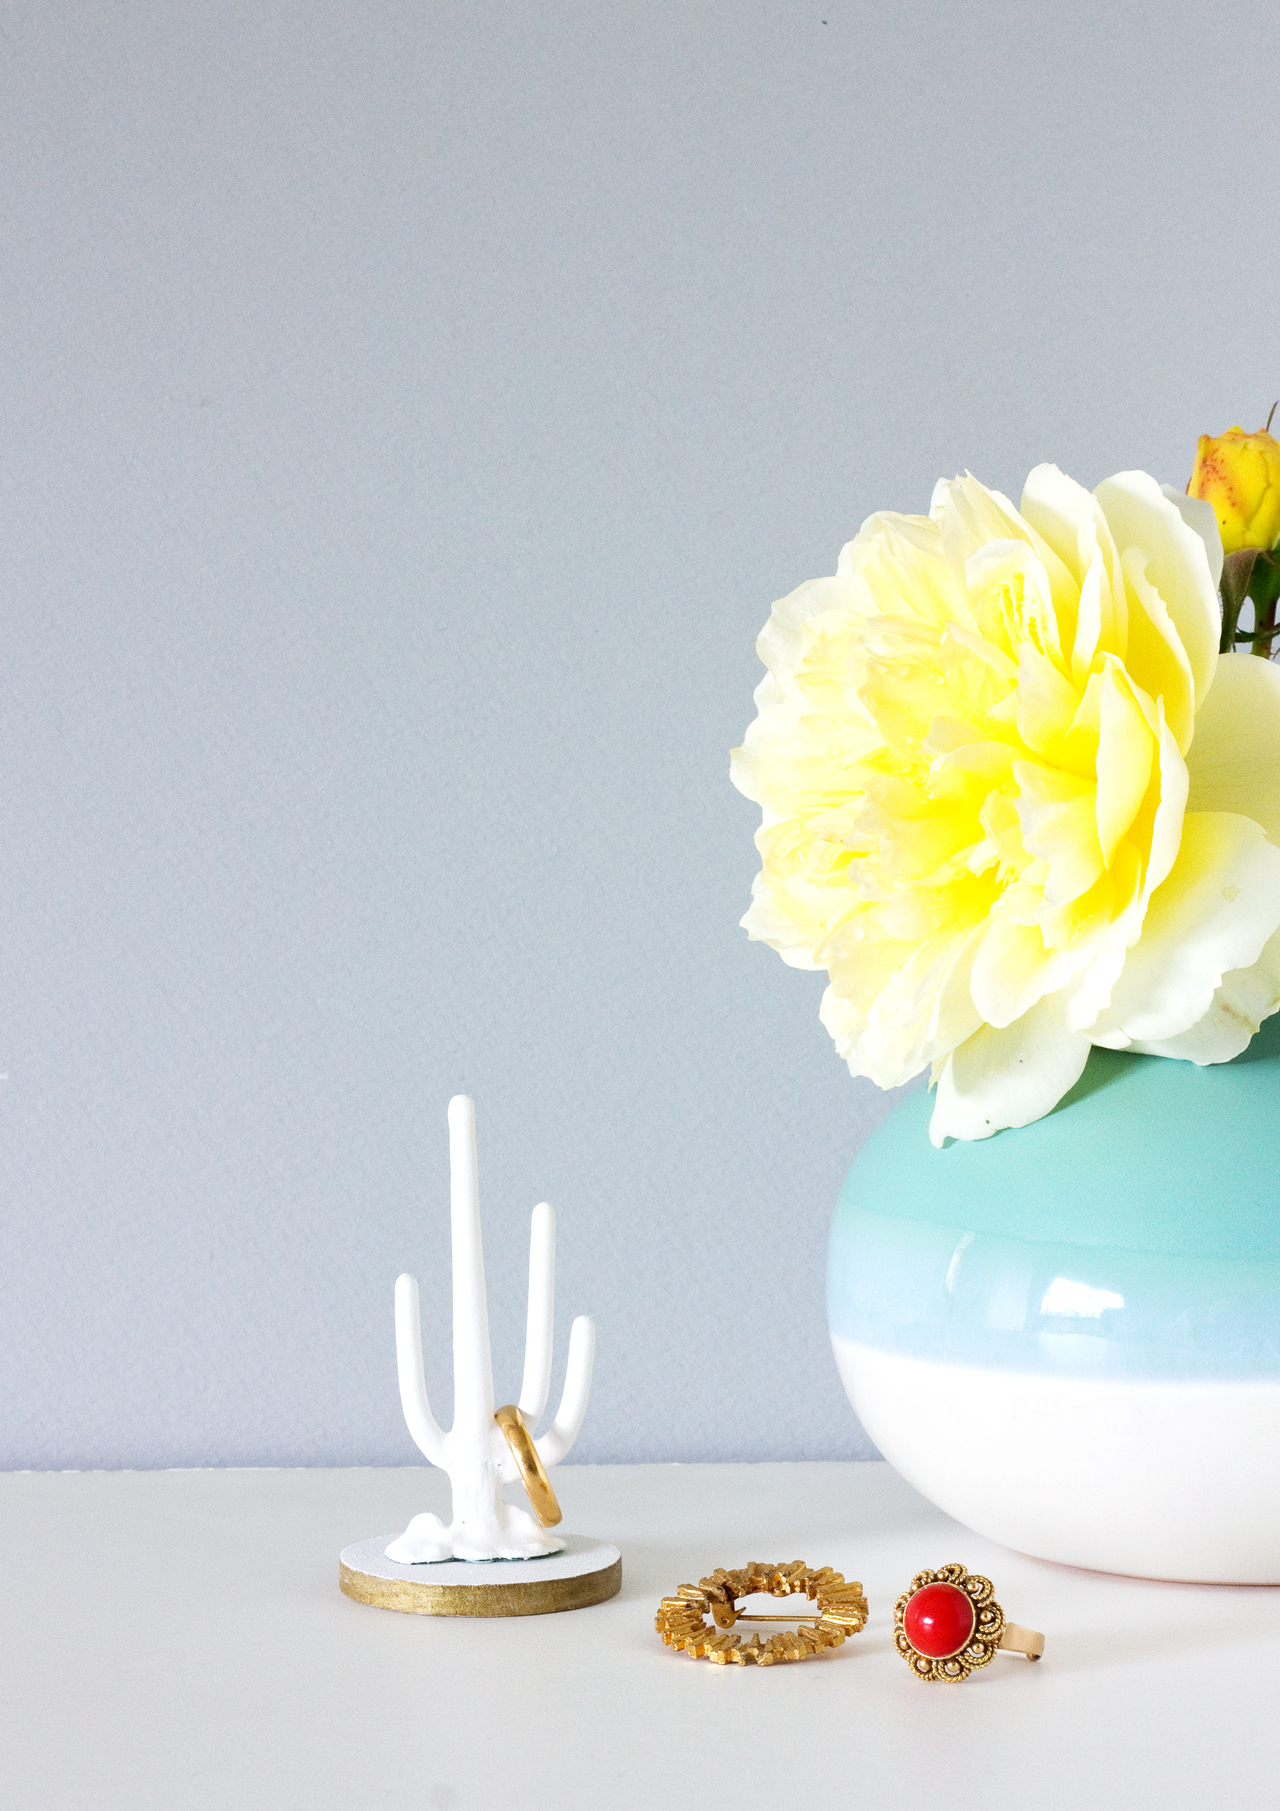
So cute, right? They make a sweet little addition to a dressing table, and for a perpetual jewelry stasher like myself, they're perfect for keeping rings organized. They look like porcelain and you'd never be able to guess that there's a cheap-o plastic cactus inside. Ha!

DIY Faux Porcelain Cactus Ring Holder DIY Faux Porcelain Cactus Ring Holder
P.S. I'm heading out to Craftcation tonight! I've been looking forward to this since last years' conference, so I'm super pumped! Let me know if you're going to be there! Follow me on Instagram to keep up with all the action. :) Have a great weekend!

34

DIY Leather Business Card Wallet

Tuesday, March 17, 2015

DIY Leather Business Card Wallet
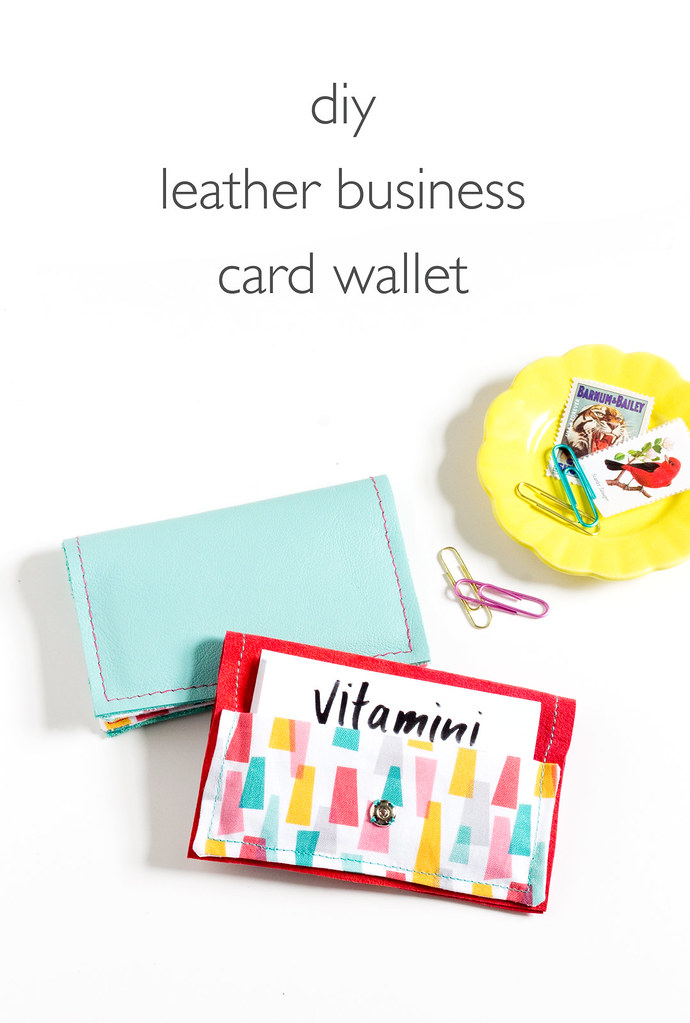
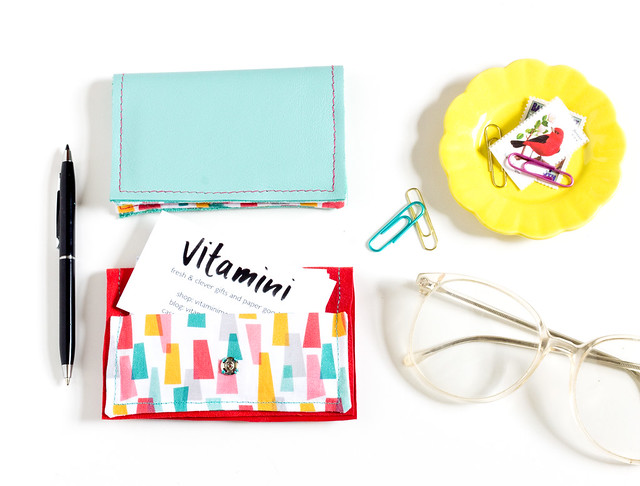
I'm getting ready for Craftcation (can't wait!) and decided to make a new business card holder so I can keep my shiny new business cards at the ready. I made these leather business card wallets with just a small piece of leather, two small pieces of fabric, and a snap - supplies you probably already have on hand! You could easily switch out the leather for vinyl and use up those small scraps of fabric you have lying around for the pockets. They're so easy to make, you'll probably want to make a few!

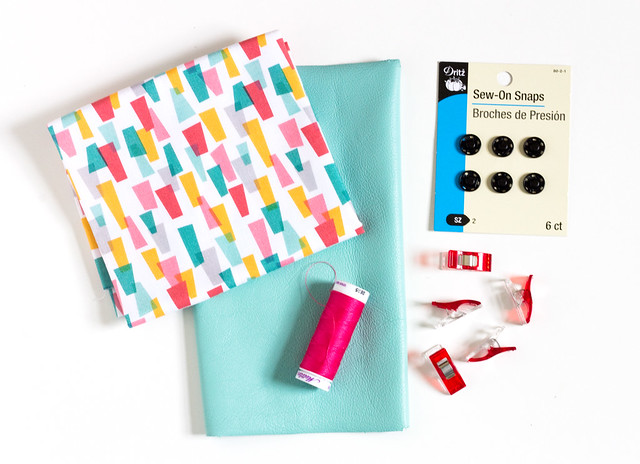
Here's what you'll need:
DIY Leather Business Card Wallet
  • 4.25" x 5.5" piece of leather
  • 2, 4" x 4.75" pieces of fabric. I used my jazzy print
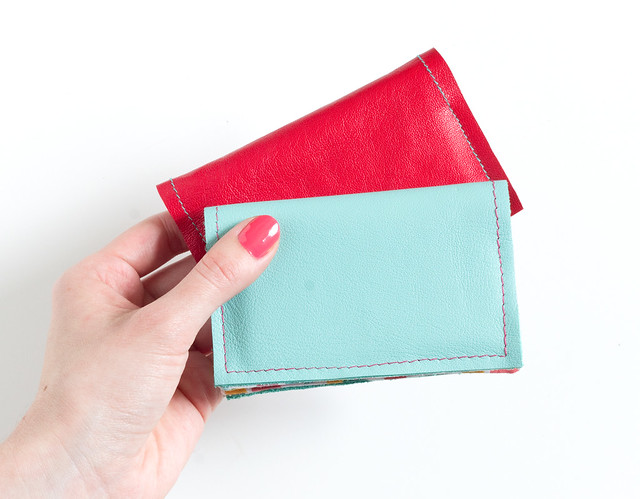
  • Sew-on snaps. I used the size 2 snaps (shown) on the thicker leather, and size 1 snaps for the thinner red leather.
  • Needle and thread
  • Wonder Clips - They're perfect for holding layers together without making pinholes. I rarely use pins anymore!
  • Sewing machine with matching or contrasting thread and a needle intended for leather.
DIY Leather Business Card Wallet
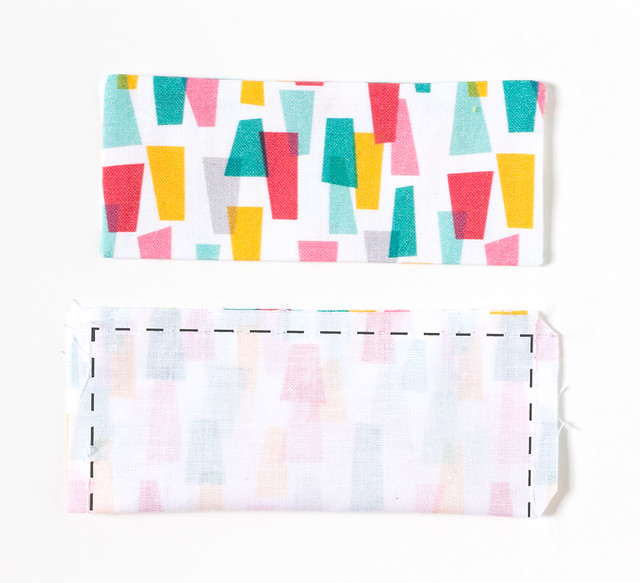
Fold the two pieces of fabric in half with the right sides touching, so they're 2" x 4.75" each. Sew around the three edges with a 1/4" seam allowance, leaving a small opening on one side. Turn right side out. Use a chopstick to help turn crisp corners. Press flat.
DIY Leather Business Card Wallet
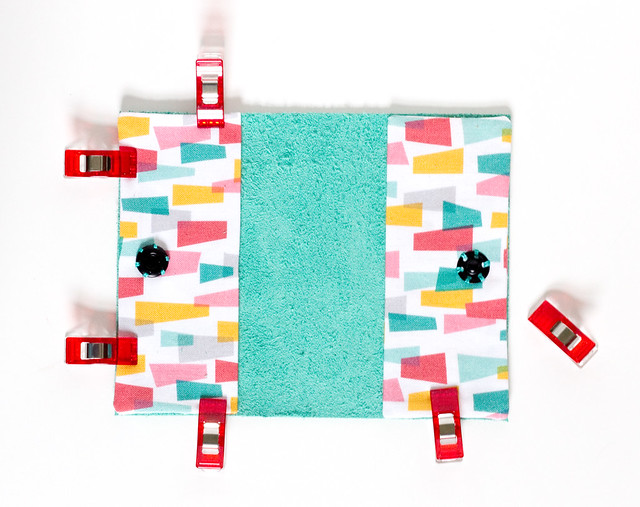
Mark a point in the center of each pocket, about 3/4" from the bottom edge. Hand sew the snaps on. Make sure to sew through both layers of fabric. Clip the pockets to each side of the leather, with the folded edge to the inside. Stitch around the perimeter with a 1/8" seam allowance, overlapping a few stitches at the end.

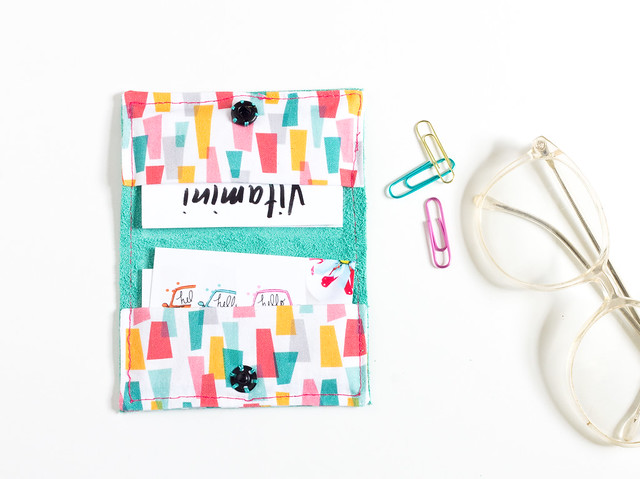
Trim any loose threads. Fill with business cards and enjoy! 
DIY Leather Business Card Wallet DIY Leather Business Card Wallet DIY Leather Business Card Wallet
I really love how they turned out. The pop of color and pattern on the inside is fun, too. I plan to keep one in each of my bags so I'm guaranteed to always have some cards on hand. One of these would make a nice handmade gift for a friend with a new job, don't you think? :)

6

DIY Macramé Key Fob

Wednesday, August 20, 2014

DIY Macrame Key Fob
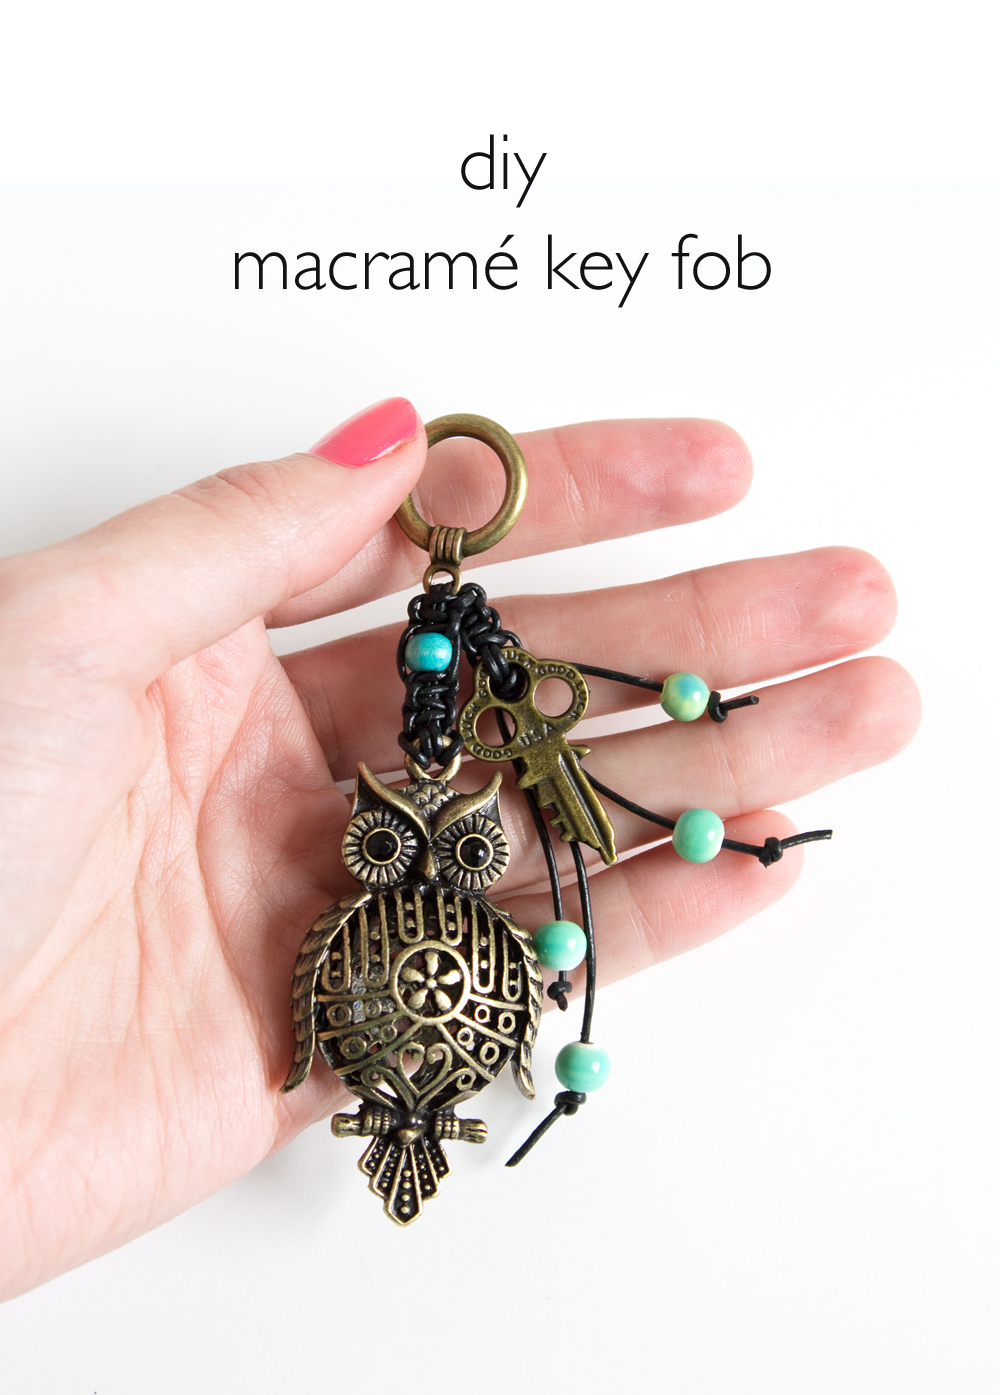
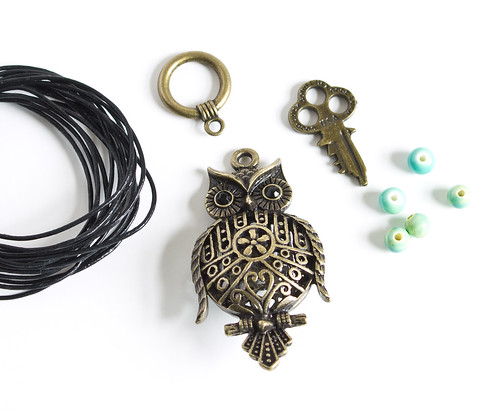
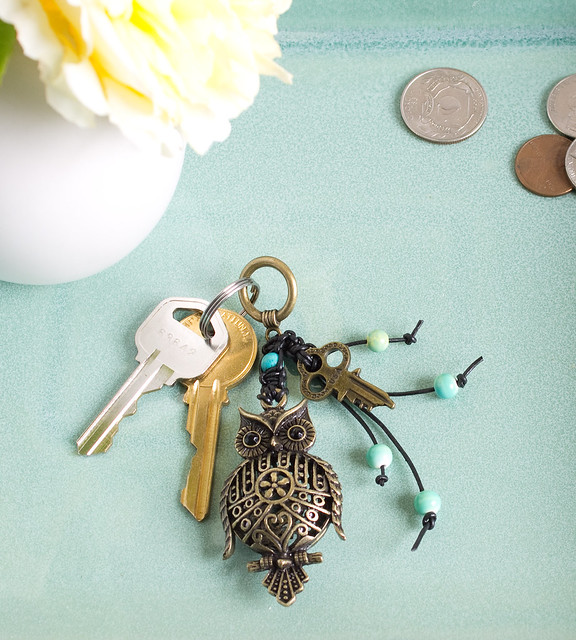
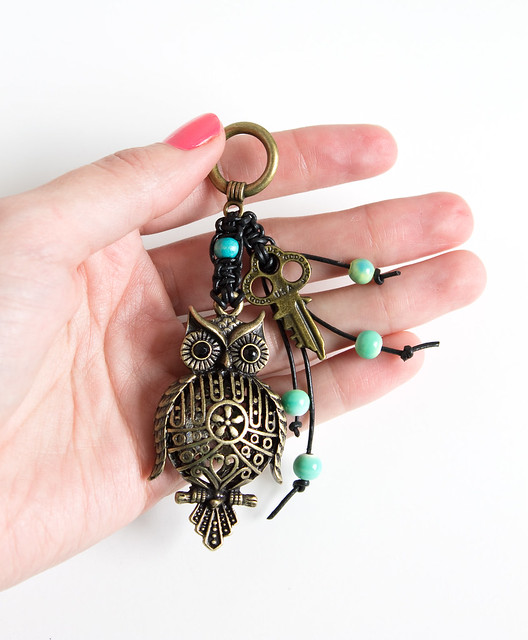
I like to go to craft stores and just wander around. I'm often inspired by pieces I see that I wouldn't have otherwise thought to use. When I spotted this owl pendant charm at Michael's last week I knew I had to have it but had know idea what I'd do with it... I started looking around for other things that would go with it and I found some packages of cute mini key charms. That's it! I'll make a key fob! And nothing goes better with owls than macramé!

Here's what you'll need to make your own:
DIY Macrame Key Fob
DIY Macrame Key Fob

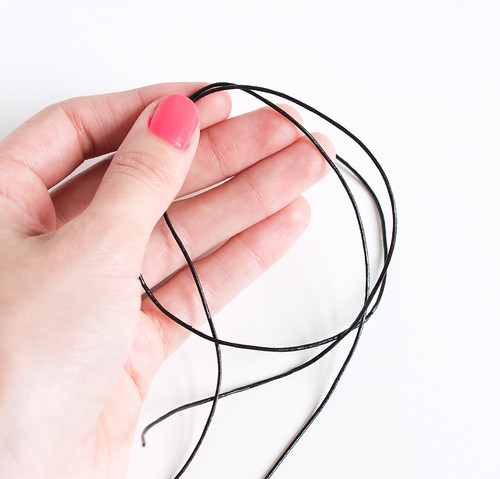
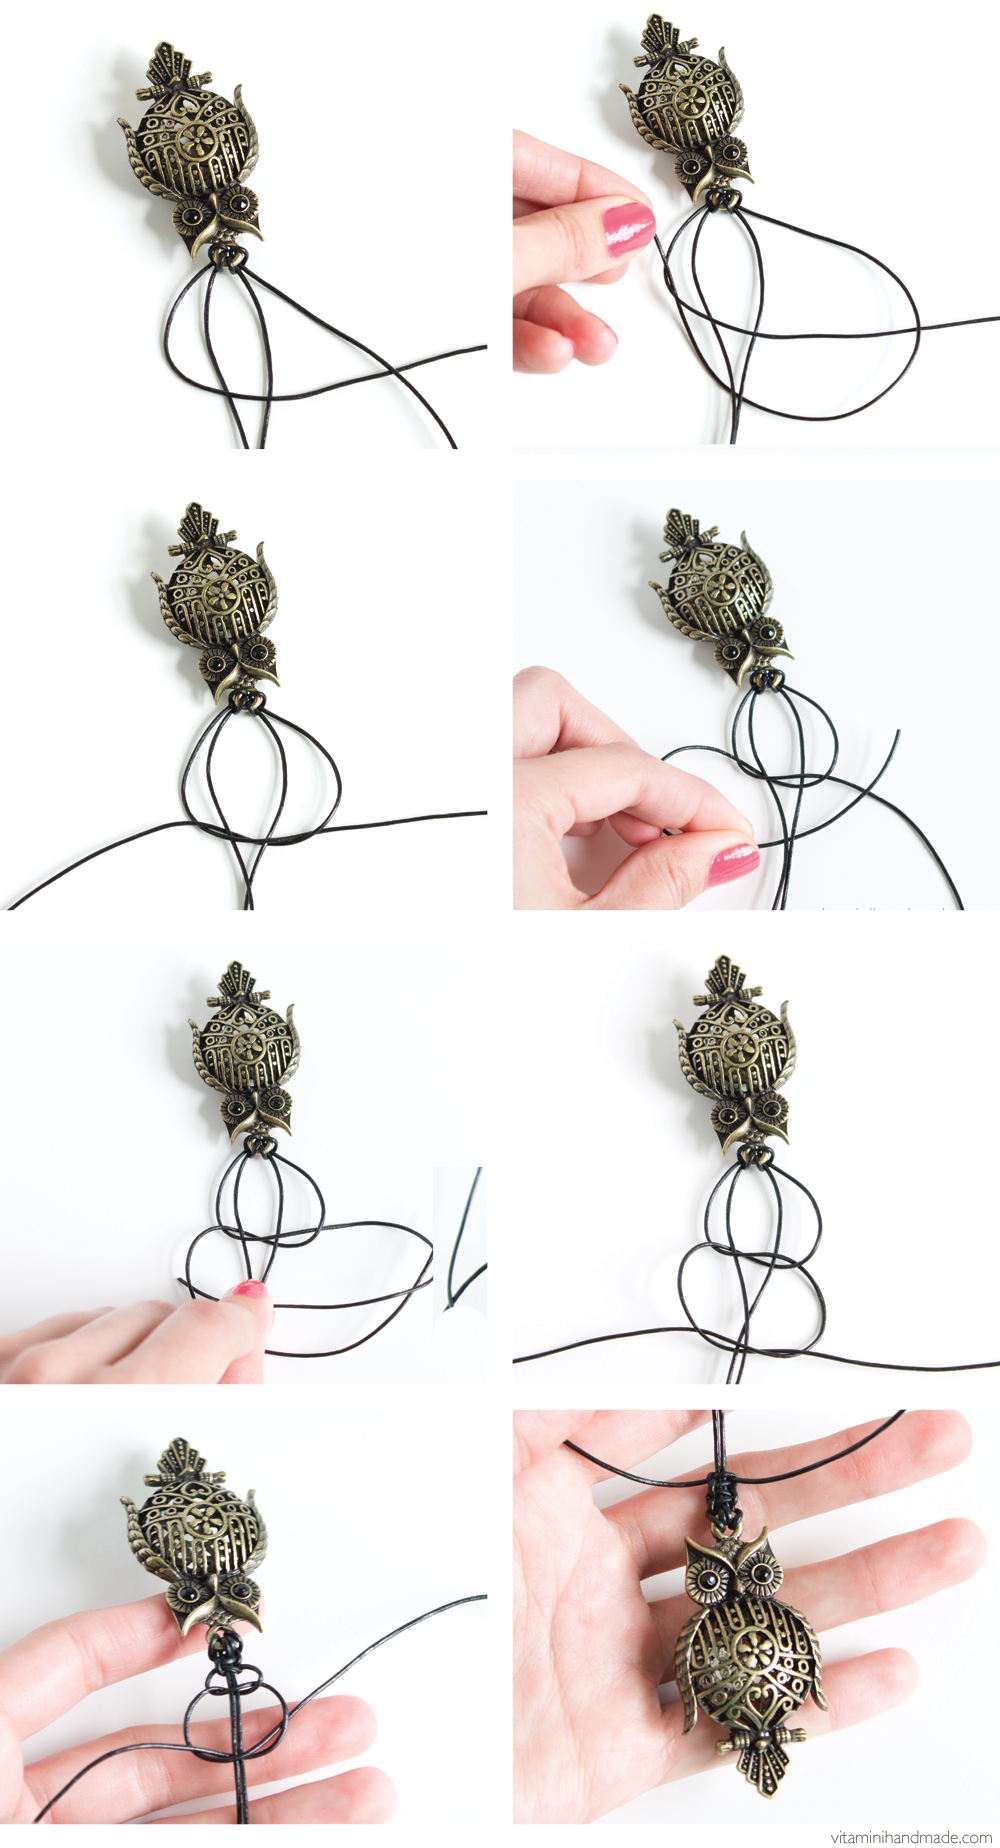
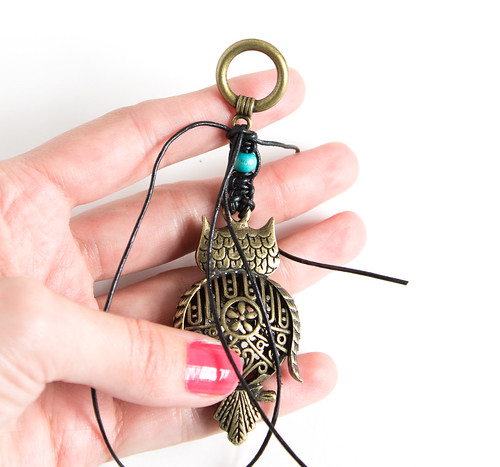
Start by cutting two lengths of cord, about 14" long each. Fold in half and attach to the loop on the owl charm, side by side. In macramé lingo, this is called a larks head knot.
DIY Macrame Key Fob
To make a square knot (aka flat knot), start with the cord on the left side. Move it to the right, over the two central cords and under the cord on the right. Take the right cord and move it under the two central cords and up through the loop on the left. Continuing with the same cord, move it under the two central cords and over the cord on the right. Grab the cord on the right and move it across, over the two central cords and down through the loop on the left. Tighten.
DIY Macrame Key Fob DIY Macrame Key Fob

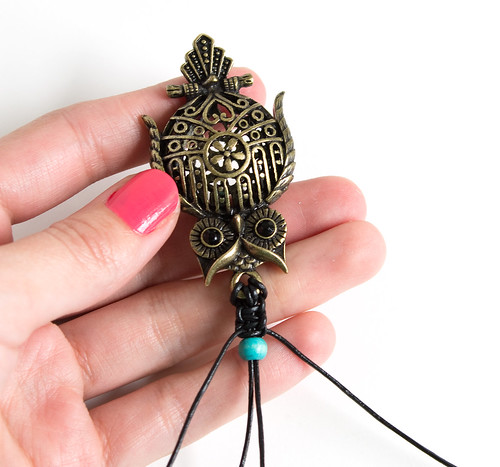
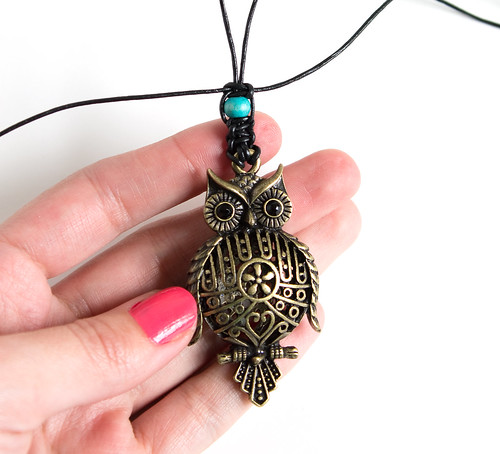
Repeat this process to tie another knot. String a bead onto the two central cords and tie one more square knot.

DIY Macrame Key Fob DIY Macrame Key Fob

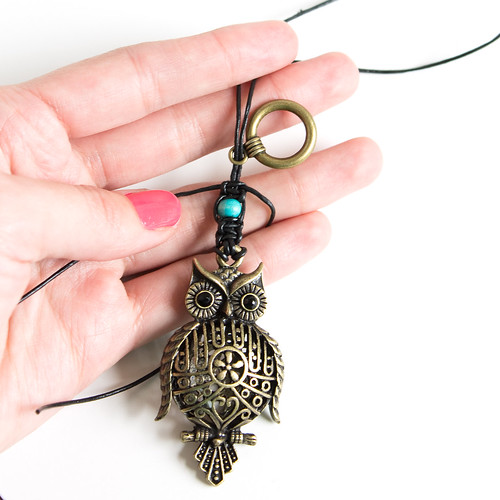
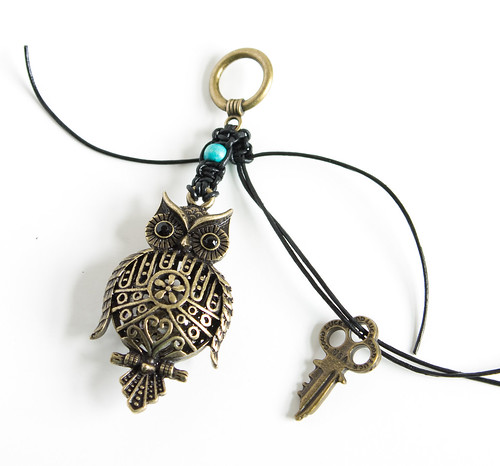
To attach the loop, string it on to the two central cords. Flip it over and tie two square knots in a downward direction.
DIY Macrame Key Fob DIY Macrame Key Fob

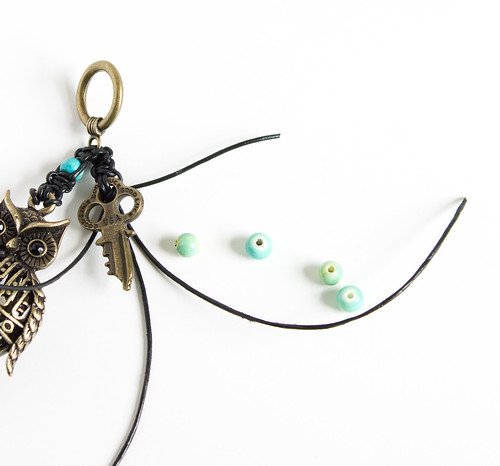
String the key onto the two central cords. Tie one more square knot behind the key charm and then tie the two outer cords into a knot to secure. String beads onto the ends of the cords and tie knots at the ends. Trim excess cord where necessary.

DIY Macrame Key Fob

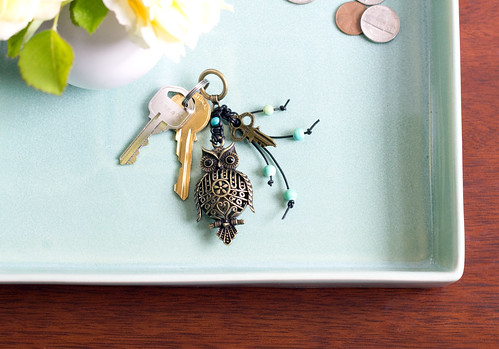
Attach some keys or clip onto your purse. Your friends won't believe you made it yourself!
DIY Macrame Key Fob DIY Macrame Key Fob
 

vitamini handmade © All rights reserved · Theme by Blog Milk · Blogger