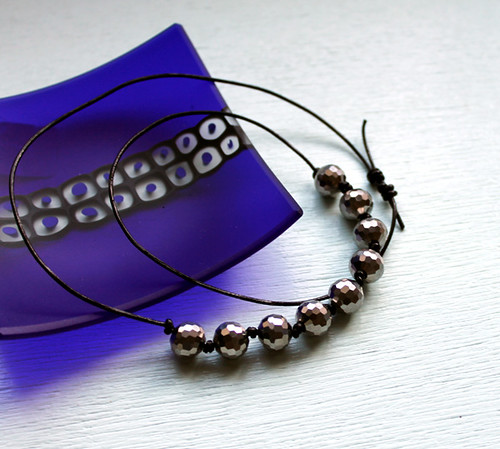
I've been wanting to make myself some simple beaded necklaces for a while, so when I spotted these sparkly glass beads in the craft store I knew I had to make something with them. They're like tiny disco balls! I whipped up this simple, knotted bead necklace with sliding barrel knots in something like 15 minutes. It was so easy to make I almost feel silly writing a tutorial for it, but I hope my instructions inspire you to make one (or 3) for yourself. Even better, this necklace cost less than $8 to make and I have a bunch of beads leftover for another project.
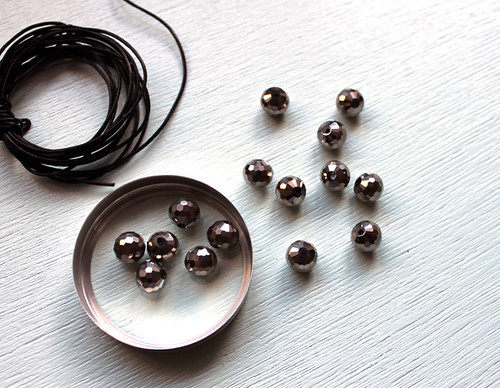
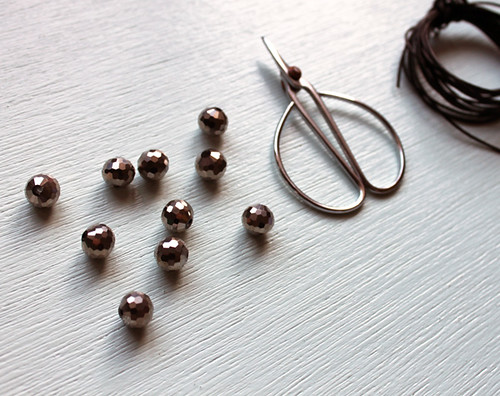
What you'll need:
Beads - A string of 17 beads were something like $4.50 at Michael's.
Cord - I used 1 mm black leather cord, also from Michael's. 3 yards were about $3.25
Scissors
First, decide how long you want your necklace to be. I was looking for a long-ish necklace, so I started with 40 inches of cord. You will be adding multiple knots to the cord, so it's better to add a few extra inches just in case. (Confession: the first time I tried making this necklace I started with 30" of cord and couldn't fit it over my melon head after it was done. I tried it again with 40" and it's just right!) I decided to use 9 beads, so one bead would end up in the very center of the cord. Find the center and string on a bead. Holding it in place, carefully place a knot on each side, getting it as close as possible to the bead. If the bead doesn't end up exactly in the middle, you can trim a little bit of the ends of the cord to even it up.
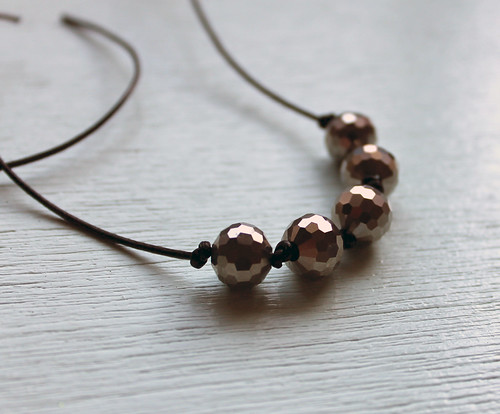
Continue adding beads to each side, tying a knot after each. I liked the look of 9, but use how ever many feel right for you. Now for the sliding barrel knot. These knots are great because they allow you to adjust the length of the necklace without requiring any additional materials. I also like how the knots add a casual quality to the super-sparkly beads.
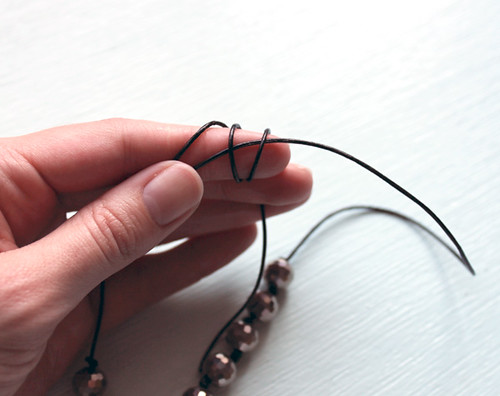
To do this, make an X with the two cord ends. Hold the X against your index finger with your thumb, and using your right hand, wrap the open end that's going to your right around your index finger (and the other side of the cord) three times. Then bring the end over the three wraps and back through the center of the "barrel."
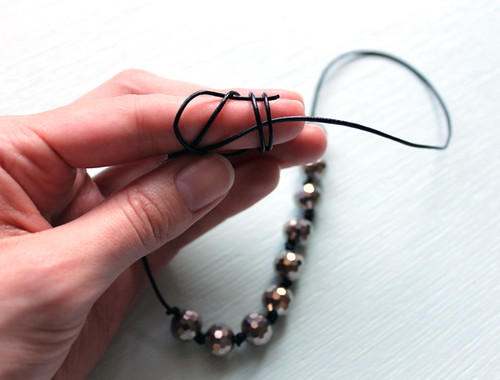
Carefully pull it tight. (There are lots of short youtube videos on this type of knot. I found this one to be simple and straight-forward.)
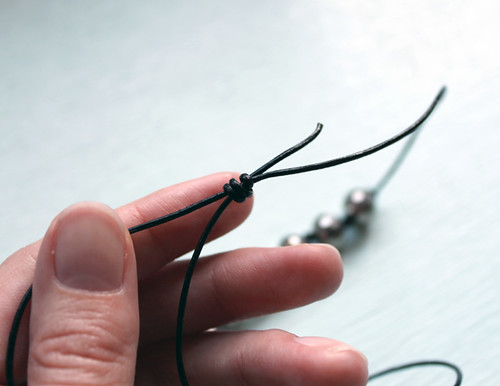
Repeat with the other side of the cord. Carefully trim the ends and you're done!
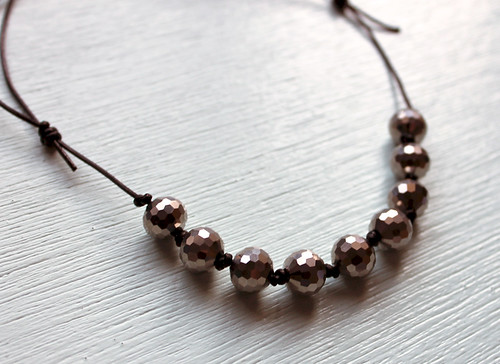
Isn't it pretty? It was so easy to make and only cost a few dollars. I think I'll be making more of these. Let me know in the comments if you decide to make one for yourself!


Very cute! I love the way the knots in between the beads look. Thanks for sharing!
ReplyDeleteThank you! I think the knots add a little extra detail on an otherwise very simple necklace.
DeleteWow! I think I can do this! So cool! Your screeded stuff is amazing! Thanks for posting this.
ReplyDeleteWhy are you getting bombarded with escort services on all your pages??? Lol, I really don't mind but I'm sure it's gotta be offensive to some ladies out there. I've been looking at a bunch of your pages and kept noticing it so I figured I would want someone to tell me! But I really love your article's and the craft ideas are wonderful! Thanks for the great ideas!!!
ReplyDeleteDive into the colorful universe of Geometry Dash Lite and experience its unique blend of music and gameplay.
ReplyDelete