


12

My Pound Puppy

Friday, October 3, 2014

My Dachshund Mix Puppy, Baci

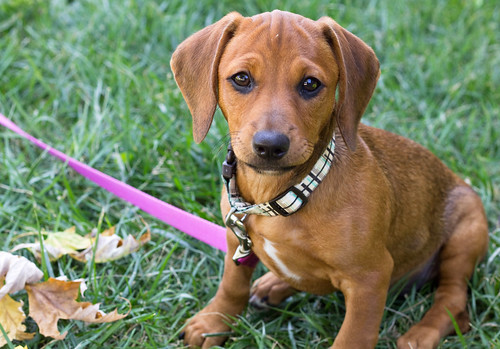
I haven't officially shared the newest member of the Vitamini team with you! So without further adieu, let me introduce you to Baci, my sweet dachshund pup!
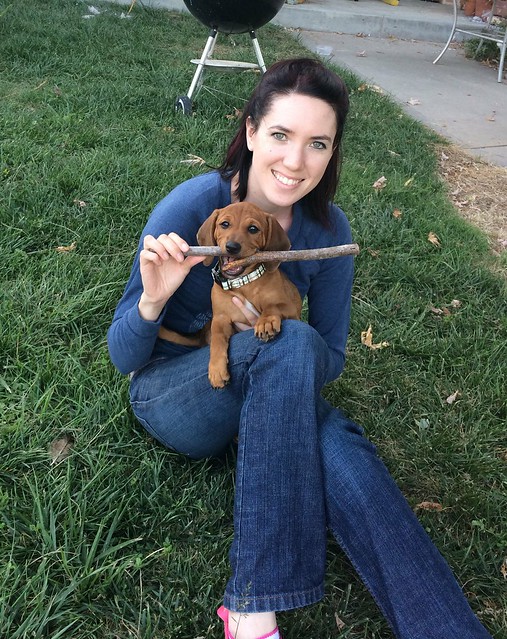
My dachshund mix puppy, Baci

I adopted her from the local SPCA last month where she was with her 7 brothers and sisters. She was the first and only one I looked at, but I knew immediately that she was mine. She threw up in my hand as I was driving her home from the shelter, so I guess you can say we were bonded from the start! It was a quick and dirty welcome into the life of a pet owner. :) 
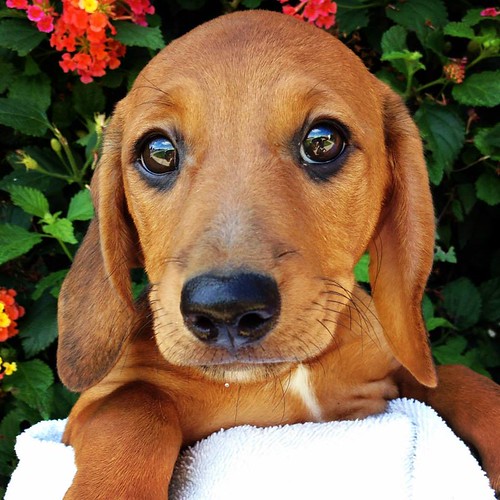
My Dachshund Mix Puppy, Baci

Here's the photo of her from the SPCA website. Awww! She's 4 months old as of yesterday. She's smart, stubborn, sweet, silly, and makes me laugh every day. In the past month we've gone though a lot: her spay surgery, two (!) bee stings and consequent allergic reactions, crate training, house breaking, learning to walk with a leash, learning to play nicely with other dogs. It's been a lot of work on my end, but I'm more than cool with it. I'm so happy to finally have the dog I've waited to get since I graduated from college (10 years ago, now, yikes!).
Untitled

If you're curious about her name, Baci means kisses in Italian. If you met her in person you'd see how fitting her name is. She's very loving and will lick your entire face if you let her! If you've spent any time in Italy you may know there's a delicious Italian chocolate called Baci.
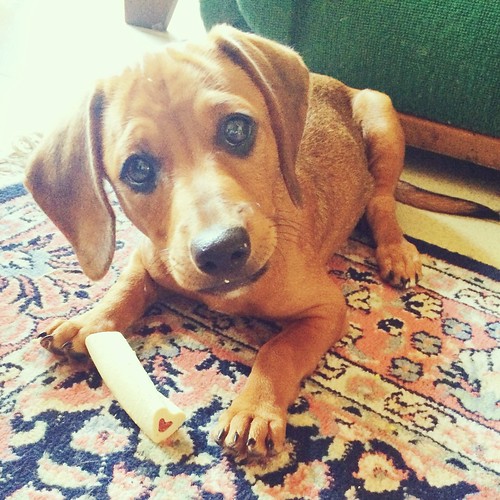
My dachshund mix puppy, Baci

A few interesting facts about her:
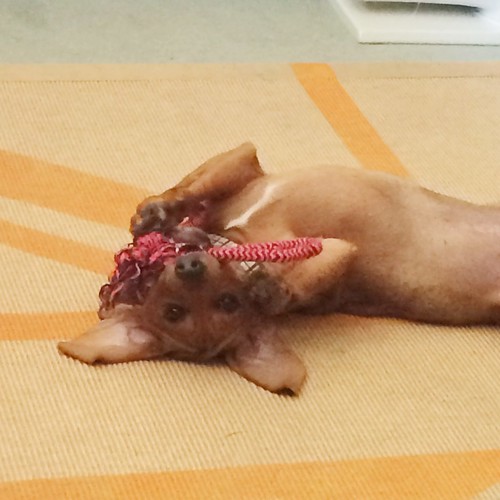
  • She sleeps on her back
  • She gets hiccups at least twice a day
  • Grass, leaves, and bark (ie: anything on the ground) are her favorite snacks
  • Ice cubes are her favorite toy
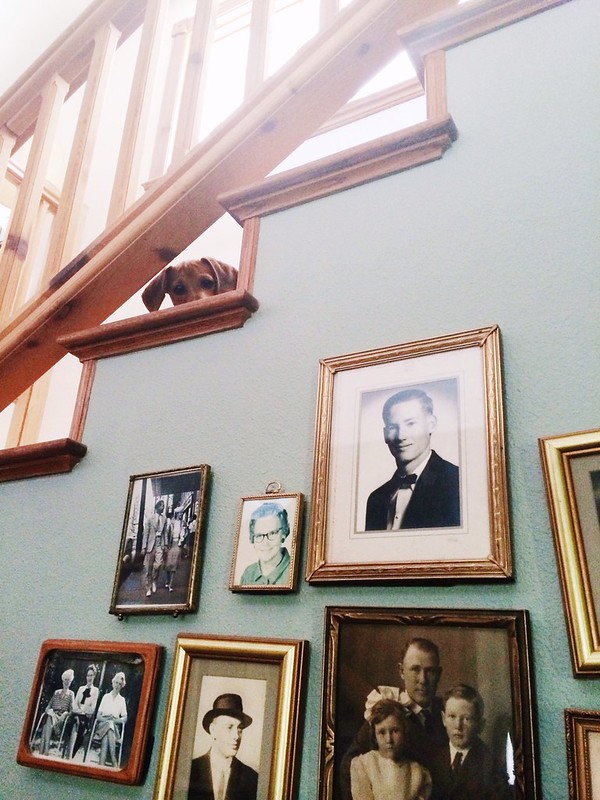
  • She watches tv
My dachshund mix puppy, Baci

Follow me on Instagram if you'd like to see more updates. I'm doing my best not to flood my feed with puppy pictures but I can't make any promises...

Have a wonderful weekend!
6

Design Process: Merry & Bright Holiday Cards

Wednesday, October 1, 2014

Evolution of a Greeting Card Design

I haven't shared one of these "evolution of a design" posts in a while and I thought it would be fun to go behind the scenes on one of my brand new holiday cards, Merry & Bright. A lot of behind the scenes work goes into my designs, and while my techniques can vary (papercut designs, pencil sketches, inked finished drawings, or digital designs), my overall process is pretty consistent across the board.

Evolution of a Greeting Card Design

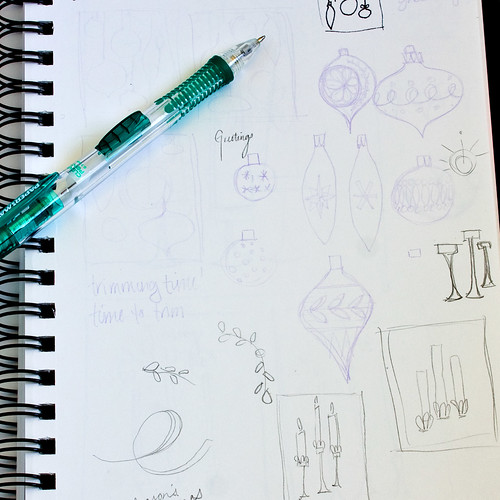
Everything always starts in my sketchbook. Sometimes I'll sketch out ideas multiple times before I'm ready to proceed with a design. Other times, only a couple quick sketches is all I need as a launching  point. For this holiday card, I made a few super-quick sketches in purple pencil (definitely not my usual tool of choice) in the sketchbook and I was ready to go. I knew I wanted to translate these to papercuts and I'll usually work out little details on the actual paper.

Evolution of a Greeting Card Design

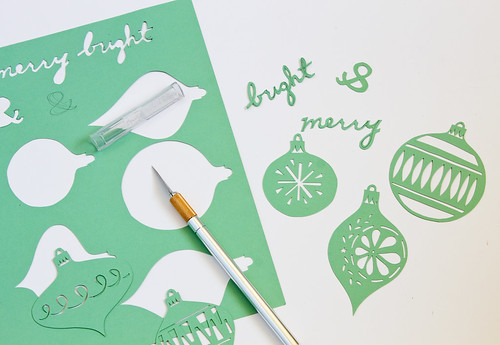
I sketched each ornament and the words "merry & bright" onto the paper and got to cutting with my xacto. The xacto Z series blades are my favorite to work with. Make sure to use a new blade every time you start a new papercut project!

Evolution of a Greeting Card Design

Next, I scanned each of the cut pieces into Photoshop where I cleaned up edges and made sure the text was legible. Then everything goes into Illustrator where I live trace each piece and arrange and scale it onto the size of the card. Sometimes this step takes quite a bit of time! It's like a puzzle, trying to find a good spot for each element so that it compliments the overall design. After I get an arrangement I like, I'll start separating out the color accents. Since I intended this card to be a two color screen print, I had to choose where the color would go, select those elements, and separate them. With a screen print, each color is applied in a separate layer, so this adds a bit of complexity to the design setup in the computer.

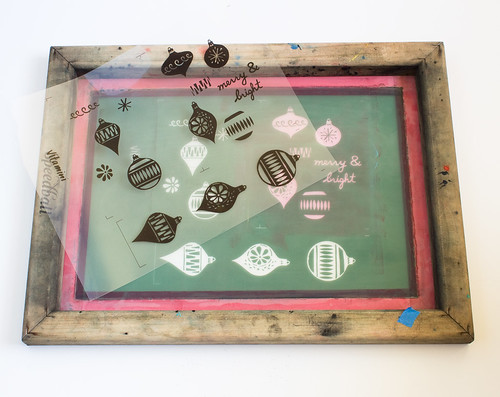
I'll separate everything out in illustrator, do a test print on paper to make sure I like the sizes and proportions, and print it out onto a transparency in full black and expose it onto a screen (that I stretched and coated with photo emulsion before-hand). After I wash out the screen, I'll decide on ink colors and get to screen printing the design.

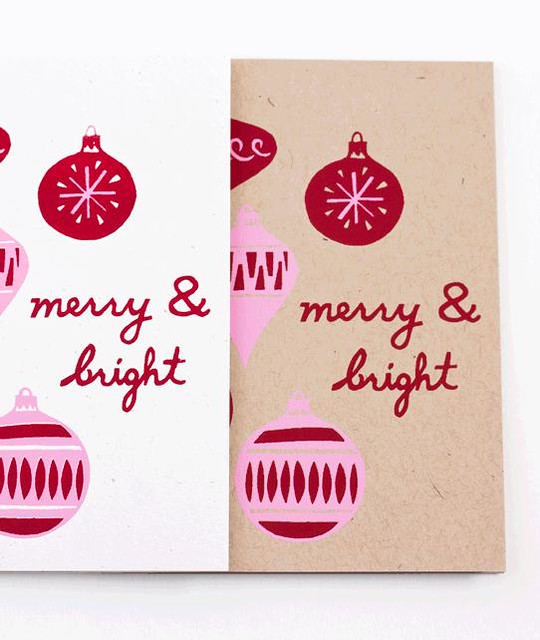
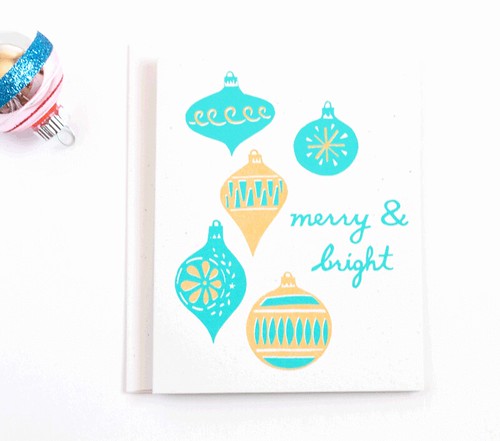
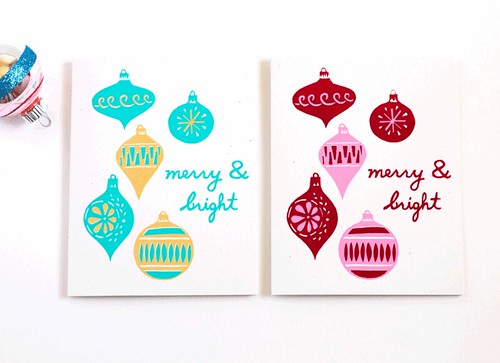
Ta-da! Here are the finished cards. I decided to go with red & pink and teal & gold colorways.
Evolution of a Greeting Card Design Merry & Bright, hand screen printed holiday card by Vitamini

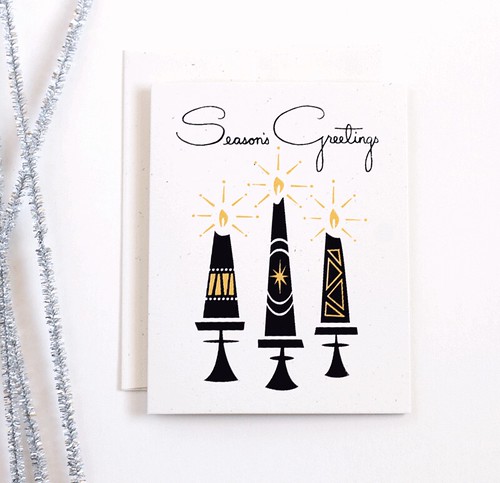
Both are available for purchase in my shop, along with my other brand new holiday card, Season's Greetings, featuring retro candlesticks.

Season's Greetings, hand screen printed holiday card by Vitamini

I hope you enjoyed seeing this little behind-the-scenes glimpse at my process!

5

Fall DIYs (from the archives)

Friday, September 26, 2014

Fall DIYs by Vitamini Handmade

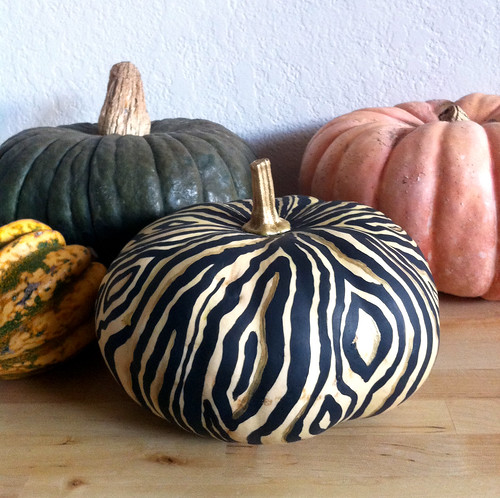
Fall is my absolute favorite time for crafting. It's so easy to get comfortable with a project when it's cool outside and the leaves are falling. I've done a few Fall and Halloween DIYs over the years and thought I'd dust them off to share, in case you're looking for something for a project to start for the weekend. Start off with a faux bois painted pumpkin!

Fall DIYs by Vitamini Handmade

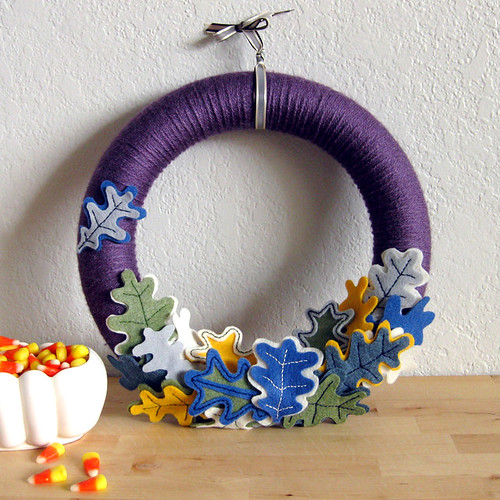
This felt and yarn oak leaf wreath is still one of my favorite projects. Keep it on your front door through Thanksgiving!

Fall DIYs by Vitamini Handmade

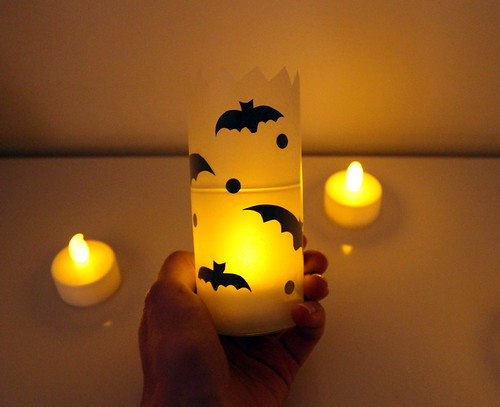
Black cardstock, waxed paper, and a few basic tools are all you need to make these cute Halloween luminaries.
Fall DIYs by Vitamini Handmade

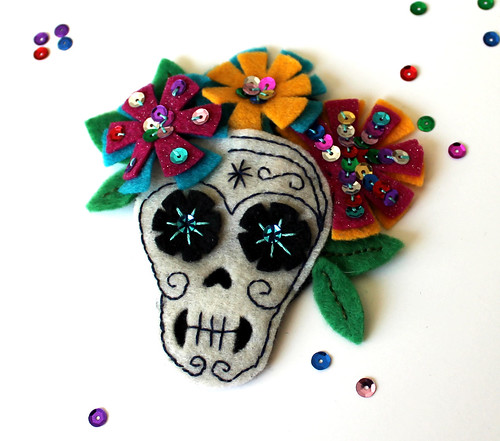
Make this skull headpiece out of felt and embroidery floss!
Fall DIYs by Vitamini Handmade

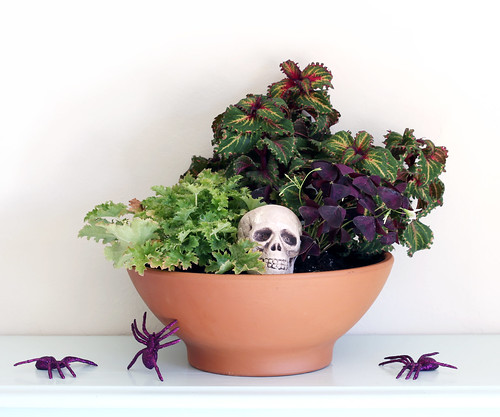
A spooky Halloween planter would look great as a table centerpiece.
Fall DIYs by Vitamini Handmade

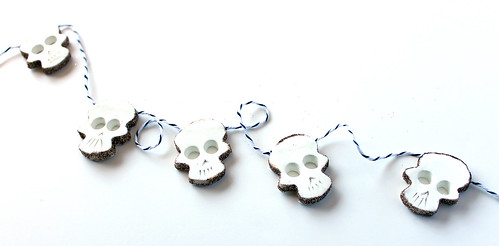
Spice up your party decor with this easy paper clay skull garland.

Fall DIYs by Vitamini Handmade

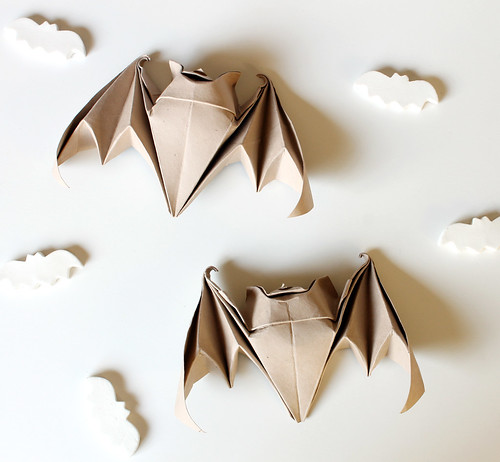
These origami bats are a little challenging to make, but worth the effort!

Fall DIYs by Vitamini Handmade

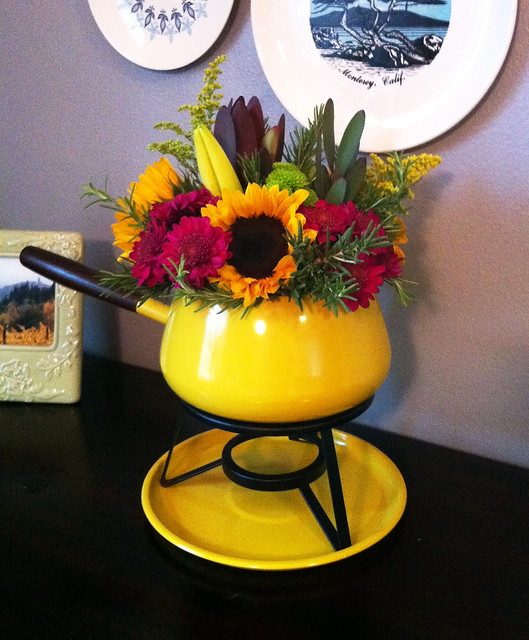
It's not quite a tutorial, but a fall-themed flower arrangement in a fondue pot is a fun idea!
Happy Friday to you!

37

DIY Halloween Candy Boxes

Thursday, September 25, 2014

DIY Halloween Candy Boxes

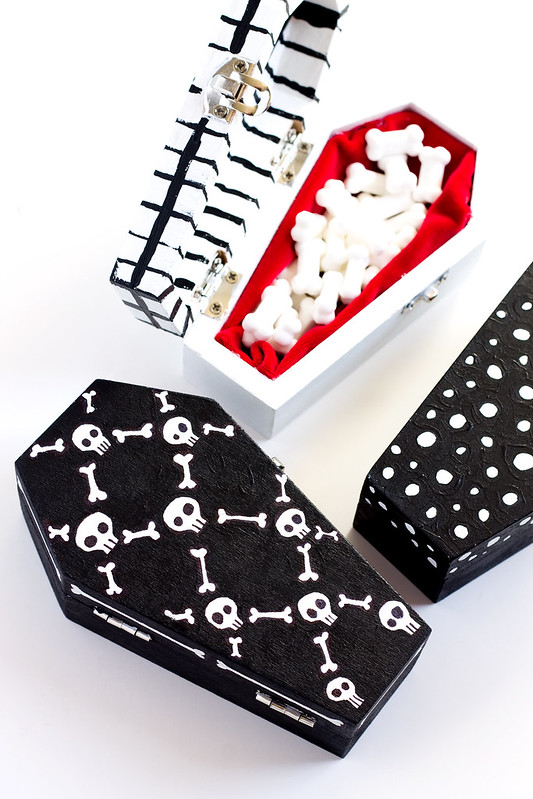
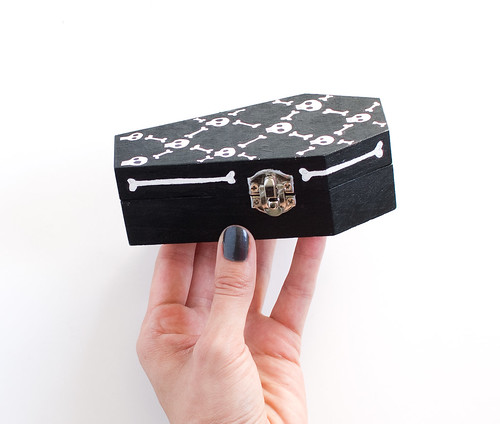
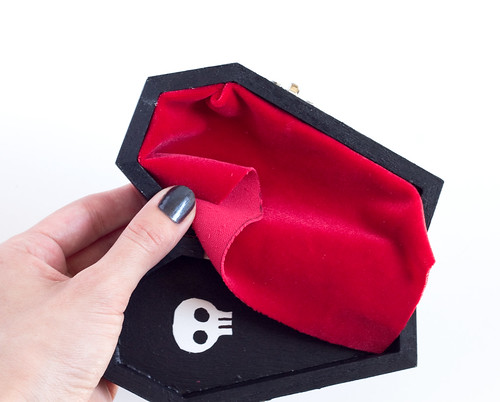
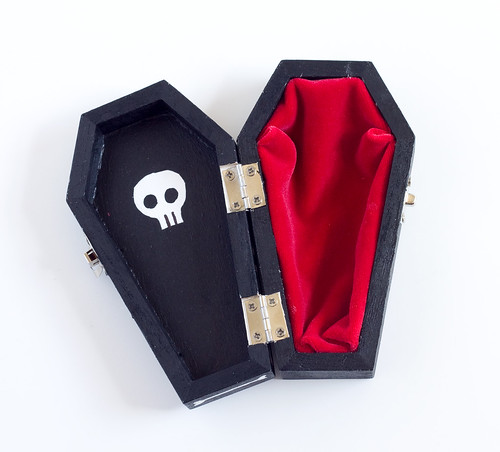
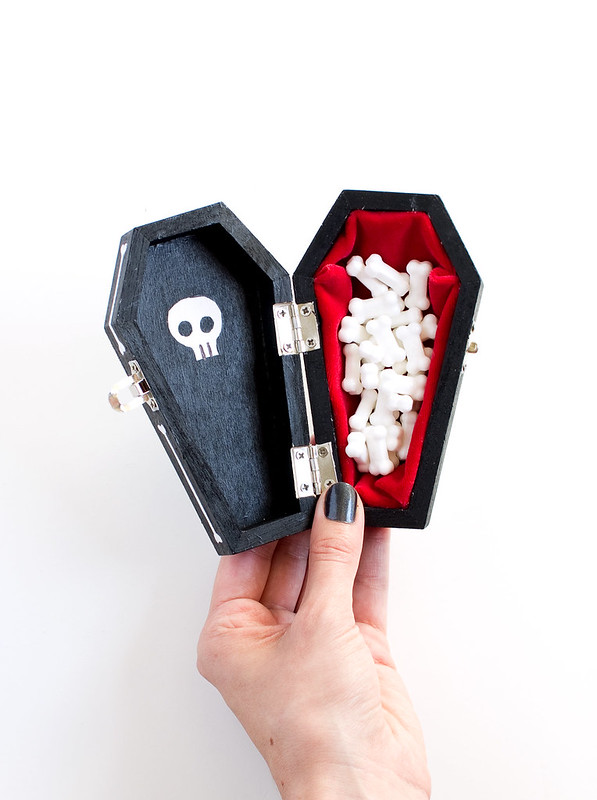
It's the most wonderful time of the year (if you ask me): fall! Halloween is fast approaching so let's get to the Halloween crafting, shall we? I came across these great coffin-shaped wood boxes at Michael's a few weeks back and thought they'd make cool candy boxes. They came out so cute! Here's what you'll need to make your own:
  • wood coffin box (like these but they were about $2 at Michaels)
  • sand paper
  • craft paint in black and white
  • brushes
  • pencil
  • permanent marker (optional)
  • small piece of velvet
  • hot glue gun
  • candy bones
DIY Halloween Candy Boxes

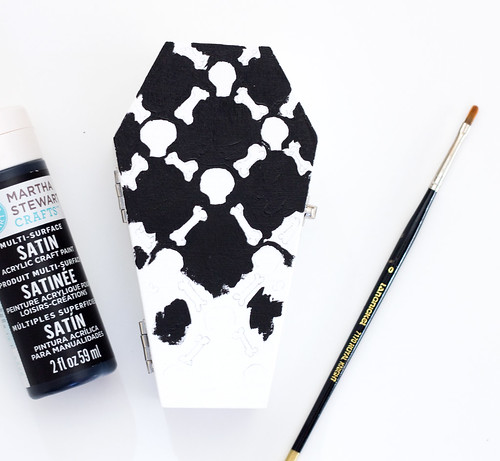
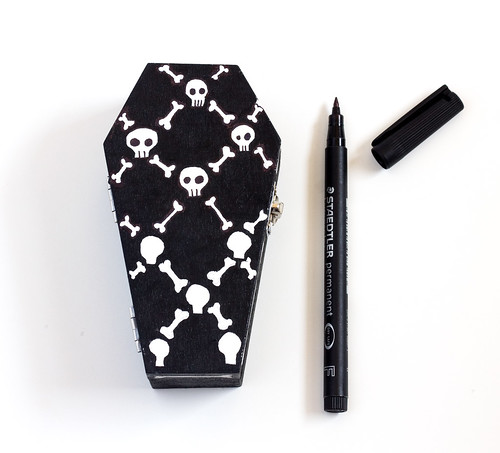
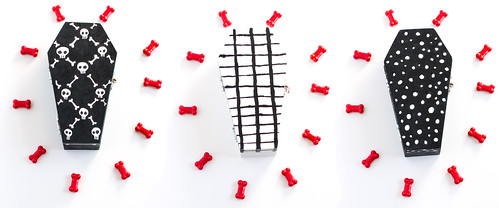
Lightly sand any rough edges off of the box. Paint on a white base coat and let dry. Lightly sketch out the design with a pencil. Dots and stripes are always an easy option. If you're looking for something a little more complex, try this bone and skull design! Rough in the black areas with the paint and then trace around the design with a permanent marker for smaller details. Don't forget to paint the edges!
DIY Halloween Candy Boxes DIY Halloween Candy Boxes

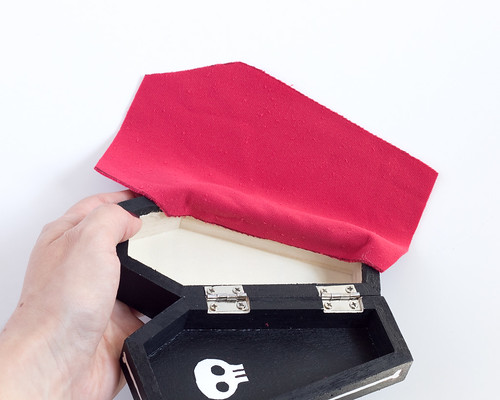
Trace the box on the reverse side of the velvet with an additional 1/2" margin. Cut out following the lines and hot glue one long edge to the inside of the box. Fold a small pleat at the corner and glue the next side down.
DIY Halloween Candy Boxes DIY Halloween Candy Boxes
DIY Halloween Candy Boxes

Continue along all of the box edges. Gather the excess velvet at the last open edge of the box, turn under about 1/4" and glue.

Fill with candy bones.
DIY Halloween Candy Boxes DIY Halloween Candy Boxes

These would be nice little gifts for coworkers or party favors. I had so much fun making them and the possibilities for decoration are really endless! 

4

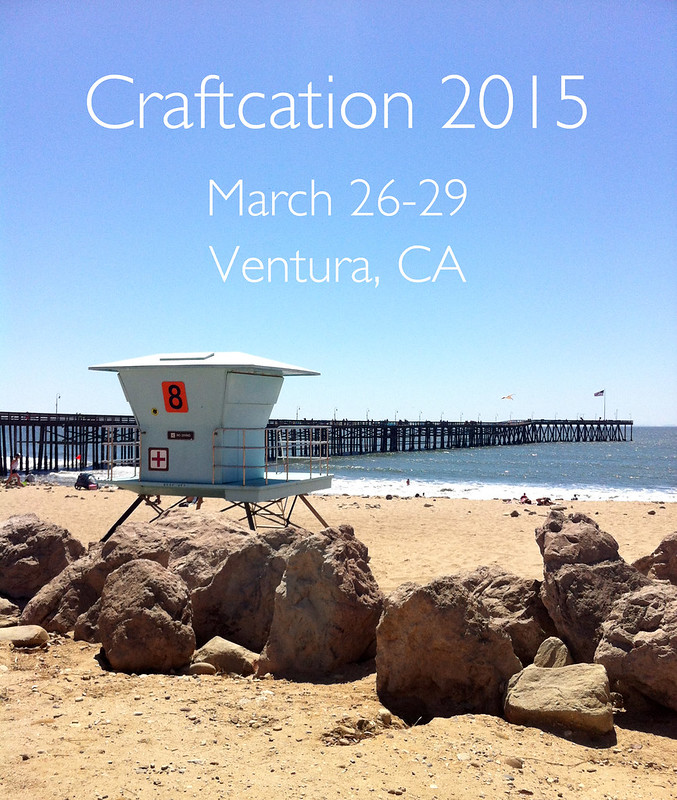
Craftcation 2015

Thursday, September 18, 2014

Craftcation Conference, March 26-29, 2015 | www.vitaminihandmade.com

Just popping in to let you know that Craftcation has opened registration for the spring 2015 conference. I attended earlier this year (I shared some of my experience here) and I can honestly say it was the best thing I did for me and my business. I left feeling refreshed, encouraged, and well equipped to face my creative business goals. Not to mention I made a bunch of friends and had way too much fun! I'm really looking forward to the 2015 session because I'll be a workshop presenter! I'll be teaching a simple screen printing course that may get you hooked on the technique. Click here to learn about more of the other workshops and panels that are already lined up. I know I'm already eying a few that I just have to attend. Can't wait! I hope to see you there!

I took the photo at Craftcation 2014. Can't beat the Ventura Pier!
 

vitamini handmade © All rights reserved · Theme by Blog Milk · Blogger