




32

DIY Retro Ranch Holiday Houses

Monday, December 15, 2014

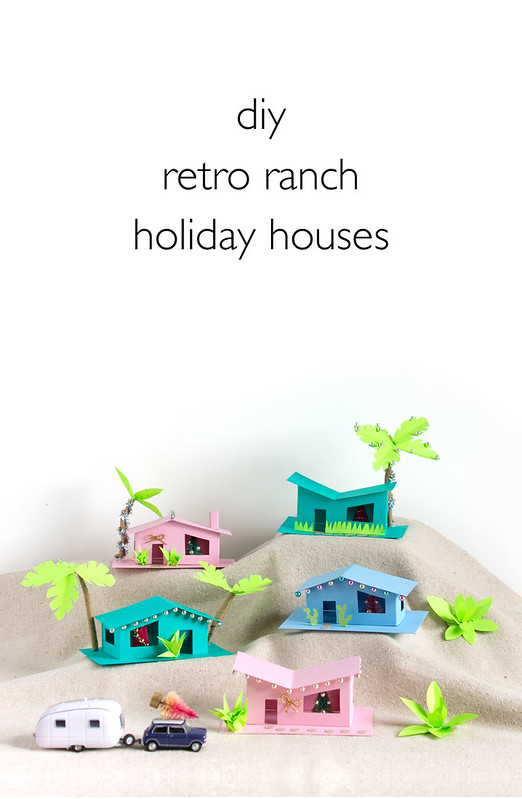
DIY Retro Ranch Holiday Houses | Click through for the tutorial and two free templates! www.vitaminihandmade.com

When I was a kid I remember wishing with all my might that it would snow for Christmas. Well, living in California, less than 10 miles from the beach meant that it would never happen, but I still thought there was room for a miracle. Now that I'm older, wiser, and more knowledgeable of weather patterns, I know a white Christmas just isn't in the cards, but us West-coasters can still show our holiday cheer sans snow!

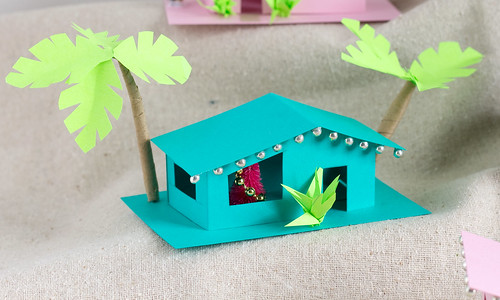
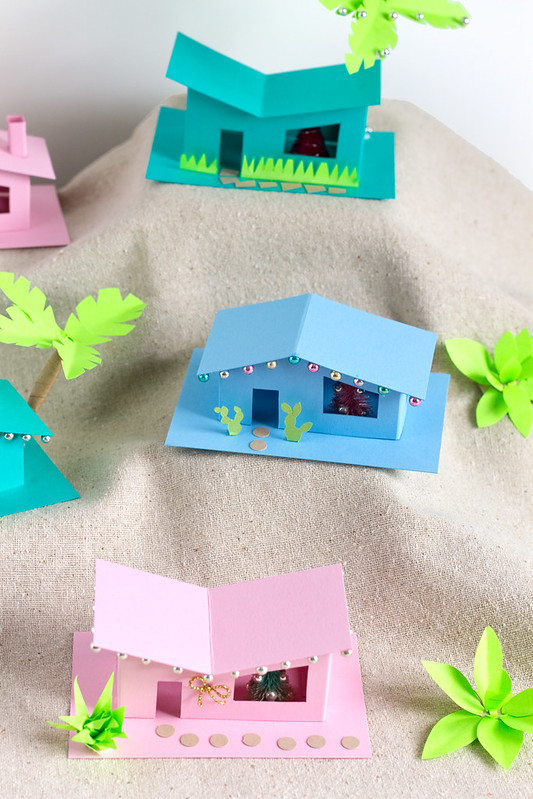
Print, cut, and fold up these cute little paper mid-century ranch houses and add a little California cool to your Christmas decor. We may not have snow-covered conifers, but cacti and palm trees can be festive, too!

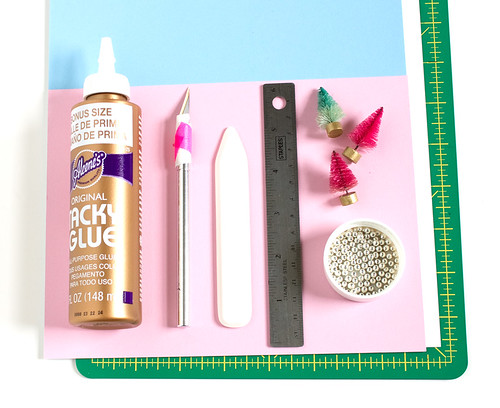
Here's what you'll need:
DIY Retro Ranch Holiday Houses | www.vitaminihandmade.com
  • Cardstocks in pink, light blue, and turquoise
  • House Template #1 and #2
  • Craft Knife
  • Cutting mat
  • Tacky glue
  • Bone folder and ruler (or scoring tray. I have this one and I love it)
  • Mini bottle brush trees - learn how to dip dye them with my tutorial from last year
  • Metallic dragees or small metallic beads
Extra decorations:
  • Kraft paper
  • Green paper
  • Floral wire
  • Gold string
  • Silver pipe cleaners 
DIY Retro Ranch Holiday Houses | www.vitaminihandmade.com
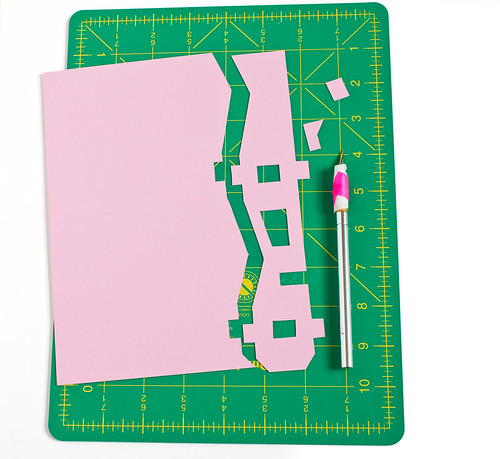
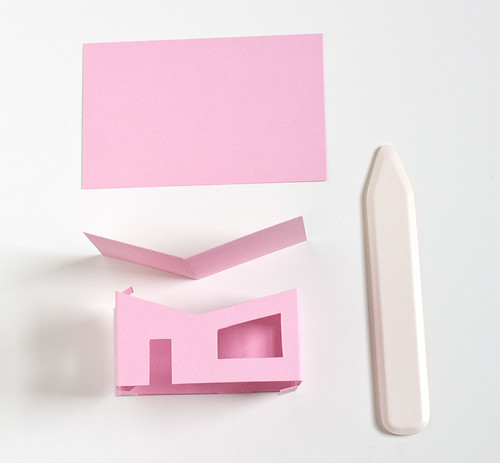
Print out the template directly on the colored cardstock. Cut out with a craft knife. Score the dotted lines with the bone folder and fold inwards, all in the same direction (if any of the printed lines remain, fold them so they're on the inside of the house). Glue the side tab to the adjacent wall to make a rectangle and form the walls.
DIY Retro Ranch Holiday Houses | www.vitaminihandmade.com
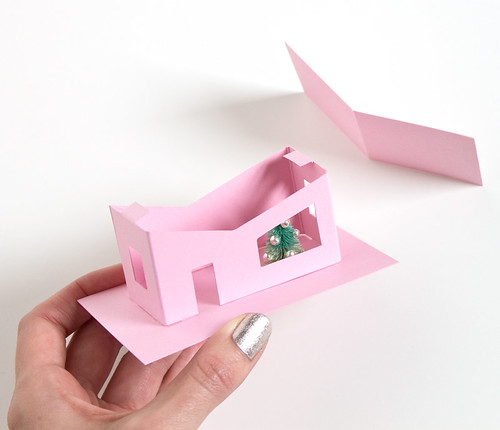
Glue the bottom tabs to the base piece. Glue a few dragees to the bottle brush tree. Trim off the base of the tree to make it fit inside the house. Glue the tree to the base, right inside the front window.
DIY Retro Ranch Holiday Houses | Click through for the tutorial and two free templates! www.vitaminihandmade.com
Add glue to the top tabs and attach the roof. Let dry. Glue more dragees to the roofline.
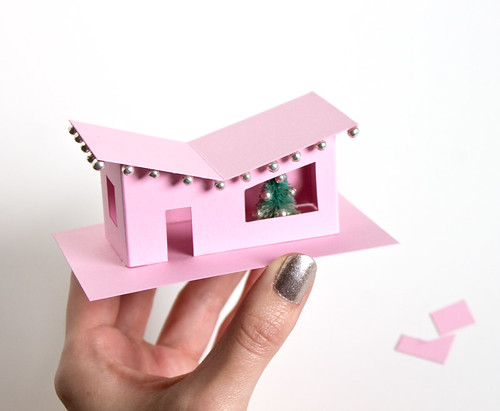
DIY Retro Ranch Holiday Houses | Click through for the tutorial and two free templates! www.vitaminihandmade.com

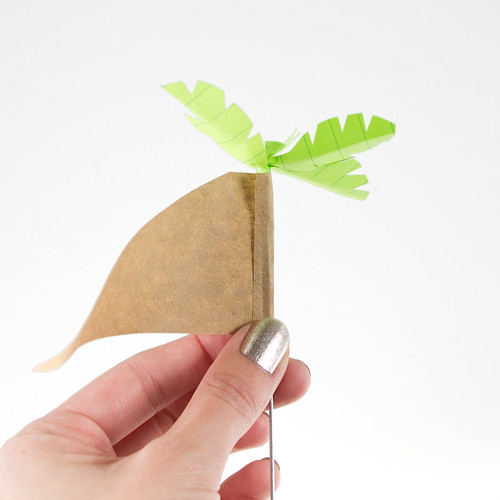
Make some palm trees for the yard! Cut leaf shapes out of green paper. Notch the edges and fold down the middle.
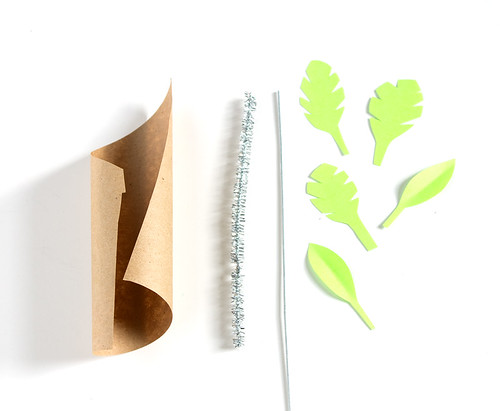
 DIY Retro Ranch Holiday Houses | Click through for the tutorial and two free templates! www.vitaminihandmade.com DIY Retro Ranch Holiday Houses | Click through for the tutorial and two free templates! www.vitaminihandmade.com
Glue to the wire. Cut a triangle of kraft paper, overlap the straight edge around the wire, then wrap and glue the end. Trim the bottom of the wire, arrange the palm fronds.
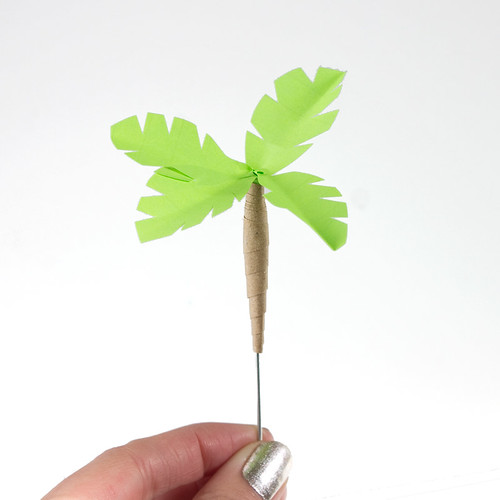
DIY Retro Ranch Holiday Houses | Click through for the tutorial and two free templates! www.vitaminihandmade.com

Twist a metallic chenille around the trunk and glue a few more dragees to the fronds. Glue to the base around the house. Add some more California-esque embellishments to the yard - tiny cacti, spiky shrubbery. Cut some stepping stones from kraft paper and glue to the front yard. Tie some tiny bows with the gold string and glue to houses if you'd like. Have fun with it!
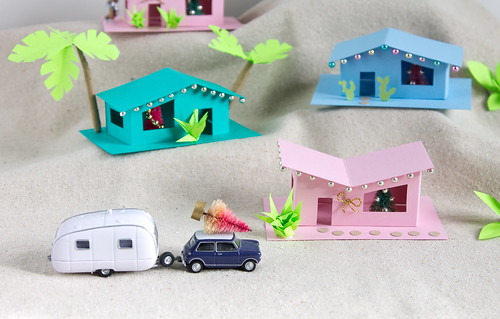
DIY Retro Ranch Holiday Houses | Click through for the tutorial and two free templates! www.vitaminihandmade.com DIY Retro Ranch Holiday Houses | Click through for the tutorial and two free templates! www.vitaminihandmade.com
These little houses make a super sweet retro scene when set up together. You can also add a ribbon tie to the roof and turn them into hanging ornaments.
DIY Retro Ranch Holiday Houses | Click through for the tutorial and two free templates! www.vitaminihandmade.com DIY Retro Ranch Holiday Houses | Click through for the tutorial and two free templates! www.vitaminihandmade.com DIY Retro Ranch Holiday Houses | Click through for the tutorial and two free templates! www.vitaminihandmade.com

8

Gift Guide for the Cool Girl

Friday, December 12, 2014

We all have that friend - she always wears the most stylish clothes, has the coolest apartment, knows the best hole-in-the-wall restaurants and thrift shops. She knows when the good art exhibits are coming to town and isn't afraid to get her hands dirty and change her own bicycle tires. I put this gift guide together for her. It's full of unique handmade products (she loves supporting small businesses) and neat vintage pieces.
Gift Guide for the Cool Girl | www.vitaminihandmade.com

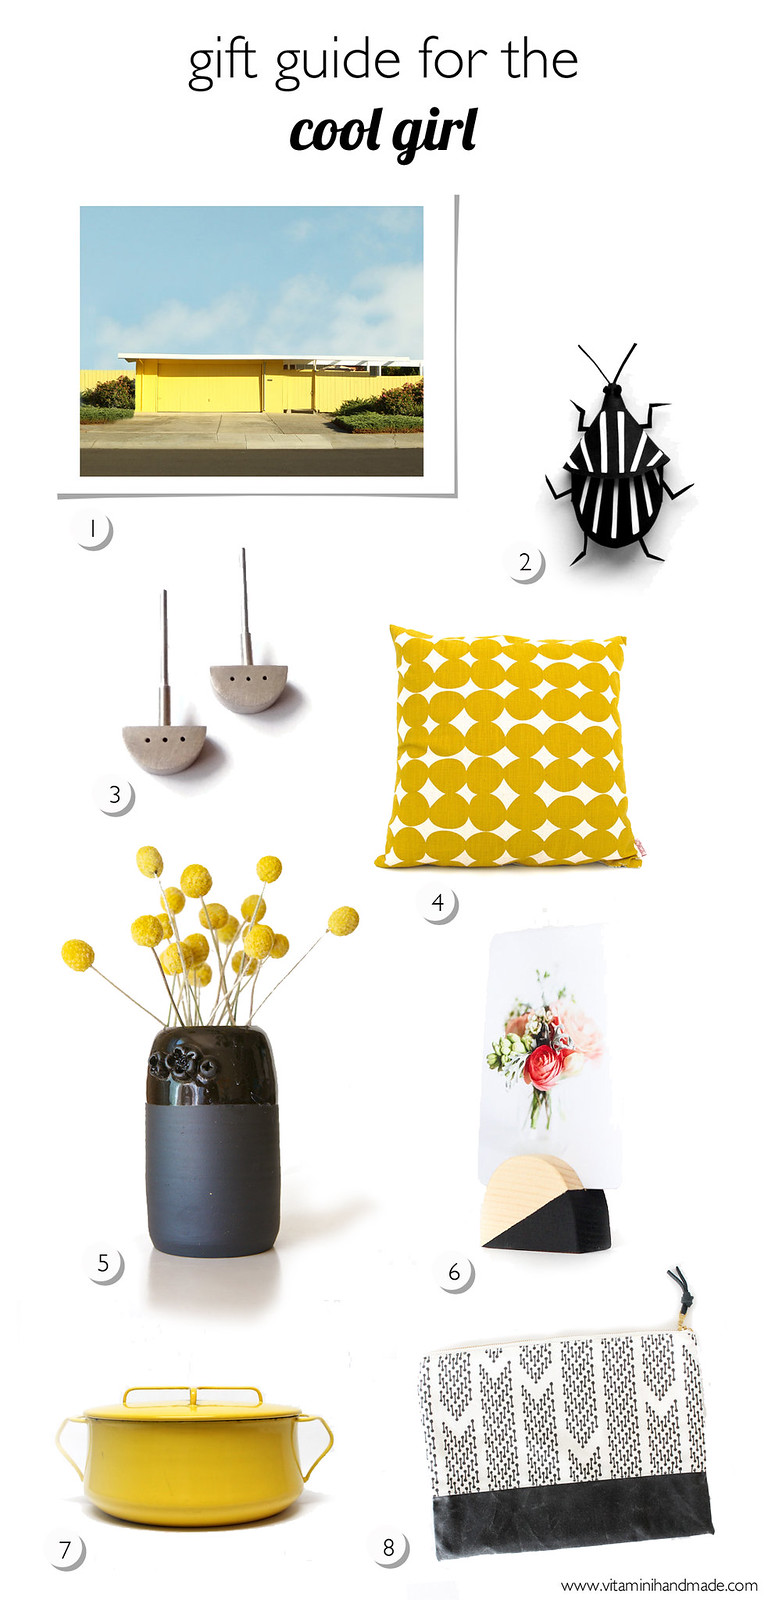
1. Yellow Eichler photograph by Lucy Snowe Photography
2. Paper beetle sculpture art by Ariadine
3. Vintage modernist earrings from Mascara Jones
4. Pebble Pillow Cover in Pollen by Skinnylaminx
5. Beautiful black vase by Ross Lab
6. Half Circle photo holder by The Crafted Life
7. Vintage Kobenstyle Pot from WunderFun
8. Two-Tone Clutch by Casey D. Sibley Art & Design

Have a great weekend! 

56

DIY Brushstroke Ornaments

Monday, December 8, 2014

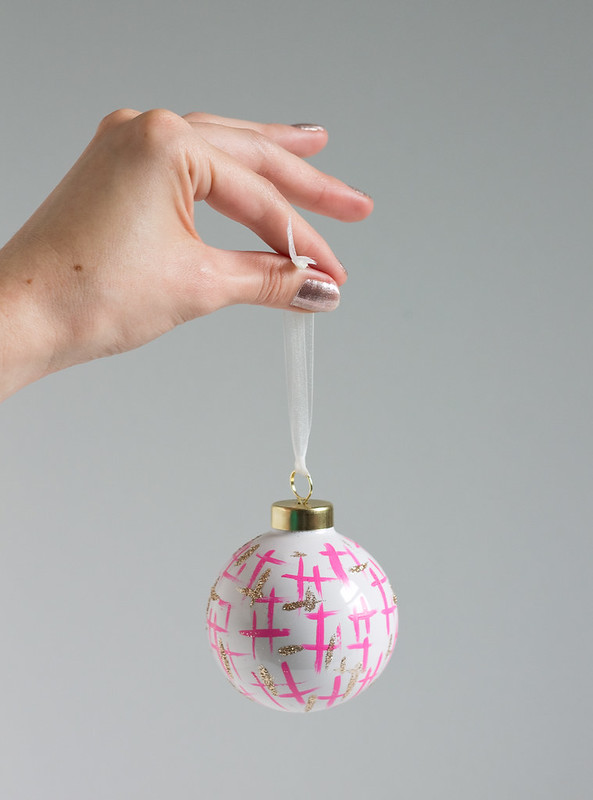
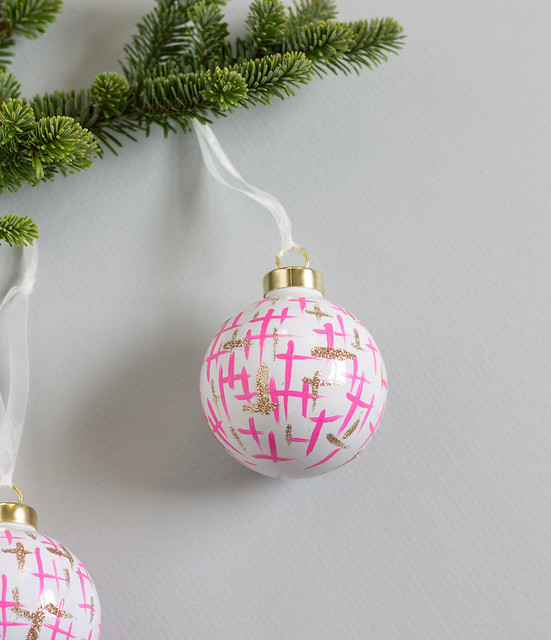
DIY Brushstroke Ornaments. Click through for the full tutorial! | www.vitaminihandmade.com

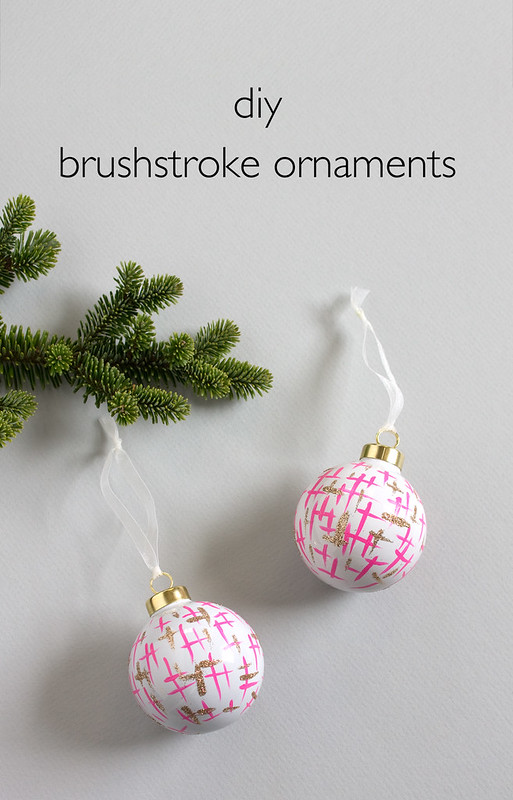
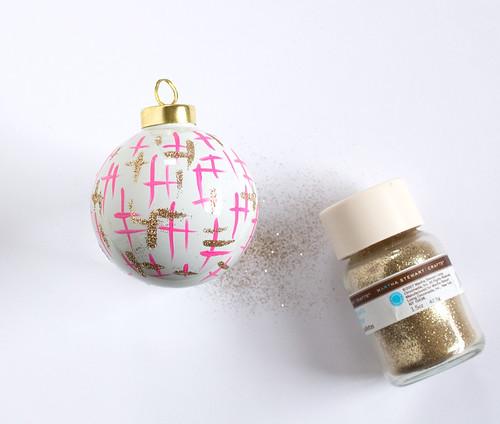
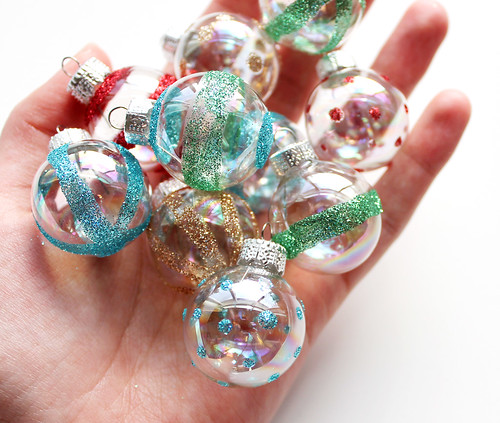
If you're looking for an ornament that's a little bit out of the ordinary but still really easy to make yourself, you're in the right place! If you can paint even a somewhat straight line with a brush, these brushstroke ornaments are for you. The bright pink crosshatching will add a mod touch to your Christmas tree and the glitter will provide a bit of sparkle.

Here's what you'll need:

DIY Brushstroke Ornaments. Click through for the full tutorial! | www.vitaminihandmade.com
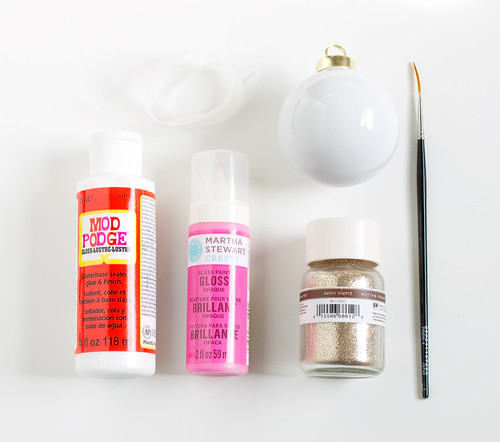
  • White Ceramic Ornaments. I got these at Michaels.
  • Glass Paint. I used Martha Stewart Opaque Gloss in Raspberry Ice
  • Mod Podge
  • Fine Glitter. I used my favorite, Martha Stewart Smoky Quartz
  • Liner Paint Brush
  • Ribbon

DIY Brushstroke Ornaments. Click through for the full tutorial! | www.vitaminihandmade.com DIY Brushstroke Ornaments. Click through for the full tutorial! | www.vitaminihandmade.com

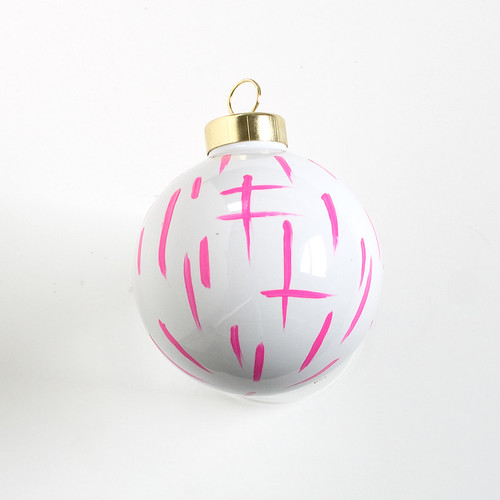
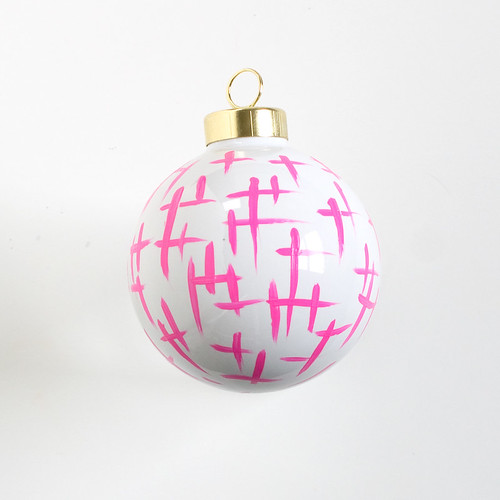
Clean the ornament with soap and water or rubbing alcohol. Once dry, paint fine vertical lines of varying lengths and thicknesses on one side of the ornament. Follow up with randomly placed horizontal lines, overlapping the vertical ones here and there. Let dry before turning over and painting the other side. Follow the instructions on the paint bottle for curing: either let air dry or let dry in the oven.
DIY Brushstroke Ornaments. Click through for the full tutorial! | www.vitaminihandmade.com

Afterwards, paint vertical and horizontal strokes with the Mod Podge and sprinkle with glitter. Let dry. Tie up with the ribbon and hang on your tree!

DIY Brushstroke Ornaments. Click through for the full tutorial! | www.vitaminihandmade.com DIY Brushstroke Ornaments. Click through for the full tutorial! | www.vitaminihandmade.com

17

Holiday DIYs (from the archives)

Wednesday, December 3, 2014

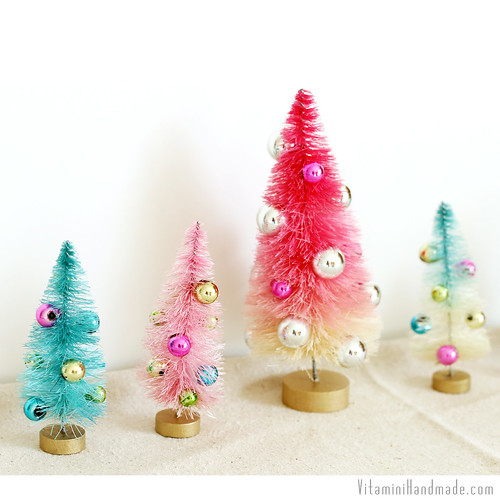
DIY Dip Dyed Bottle Brush Trees | www.vitaminihandmade.com

Yay, December! We're right in the thick of holiday crafting time. I've got a few new projects up my sleeve for this month, but before I jump into those I wanted to share a few from the archives over the years.
DIY Dip Dyed Bottle Brush Trees | www.vitaminihandmade.com

Learn how to Dip-Dye Bottle Brush Trees with this tutorial! It's the perfect way to get the trees that perfect shade to match your decor. Or make a bunch in lots of colors! 
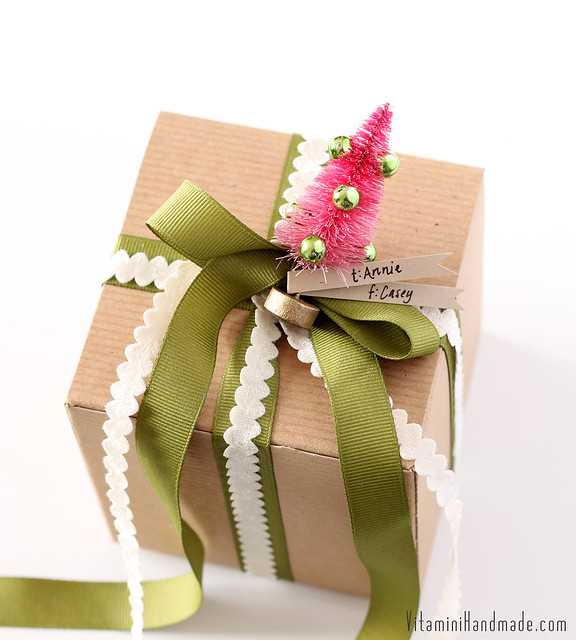
DIY Bottle Brush Tree Gift Toppers | www.vitaminihandmade.com

I like to line up my trees and just stare at them, but if you're looking to give away some of the joy, make these Bottle Brush Tree Gift Toppers. Hint: they're super easy to make and I'm sure everyone will love them.

DIY Vintage Style Glittered Ornaments | www.vitaminihandmade.com

These Vintage Style Glittered Ornaments are quick and easy to make and will add a sparkly, vintage style touch to any tree.

DIY Holiday Corsage | www.vitaminihandmade.com

Make one of these Retro Holiday Corsages to wear to your holiday parties and dinners. They're so cute, you're guaranteed to get compliments!

DIY Pompom Wreath

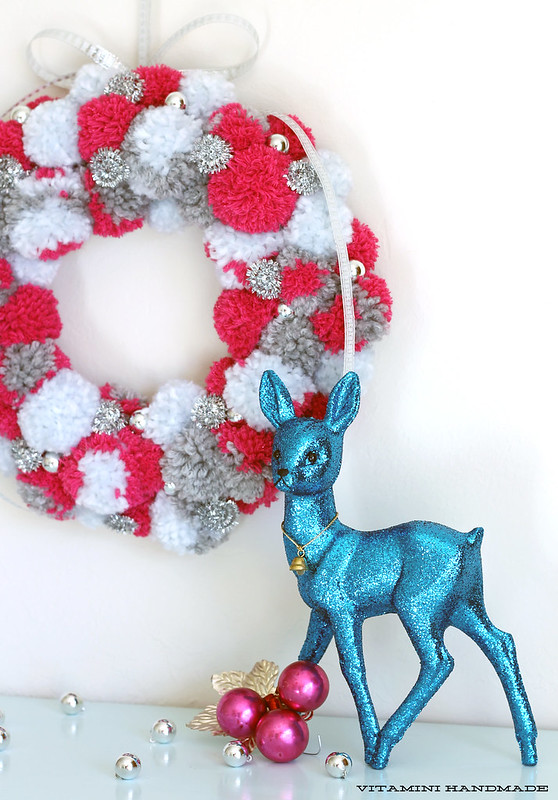
Use the time you spend watching Christmas movies (Love, Actually, anyone?) to make a bunch of pompoms for this Holiday Pompom Wreath. This one uses alternative colors: bright magenta, light blue, and heather gray and has a touch of sparkle with metallic silver pipe cleaners.

I hope some of these ideas inspired you to get crafting! 


4

Holiday Sale and Mini Gift Swap!

Monday, December 1, 2014

Vitamini Holiday Sale 2014 | www.vitaminimodern.com
It's December! Can you believe it?! I'm just popping in to let you know that I'm having a sale in the shop! Use the code MINIHOLIDAY14 for free US shipping on orders over $40. Don't fret, international shoppers, I have something for you, too! Get a free greeting card of your choice with orders over $40, no code needed!

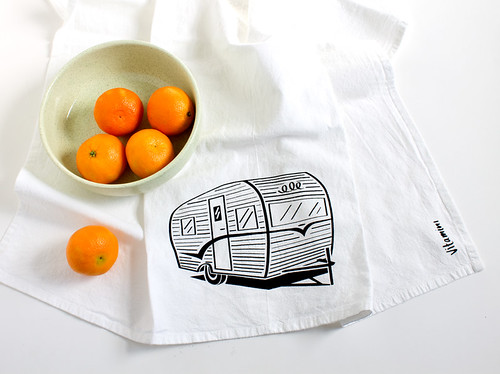
vintage trailer tea towel by vitamini | www.vitaminimodern.com

Additionally, I have some special prices in the shop, through Monday, 12/1 only! Tea towels, necklaces, cutting boards, and t-shirts are marked down 25%+ percent! Take advantage - quantities are limited!

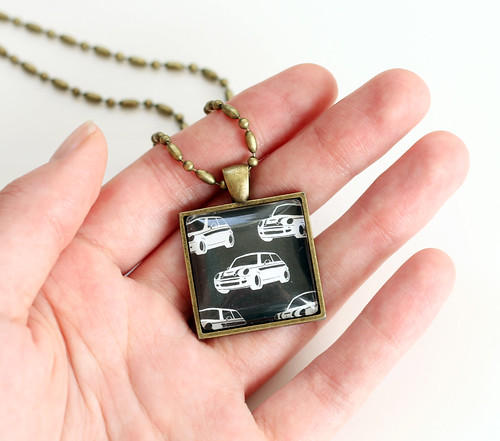
mini cooper neckace, gifts for a mini owner | www.vitaminimodern.com mini cooper tea towel, gifts for a mini owner | www.vitaminimodern.com

MINI fans: Did you hear MINI USA is hosting their holiday gift swap again this year? Sign up to get on the list to swap gifts with another MINIac. I participated last year and it was so much fun! If you're shopping for your special person, hit up the shop! I'm happy to gift wrap and send directly to your person for you.
 

vitamini handmade © All rights reserved · Theme by Blog Milk · Blogger