16

Retro kitchen café curtains.

Thursday, September 27, 2012

Retro Kitchen Cafe Curtains
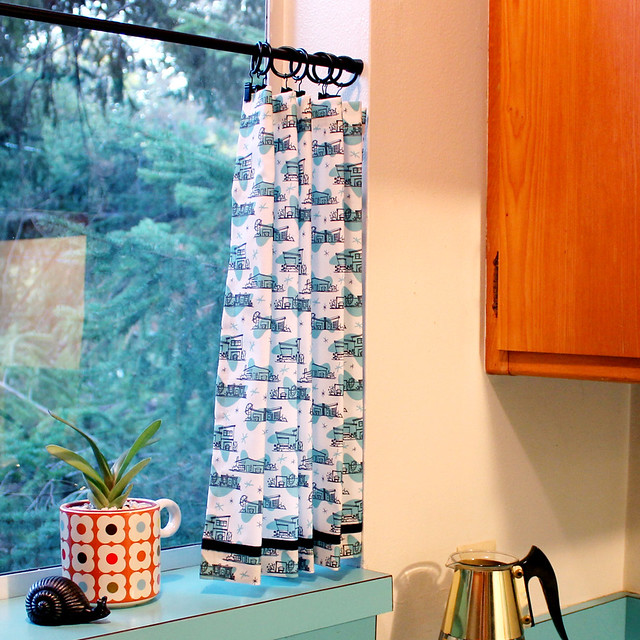
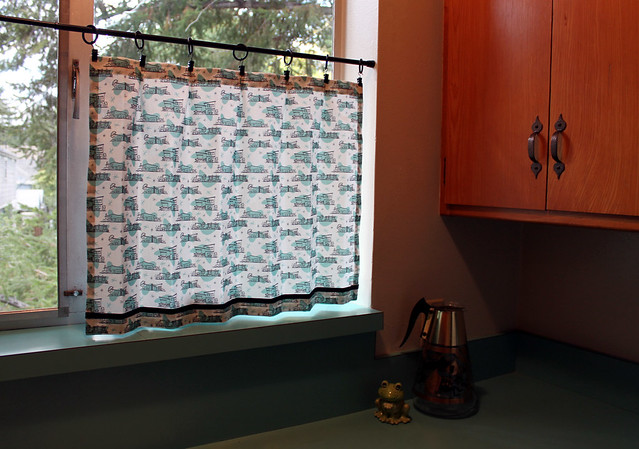
I recently made new café curtains for my kitchen window and wanted to share. I used my own "Retro Ranch" fabric. I even matched the color to my countertops! Cool, right?

Retro Kitchen Cafe Curtains

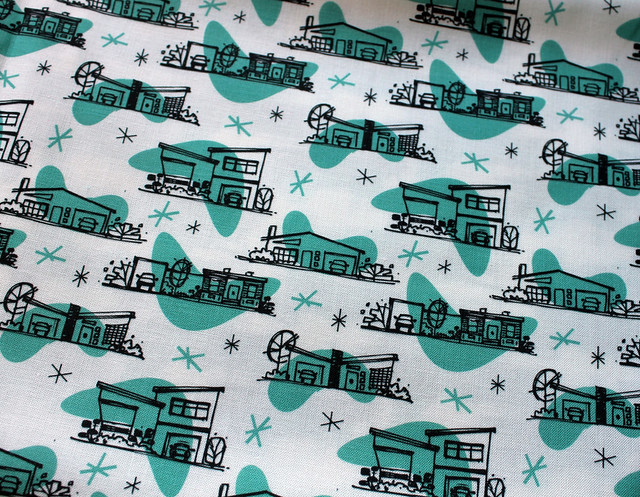
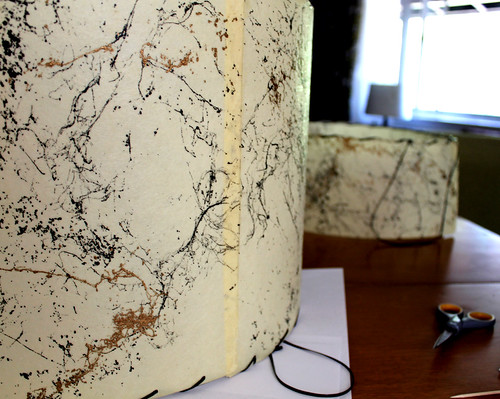
This was my original screen print of my repeat that I made a couple of years ago. Since the idea of printing a large amount of continuous yardage myself was a little daunting, I decided to have Spoonflower do it for me. I ordered one of their color maps, and chose the shade of teal that most closely matched my countertops. I uploaded the design and a little more than a week later I had my fabric!

I didn't take any photos of the sewing since I started the project at about 10 at night (I get crazy on the weekends, people!) and the lighting would have been terrible, but here's a write-up of how I did it.

What I used:
  • Tension rod that fit the width of my window
  • Curtain rings and clips in the same color as the rod. I used 14 of each.
  • 2 yards of fabric. Since my print was directional and my window was wide, I had to start out with a larger piece of fabric. I had a bit leftover. 
  • 1 1/2 yards of 3/8" grosgrain ribbon
What I did:
  • I put up the tension rod where I wanted it in the window with the rings and the clips. I measured from the bottom of the clips down to the window sill. This is how tall my completed panels would be.
  • Then I measured the overall width of the window and added 2". This is how wide the two panels would be, combined. The 2" allows for a little overlap at the center. Divide that number by 2,  to get the width of each panel. This is how wide each panel will be.
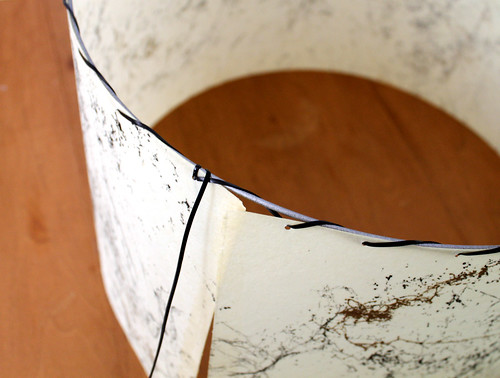
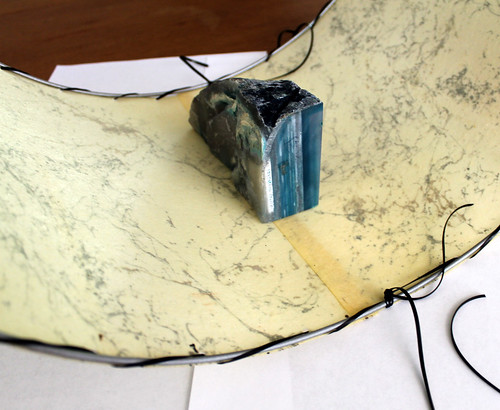
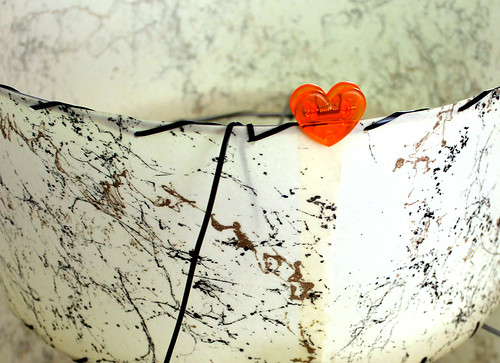
  • After I had the finished dimensions, I started to add in the hems and pleats. I added 2" in width to each panel for the side hems (1" on each side for a small double hem), and 2" for each inverted pleat (my panels had 5 each). For the height, I added 2" for the top hem, and 3" for the bottom hem.  Once I had my dimensions ready, I measured and pressed the hems, pinned, and did the simple straight sewing. When all the edge hems were completed, I measured out the pleat locations, sewed them, and pressed them flat. I added a black grosgrain ribbon along the bottom hem to the give them some visual balance. After that, I just clipped them onto the rings, and they're done! 

Retro Kitchen Cafe Curtains

Here's a little tip that I used from my mom who used to have a drapery business: When the panels are first clipped up and gathered to the side they will hang rather stiffly and may not give you the pleating you were hoping for. To get them to relax and hang the way you want, fold the pleats where you want them, like folding a fan. Using a long narrow strip of scrap of fabric, loosely tie the panel together at the bottom. Give it a fine spray of water on both sides from a spray bottle and let them sit like this for a day or two. As they dry, the fabric will remember the folds and will give you a nice pleated effect when you release them.

Retro Kitchen Cafe Curtains Retro Kitchen Cafe Curtains 
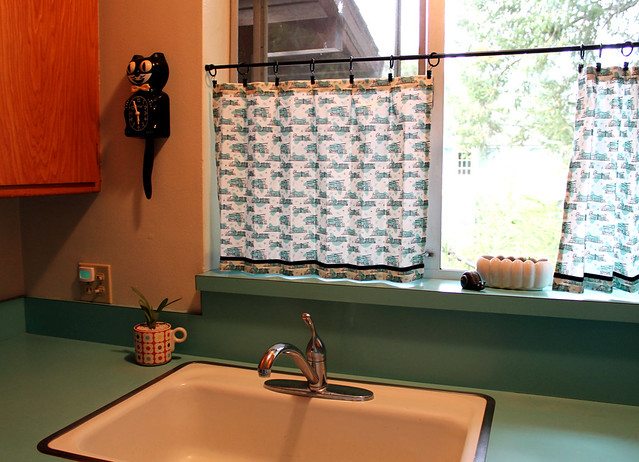
Here are few more photos of my 1950's kitchen. My great aunt gave me that KitKat clock for my 11th birthday. I think I was born loving retro...

Retro Kitchen Cafe Curtains Retro Kitchen Cafe Curtains

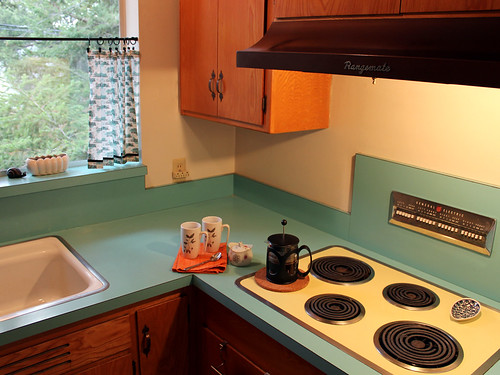
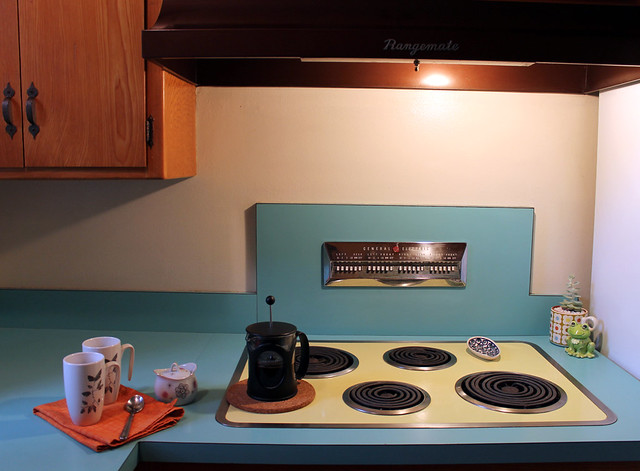
Though it's tiny, it's by far my favorite space in my apartment. They just don't make them like they used to!

UPDATE: This fabric print is now available for sale in my shop. Listed in this teal and a sweet light pink colorway.  :)

1

Officially Fall

Monday, September 24, 2012

Saturday was the Autumnal Equinox, so it's officially Fall! Here are some autumn-like things that have been occupying my Pinterest boards lately. No rhyme or reason, really, just pretty things that I enjoyed looking at. I hope you likey.

Fall inspired pinterest pins
1. pin 2. pin 3. pin 4. pin 5. pin 6. pin 7. pin 8. pin 

Confession: Pinterest is wonderful, but in fear of getting sucked into a black hole of pretty pictures and never-ending inspiration overload, I really only browse the DIY and Crafts section and do searches when I'm looking for something. Ok, I also look through the humor section when I want to find silly photos to send to my sisters. I follow some interesting peeps over there, though, so I get a good influx of interiors, graphic design, product design, and art in my feed.

What about you? Have you fallen into the Pinterest trap, yet? :)

0

Fair day!

Friday, September 21, 2012

I spent last Saturday at the County Fair with my sisters, my niece, and my mom. It was such a fun day! The chickens won the prize for most photogenic.

Fair Days

Have a great weekend!

29

Restoring a fiberglass lampshade. Part 2.

Monday, September 17, 2012

I hope you had a nice weekend. I bet you've been very curious about the current state of my lampshade, right...?

Where we left-off in part one of this series, I now have clean fiberglass sheets and the lampshade rings. My rings were rusty and dirty, so I rubbed them down with steel wool. This removed the rust and loose bits to prep them for spray painting.

I painted mine with a silver hammered metal spray paint that I already had. The color and finish of the paint doesn't really matter too much, since the rings are so thin and they'll be on the inside of the shade, but I thought a simple metal color would be good, instead of a dark brown or black. Gold would have been a nice choice, too. I let the rings dry for a few days and I was ready to re-lace!

Here's what I used:

Restoring a vintage fiberglass lampshade
  • Plastic lacing. I bought this inexpensive lacing at the craft store for less than $2 each. I bought two rolls but only needed one.
  • E6000 glue. I did a bit of research to determine which adhesive would be best for fiberglass and really couldn't find anything. E6000 has a strong, long lasting, flexible bond so I decided to use it. I read reports that it may yellow with time, but my fiberglass already has a yellowish tinge to it, so that's fine with me.
  • Toothpick - for applying the glue to the fiberglass. Much more precise than squeezing that big metal tube.
  • Foil - for spreading out the glue before-hand and catching drips.
  • Thin rubber gloves (not shown). These will prevent lots of little tiny fiberglass slivers in your fingers.
  • Lampshade parts

I started with the large shade. Cut a piece of lacing about 1.5 times longer than the length of your fiberglass sheet. With the fiberglass sheet facing down on your surface, thread the lacing through the punched hole at the end and knot it around one of the large rings. Keeping the sheet flat on your surface, do a whip stitch with the lacing through the first 3 or 4 holes. keeping your stitches loose.

Restoring a vintage fiberglass lampshade
This was the trickiest part: at some point the sheeting will need to be stood up on it's side. Have someone hold it up for you while you get the stitches going, or (do like I did) and prop it up on a box. Once about half of the sheet is connected to the ring, it will stand up easier in its drum shape and the stitches will go faster.
 Restoring a vintage fiberglass lampshade

Once you get to the end, lightly tie the lacing around the ring, after going through the first hole again. Then, starting from the beginning, go back and pull the lacing tight through each stitch, making sure the lacing isn't twisted. When the lacing is tight, tie it off with a double knot.

Restoring a vintage fiberglass lampshade
Repeat with the other ring. To glue the seam, use the toothpick to spread a thin layer of E600 in between the two overlapping ends. Just use a little bit. Rest the shade on it's side and place a weight on top of it to keep the seams together. This stone bookend worked perfectly. Let the glue dry.

Restoring a vintage fiberglass lampshade Restoring a vintage fiberglass lampshade

If you have a double-decker shade, repeat the lacing process with the remaining rings. Use clips on the shade as the glue dries since you can't rest it on its side.

Restoring a vintage fiberglass lampshade

Go get yourself a margarita.

When the glue has dried, remove the clips, make sure the knots are tight, and trim the lacing. That's it!
Restoring a vintage fiberglass lampshade
No dents. Those are just shadows.
Restoring a vintage fiberglass lampshade

Stay tuned for Part 3 of this series where I'll replace a glass pendant shade with this one. 

0

Happy friday and printable bookplates.

Friday, September 14, 2012

Happy friday, friends! Check out these great free printable bookplates from Helen Dardik. I love Helen's colorful, graphic style. My 3 year old niece is really into books and I think she'd LOVE these. I'd like to add them to some of my books, too.

Helen Dardik's printable bookplates, via How About Orange

I hope you have a good weekend! I'm planning on going to the County Fair in my hometown, so I'm looking forward to fair food and seeing lots of long-time friends. I practically lived at the fair every year when I was a kid since I was in 4-H and did a lot of volunteering so I have lots of memories there. I just might take my real camera with me to take photos to share here on the blog. Don't worry, I'll avoid the carnies.


1

Bragging.

Tuesday, September 11, 2012

There's a blurb about me and my MINI biz in the current issue of MC2 Magazine!

MC2Collage2 If you're not aware of the publication, MC2 is all about Minis, both classic and new. It's filled with informational articles, and fun reads about clubs, racing, car maintenance, and history. So if you're really love these little cars, check it out. And thanks to my Etsy customer, Jackie, for letting me know! I'll have a smile pasted on my face for at least the rest of the week.

0

Fall crafts.

Friday, September 7, 2012

I can't believe it's the first weekend of September already, but I'm not complaining. Fall is my favorite season and I'm so excited for sweater weather, colored leaves on the ground, and hot drinks. Technically it's still summer, but there's no reason not to get a jump-start on your fall crafts. Here are a couple that I shared on the blog last year:

Fall Craft Projects
Make this faux-bois painted pumpkin with black and gold craft paint.

Fall Craft Projects
I'm still hooked on making these wrapped yard wreaths, and this one with hand-stitched felt oak leaves is my favorite.

I hope you are enjoying the transition into fall. Have a nice, crafty weekend!

2

MINI Cooper fabrics!

Thursday, September 6, 2012

MINI Cooper Fabric by Vitamini at Etsy

I've wanted to sell MINI yardage for a long time, so I'm very pleased to announce that they're finally here! My MINI Cooper design printed by Spoonflower onto lovely quilting weight Kona Cotton for all you MINI loving crafters out there! Available in teal, yellow, pink, red, and black. Think of all the cool MINI things you could make with it! Quilts, potholders, make-up bags, sachets, applique projects... Check out the fabric section in my Etsy shop to see them all!
 

vitamini handmade © All rights reserved · Theme by Blog Milk · Blogger