


I had been looking for the perfect curtains for my bedroom since I moved into my new place almost 5 months ago. I didn't want to spend a fortune (curtains can be SO expensive) so I decided to whip something up myself.
At one point in the project I was up to my elbows in wet fabric and rubber gloves, so I didn't take photos of the steps. I'll just list out what I did and what I learned, in case you decide to try it out for yourself.
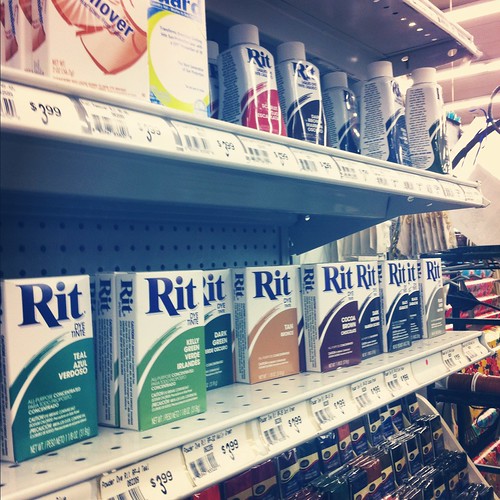
I used a pair of white curtain panels from Ikea and a box of Fuchsia Rit Dye. To start, I machine washed and dried both panels. Fabrics can be sprayed with starch and other things in the factory that may prevent dyes from adhering evenly, so it's always best to pre-wash anything you're going to dye.
I strung-up one of the panels on the curtain rod and marked where the window sill was on the panel. I planned to only dye the bottom portion of the panels, so the effect would end below the sill. I marked the point with a binder clip. Then took it down, and clipped both panels together, so the dye effect would be the same for both.
Following the instructions on the dye package (I only used one box) and wearing my handy rubber gloves, I mixed up a batch in a large plastic tote in the bathtub. I actually used more water than they recommended - about 8" deep. I kept another tote nearby with plain water for pre-soaking in plain water and rinsing. Now here's the part that took the muscle: Holding the clipped-together panels steady, I dipped the lower 6" into the dye, agitating a little, and holding for about 30 seconds. Then I lowered the panels another 6" or so, and held for another 30 seconds. At this point I started to improvise, because 7-8 yards of dripping wet fabric is very heavy and I'm no body builder. I just continued to dip the panels a little lower every time and when I got close to my window sill mark, I did a split-second dip up to the line.
I dumped out the dye and then rinsed out the panels, from the top down, making sure not to let the upper white portion get into the rinse water. I was worried that I'd transfer some of the pink dye with my gloved hands, but it was fine. I rinsed until the the water ran clear, then set the panels aside to dry. After that they just needed to be ironed.

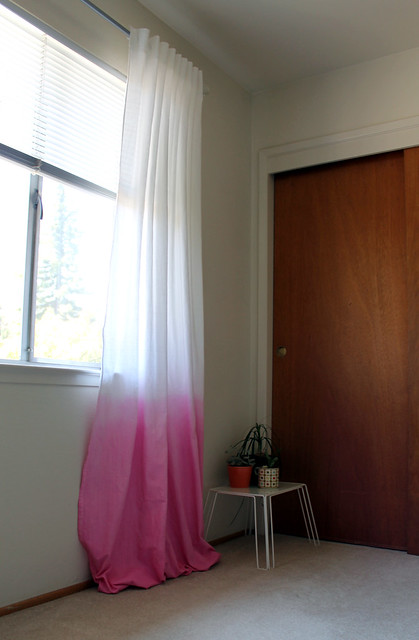
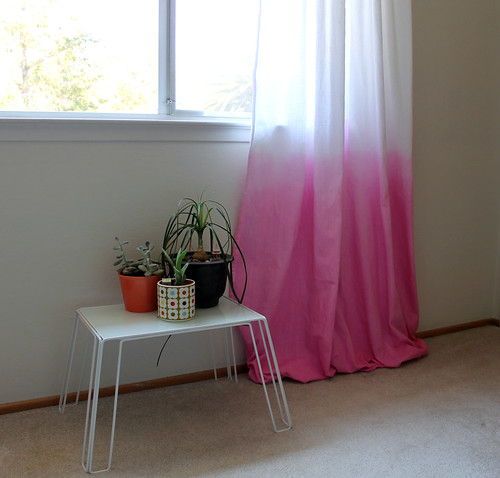
I'm happy with they way they came out and they only cost about $30. I'm still debating whether to hem them or not - I kind of like the puddled look. The dyed ombre effect isn't perfect but I think it just adds to the hand-dyed quality.
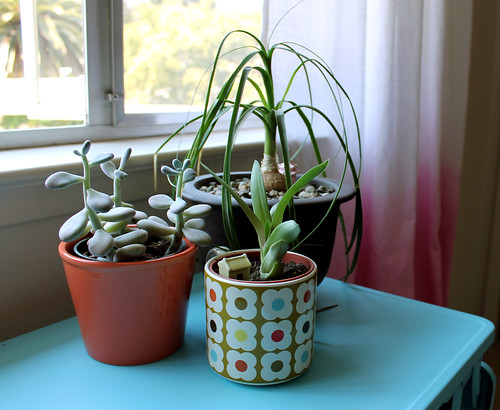
Here's a little teaser for another project I have coming up. I hope you're having a great week!
They look so nice! I can just imagine how tricky a job that was to do by yourself... probably felt like you could have used six hands, but they turned out great! I'm such a fan of ombre tights and these are just as cool an idea.
ReplyDeleteThanks, Ann. Yes! I recommend doing this project with a helper, and setting it up in a garage or outside. It was a little cramped in my tiny bathroom. Another thing I learned was it's very difficult to get decent photos of when shooting at a window. :)
DeleteLove your curtain idea, its fun being creative! Now to do something with my room. :-)
ReplyDeleteThe dip dyed curtains are beautiful. Have a look at it
ReplyDeleteGood morning guys! We guarantee expedient and excellent service to all clients, ensuring one-on-one assistance with a dedicated writer who is experienced in the field. From planning the outline of the content to drafting and revisions, authors are here to help each client step-by-step through the process. All of our writing is completely original – with summary and response essay example and no templates or copied ideas. With our wide range of nursing capstone covered by our professional writers, we guarantee excellent work at an outstanding price.
ReplyDeleteBoost your ISTQB-CTFL Exam Questions success with trusted dumps! These expertly crafted materials simplify complex concepts, offering clear explanations and real-world practice questions. Perfect for beginners, they help you build confidence and pass with ease. Start your certification journey now and achieve your dream career in software testing!
ReplyDelete