




21

Festive holiday corsage tutorial

Sunday, December 16, 2012

Festive holiday corsage tutorial

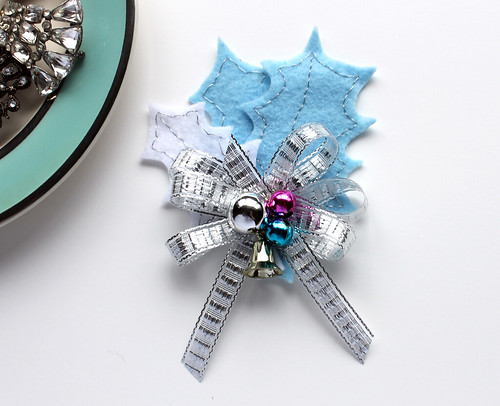
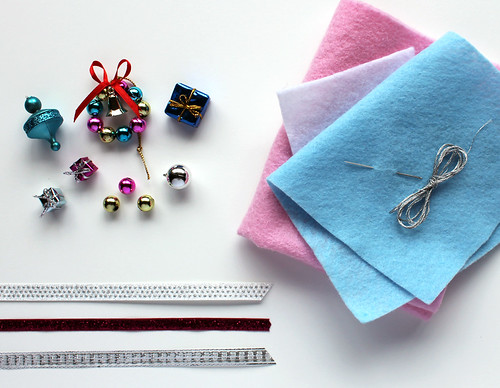
It seems like all of our grandmothers had a few of them; holiday corsages made of mini glass ornaments, metallic foil leaves, ribbon, garland, and other embellishments. I saw this pin from Martha Stewart and decided to make my own version! If you'd like to make a few as well, here's what you will need:
Festive holiday corsage tutorial

Felt in various colors. I used light blue, pink, and white.
Needle
Embroidery thread. I used metallic silver.
Ribbon
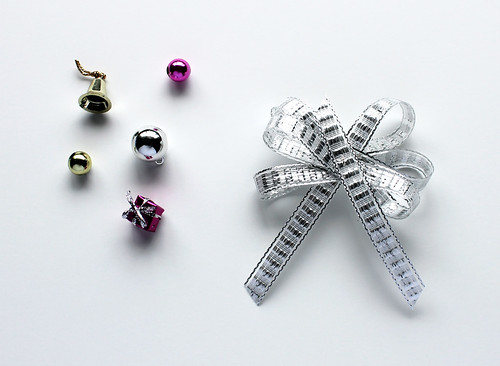
Assorted embellishments. I got these mini gifts and ornaments at Michael's.
Pin (not pictured)

Cut out holly leaf shapes from the felt. My leaves ranged in size from about 3 to 2.5 inches tall. Using a single strand of the embroidery floss, thread the needle and stitch the edge of the leaves with a back stitch. Stitch the veins if you'd like, or just the edges. Mix it up!
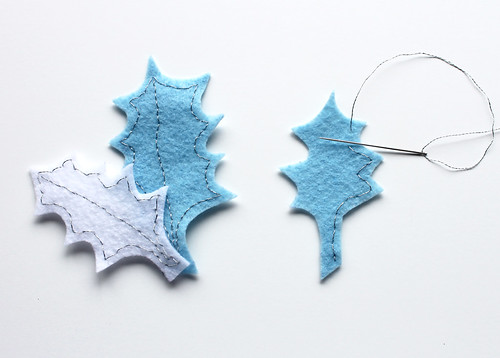
Festive holiday corsage tutorial

Tie a bow with coordinating ribbon. Try a traditional bow or a looped bow like the one I used. Add a few stitches in the center to secure the ribbon.
Festive holiday corsage tutorial

Choose the embellishments and decide on a layout. Stitch everything together or use a hot glue gun. Stitch or glue the pin to the back.
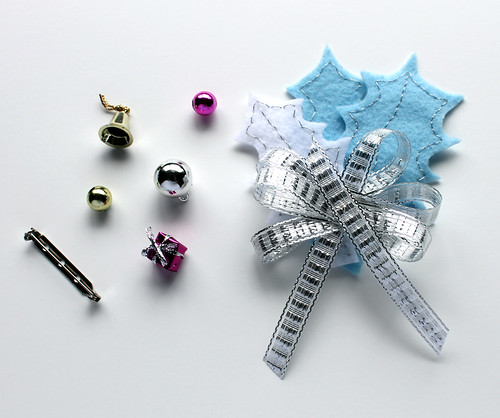
Festive holiday corsage tutorial

These would make great little handmade gifts. Add one to the top of a present, or make a few to give to dinner guests at your next holiday party!
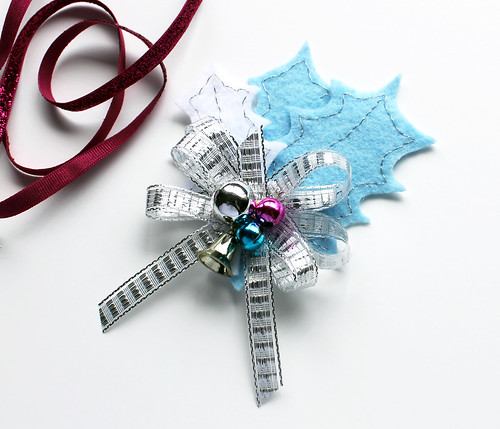
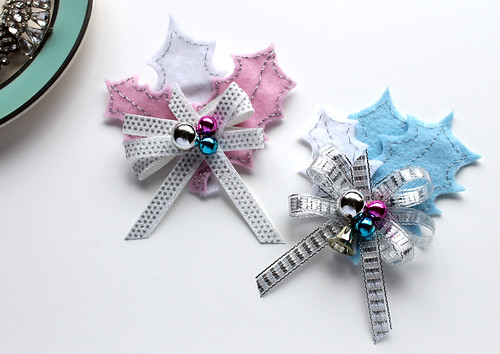
Festive holiday corsage tutorial

Festive holiday corsage tutorial

Try making a few in different colors! I'm going to make a green one next.
18

Shop handmade this holiday!

Wednesday, December 5, 2012

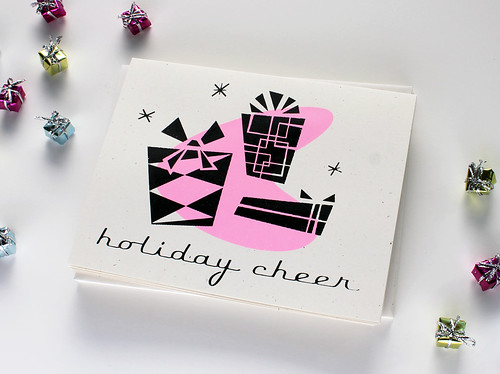
Retro Style Holiday Cheer Card

Ever since I opened up my Etsy shop back in 2008 my concept of holiday shopping has changed. When I started receiving my first holiday gift orders, I started thinking about all of the people who would be getting something that I made with my own two hands, how I worked out the design in my head, drew it with a pen and paper, and finally screen printed it with a screen I stretched and exposed myself. I thought about how much more meaningful a handmade gift is, opposed to something mass-produced off the shelf at a big box store. Ever since that first holiday season, I decided to shop handmade for the holidays. There are so many wonderful small businesses out there and it feels great to feel like I'm supporting them and their work, instead of adding to the wallet of a big corporation.


Door Sixteen compiled a huge list of handmade businesses on this blog post. Many have coupon codes attached, too! It's not too late to do your online holiday shopping, so get on it!

*photo above of my Holiday Cheer hand screen printed card available in my Vitamodern shop.

18

Vintage-style glittered ornaments

Thursday, November 29, 2012

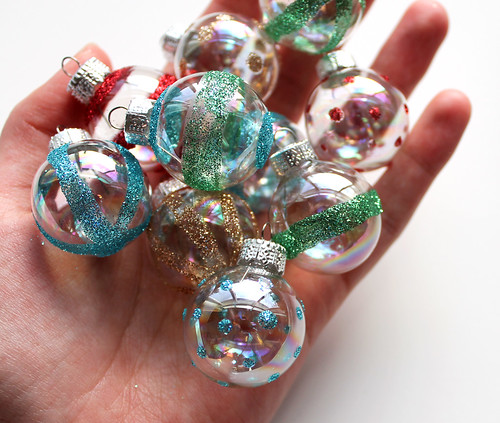
ornaments_complete1

I'm extra excited to set up my holiday decorations this year because I bought a vintage aluminum tree a few months ago! I've wanted one for precisely forever, and found it on Etsy a few months ago. In keeping with the theme, I'd like to decorate it with vintage glass ornaments. I have a small collection of real ones but I decided to fill in with a few handmade, simple mini ornaments. They were really easy to make and I think will add a little extra sparkle to the tree and will catch the light of the color wheel. (Yep, got one of those, too!)

Retro Style Glass Glittered Ornaments

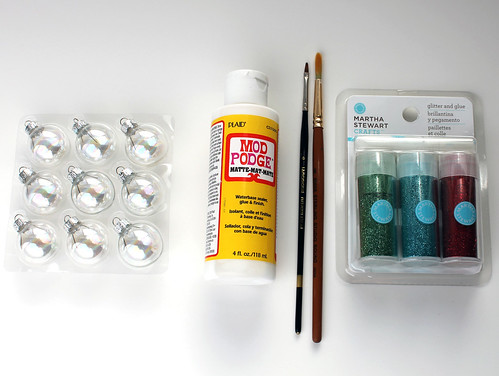
Materials:
  • Plain glass mini ornaments. The ones I used are a little irridescent, but you could use clear glass or plain frosted ornaments.
  • Fine glitter in various colors. I bought this Martha Stewart variety pack that had Verdalite, Turquoise, and Garnet and also used another Martha Stewart glitter called Smoky Quartz
  • Glue. I used Mod Podge since I wanted a glue that was thin and easy to brush on.
  • Small brushes

Retro Style Glass Glittered Ornaments
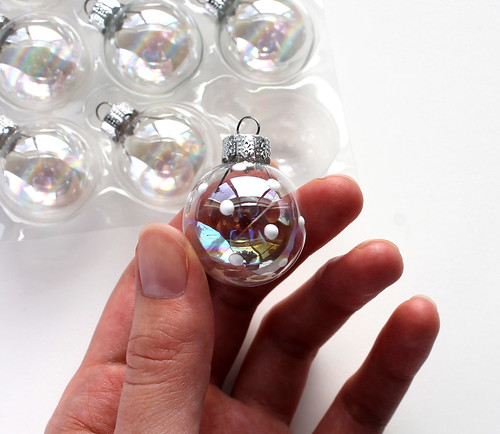
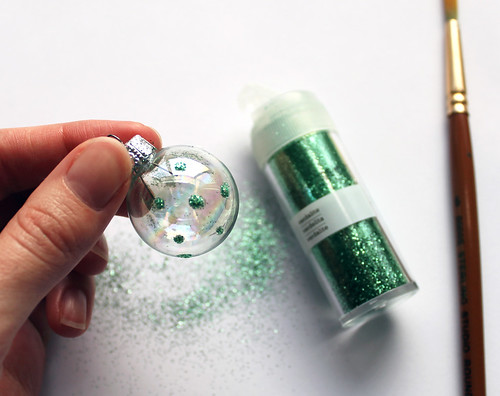
Dip the brush into the Mod Podge and paint the design directly onto the ornament. I used simple dots and stripes. For the dots, I dipped the back end of the paint brush into the Mod Podge and dotted it on that way.
Retro Style Glass Glittered Ornaments

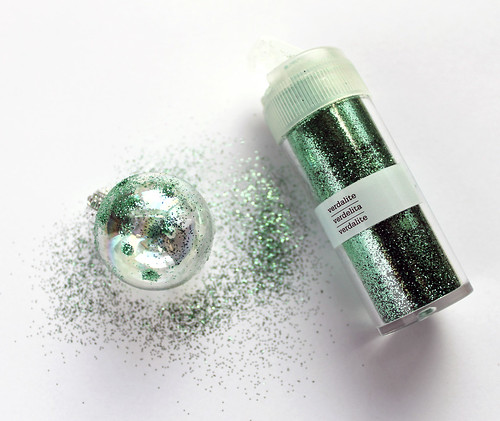
Over a loose sheet of paper on top of your work surface, sprinkle the glitter over your painted design. Tap it to remove the excess and to ensure that the glitter adheres to the glue. When your painted design is covered, prop it up and let it dry.

Retro Style Glass Glittered Ornaments

Lift the loose sheet of paper with the leftover glitter, gently fold it in half, and funnel the glitter back into its container.

After the ornaments have dried, there will probably be glitter all over, not just on the glue design. Here's a tip I used to remove the excess glitter after the design had dried: lightly spray it with a canned air duster, the kind you use on your computer keyboard. If there is still loose glitter around, gently brush it off with a dry, clean paintbrush. Do your best to not get it everywhere, but you'll probably walk around with sparkles on your face for a while.

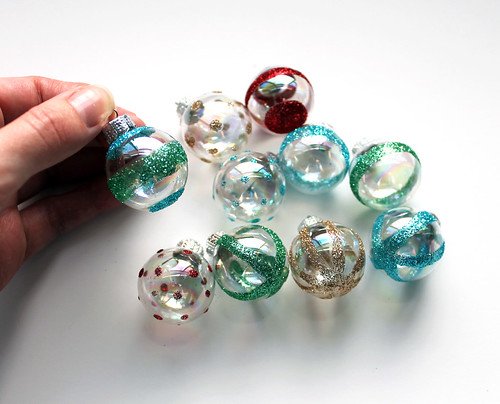
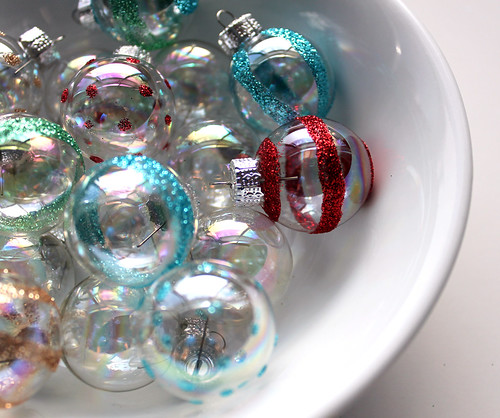
Retro Style Glittered Glass Ornaments Retro Style Glass Glittered Ornaments

I love the way they came out! Try combining different colors and shapes, or try using a small glue applicator for fine linework. Make a set or two and give them to your friends as gifts!

11

Dashing through the snow...

Tuesday, November 27, 2012

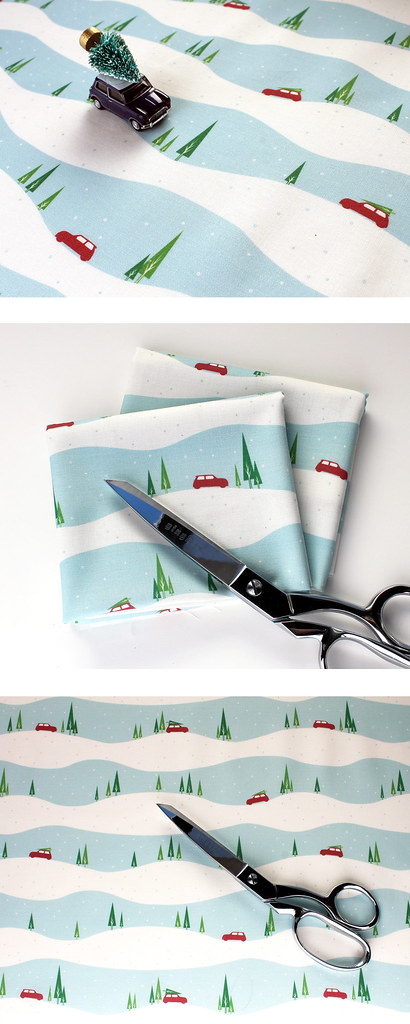
I've been having so much fun creating MINI Cooper fabric designs to sell in my Etsy shop. Spoonflower, based in North Carolina (yay, for US made!) does all of the digital printing for me, giving me flexibility beyond what I'd be able to screen print in my little studio myself. I was excited to create a winter-themed design, so I started with my Let it Snow card design and created a large repeat. Here it is!

mini cooper winter christmas fabric

This fabric would make nice little sachets, pillows, or even MINI Christmas stockings! Available in fat quarter pieces here. And browse my other MINI Cooper fabrics here.

I hope you're getting into the holiday spirit! And if you've got the shopping bug, my holiday sale is is still going strong in both of my Etsy shops. Take 10% your entire purchase through today! See the Vitamini and Vitamodern shops (or the previous blog post) for coupon codes.

17

Holiday sale!

Friday, November 23, 2012

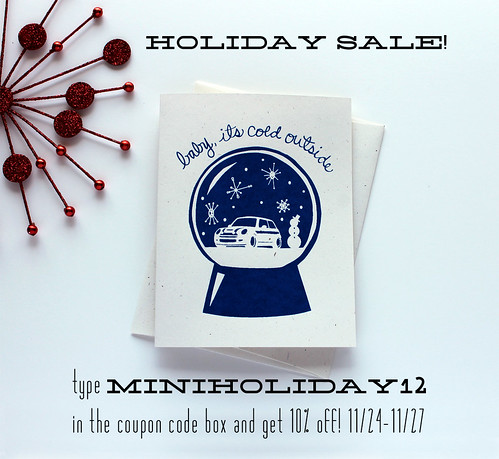
If your looking for unique gifts for your favorite MINI Cooper lovers, take advantage of the special holiday sale in my Etsy shop!

Holiday sale - handmade mini cooper gifts and stationery

Now through Tuesday, November 27th, enter the code MINIHOLIDAY12 in the coupon code box and get 10% off your entire purchase!

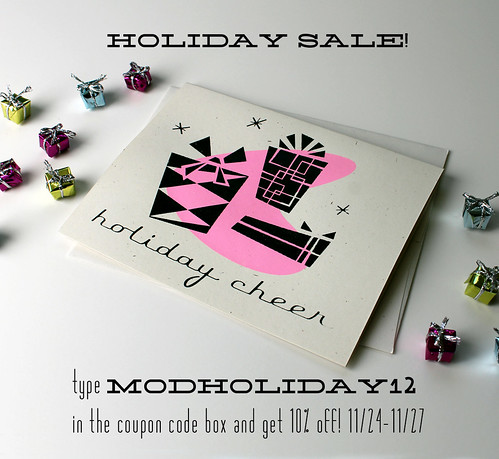
And if you're into the retro thang, my Vitamodern shop is also on sale!

handmade retro gifts and stationery holiday sale

You know the drill - type in the code and get 10% off! I've got a few different style of hand screen printed holiday cards available, as well as coasters, art prints, and other home decor items.
 

vitamini handmade © All rights reserved · Theme by Blog Milk · Blogger