









 |
| Image from Plan59 |
0
Happy Birthday, America!
Wednesday, July 4, 2012
It's the 4th of July! I hope you have a fun-filled day with friends and family and appreciate how great our country really is! I'll be enjoying the local 4th celebration downtown, so I'm excited to put on my sun hat, eat a little bbq, and listen to some banjo music. Afterwards, maybe I'll take a cruise in my red and white station wagon.
(I wish.)
7
Disco bead necklace tutorial.
Thursday, June 28, 2012
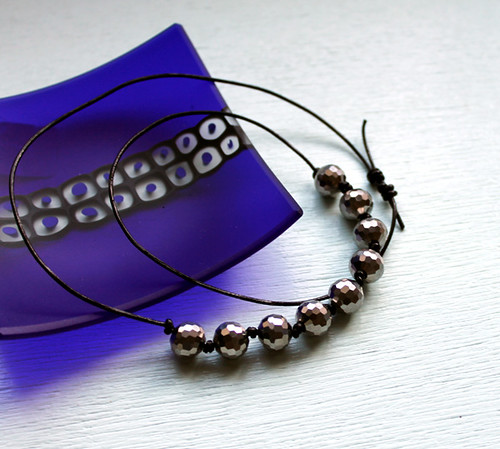
I've been wanting to make myself some simple beaded necklaces for a while, so when I spotted these sparkly glass beads in the craft store I knew I had to make something with them. They're like tiny disco balls! I whipped up this simple, knotted bead necklace with sliding barrel knots in something like 15 minutes. It was so easy to make I almost feel silly writing a tutorial for it, but I hope my instructions inspire you to make one (or 3) for yourself. Even better, this necklace cost less than $8 to make and I have a bunch of beads leftover for another project.
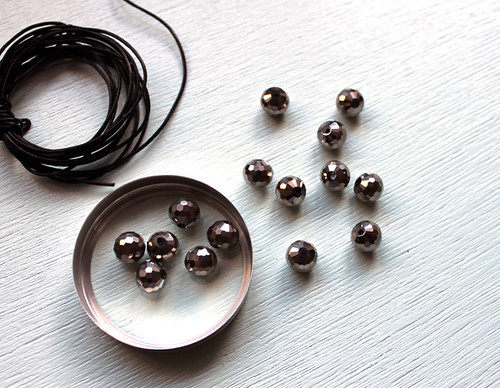
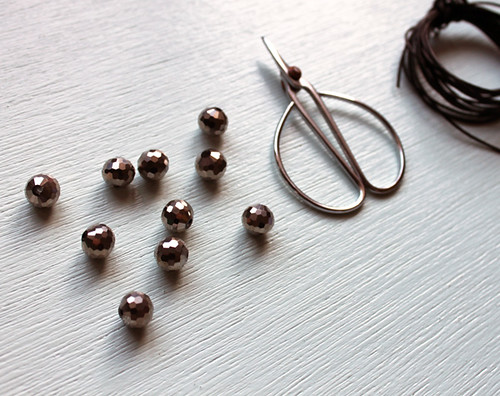
What you'll need:
Beads - A string of 17 beads were something like $4.50 at Michael's.
Cord - I used 1 mm black leather cord, also from Michael's. 3 yards were about $3.25
Scissors
First, decide how long you want your necklace to be. I was looking for a long-ish necklace, so I started with 40 inches of cord. You will be adding multiple knots to the cord, so it's better to add a few extra inches just in case. (Confession: the first time I tried making this necklace I started with 30" of cord and couldn't fit it over my melon head after it was done. I tried it again with 40" and it's just right!) I decided to use 9 beads, so one bead would end up in the very center of the cord. Find the center and string on a bead. Holding it in place, carefully place a knot on each side, getting it as close as possible to the bead. If the bead doesn't end up exactly in the middle, you can trim a little bit of the ends of the cord to even it up.
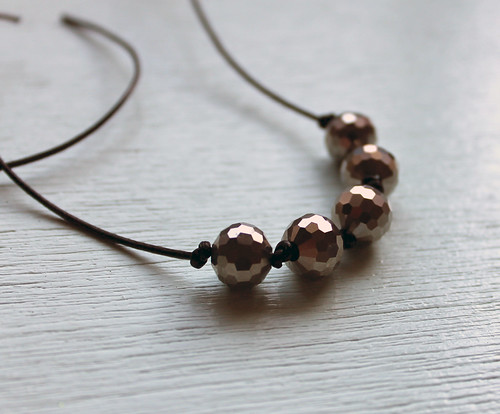
Continue adding beads to each side, tying a knot after each. I liked the look of 9, but use how ever many feel right for you. Now for the sliding barrel knot. These knots are great because they allow you to adjust the length of the necklace without requiring any additional materials. I also like how the knots add a casual quality to the super-sparkly beads.
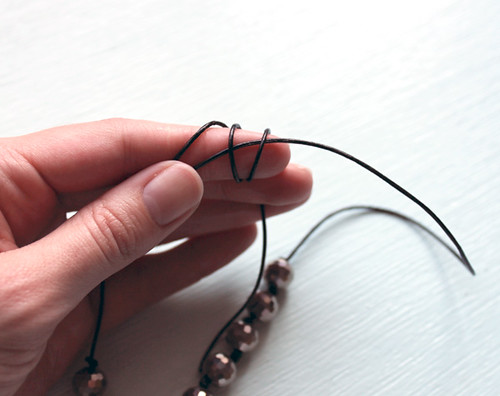
To do this, make an X with the two cord ends. Hold the X against your index finger with your thumb, and using your right hand, wrap the open end that's going to your right around your index finger (and the other side of the cord) three times. Then bring the end over the three wraps and back through the center of the "barrel."
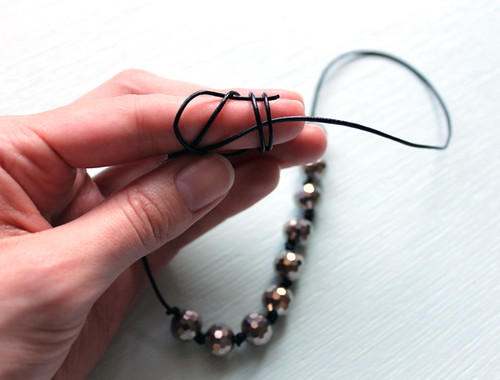
Carefully pull it tight. (There are lots of short youtube videos on this type of knot. I found this one to be simple and straight-forward.)
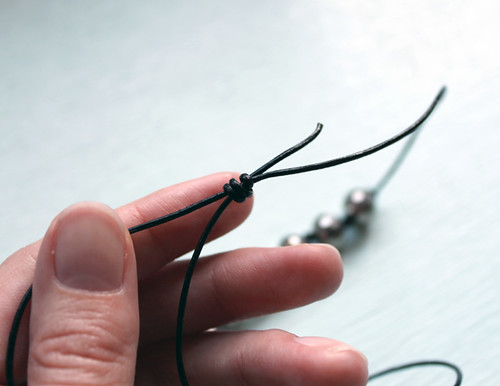
Repeat with the other side of the cord. Carefully trim the ends and you're done!
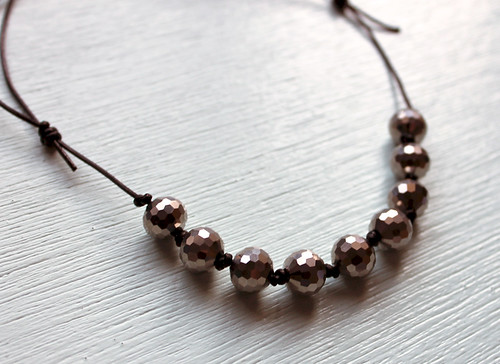
Isn't it pretty? It was so easy to make and only cost a few dollars. I think I'll be making more of these. Let me know in the comments if you decide to make one for yourself!
3
Missing Mad Men.
Monday, June 25, 2012
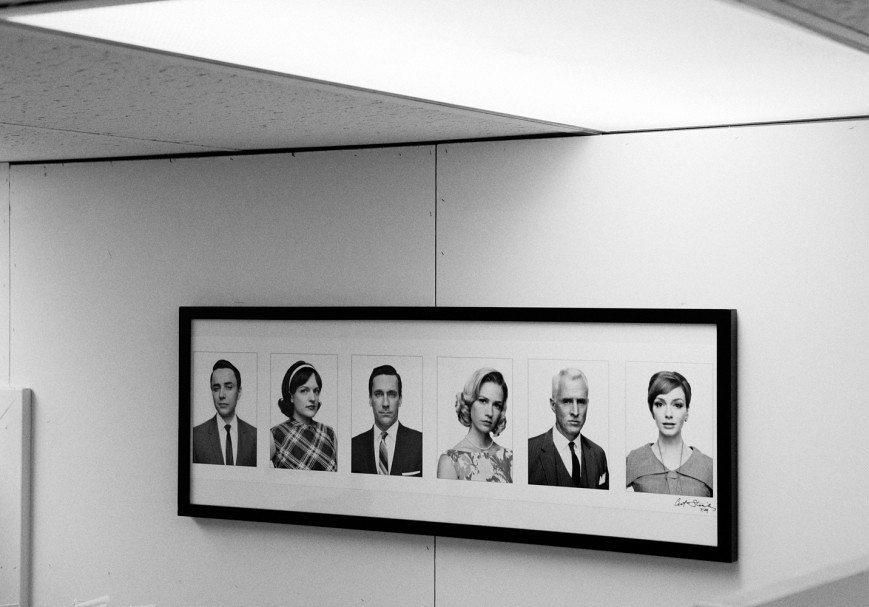
Since season 5 ended, I've found myself feeling aimless. I can't help imagining sleek 60's interiors, reliving Don and Megan's arguments, and reminiscing about that time when Lane gave Pete a knuckle sandwich. Ok, so it's not that bad, but I'm sure I'm not alone when I say I can't wait for the next season!
I was delighted when I saw these "behind the scenes" photos shared on Whorange this morning.
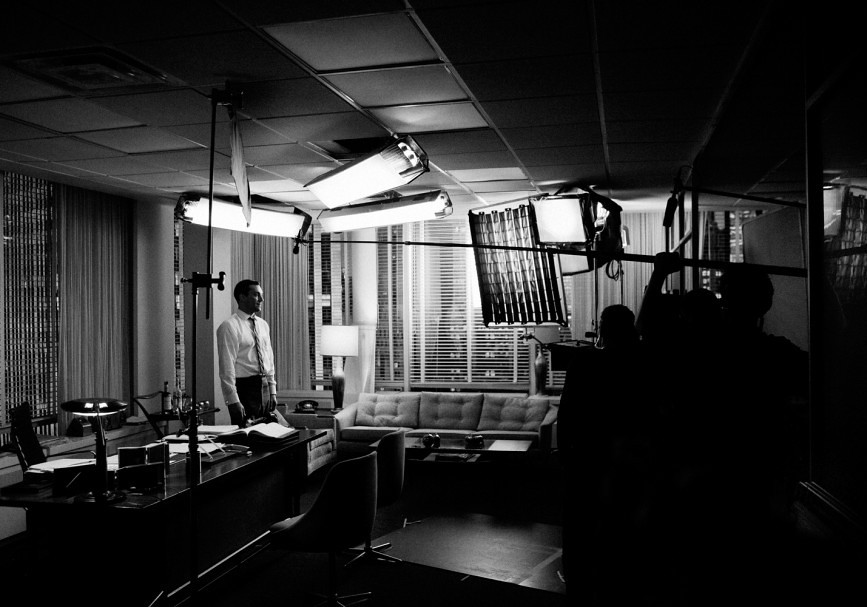
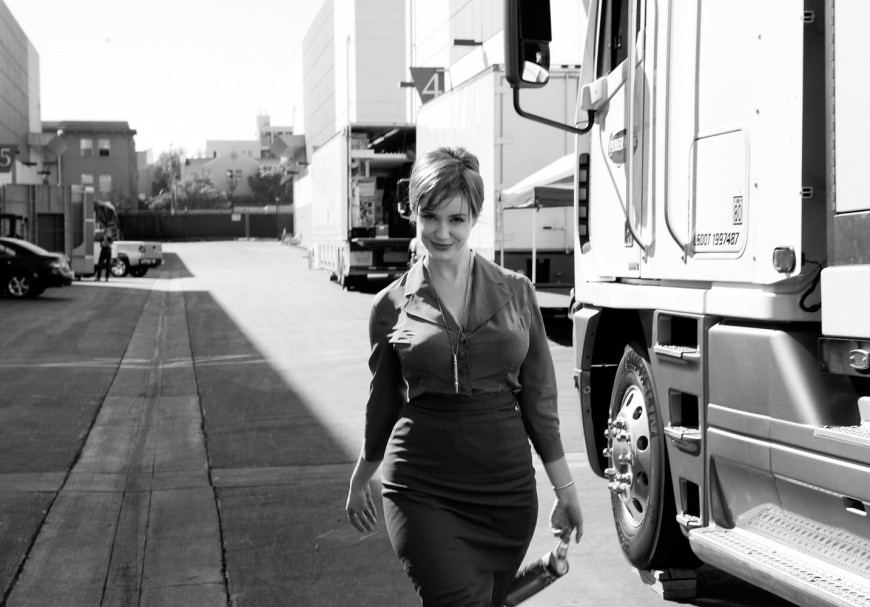
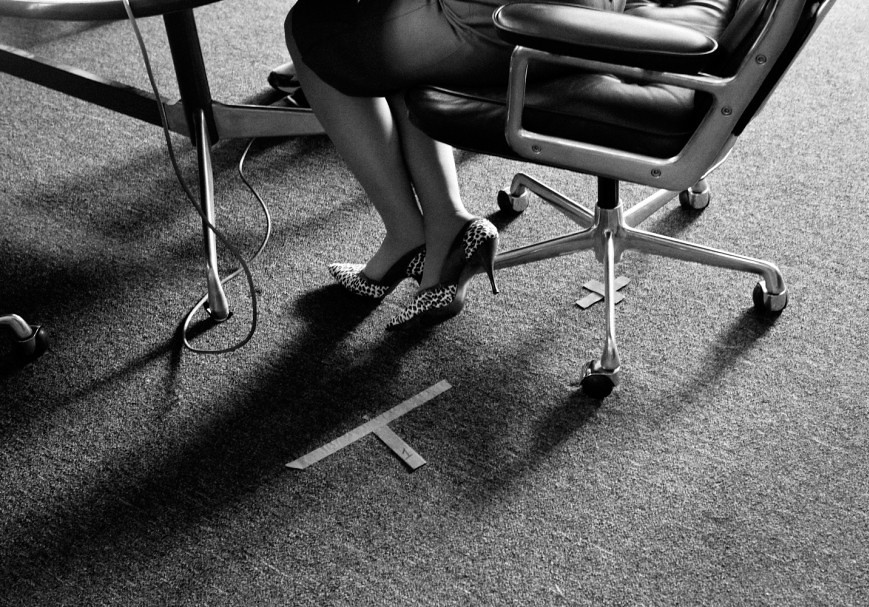
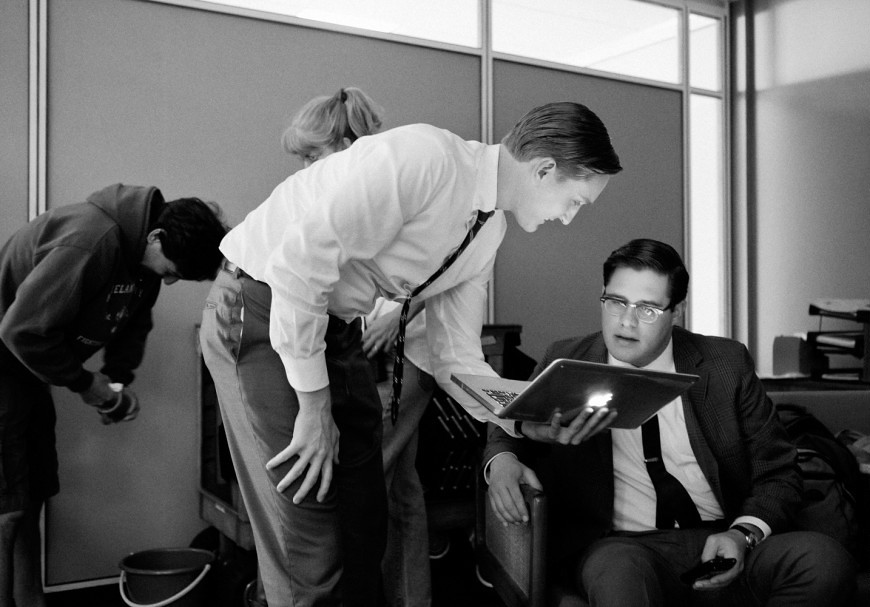


I love orange sherbet too, Don. Call me. ♡
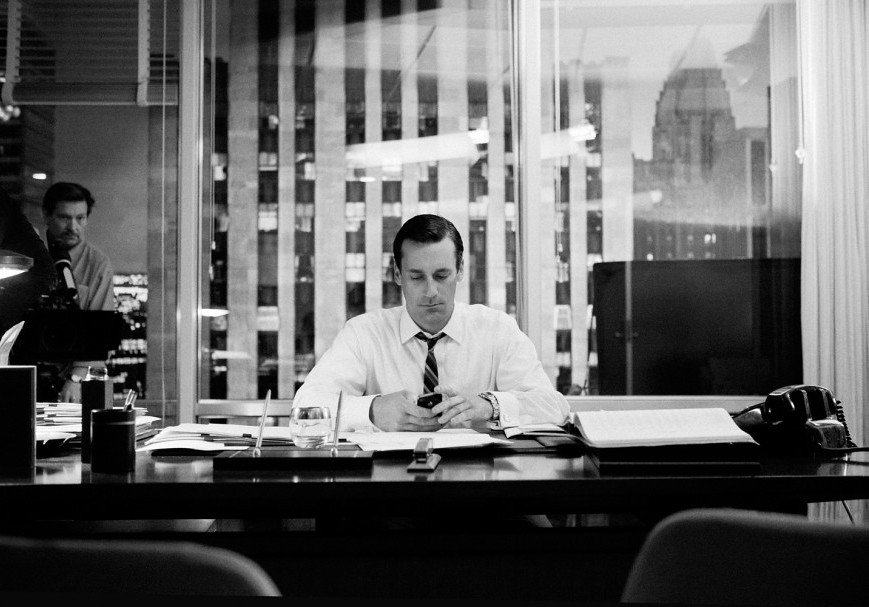
Photos by James Minchin III. See more here.
3
My favorite design tools.
I'd like to share some of my design methods with you and list a few of my favorite tools that I use when I'm creating designs for screen printing (from low-tech to high-tech)

1. Moleskine Sketchbook. This sketchbook is small and portable so it's easy to take everywhere. I carry one of these in my purse so I can jot down ideas and make little sketches whenever inspiration hits. I also keep various other sketchbooks around the house for sketching while I'm watching tv or just relaxing.
2. Tracing paper. When I'm refining a design from my sketchbook, I use lot's of different layers of trace to experiment with different outline and fill options. Also, since my designs will eventually be transferred to a screen for printing, I use the trace layers to decide where each different color will go on the design.
3. Micron Pens. Maybe it's because my experience with drawing and sketching started in drafting class, but I love sketching and drawing with (somewhat) technical pens like Microns. Some of my other favorites are Staetdler, Sign Pens, and Faber-Castel Pitt Artist pens in Sepia. I almost never sketch with pencil.
4. Adobe Creative Suite Programs. I use Illustrator when I'm creating designs directly into the computer and also for design layouts and fabric repeats. I scan my hardline sketches into Photoshop and clean them up there (deleting stray lines, increasing contrast, filling areas) before I move them to Illustrator.
5. Wacom Bamboo tablet. When I'm drawing straight into the computer, I use this Bamboo tablet and the pressure-sensitive pen. It's not exactly like drawing on paper, but it's pretty close! I also use the tablet when I'm image editing in Photoshop. It's much easier to navigate tools and erase with the Bamboo pen tool than my MacBook Pro's trackpad. There are lots of different tablet models out there at many different price points.
Those are the tools I use the most when I'm designing. I hope you've enjoyed reading about my process. What are your favorites? Do you keep a sketchbook?

1. Moleskine Sketchbook. This sketchbook is small and portable so it's easy to take everywhere. I carry one of these in my purse so I can jot down ideas and make little sketches whenever inspiration hits. I also keep various other sketchbooks around the house for sketching while I'm watching tv or just relaxing.
2. Tracing paper. When I'm refining a design from my sketchbook, I use lot's of different layers of trace to experiment with different outline and fill options. Also, since my designs will eventually be transferred to a screen for printing, I use the trace layers to decide where each different color will go on the design.
3. Micron Pens. Maybe it's because my experience with drawing and sketching started in drafting class, but I love sketching and drawing with (somewhat) technical pens like Microns. Some of my other favorites are Staetdler, Sign Pens, and Faber-Castel Pitt Artist pens in Sepia. I almost never sketch with pencil.
4. Adobe Creative Suite Programs. I use Illustrator when I'm creating designs directly into the computer and also for design layouts and fabric repeats. I scan my hardline sketches into Photoshop and clean them up there (deleting stray lines, increasing contrast, filling areas) before I move them to Illustrator.
5. Wacom Bamboo tablet. When I'm drawing straight into the computer, I use this Bamboo tablet and the pressure-sensitive pen. It's not exactly like drawing on paper, but it's pretty close! I also use the tablet when I'm image editing in Photoshop. It's much easier to navigate tools and erase with the Bamboo pen tool than my MacBook Pro's trackpad. There are lots of different tablet models out there at many different price points.
Those are the tools I use the most when I'm designing. I hope you've enjoyed reading about my process. What are your favorites? Do you keep a sketchbook?
1
Blog feature: All Things Paper
Thursday, June 21, 2012
Today I'd like to feature the blog of one of my web buddies: Ann Martin from All Things Paper.

All Things Paper is aptly named since it's a blog dedicated to paper arts of all kinds: origami, papercutting, paper jewelry, quilling, you name it! Ann features artists from all over the world who do wonderfully interesting things with this media.

With stunning images like these, I look forward to seeing a new post from Ann pop up in my reader! She was kind enough to feature me a few months back and wrote the nicest post (see it here). Ann is actually a paper artist herself, creating highly detailed quilled wedding certificates and cards. She offers many informative tutorials (some in video form) on her blog if you're interesting in trying your hand at quilling yourself!
And there's exciting news on the All Things Paper front: there's a book in the works! Set to release in 2013, it will be a project book full of fun, modern, and useful paper crafts with step-by-step tutorials. It's exciting news for me as well since I am a contributor! That's right, one of my projects will be included. Needless to say, I'm excited for it's release and looking forward to trying out lot's of new paper crafts.
*all images via All Things Paper
All Things Paper is aptly named since it's a blog dedicated to paper arts of all kinds: origami, papercutting, paper jewelry, quilling, you name it! Ann features artists from all over the world who do wonderfully interesting things with this media.

 |
| Quilled works from Yulia Brodskaya |
 |
| Paper butterflies in an Anthropologie window |
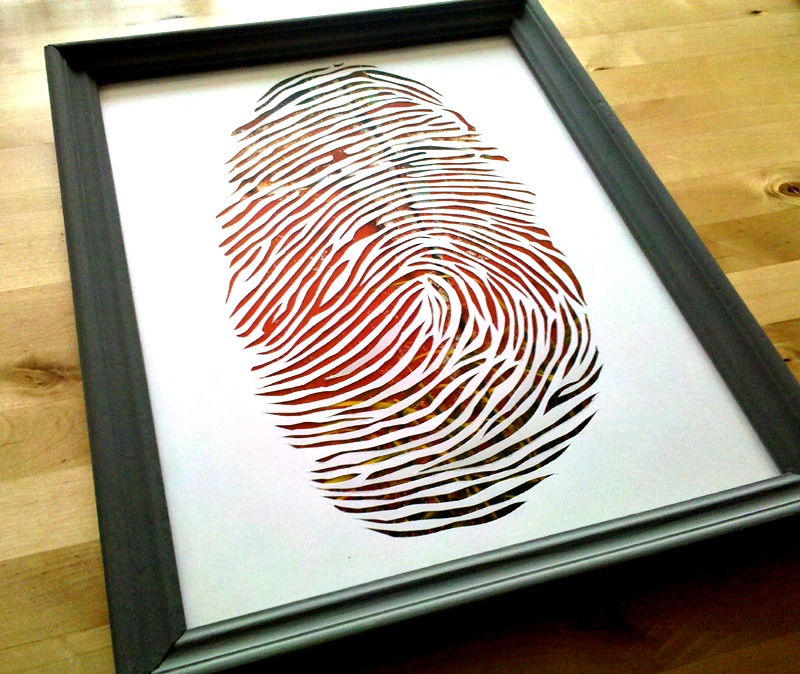 | |
| Papercut thumb print art |
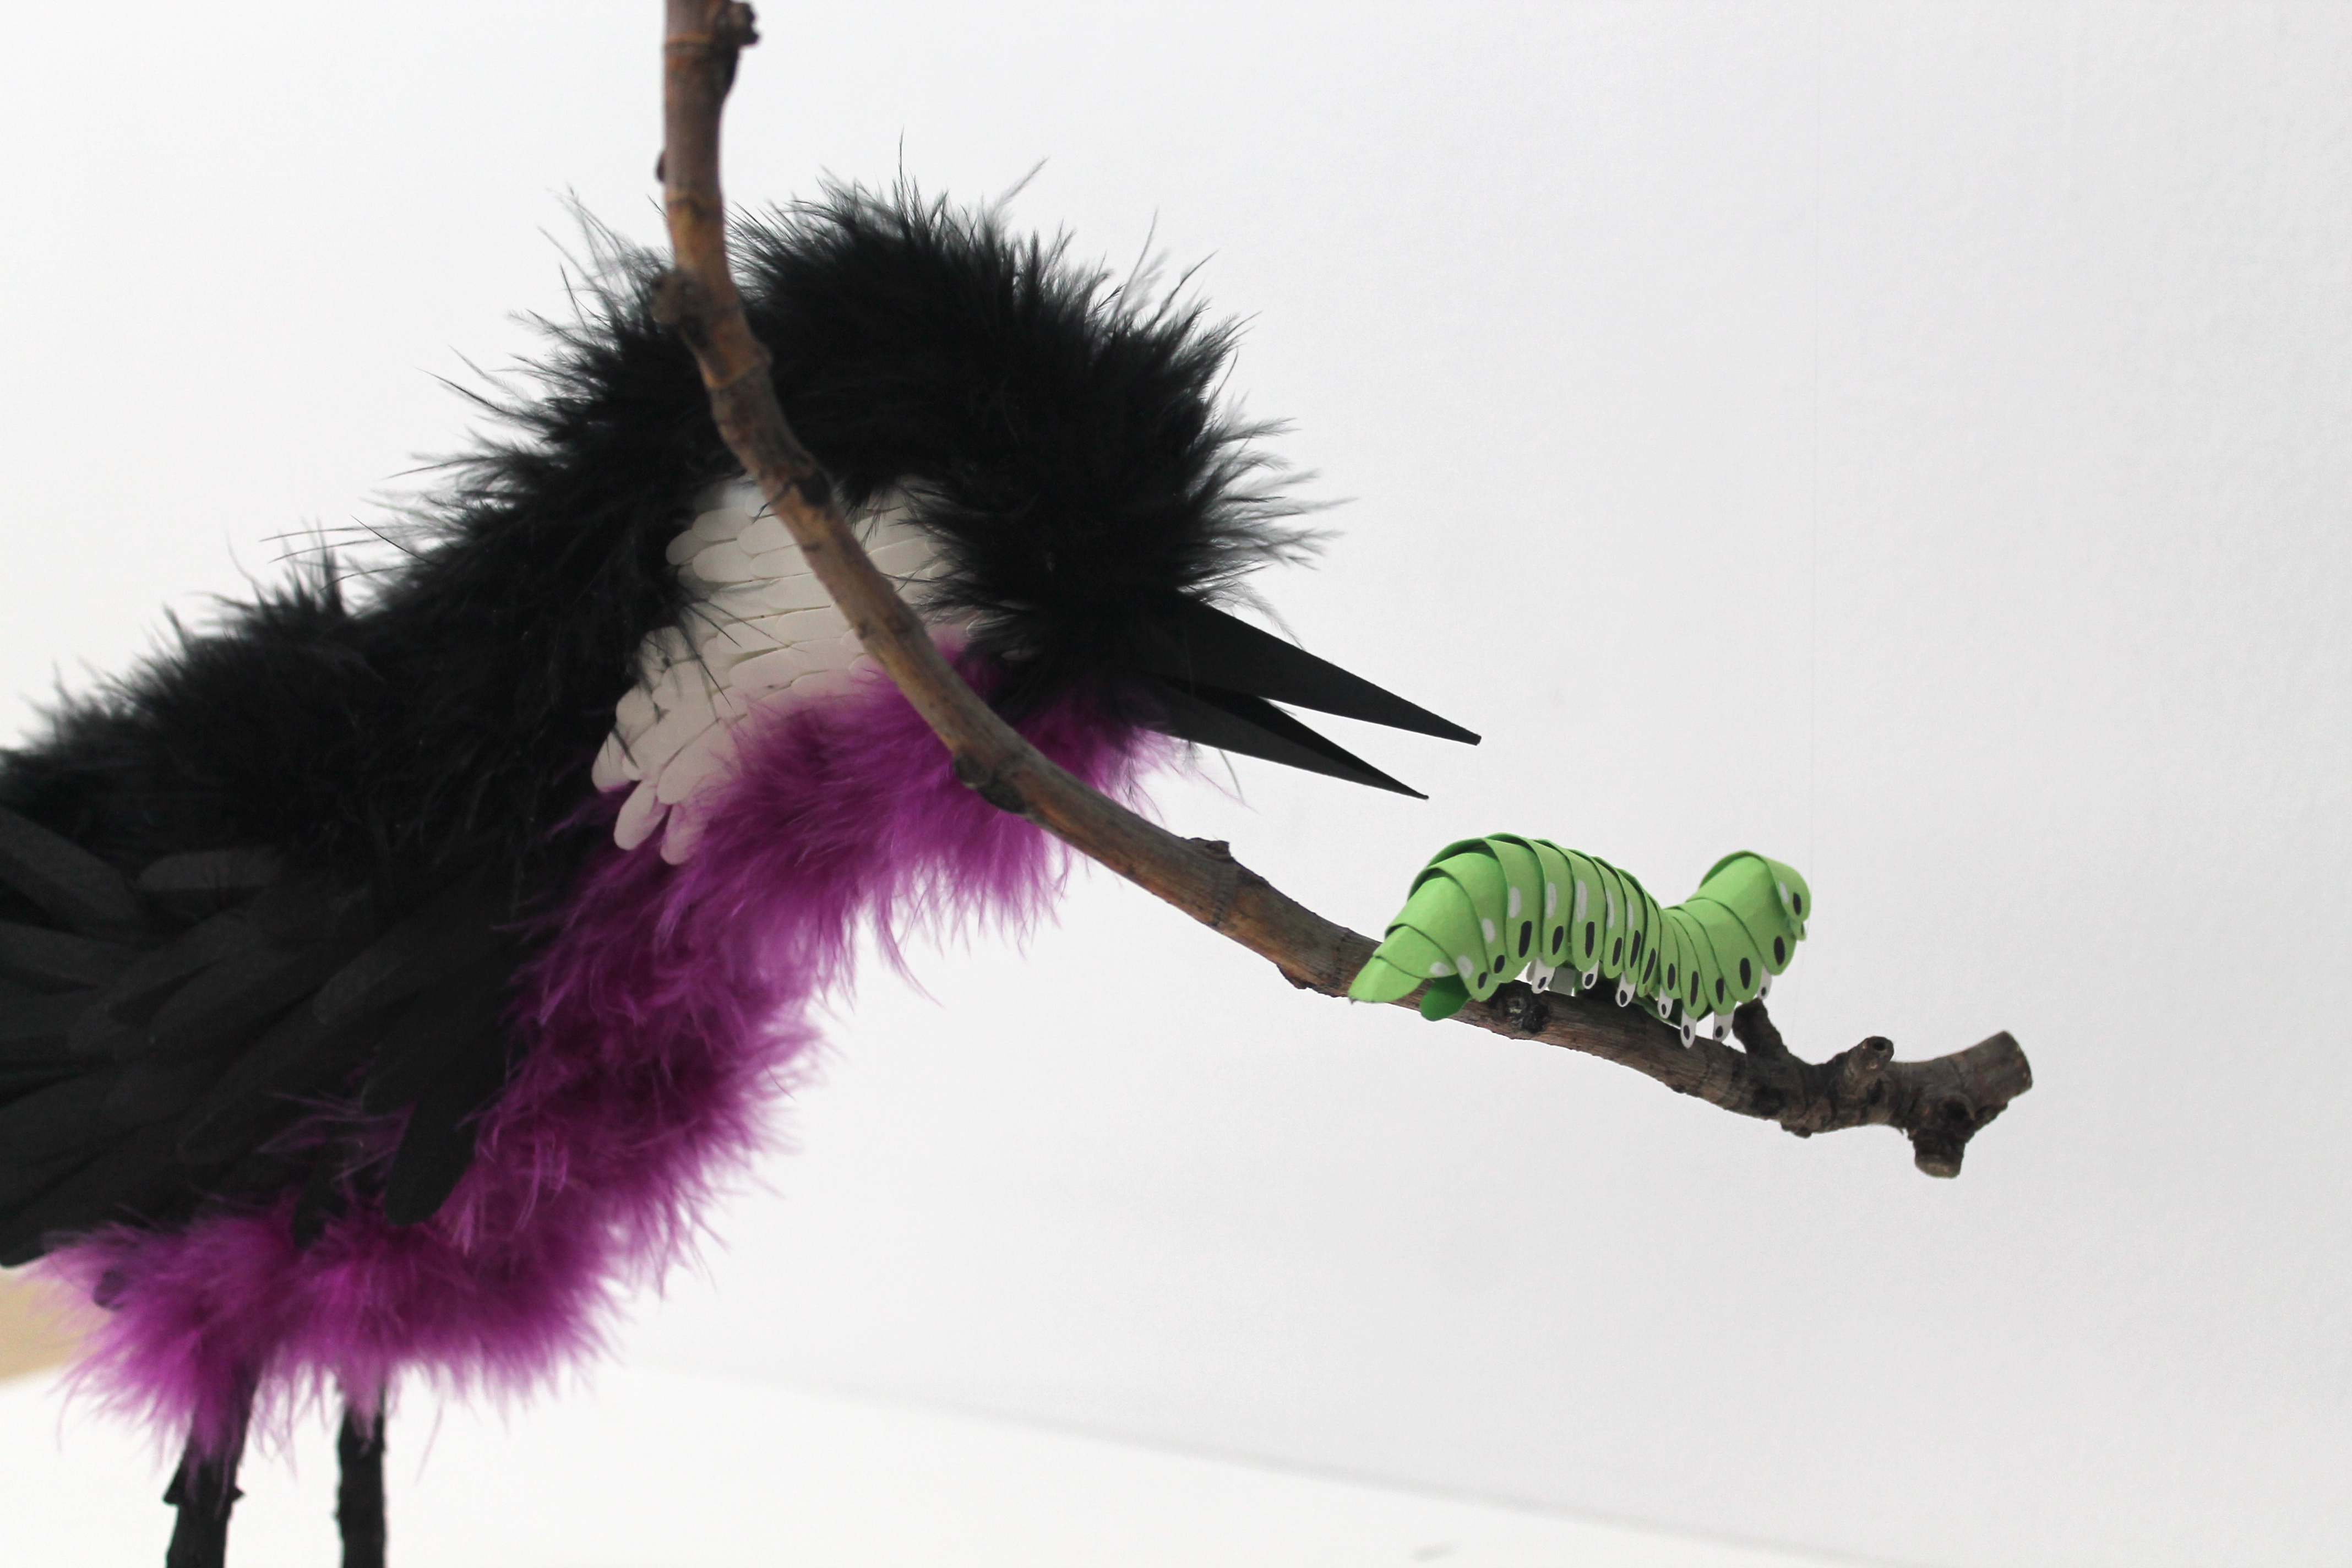 |
| Fluffy bird and paper caterpillar from Diana Beltran Herrera |
 |
| Paper lighting from Paula Arntzen |
With stunning images like these, I look forward to seeing a new post from Ann pop up in my reader! She was kind enough to feature me a few months back and wrote the nicest post (see it here). Ann is actually a paper artist herself, creating highly detailed quilled wedding certificates and cards. She offers many informative tutorials (some in video form) on her blog if you're interesting in trying your hand at quilling yourself!
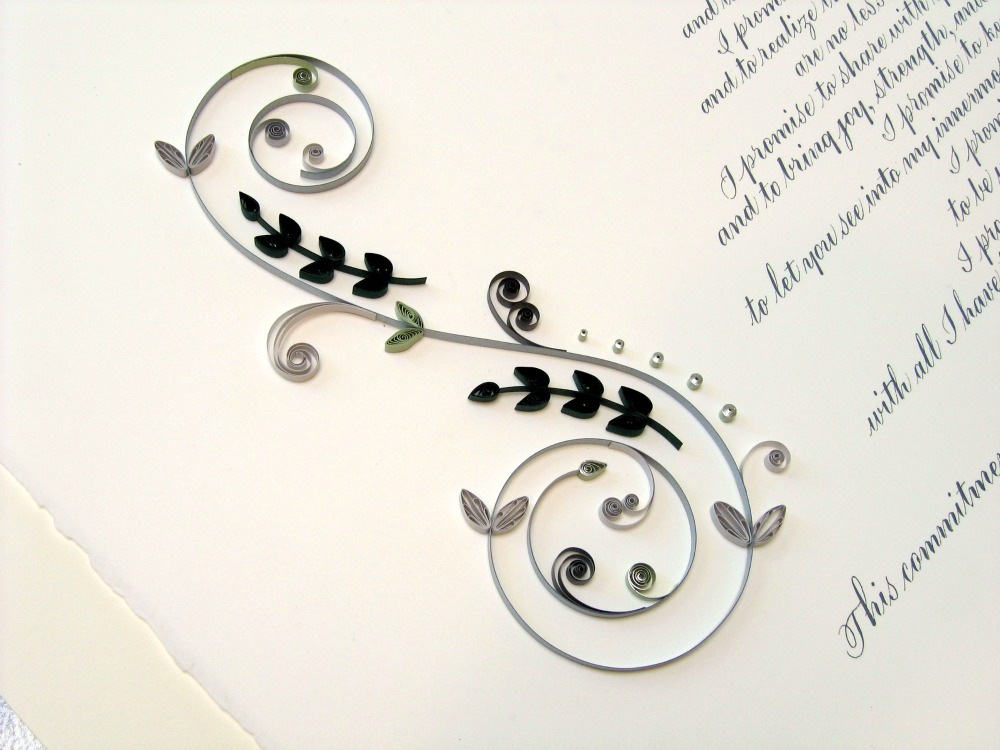 |
| A quilled marriage certificate |
 |
| Woodland themed marriage certificate |
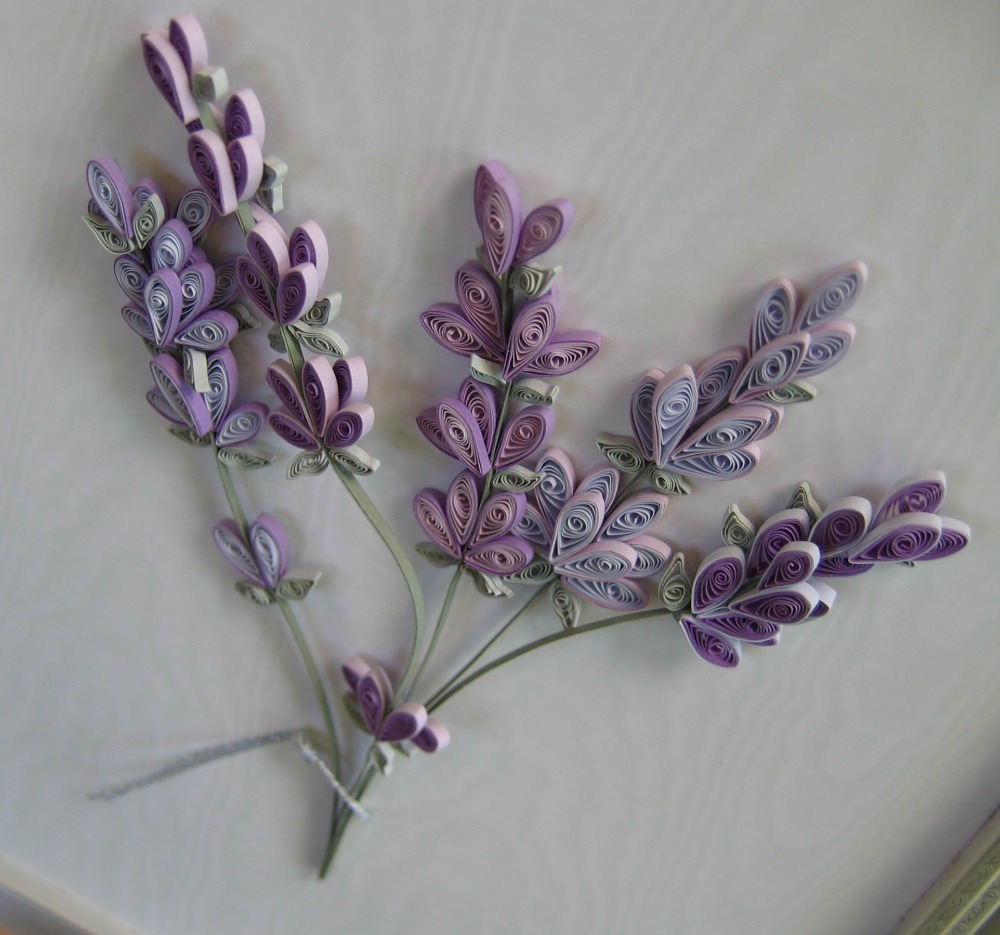 |
| Lovely lavender blossoms |
And there's exciting news on the All Things Paper front: there's a book in the works! Set to release in 2013, it will be a project book full of fun, modern, and useful paper crafts with step-by-step tutorials. It's exciting news for me as well since I am a contributor! That's right, one of my projects will be included. Needless to say, I'm excited for it's release and looking forward to trying out lot's of new paper crafts.
*all images via All Things Paper
