5

My week on instagram.

Wednesday, August 15, 2012

Can you believe it’s already the middle of August and summer is almost over? For me, that means the bells are going off because the Holidays are coming up quick! So I’ve been keeping myself busy getting a few new designs worked out for the Etsy shops, working on bulking up my inventory, and creating some new holiday card designs. It’s pretty strange to be working on holiday themed designs when it’s 95 degrees outside!

I’ve also been keeping busy with a few fun craft projects that I’m excited to share. In the meantime, here are a few of my instagram photos from the past week.
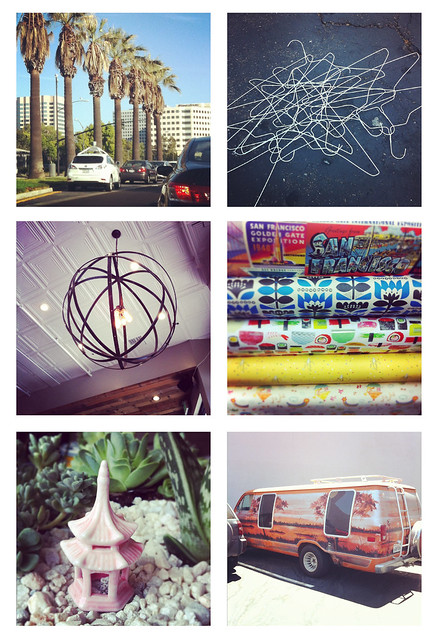
WeeklyPics_12.0814
  • Driving to work one morning next to a new Lexus Google Self-Driving Car. Living in Silicon Valley means seeing things like this all the time.
  • Cute folding chairs that I passed up at the thrift store. I kinda wish I snagged these, but my apartment is so tiny, and I already have too many chairs.
  • Artistic pile of wire hangers in an asphalt parking lot. I love the graphic contrast.
  • Cool light fixture/ceiling at Verve Coffee Roasters, Santa Cruz. If you're in the area, try it. Their coffee is amazing! They also have a location in Capitola.
  • Pretty papers at Bookshop Santa Cruz.
  • Sneak peek at a little project that I'll be sharing on the blog soon!
  • Awesomely hilarious painted van in San Jose.
Follow me on Instagram! I’m @vitaminimodern 

90

Gold confetti dish tutorial.

Wednesday, August 8, 2012

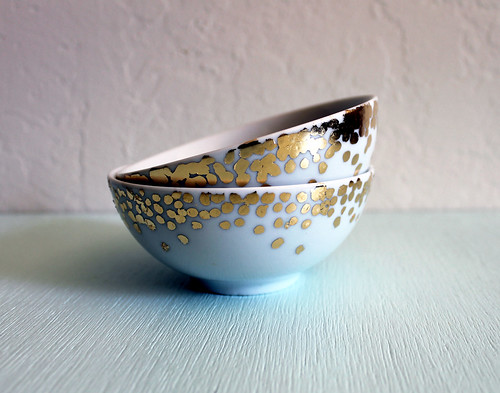
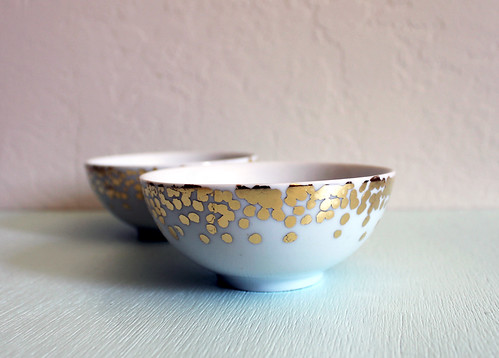
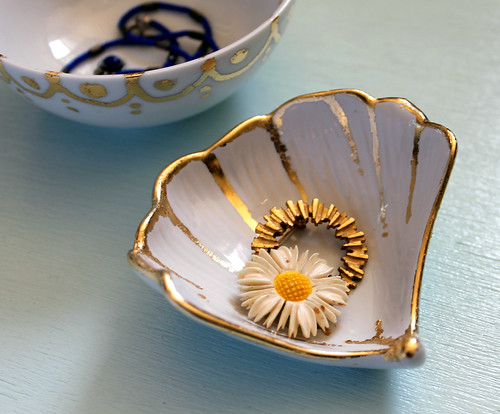
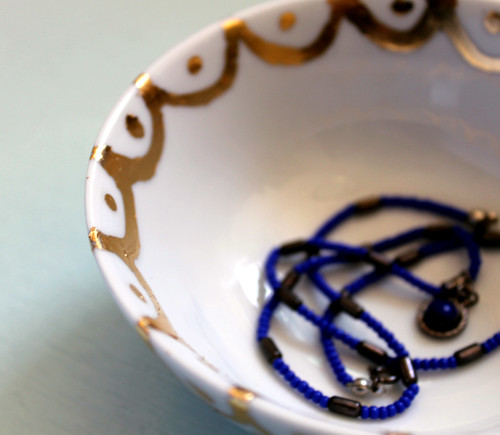
handmade gold leaf polka dot ceramic bowl
goldleaf5

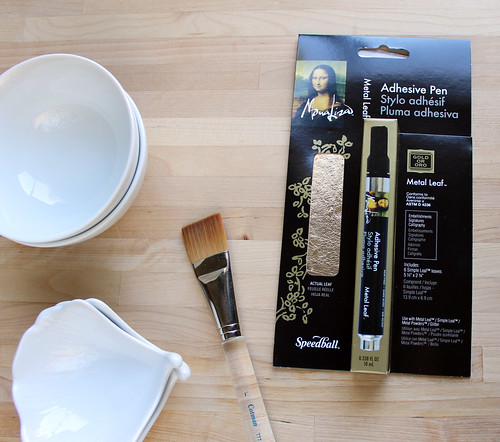
I've had this gold leaf pen kit for a while, just waiting for the perfect application. And I think these sweet little bowls and dishes are just right! I have bowls and trays scattered all over my apartment to catch my earrings and necklaces that I seem to shed as soon as I walk through the front door. Place a necklace or pair of earrings in one, tie it up with cellophane, and you have a pretty handmade gift! Here's what you'll need:

  • Gold Leaf Pen Kit with gold leaf sheets. My kit was about $8 at Michaels.
  • Small ceramic dip bowls. I got these at Pier 1 for less than $2 each
  • Soft brush 

gold leaf diy tutorial supplies

Wash your ceramic pieces well, and remove any stickers or labels. Try not to handle the upper rim of the bowl much. The oils on your fingers may prevent the adhesive from sticking fully.

Follow the instructions on the package to get the gold leaf adhesive pen flowing. The package says the adhesive goes on clear and dries blue. The adhesive actually goes on clear and dries clear, so try to keep track of where you draw!

Starting on one side of outside of the bowl, simply dab the pen across the top rim, concentrating the dots at the top of the rim and staggering them out towards the bottom. Try to keep your pen strokes on the larger side. Tiny details will get lost. Continue all the way around the bowl. Let it dry for 10 minutes.

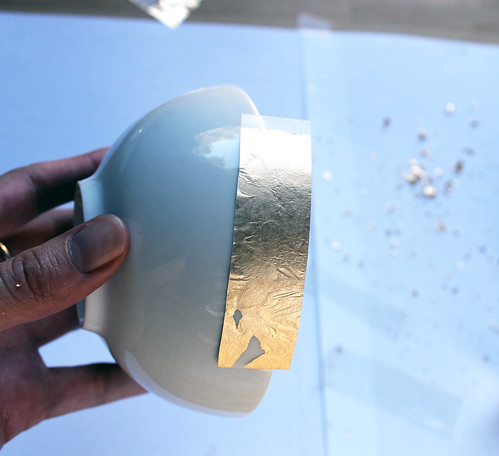
Lay some paper down on your workspace for easy clean-up. Cut your gold leaf sheets into strips that approximately match the width of your drawn design. Smaller pieces of leaf are easier to work with than full sheets. Lay the leaf onto your design, with the paper side up. Lightly rub with your finger over the design. Remove the paper backing, and repeat.
goldleaf3

Using a soft brush (I used a large watercolor brush), sweep it over your gold design, exfoliating the excess gold leaf. The leaf will brush off of the areas with no adhesive and will leave your design in place. This part takes a little patience, so take your time cleaning up the details of your design. If the leaf doesn't stick where you wanted it to, you can reapply the adhesive and leaf again.
goldleaf6

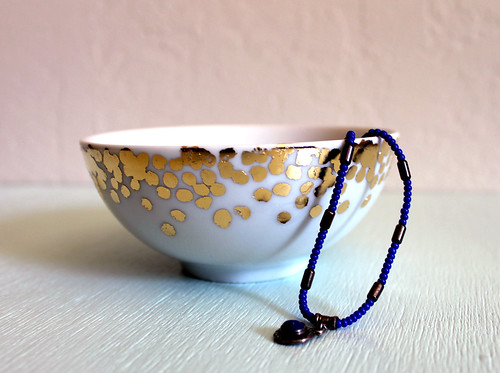
That's it! There are sealer sprays that you could use on your design, but I didn't since my design is on the outside of the bowl and won't get handled much. These dishes are definitely not microwave, dishwasher, or food safe.
goldleaf7 goldleaf4

It's easy to try out some other designs, too. I did this scalloped design, and the ginkgo leaf.


0

Restocked!

Sunday, August 5, 2012

towel_bb_black6

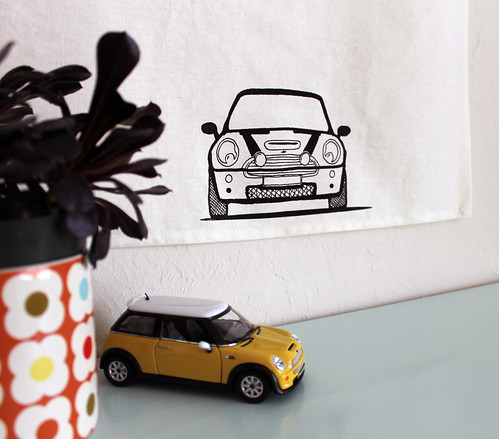
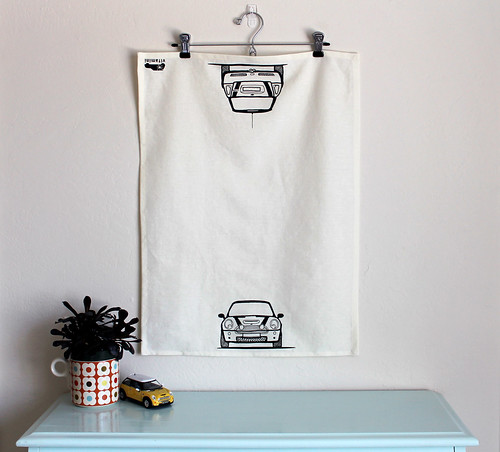
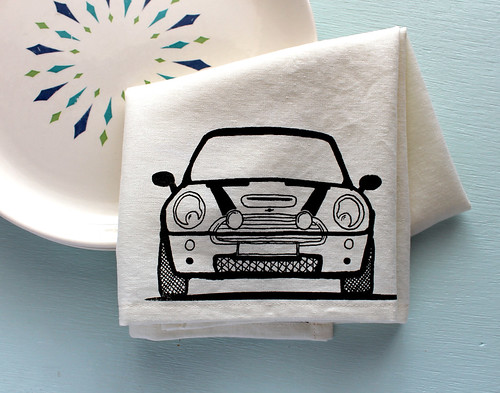
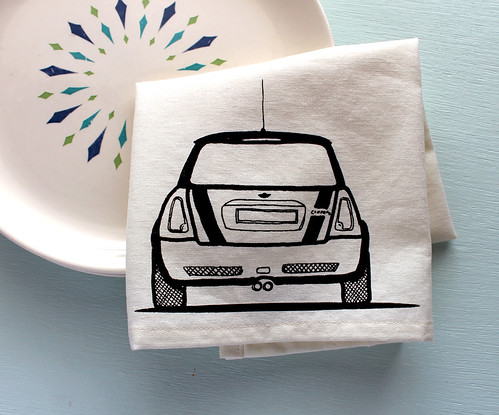
I've got a new batch of Boot and Bonnet Tea Towels up in the shop! These are made from a really nice off-white cotton/linen blend fabric, and are 100% made by me. Ok, fine, I didn't weave the fabric, but I did all of the cutting, printing, sewing, and ironing. All the important stuff.

towel_bb_black5

They feature my boot and bonnet design (hood and trunk in British lingo) of a MINI Cooper S with racing stripes! Screen printed with black water-based, non-toxic ink and heat-set (safe for washing). They'd make a nice practical little gift for the MINI lover in your life.

towel_bb_black8 towel_bb_black9

These towels have been really popular in the past, and I was just waiting for enough time to tackle that big bolt of fabric, so here they are. I hope you like them!

And, as usual, check the rest of my shop for a bunch of other handmade MINI themed items.

1

Comedians in Cars Getting Coffee.

Thursday, August 2, 2012

I came across this video on Twitter, and was soon smiling and giggling out loud while I watched. It totally reminded me of those exhilarating car rides I used to go on as a kid with my uncle Jody, in his little British coupes. Growing up, he lived right next door to our house and was always working on one (or a few) of his cars. When he got one up and running, he'd often come over to take me or one of my sisters for a cruise. I remember the bumpy rides, and the wind in my hair, and getting to shift the car myself when he put the clutch in. One of those little cars was a Mini Cooper. :)

Watch this funny video where Jerry Seinfeld takes Ricky Gervais for a ride in his 1967 Austin Healey 3000, one of Mini's cousins.

Picture 6

Happy Friday, and have a great weekend!

6

Dip-dyed curtains.

Wednesday, August 1, 2012

Curtains_3

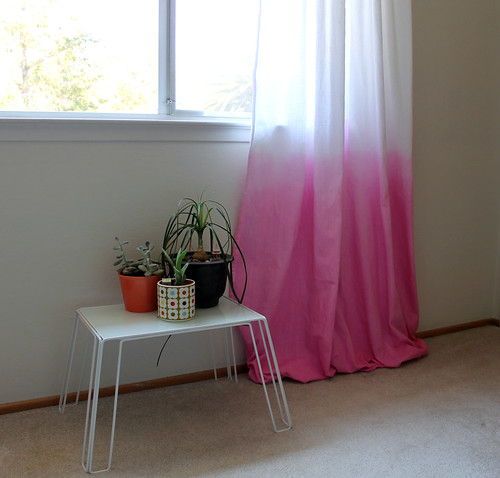
I had been looking for the perfect curtains for my bedroom since I moved into my new place almost 5 months ago. I didn't want to spend a fortune (curtains can be SO expensive) so I decided to whip something up myself.

At one point in the project I was up to my elbows in wet fabric and rubber gloves, so I didn't take photos of the steps. I'll just list out what I did and what I learned, in case you decide to try it out for yourself.

IMG_2662

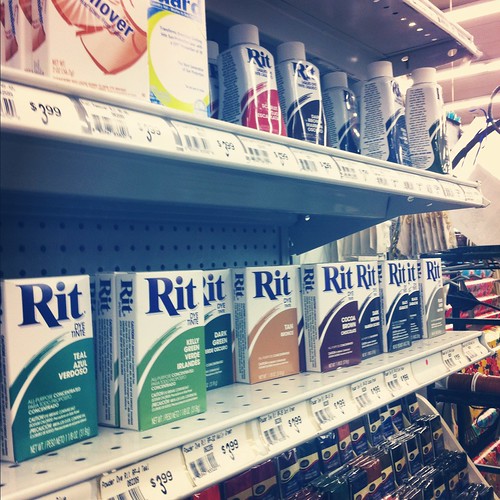
I used a pair of white curtain panels from Ikea and a box of Fuchsia Rit Dye. To start, I machine washed and dried both panels. Fabrics can be sprayed with starch and other things in the factory that may prevent dyes from adhering evenly, so it's always best to pre-wash anything you're going to dye.

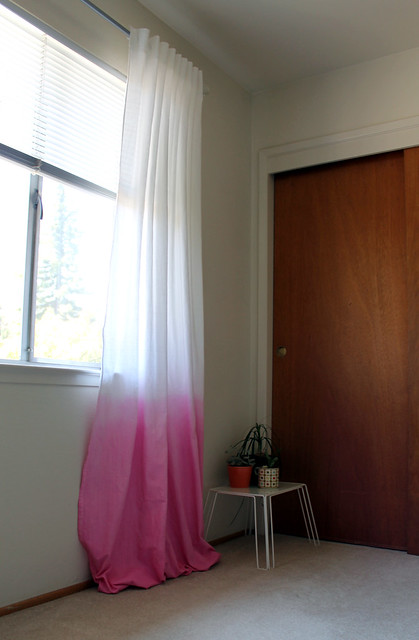
I strung-up one of the panels on the curtain rod and marked where the window sill was on the panel. I planned to only dye the bottom portion of the panels, so the effect would end below the sill. I marked the point with a binder clip. Then took it down, and clipped both panels together, so the dye effect would be the same for both.

Following the instructions on the dye package (I only used one box) and wearing my handy rubber gloves, I mixed up a batch in a large plastic tote in the bathtub. I actually used more water than they recommended - about 8" deep. I kept another tote nearby with plain water for pre-soaking in plain water and rinsing. Now here's the part that took the muscle: Holding the clipped-together panels steady, I dipped the lower 6" into the dye, agitating a little, and holding for about 30 seconds. Then I lowered the panels another 6" or so, and held for another 30 seconds. At this point I started to improvise, because 7-8 yards of dripping wet fabric is very heavy and I'm no body builder. I just continued to dip the panels a little lower every time and when I got close to my window sill mark, I did a split-second dip up to the line.

I dumped out the dye and then rinsed out the panels, from the top down, making sure not to let the upper white portion get into the rinse water. I was worried that I'd transfer some of the pink dye with my gloved hands, but it was fine. I rinsed until the the water ran clear, then set the panels aside to dry. After that they just needed to be ironed.

Curtains_2

Curtains_1

I'm happy with they way they came out and they only cost about $30. I'm still debating whether to hem them or not - I kind of like the puddled look. The dyed ombre effect isn't perfect but I think it just adds to the hand-dyed quality.

Curtains_4

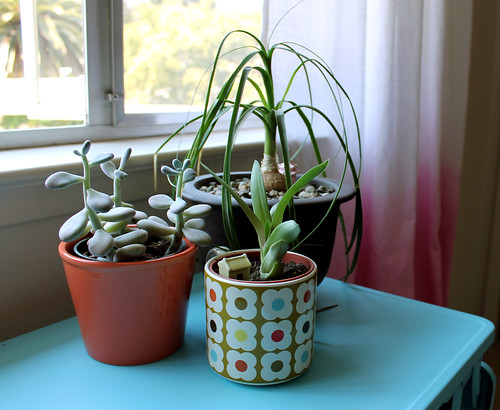
Here's a little teaser for another project I have coming up. I hope you're having a great week!
 

vitamini handmade © All rights reserved · Theme by Blog Milk · Blogger