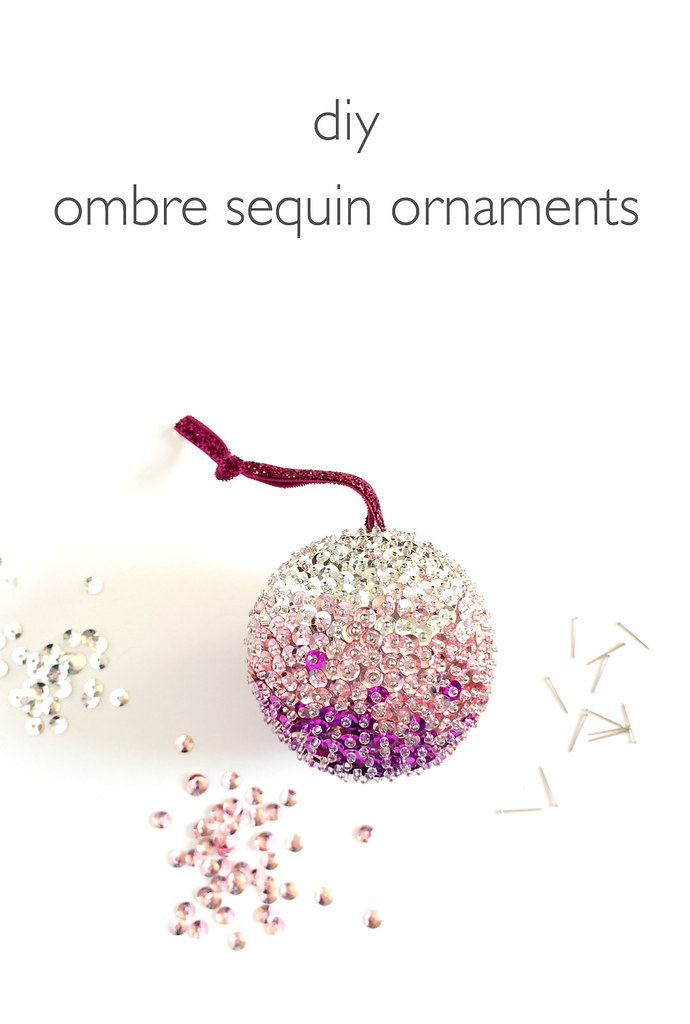
 Beaded, sequin-covered ornaments were a popular craft in the 60's and I have distinct memories of admiring them on my grandma's Christmas tree every year as a kid. If it was sparkly, I was all over it and those ornaments were the shiniest things around! I've been meaning to try making my own modern interpretation for years so I finally made the time and came up with these ombre sequined ornaments. I'm so excited with how they turned out! While the materials are really inexpensive and the technique is simple, it takes a while to do. It's not a quick craft by any means! I made mine over a couple evenings, sitting down in front of Netflix (Broadchurch, watch it!) whenever I had the time. This is the sort of craft that will become an heirloom so take your time and don't rush it. It's actually a pretty relaxing activity once you get going and the results are absolutely stunning. No one will believe you made it yourself!
Here's what you'll need:
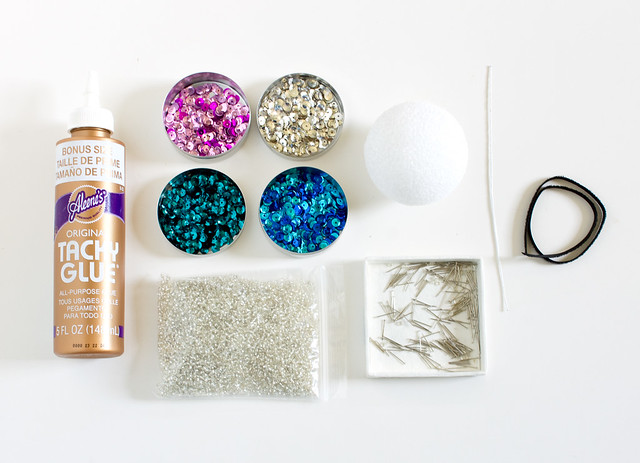
- Sequin pins. These are shorter than regular pins and they come in silver or gold
- Sequins. You'll need at least three different shades to get an ombre affect
- Seed beads in the color of your choice. I chose clear with silver lining
- Tacky glue
- 2 1/2" Styrofoam balls
- Ribbon
- Short length of wire. Any gauge will work
- A tray or shoebox lid to work on
- Small containers
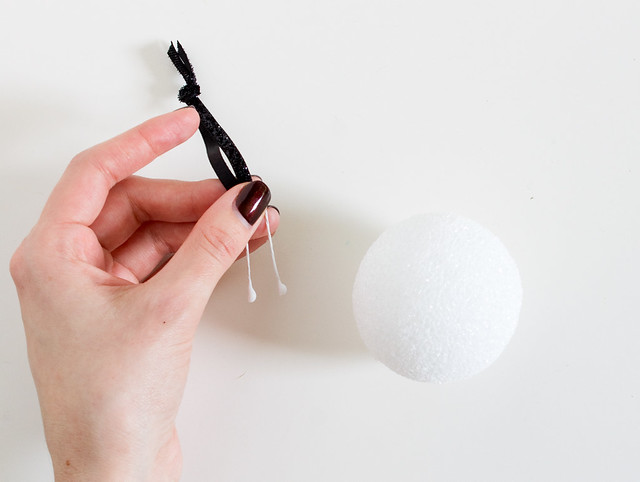
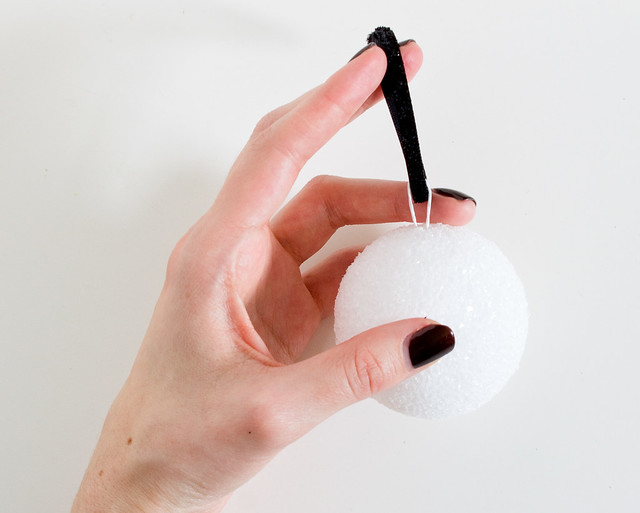
Separate the sequin colors into containers. Pour some of the beads into a shallow container. Cut a length of ribbon about 8" and tie the ends. Make a U shape with the wire, hook the end around the ribbon loop, and add some tacky glue to the ends. Push the wire into the top of a styrofoam ball until ribbon is flush with the top of the ball. Let dry. Draw a line around the center of the ball with a permanent marker, to help guide the ombre design.
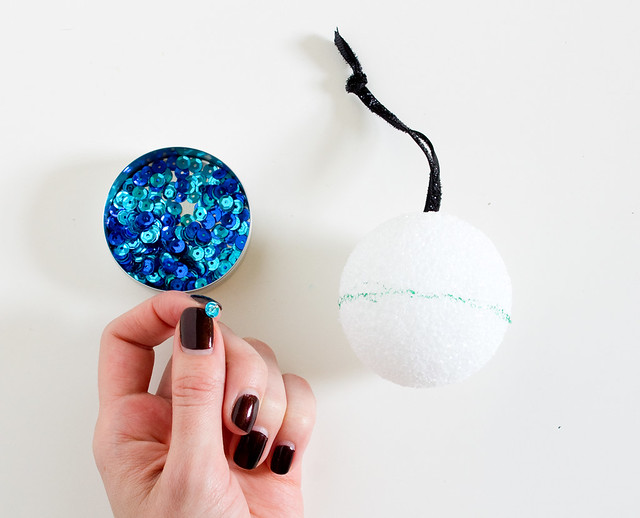
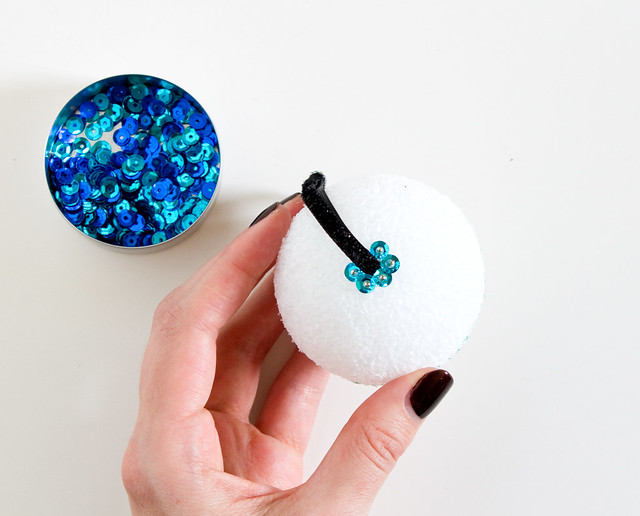
Thread a bead onto a pin, followed by a sequin in your lightest color. Make sure it's right side up - u shape instead of n shape for maximum sparkle! Dip the end of the pin in some tacky glue, and push the pin into the top of the ball right next to the ribbon. Continue adding beads and sequins all the way around the ribbon, slightly overlapping each so the styrofoam doesn't show through.
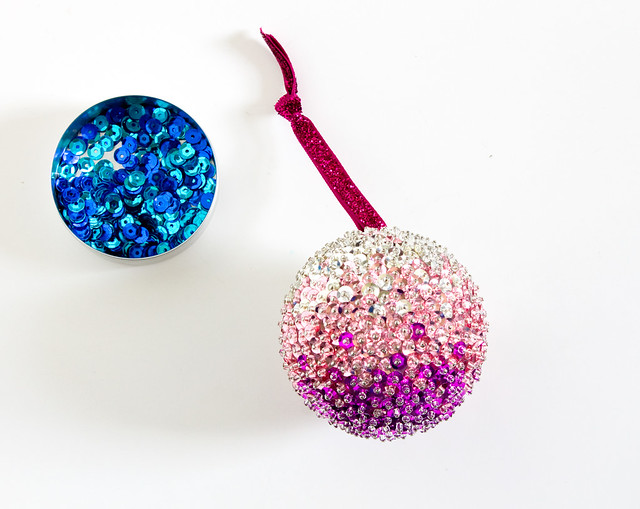
Keep going!! When you get about a third of the way down, start transitioning to the middle color sequins, and then to the last color about 2/3 of the way down. I mixed in a few sequins of the next color here and there to make the color transition more gradual.
tips
- Instead of trying to thread each tiny bead onto the pin, just slide the pin through the container of beads. You'll pick one or a few up every time.
- Squirt out some glue onto a scrap of cardboard and dip the pin ends into into that. Make sure to use glue - you don't want the pins falling out when you're finished!
- Set up all of your little containers and glue inside a tray or shoebox lid. This will help keep sequins, beads, and pins from going all over the place if it gets bumped, and makes it easier to put aside when you want to take a break.
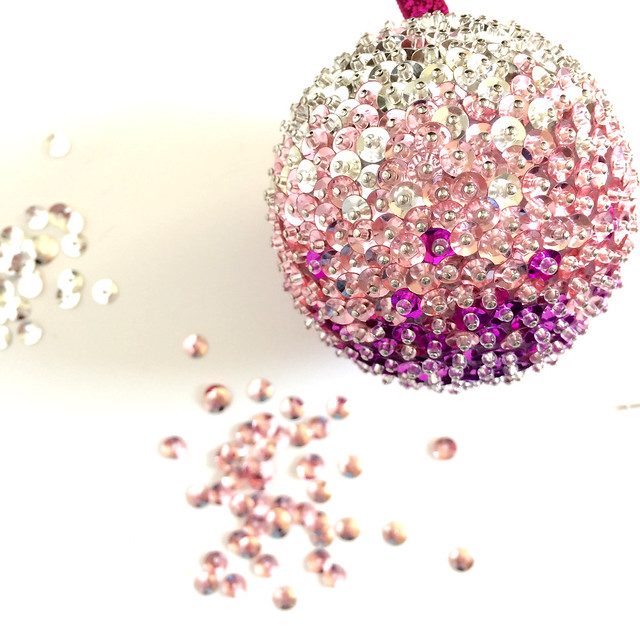
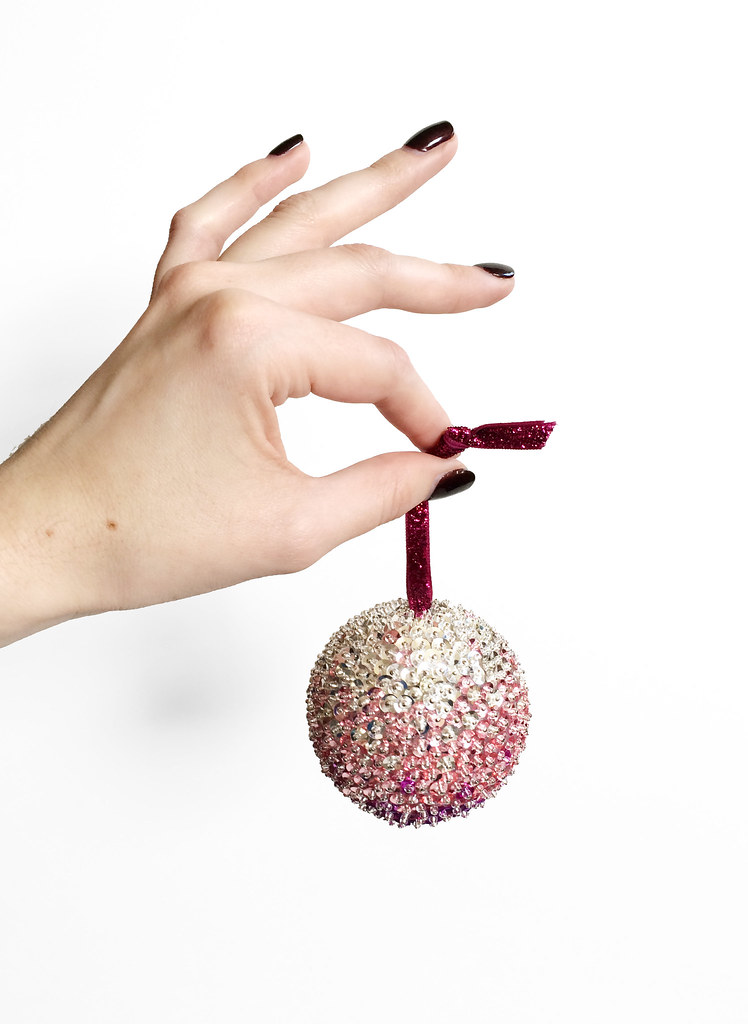
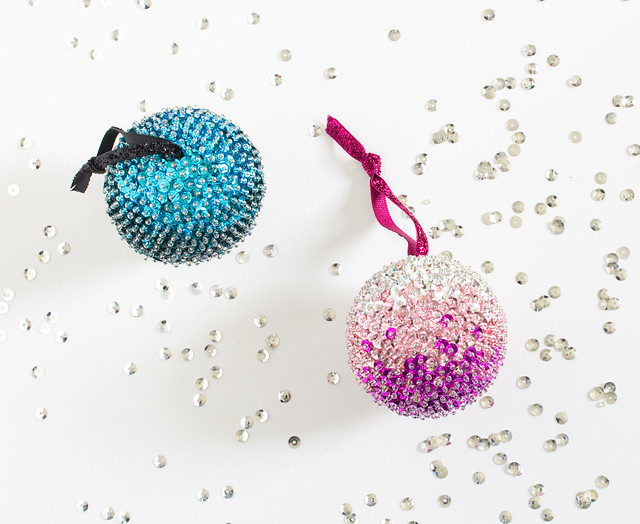
These ornaments are so pretty - even better in person! I love the ombre look, but you can try other designs and patterns, too. Stripes, swirls, polka dots. When I bought my supplies I also got a styrofoam cone that would make the prettiest Christmas tree. We'll see if I have enough time to tackle that! I'm not even done with the aqua/teal/blue one yet! :) I hope you'll try making some yourself!
P.S. Check out lots of projects from holidays past in the DIY Gallery!
*this post contains affiliate links


