8

Just Keep Going.

Friday, March 14, 2014

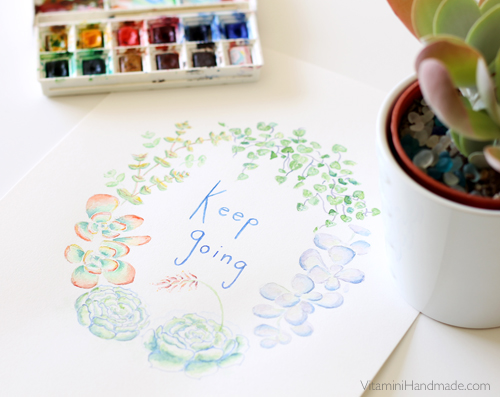
"Keep Going" original watercolor
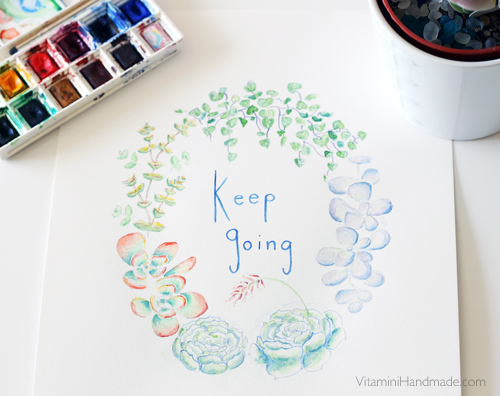
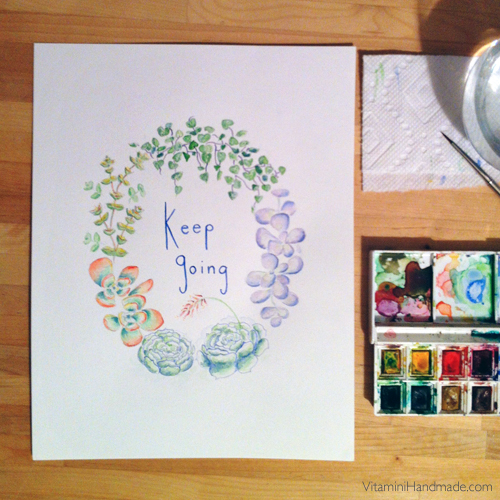
I started playing around with watercolors a few weeks ago and showed you a little peek. I'm happy to say I finally finished the bigger watercolor this week. It took me a month, but I took my own advice and Kept Going! I think succulents are the perfect symbol of persistence, growing through tough conditions, slow and steady, just keeping at it.

"Keep Going" original watercolor

I'm at a point in my life where I need to just keep at it, so this is the perfect reminder.

Keep Going Original Watercolor All of the succulents shown are in my collection except the one at the top, the string of hearts. Since I can't have any pets, I'm realizing that my plants kinda take that spot in my life. Is there such a thing as a crazy plant lady? If so, that is totally me. Have a wonderful weekend!

6

DIY Makeover An Old Jewelry Box

Tuesday, February 4, 2014

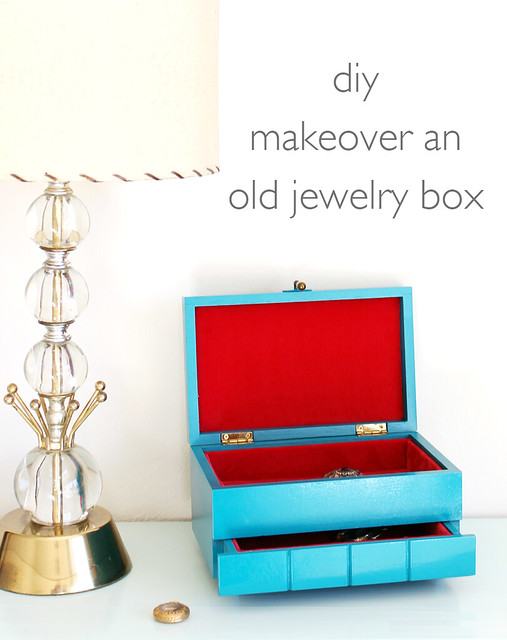
DIY Makeover An Old Jewelry Box

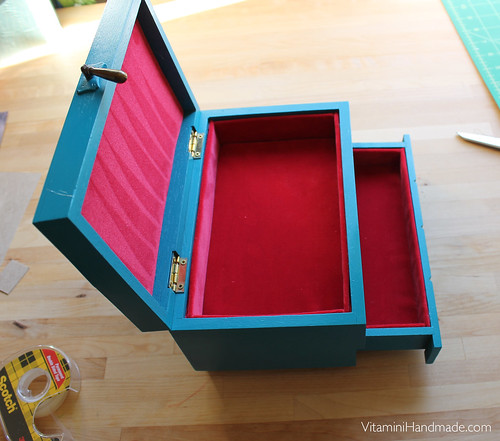
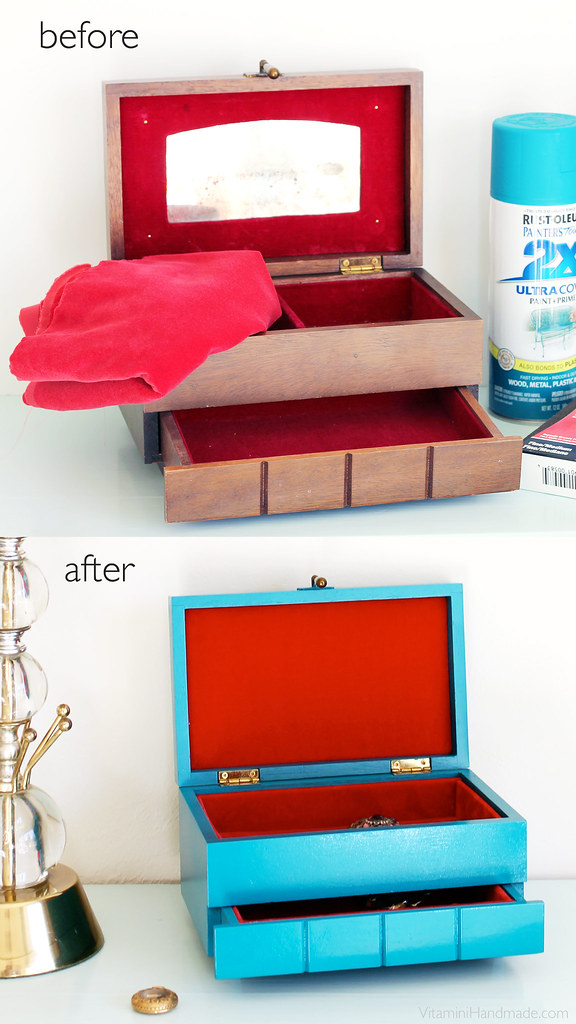
I found this wood jewelry box at the thrift shop back in November. It had a nice shape but definitely needed a little love. Inspired by Jenny's project I decided to pay the $3 for it and see what I could do!
The inside was a little grungy and there was a large crack in the top that needed fixing. So I rolled up my sleeves and got to work!

Update a jewelry box

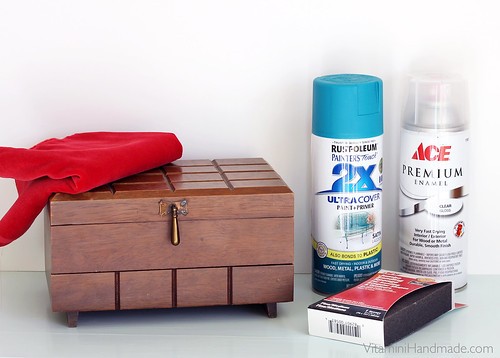
These are the supplies I used:
  • medium grit sandpaper
  • wood filler (not pictured)
  • spray paint. I used Rustoleum Lagoon
  • gloss topcoat
  • 1/4 yard velvet
  • a few pieces of chipboard
  • double-sided tape
  • hot glue gun
  • pliers
Using a pair of pliers, I removed the old velvet and cloudy mirror from the inside of the box. Then I sanded the whole thing down with the medium grit sandpaper. I filled the cracks with a few coats of wood filler, letting each coat dry before adding the next one. Then I sanded down the wood filler to match the box surface and wiped it down with a damp cloth to remove the dust. Time for painting!

Update a jewelry box

I left the hardware on and covered it with a piece of foil. I can't remember how many coats I sprayed onto the box, but it was a few, maybe 5 or 6. Light, even coats are key! When the paint is dry to the touch add the gloss spray. I had trouble getting an even coat of gloss with this one. Maybe it was the brand I used? Not quite sure, but I feel like I had to add so many coats just to start seeing some gloss out of it. I'll have to try a different product next time.

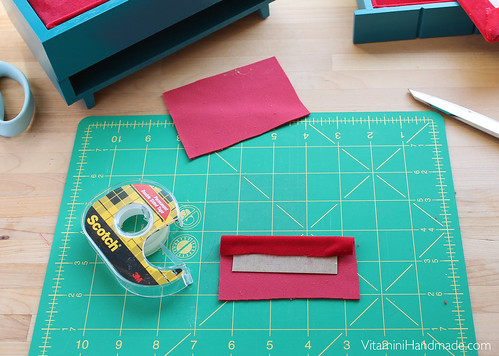
I let the box dry for a day or two before starting in on the velvet lining. I chose this great coral-red velvet to contrast with the bright teal outside. Using the measurements of the inside of the box, I cut out 5 chipboard rectangles: four for the sides and one for the bottom. Then I cut pieces from the velvet about 1" longer and wider than the rectangles.

Update a jewelry box Update a jewelry box
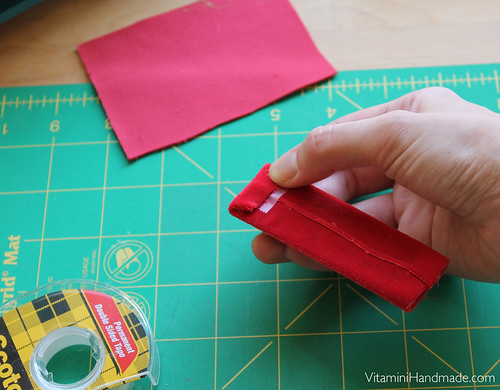
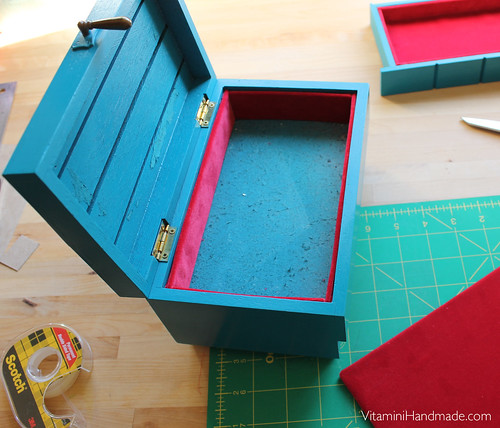
I attached the velvet to the chipboard with double-stick tape on the two long sides first and then trimmed the overlap. Then I folded the end pieces over, making sure to get clean corners (at least on the corners that will show). Hot glue the pieces into the box/drawer. I glued in the long sides, then short sides, and then the bottom.

Update a jewelry box Update a jewelry box
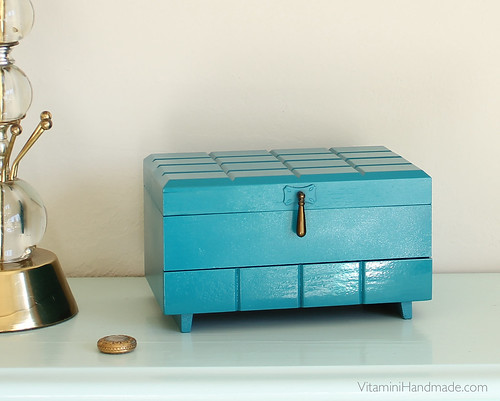
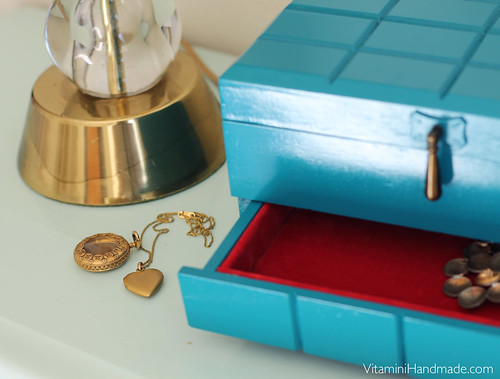
Now it's the perfect home for my vintage brooches.

Update a jewelry box Update a jewelry box

Not bad for $3 and about $10 in supplies! It already has a home on my dresser.

DIY Makeover An Old Jewelry Box

717

Customize a metal fan with spray paint!

Friday, June 7, 2013

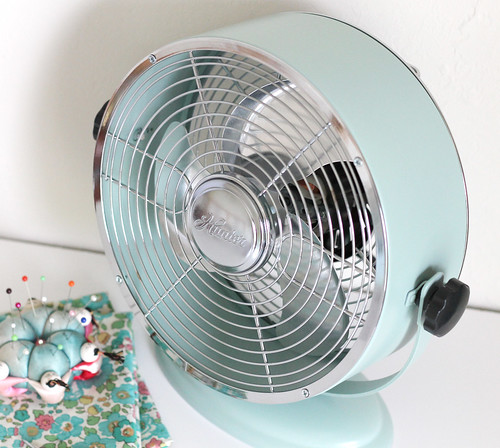
fan_complete_3
The warm season has arrived here in Silicon Valley! I'm a total wimp in the heat so this time of year usually brings a little bit of dread. Will I ever get another good night's sleep before Fall rolls around? So I've been on the look-out for stylish fans that I wouldn't be embarrassed to have on display for half the year in my apartment. My dream fan is this Vornado limited edition, that is difficult to find, and then when you find it, it's an arm and a leg. Sigh.
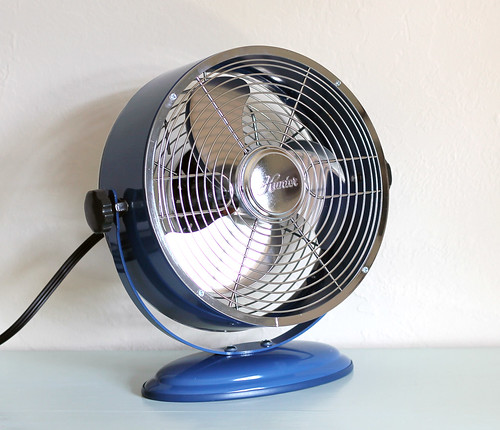
fan_before_1
When I spotted this vintage style Hunter model at Target a few weeks ago, I knew I had to have it. I was iffy about the blue, though. It was nice, but not quite right for my decor. When I examined it at the store and noticed something promising: metal screws! That meant I'd have no problem dismantling it and painting the blue pieces the color of my chosing. The screws are also handy for when you want to get in there and clean the dust off of the blades.
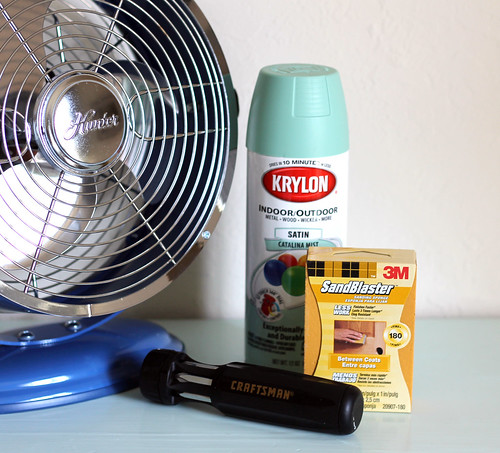
fan_before_2
To customize this little fan and make it just right for my space all I needed was a screwdriver, some super fine sandpaper (180 grit worked for me), spray paint, and a drop cloth. It took me a while to decide on this color, after considering yellow and pink, but I made the best choice. It's called Catalina Mist by Krylon and the color is a retro-esque shade of minty blue/green. The only semi-issue I had with it was that it wasn't compatible with plastic. All that meant was I had to pull off that rubbery gasket thing along the bottom of the base. No biggie.

To start, I dismantled the fan, setting the screws aside and remembering taking note of where everything went. When I had the pieces separated, I roughed up the surfaces a little bit with the sandpaper, just enough to make sure the paint would stick.

fan_before_3
Using the packaging from the box, I proped up the pieces and got to painting! Beware if you're using a new canvas drop cloth, like I did. After I got started I noticed that it had lots of tiny fuzz particles that were sticking to my painted surfaces. I got most of them off, but it would have been easier if I put it in the dryer for a little to remove the lint before I got started.
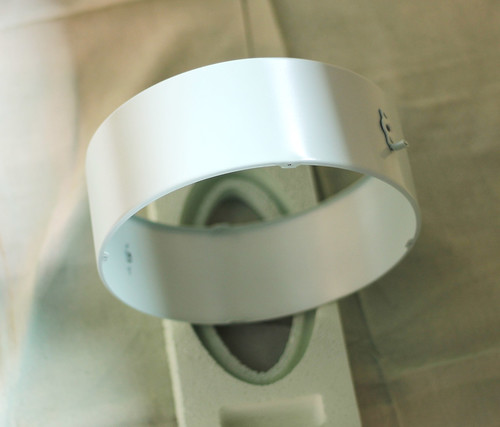
fan_before_4
I sprayed many light coats, giving each coat at least 15 minutes or so to dry to the touch for the next coat. Looking back, again, this step would have gone faster if I had primed the pieces before I started. That blue was hard to cover!

(Note: The Target website has this fan in lots of colors, including white! That would be a perfect base for any color. And it's on sale! My local store only had the blue.)
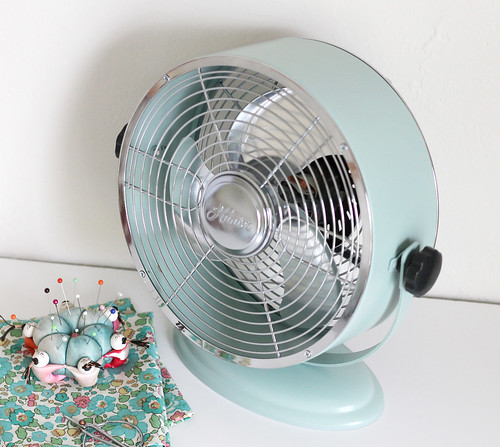
fan_complete_4
After my pieces were well coated, I let them dry overnight. All I had left to do was put it back together. I'm so pleased with the way it came out! The color is perfect and looks great in every room of my apartment. I love how the minty-blue/green gives it a hint of retro style that I love. It looks great with my mid-century furniture so I'll be happy to keep it out and on display all year! This easy upgrade cost me less than $10 and will make me happy (and cool) every time I walk by.
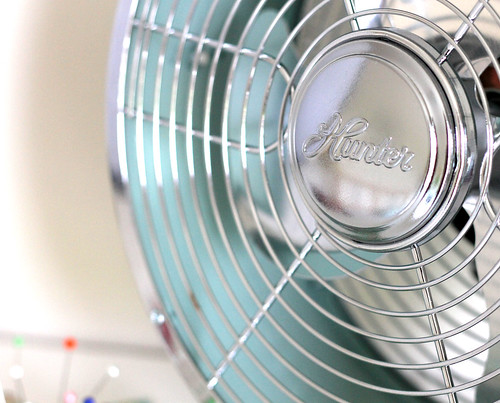
fan_complete_2

Have a wonderful weekend! No doubt, I'll have this bad boy running the entire time.

1

Painting is painful.

Monday, February 18, 2013

Blooming.
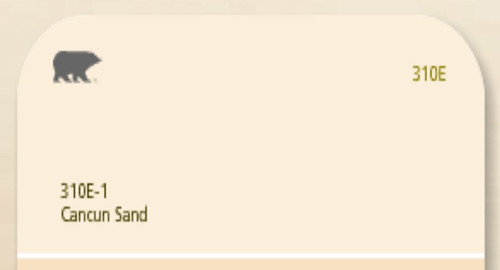
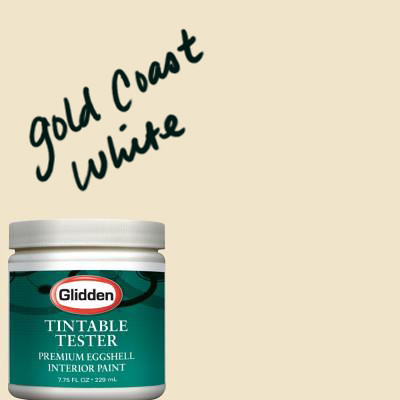
I try to keep things on the positive side here on the blog, but seriously, painting hurts. Muscles I never knew I had have not only made themselves known, but they're also demanding Advil. I spent most of this last weekend painting my living room. I shared photos of my chips and samples here, but ended up choosing something a little lighter than my first choice, Behr Gold Coast White, which started looking really yellow after I painted a sample in the corner. So I went with Cancun Sand instead and I'm really happy with it so far. I have one wall left to paint, but the room is already so much lighter and brigher. I feel like I don't even have to turn as many lamps on at night as before.

Behr Cancun Sand

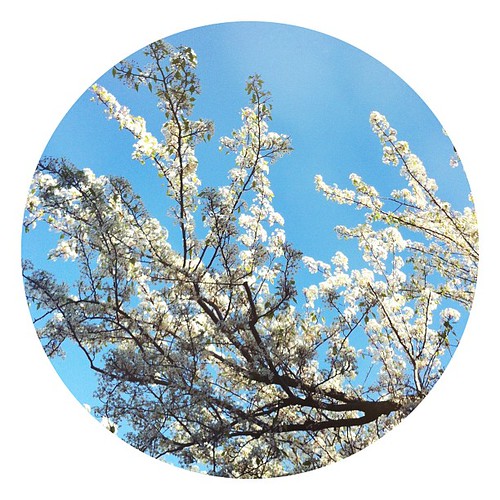
I just need to power through the pain(t) for another night or so until it's done. Then I'll enjoy the product of all my hard work and make a note to myself to only take on a painting project when I need to punish myself for something. :) Thankfully, I did get a chance to get outdoors on Sunday to enjoy the sunshine and commune with nature before I got back to work. Here are a couple of photos from my walk around town. Can you tell I'm having fun playing with the Afterglow app?

Nature pics Nature pics

And, if you've noticed, I've got a shiny new url for the blog. It's just vitaminihandmade.com now! Links should automatically update from my previous address, but if you find they aren't working, make sure to update your bookmark with the new address.

Happy President's Day!

0

Keeping busy.

Thursday, February 7, 2013

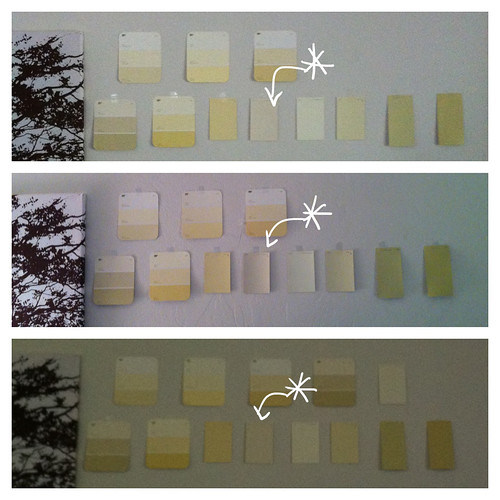
I've lived in my current apartment for almost a year now, and all of a sudden I have this nagging desire to paint my living room. The room has one large north-east facing window under a deep porch overhang. Needless to say, it doesn't get much light, and the builders-grade white/beige just looks drab and dingy. The walls haven't been painted in (I'm guessing) about 10 years anyway, so a paint job is definitely overdue. So I'm going to zip over to Home Depot over the weekend and get a couple samples to try out. I read that paints with yellow undertones can help to warm up rooms with little natural light, so those are the paint chips that I selected to try out.
Paint Colors
I taped them up on the wall last weekend and so far this color, Glidden's Gold Coast White (marked on the photo) is my favorite. It's crazy because looks like a light taupe when it's up on the wall, not at all like it looked in daylight and it really changes throughout the day. It's amazing what light can do to colors.

Paint Colors

And now I'm sitting here wondering how I'll unload and move my 6' tall bookcase. Hmm, I'll have to figure it out. No turning back now!

0

Plants, paint, and projects.

Wednesday, August 31, 2011

Looking over this post I realize it is a collection of seemingly un-related topics. Ok, fine, these topics don't relate to eachother at all. But they all start with the letter P! How's that for random?

I spent last sunday at a local small town fair. It's kind of a craft show / farmers market / fair / yard sale event and is always lots of fun. I've been going every year for a few years now and have always nabbed something cool from one of the countless yard sales. Last year it was a retro plaid lounge chair (that I'm sitting in right now!), a cool plate to add to my collection, and a pair of retro bookcases that now live in my studio. This year, however, the yard sales were really lacking. I went back to the house that had the garage filled with amazing retro furniture, but alas, their yard was empty and the garage was closed. Bummer! I did manage to find a vendor specializing in succulents and brought this one home.

The leaves have pretty red edges.

The ecentric man at the booth told me all about the species (even explaining that its rarest form is black) but I promptly forgot the name as soon as I walked away. I liked it for its unique tree-like structure. I've never seen anything like it. I happened to have this cool gray pot at my parent's house, and it fit inside just perfectly.

And in completely different news: my bedroom has been painted! It was a painstaking process, but after 2 (!) coats of primer and 2 coats of paint, the brown is gone. Here are a couple of iphone photos I snapped, since I was too exhausted to walk the extra 10 feet to grab my real camera.

One coat of primer and the brown still haunted me!

Can't believe it's the same room!

I ended up going with our original paint choice, Morning Fog and I'm so glad I did! It's a beautiful color and really opens up the room. Sometimes it looks more blue, sometimes more green, and in the bright sun it actually looks white. I'm really liking it so far. Now I just have to get my artwork back up on the walls and choose some curtains. I am very tempted to screenprint some with my own design, but another project is the last thing I need. Speaking of projects...

I've been keeping myself busy with products for my new Etsy shop! Depending on how much photo editing I can blast through tonight, the shop may be stocked with a few items by tomorrow morning. I'm so excited to share my new projects with everyone! Here's a little sneak peek.

Recognize this design???

Oh, and a little reminder: today is the last day to take advantage of my end of summer sale! Head on over to my shop and enter VITAMINISUMMER2011 at check-out to get 10% off your entire order!
 

vitamini handmade © All rights reserved · Theme by Blog Milk · Blogger