73

DIY Halloween Flower Vases

Wednesday, October 7, 2015

DIY Halloween Flower Vase | click through for the full tutorial!

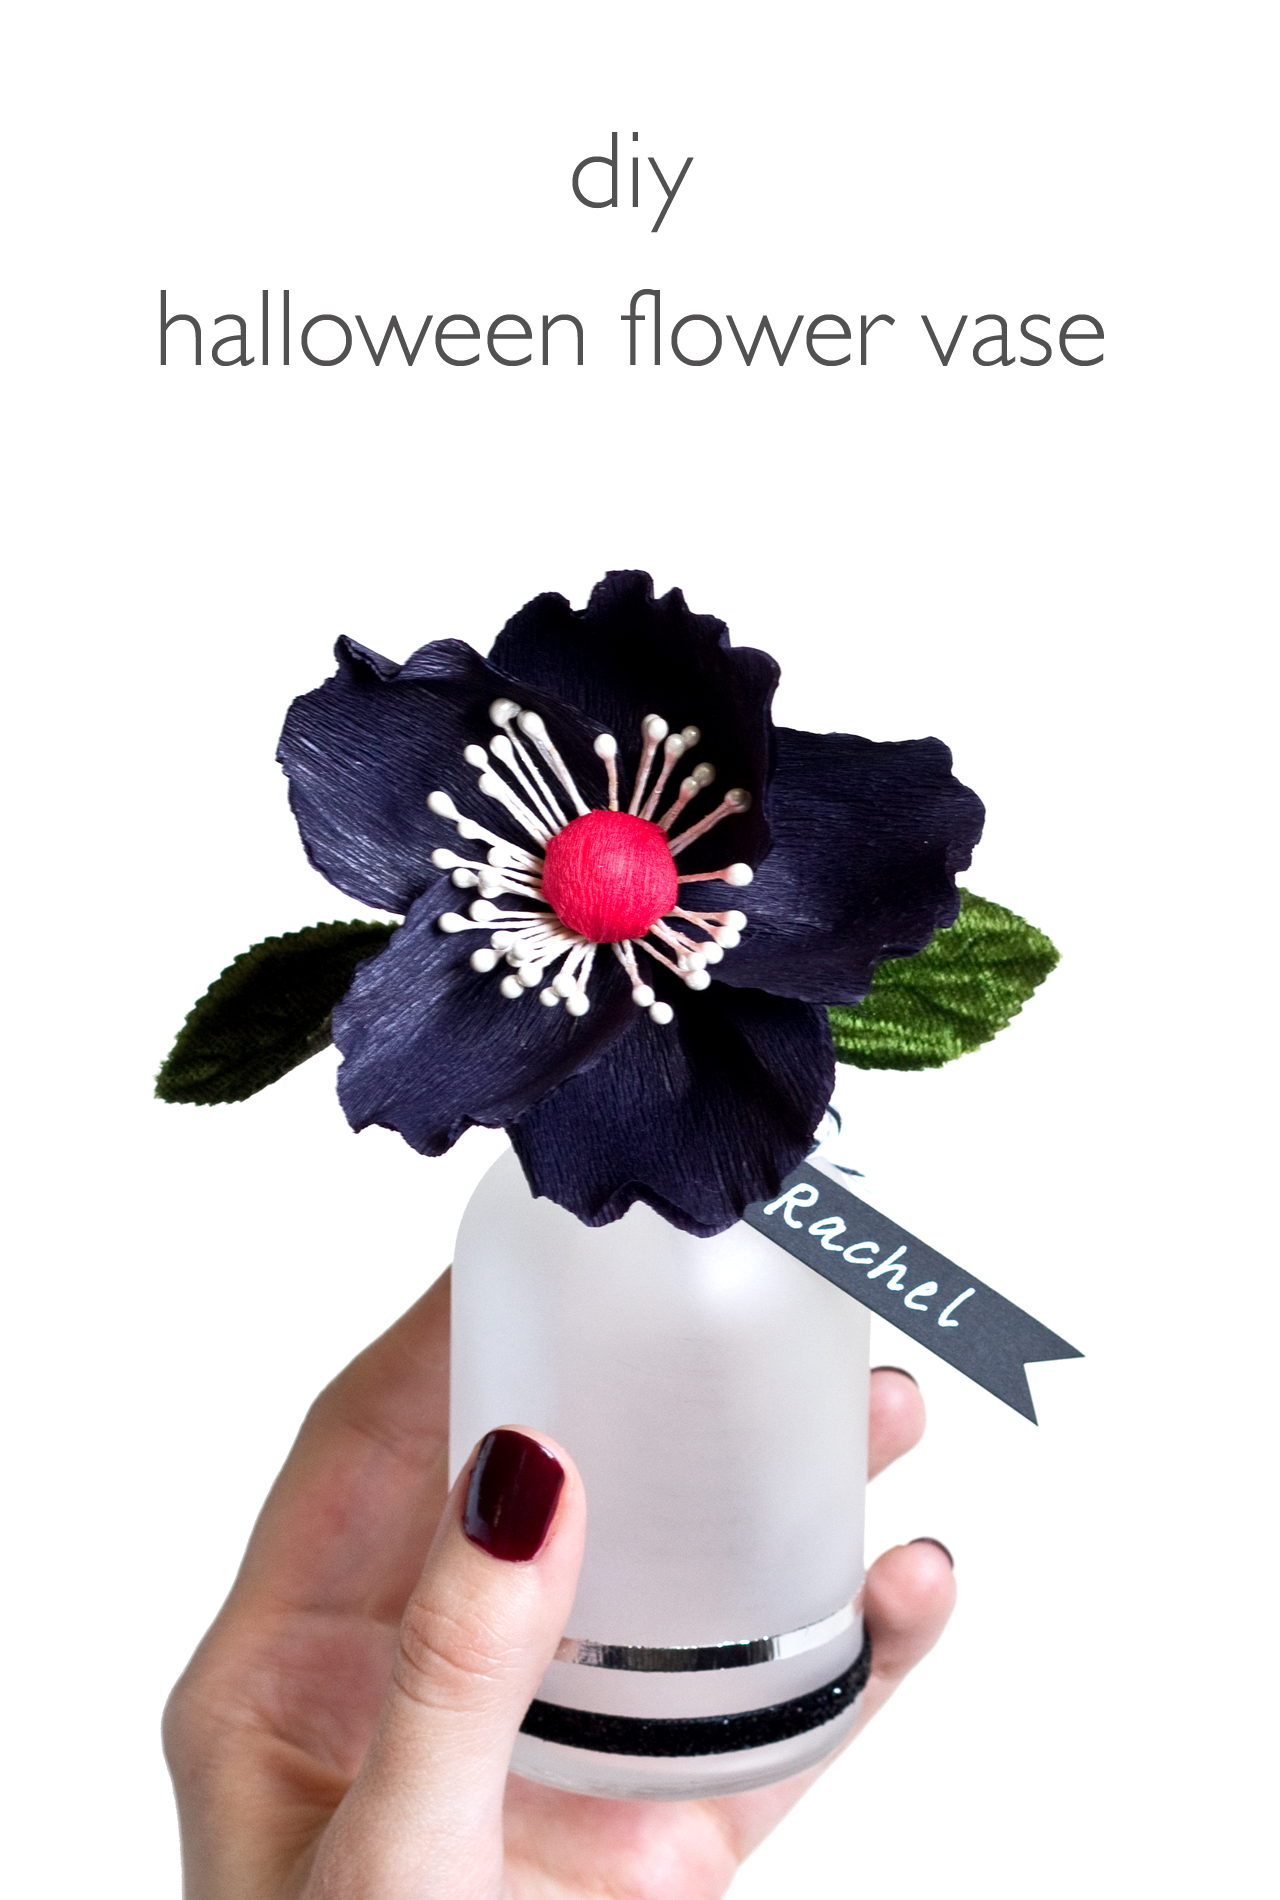
Halloween season, how I love thee! I spotted these adorable little frosted vases at Michael's a few weeks ago, and as per my usual style, bought them with no idea what I'd do with them. I thought they'd be perfect for Halloween, though. They look like little apothecary bottles, don't you think? It wasn't until after I started playing around with paper flowers again that I realized they'd make perfect little flower vases, but they'd need a little bit of embellishing. You can use lots of different materials for this project - ribbons, foils, faux flowers, real, or paper ones like I did.

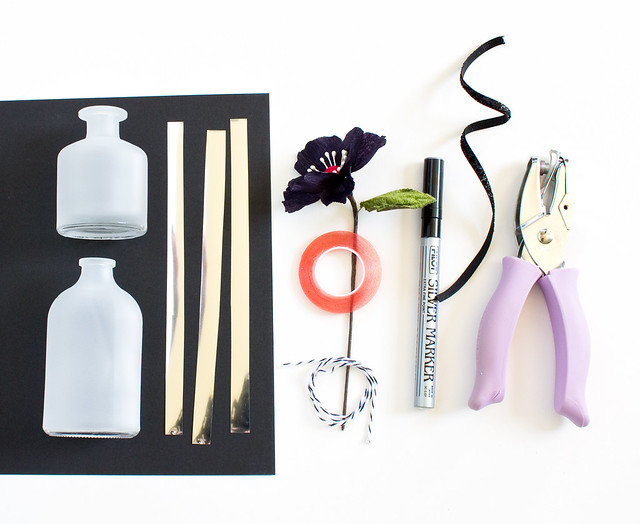
Here's what you'll need:
DIY Halloween Flower Vase | click through for the full tutorial!
  • Mini frosted vases. These came in packages of 2 at Michaels for something super cheap like $3
  • Double-sided scrapbooking tape. This stuff is super strong and comes in all sorts of widths. I used 1/8"
  • Transfer foil (This was the same brand I used but mine came in silver, gold, and copper colors)
  • Ribbon, baker's twine
  • Black paper
  • Silver or white pen
  • Hole punch
  • Flowers. Faux, real, paper, whatever you'd like. I made these black paper flowers myself. Craft stores carry Halloween themed silk flowers or you could use grocery store mums.
DIY Halloween Flower Vase | click through for the full tutorial! DIY Halloween Flower Vase | click through for the full tutorial!

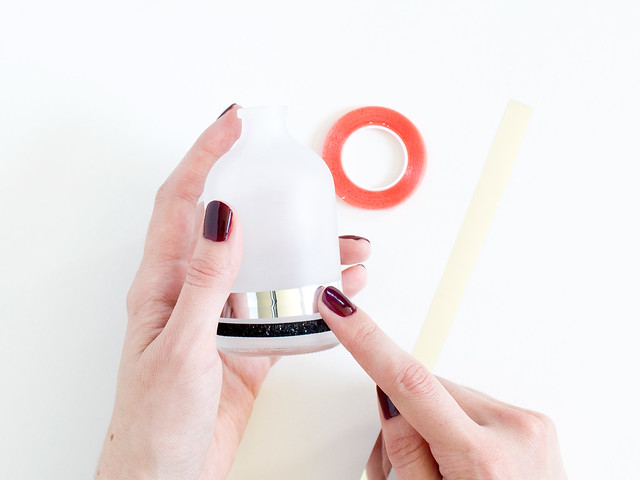
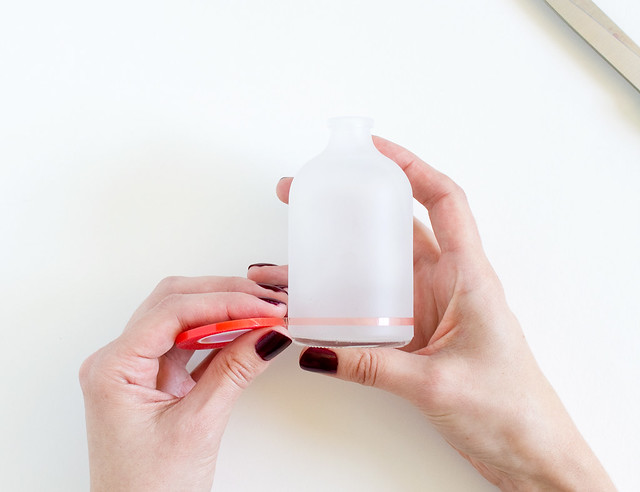
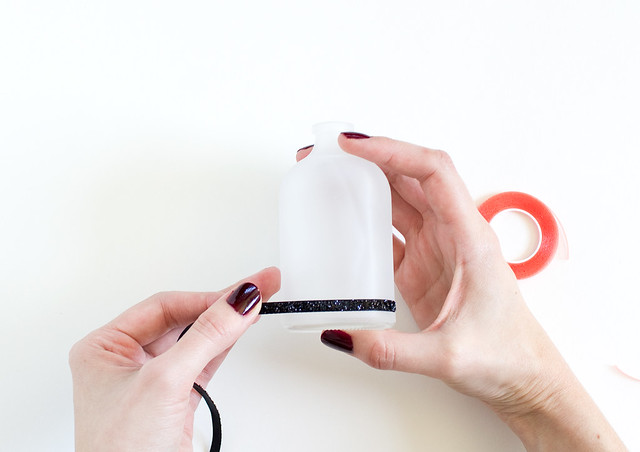
Unroll a bit of the tape and stick it onto the bottom of the vase. Continue all the way around till the ends meet, and trim. Pull up the orange plastic to expose the other sticky side, and stick on the ribbon, match the ends and trim. So easy!
DIY Halloween Flower Vase | click through for the full tutorial! DIY Halloween Flower Vase | click through for the full tutorial! DIY Halloween Flower Vase | click through for the full tutorial! DIY Halloween Flower Vase | click through for the full tutorial!

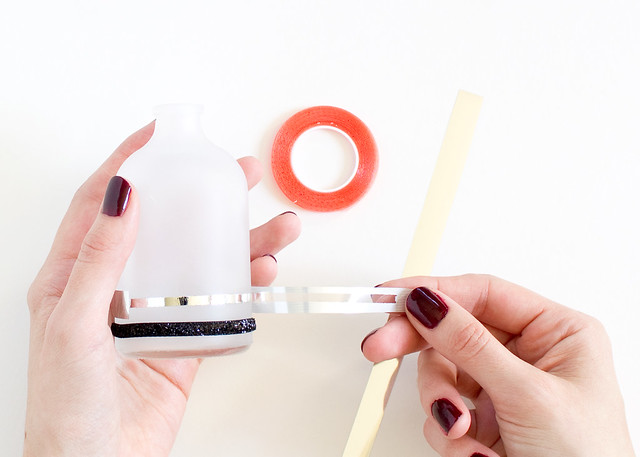
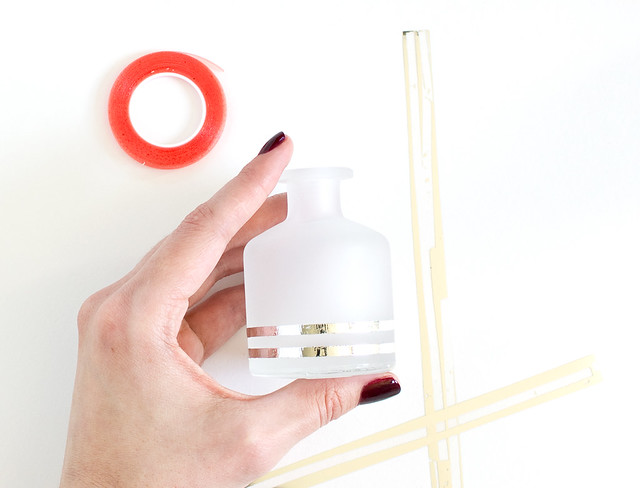
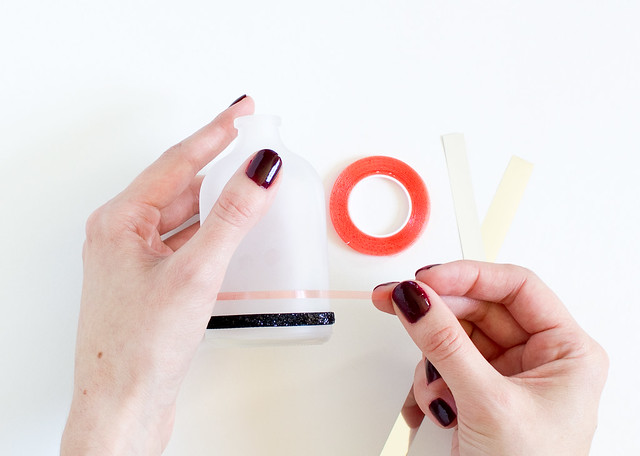
You could easily just make a bunch of ribbon stripes, but I thought a metallic touch would be nice, so I repeated the steps with this foil transfer in silver. Once you expose the sticky tape again, just apply the silver strips with the shiny side up. Rub the strip down with your finger and then pull up. You're left with a super-crisp silver stripe!
DIY Halloween Flower Vase | click through for the full tutorial!

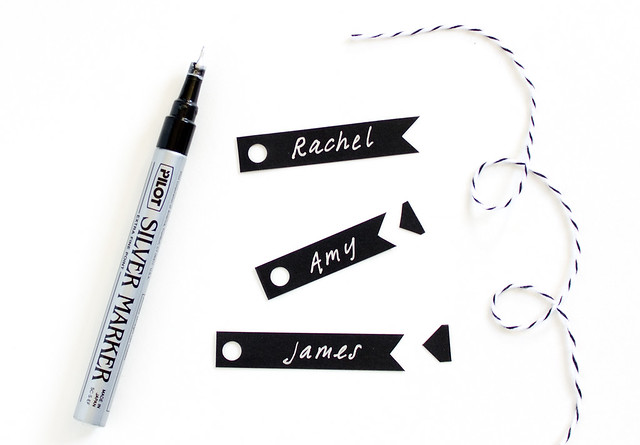
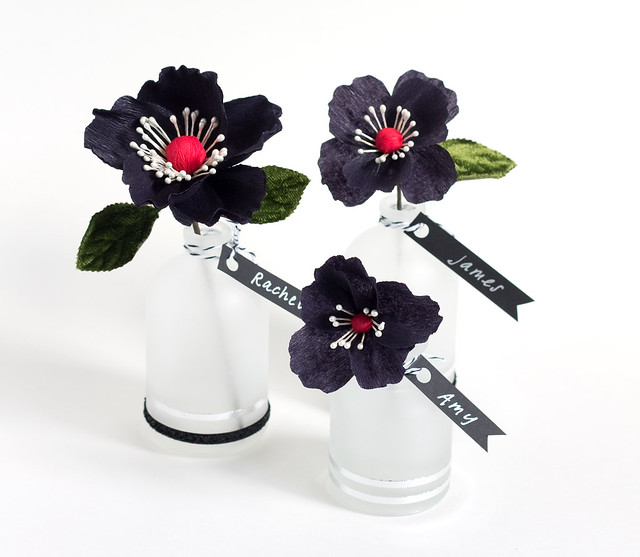
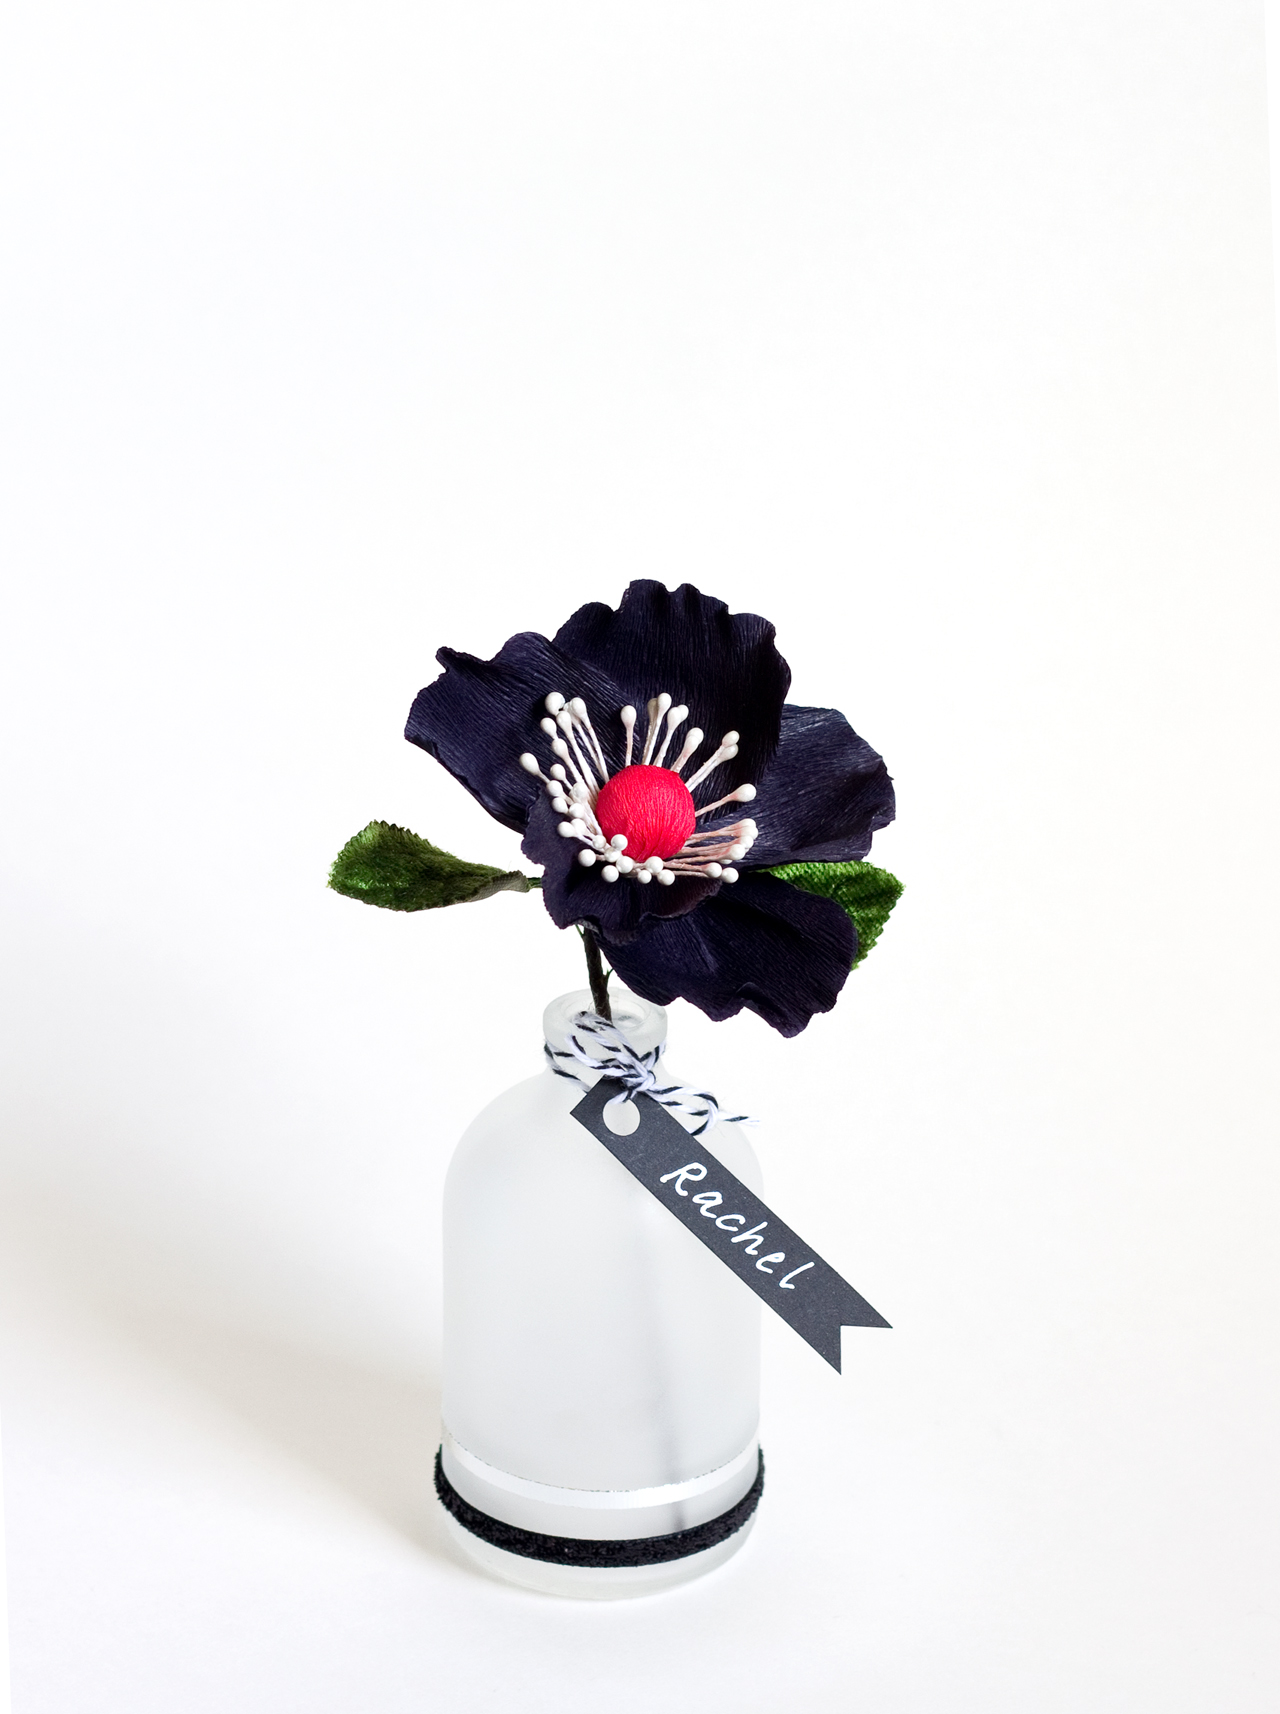
Cut a strip of black paper, notch one end and hole punch the other end. Write our your party guest's names and tie with ribbon or baker's twine. Add your Halloween flower and that's it!
DIY Halloween Flower Vase | click through for the full tutorial! DIY Halloween Flower Vase | click through for the full tutorial!

These would make adorable place cards at an October dinner or cute little party favors. They're so easy to make and customize. Plus the tape is fully removable so you can switch it up later if you decide. I like these so much I think I'll keep a few around all year. I hope you like them, too!

P.S. Check out my DIY Gallery page to see lots of diys from Halloween's past!

20

Martha Stewart American Made Awards Finalist!

Tuesday, September 29, 2015

Vitamini is a Martha Stewart American Made Awards Finalist! Just popping in to share some exciting news - Vitamini is a finalist in the Martha Stewart American Made Awards! Voting just opened up last week and it would mean the world to me if you'd click a vote or two (or 6!) my way. Click here to read a bit about my story and cast your votes!
*Yay! card from the shop.

52

DIY Stamped Gift Tags

Thursday, September 17, 2015

DIY Stamped Gift Tags | click through for the tutorial!
I'm excited to share this project for two reasons: first, it's really simple and the results are adorable! Second, I get to debut a few brand new products in the shop.

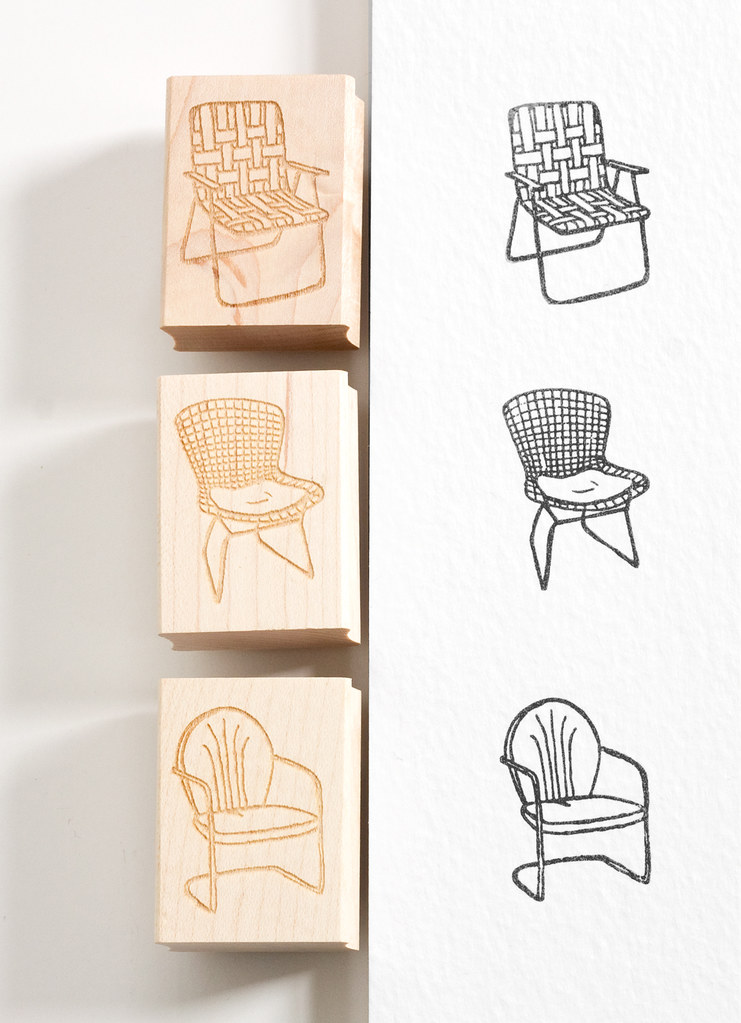
Retro Lawn Chair Rubber Stamps by Vitamini

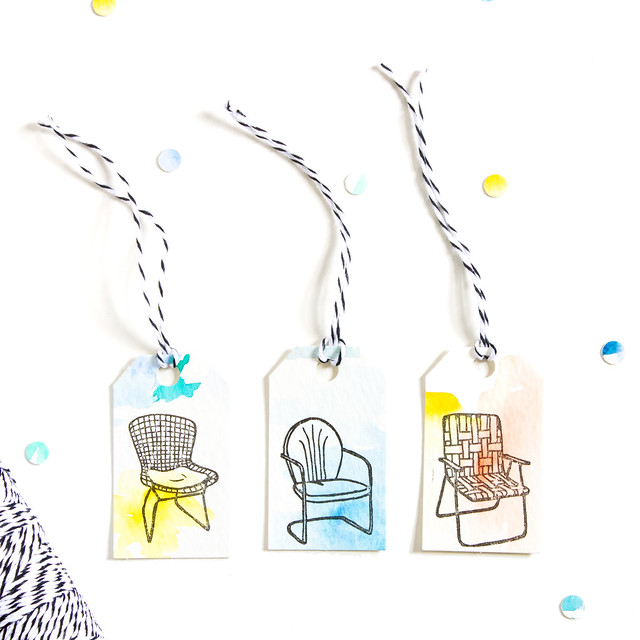
New retro lawn chair rubber stamps from my Patio Party collection! I have three different designs available - they're the perfect way to jazz up greeting card envelopes, letters, and all sorts of other paper products, like handmade gift tags!

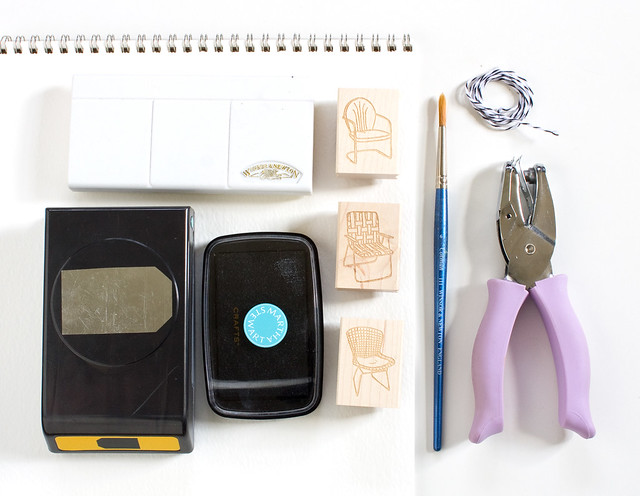
Here's what you'll need:
DIY Stamped Gift Tags | click through for the tutorial!
  • Rubber Stamps - you can find these three in my shop!
  • Pigment ink pad
  • Watercolor paper
  • Watercolors. I've had this Windsor Newton set since college and I love it
  • Paint brush
  • Tag punch
  • Hole punc
  • Baker's twine, embroidery thread, or yarn
DIY Stamped Gift Tags | click through for the tutorial!
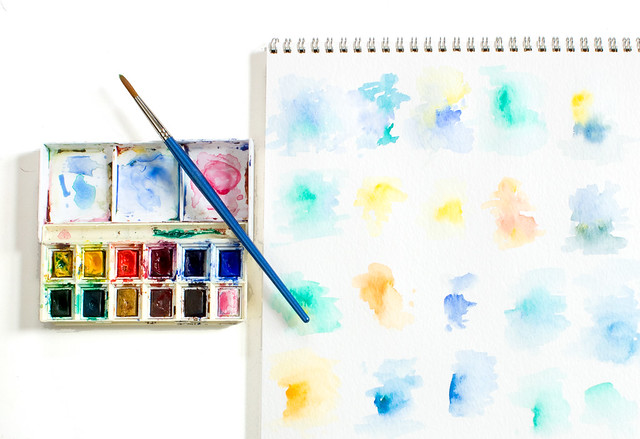
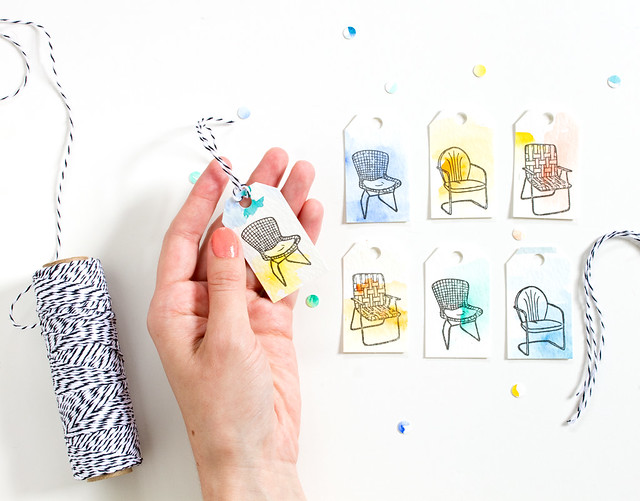
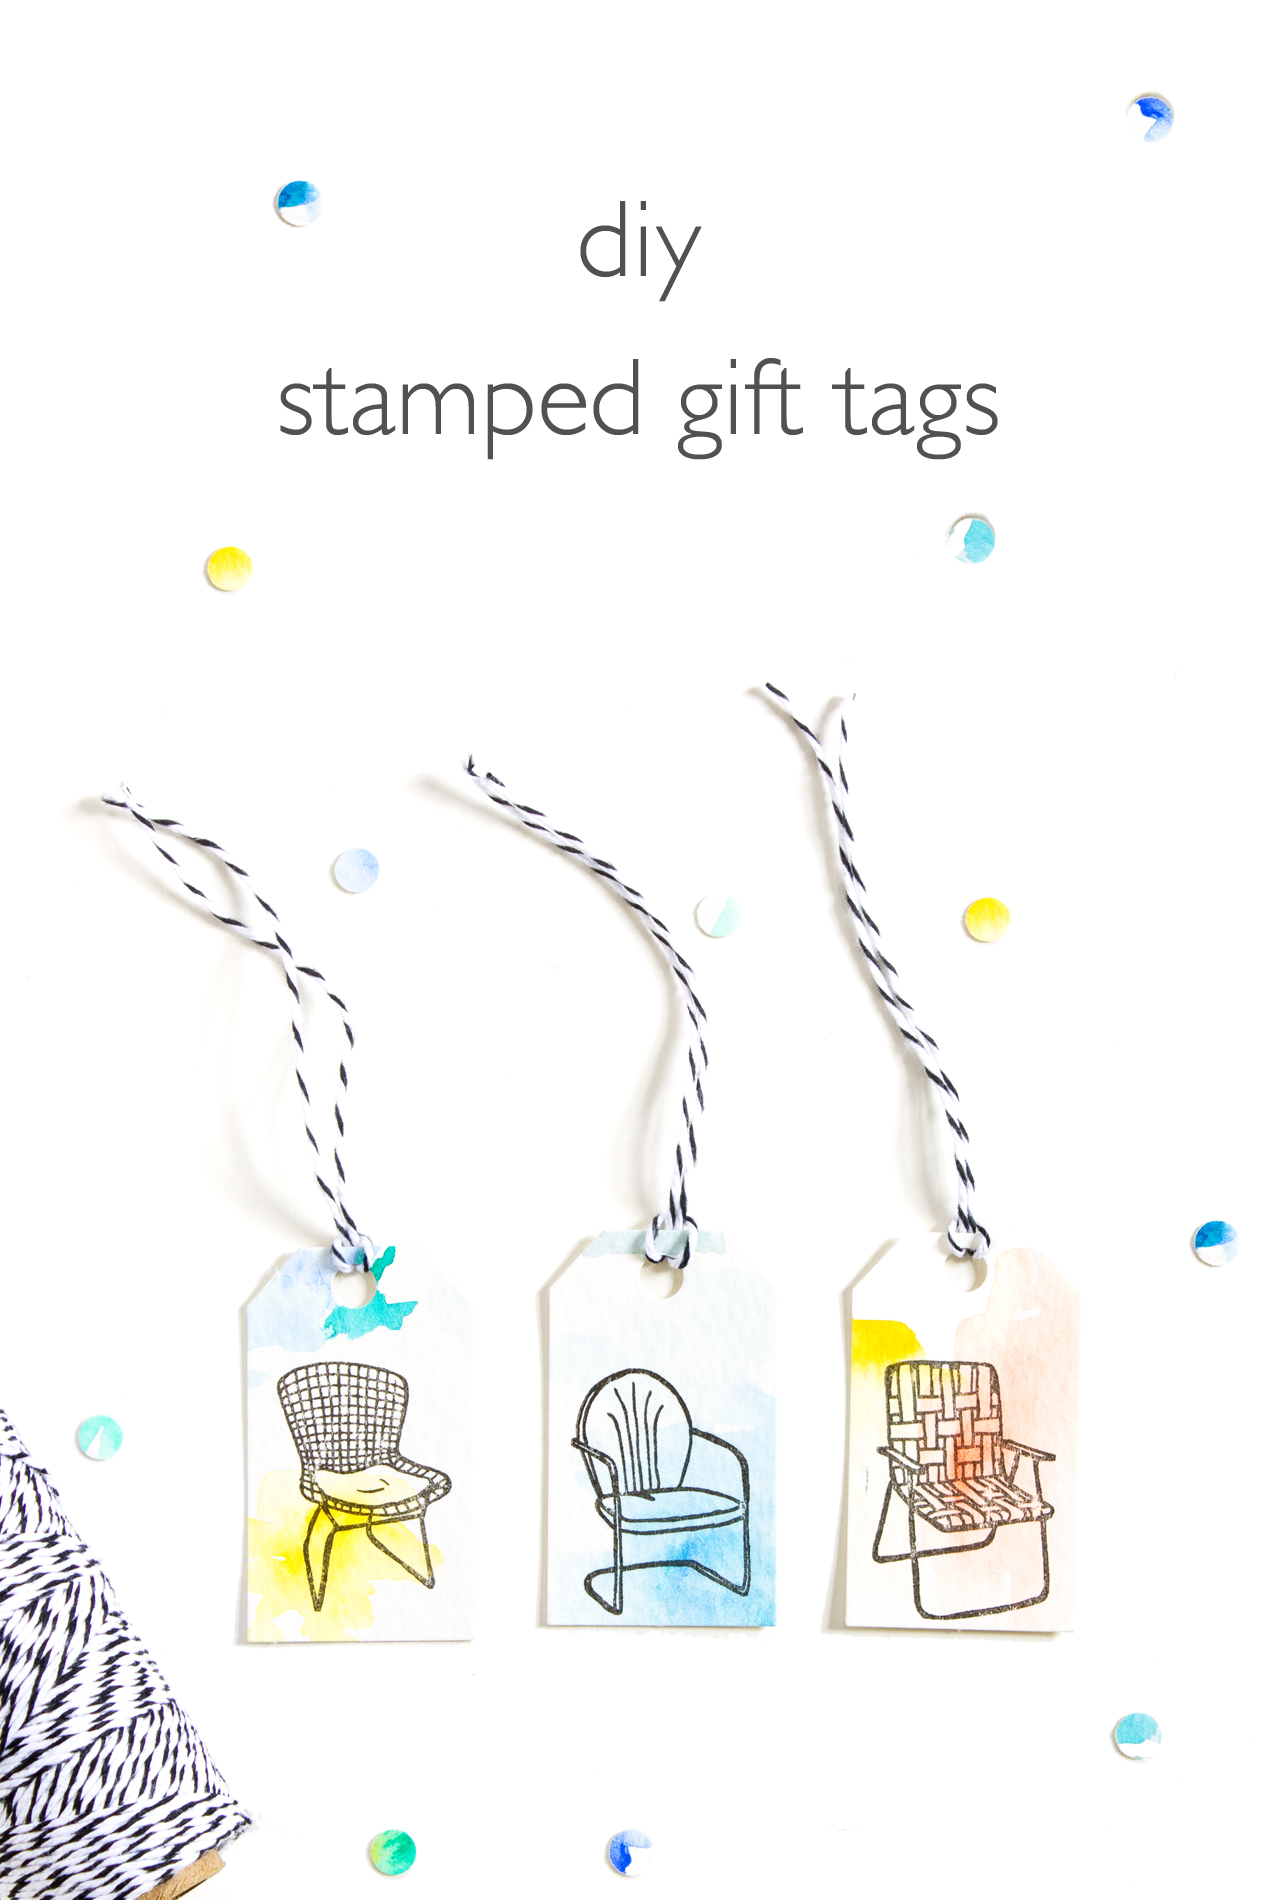
Start with the watercolors. Dip the brush in water and pick up some paint. Dab it onto the paper and then try blending the edges with more water. Experiment mixing and blending colors together. Small areas of color are all you need, so have fun with it! Let dry.

DIY Stamped Gift Tags | click through for the tutorial!

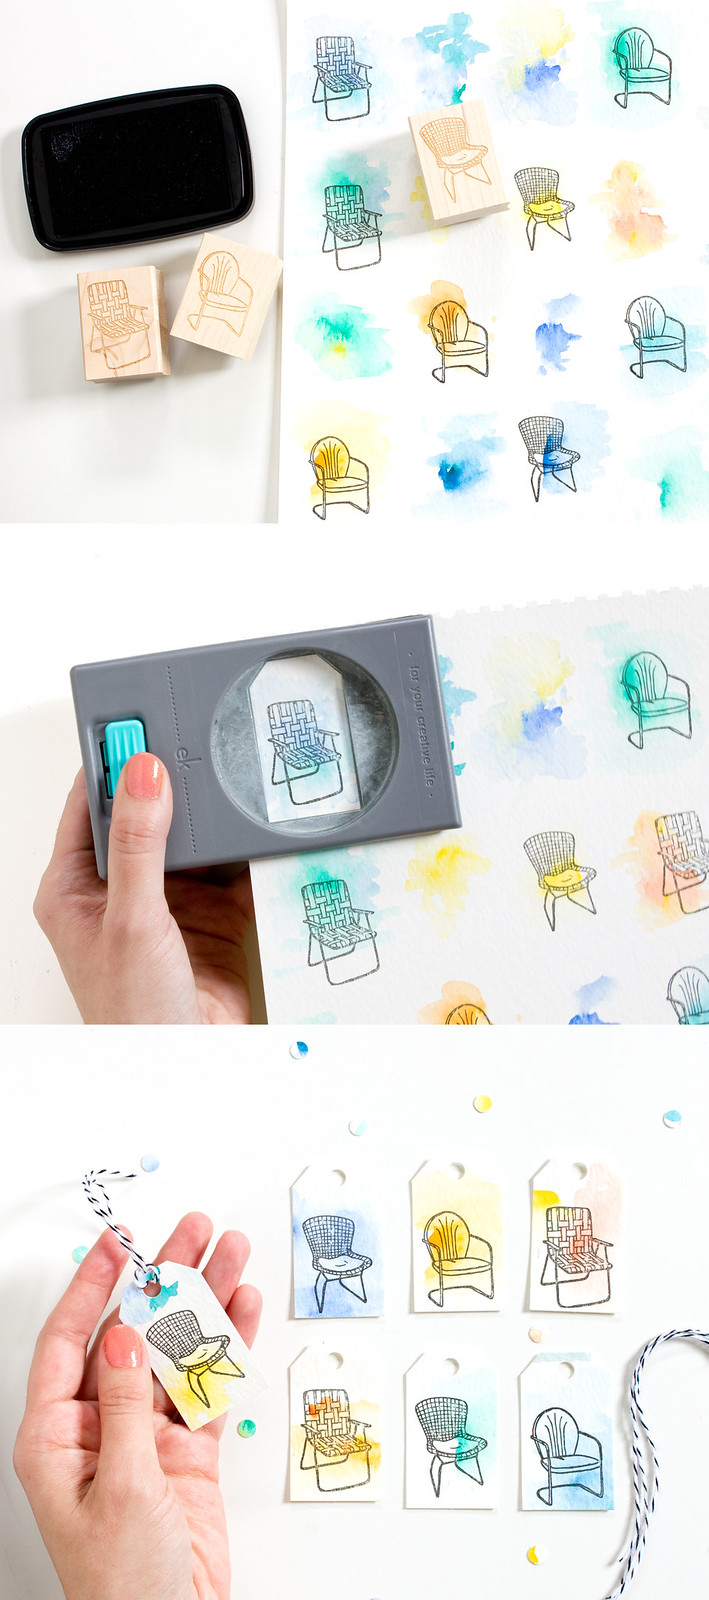
Time for stamping! Place the stamp rubber side up on the table and tap the ink pad over it. When the design is saturated, stamp on the watercolor paper. Stamp up the whole sheet of paper - experiment with placement and see what you like best. My favorites had some white space underneath the image. Let dry. (If you'd like to try a more precise option, try stamping the designs first and then adding color to the open areas afterwards.)

Center the stamped design (save some space for the hole at the top) and punch! Punch 'em all out. Add the holes to the top, and tie up with twine.

DIY Stamped Gift Tags | click through for the tutorial!

How cute! I love the mix of colors. I used blues, greens, and yellows, but these could easily be customized in any color to match your favorite gift wrap. Make a bunch and give sets as gifts.
DIY Stamped Gift Tags | click through for the tutorial!

18

Hello, September!

Wednesday, September 9, 2015

Vintage Pink Swings Carnival Ride by Vitamini

Ok, seriously, how is it September already? The summer just flew by and I don't think I made nearly enough trips to the beach! I think it's ok, though - we're still rocking the triple digit temps so it'll probably feel like summer for a while longer. I just got home from a trip to Portland for a dear friend's wedding and had so much fun. It was the perfect time to take a little break, (mostly) unplug from the computer, and relax. I stayed in a cute little AirBnB studio in the Irvington neighborhood of Portland. Have you been? Talk about beautiful homes! I spent lots of time taking walks looking at the pretty houses, taking pictures, and drinking too much coffee (Saint Simon Coffee Co. on NE Broadway FTW). I'm back, feeling refreshed and ready to tackle all of the items on my to-do list! I'm also excited to get back into blogging after my little, unofficial summer break.

In other news, I got the best surprise while I was away - Vitamini has been chosen as a finalist for the 2015 Martha Stewart American Made Awards! Grinning face emoji times 100!! Check out my nomination page to read more about the story of my business. Voting opens up later this month.

Photo above from my Instagram of my favorite swing ride at the Monterey County Fair every year. Isn't it pretty? Love the pink. Have a great rest of the week!


16

New! Gift Wrap by Vitamini

Monday, August 31, 2015

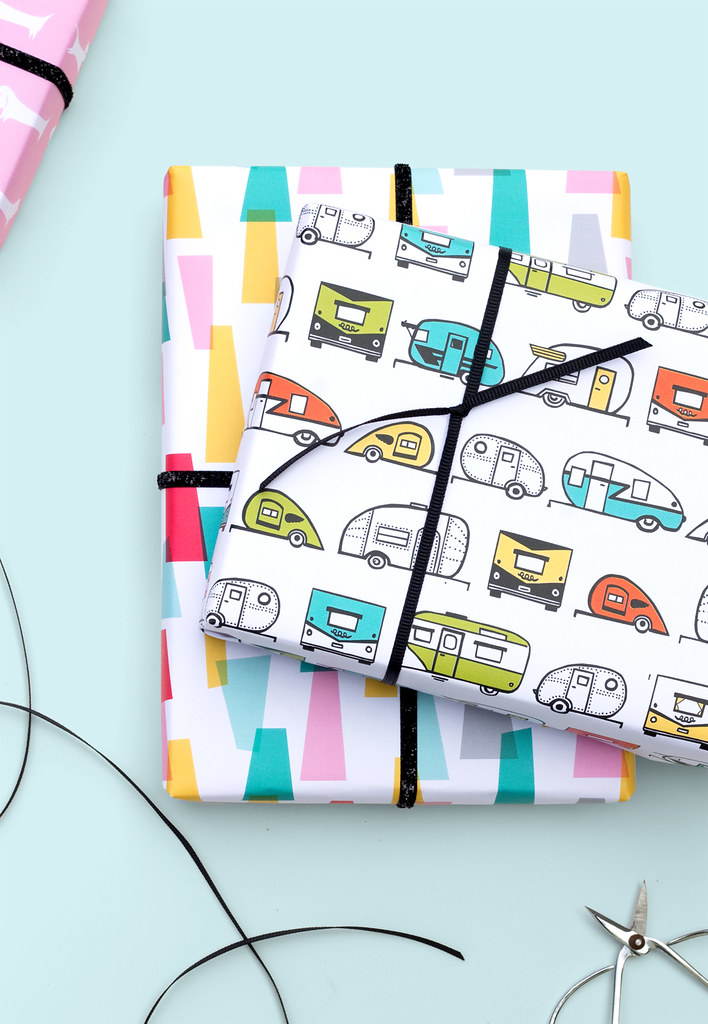
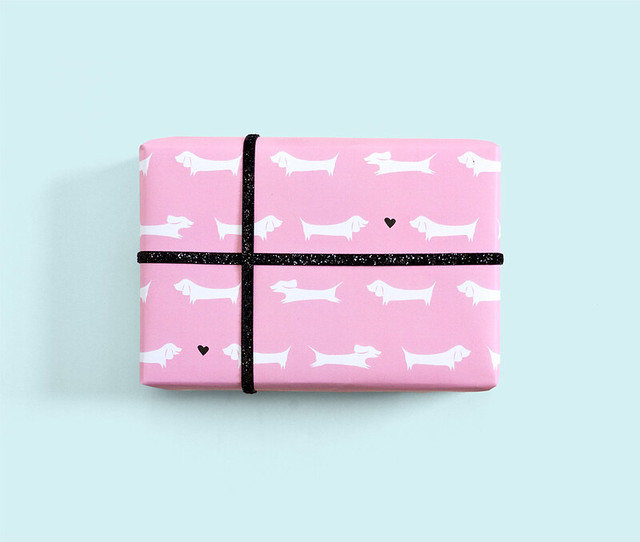
New Retro Inspired Gift Wrap Patterns by Vitamini I'm so excited to share the newest product in the Vitamini lineup - gift wrap!

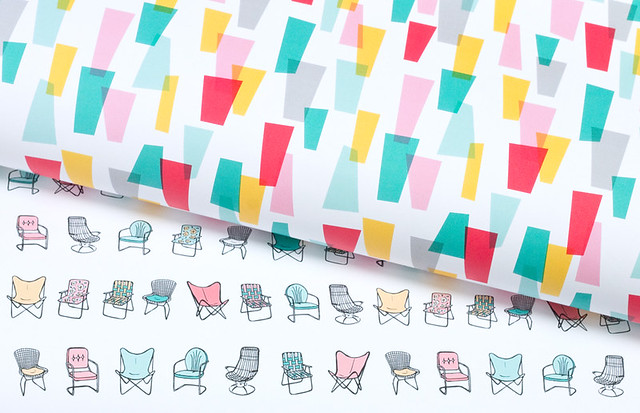
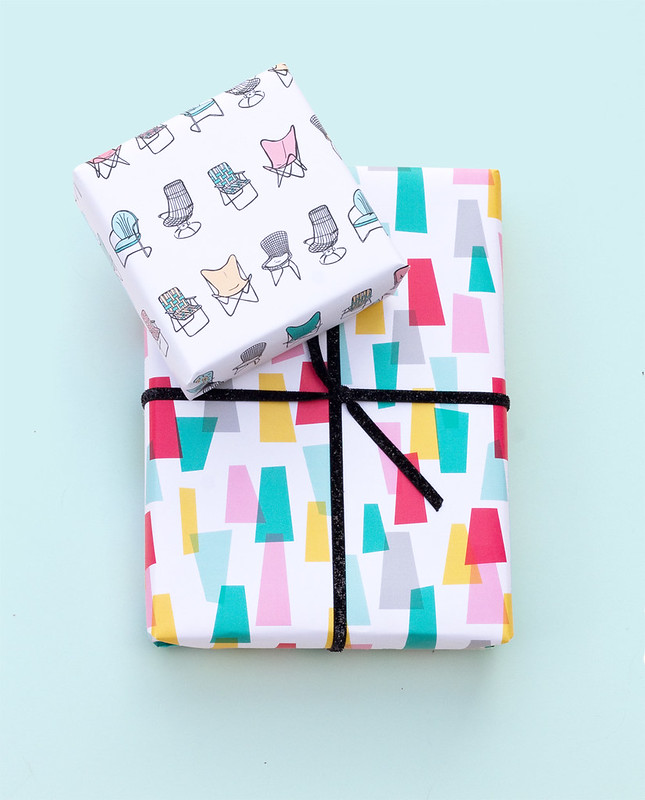
Retro Mid Century Chair and Jazzy Gift Wrap by Vitamini Dachshund Love Gift Wrap by Vitamini
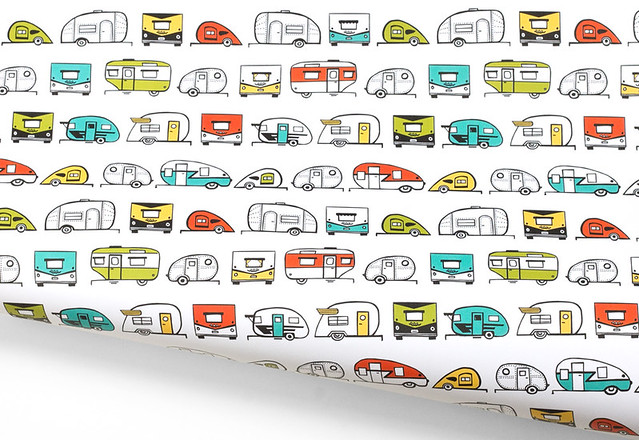
Now available in 4 prints - Dachshund Love, Jazzy, Vintage Trailer Caravan, and Patio Party - the same prints from my fabric collection now on paper! I want to wrap everything with these! It would also be great for craft projects and scrapbooking; drawer liners, decoupage, art matting, etc.

Vintage Trailer Gift Wrap by Vitamini Vintage Trailer Gift Wrap by Vitamini

You can find all 4 different prints in the shop. More patterns coming soon!
 

vitamini handmade © All rights reserved · Theme by Blog Milk · Blogger