It's Christmas Eve! I want to wish everyone a wonderful Christmas and thank everyone for coming around and reading the blog. I hope you get to spend some quality time with friends and family, have some laughs, and eat some great food.
And I want to say a big "thank you!" to everyone who made a purchase in my Etsy shops this holiday season. It was the best holiday for me, yet! I hope your friends and loved ones love their MINI gifts!
Image from Blogto.com
26
Handmade gifts.
Friday, December 21, 2012
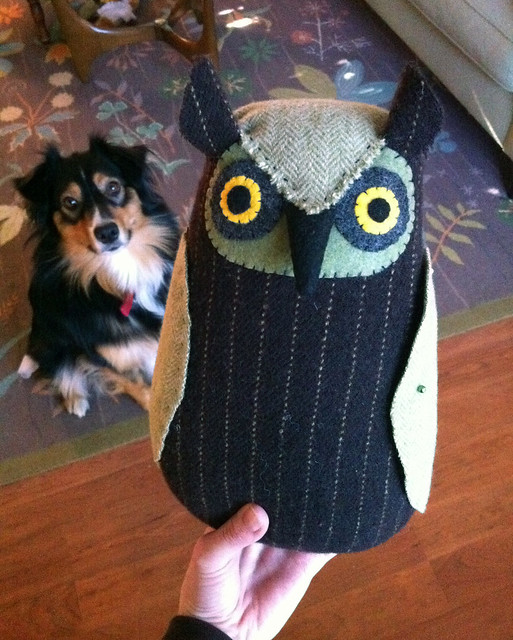
When the holidays roll around, I like to try to make handmade gifts to give to friends and family instead of buying mass-produced items. I say TRY because the holidays (thankfully!) get very busy for me as a handmade business owner with a full-time job, so there isn't much time leftover to craft all of those wonderful items in my to-make list. So far this year I haven't been able to start any of my projects, but I did pretty well last year! I didn't share these on my blog because I didn't want to spoil the surprise come Christmas morning.
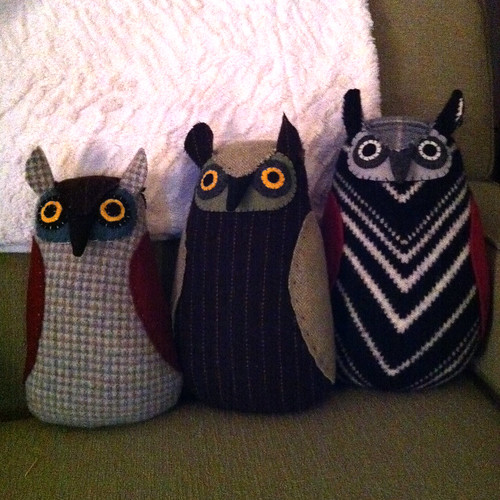
I sewed up a few of these great stuffed owls for my niece. She loved them! And now she's always drawing pictures of owls for me. I mixed it up a little bit with the sizes (so I could make a baby) and even started one for my self with a flat bottom filled with beans so it can stand up on its own. Maybe I'll finish that one this year! These were a lot of fun to make, because I made them out of thrifted wool clothing. The baby owl's body was a huge 80's sport coat, the middle owl was a skirt, and the black and white one was a sweater. I purchased the pattern on Etsy here. Warning: If you make these owls, dogs will want to eat them.
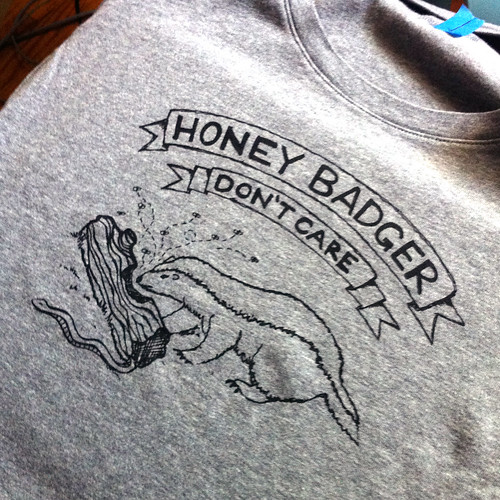
I also made these funny Honey Badger shirts for my mom and sisters. I don't know about you, but that ridiculous video makes me laugh so hard! I drew out a scene of the honey badger pursuing a delicious snake in a hollow log with a swarm of bees and wrote out "Honey badger don't care". Then I made a screen with it, and printed the design on a few tshirts I bought at Target. Easy!
I also made a yarn-wrapped wreath and a few mini owl ornaments but I didn't get photos of those. Again, my late night crafting and immediate gift wrapping didn't leave me any room for photography. I've got a few project ideas this year and I'm excited to get started on them! Do you make any handmade gifts to give for the holidays?
13
Festive holiday corsage tutorial
Sunday, December 16, 2012
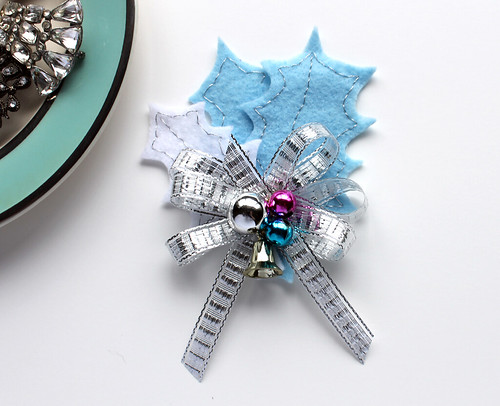
It seems like all of our grandmothers had a few of them; holiday corsages made of mini glass ornaments, metallic foil leaves, ribbon, garland, and other embellishments. I saw this pin from Martha Stewart and decided to make my own version! If you'd like to make a few as well, here's what you will need:
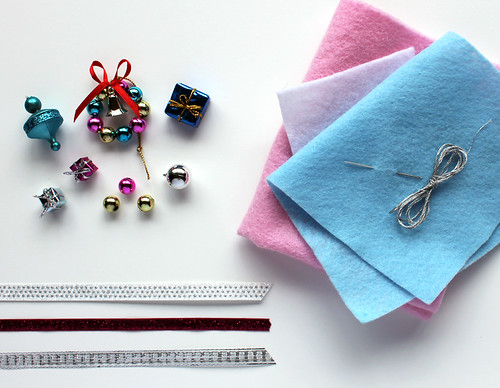
Felt in various colors. I used light blue, pink, and white.
Needle
Embroidery thread. I used metallic silver.
Ribbon
Assorted embellishments. I got these mini gifts and ornaments at Michael's.
Pin (not pictured)
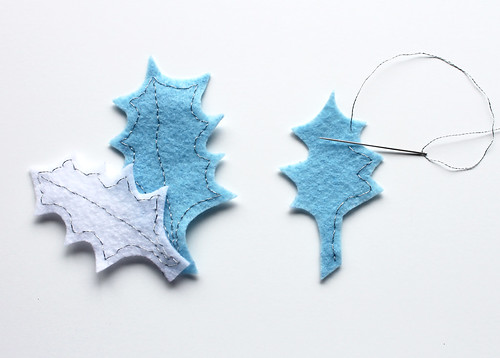
Cut out holly leaf shapes from the felt. My leaves ranged in size from about 3 to 2.5 inches tall. Using a single strand of the embroidery floss, thread the needle and stitch the edge of the leaves with a back stitch. Stitch the veins if you'd like, or just the edges. Mix it up!
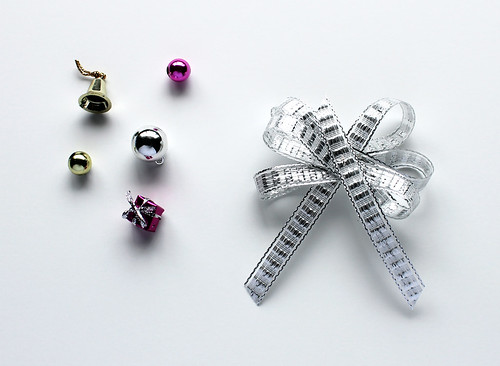
Tie a bow with coordinating ribbon. Try a traditional bow or a looped bow like the one I used. Add a few stitches in the center to secure the ribbon.
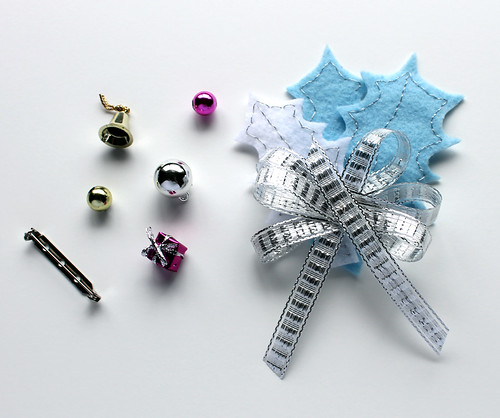
Choose the embellishments and decide on a layout. Stitch everything together or use a hot glue gun. Stitch or glue the pin to the back.
These would make great little handmade gifts. Add one to the top of a present, or make a few to give to dinner guests at your next holiday party!
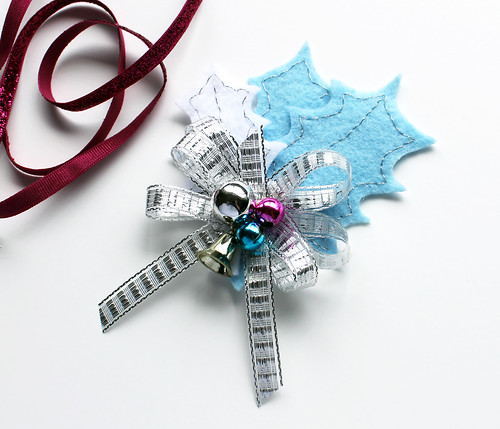
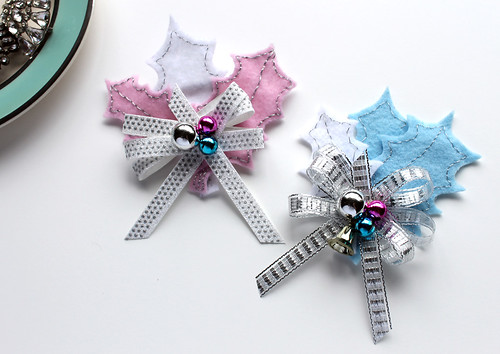
Try making a few in different colors! I'm going to make a green one next.
16
Shop handmade this holiday!
Wednesday, December 5, 2012
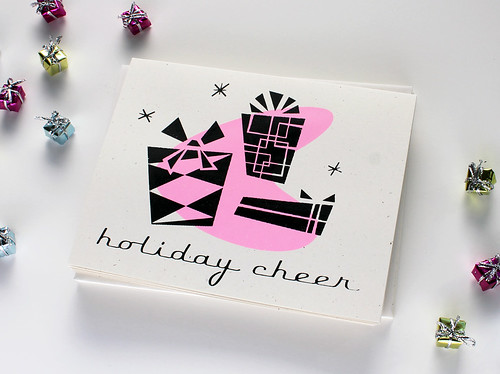
Ever since I opened up my Etsy shop back in 2008 my concept of holiday shopping has changed. When I started receiving my first holiday gift orders, I started thinking about all of the people who would be getting something that I made with my own two hands, how I worked out the design in my head, drew it with a pen and paper, and finally screen printed it with a screen I stretched and exposed myself. I thought about how much more meaningful a handmade gift is, opposed to something mass-produced off the shelf at a big box store. Ever since that first holiday season, I decided to shop handmade for the holidays. There are so many wonderful small businesses out there and it feels great to feel like I'm supporting them and their work, instead of adding to the wallet of a big corporation.
Door Sixteen compiled a huge list of handmade businesses on this blog post. Many have coupon codes attached, too! It's not too late to do your online holiday shopping, so get on it!
*photo above of my Holiday Cheer hand screen printed card available in my Vitamodern shop.
16
Vintage-style glittered ornaments
Thursday, November 29, 2012
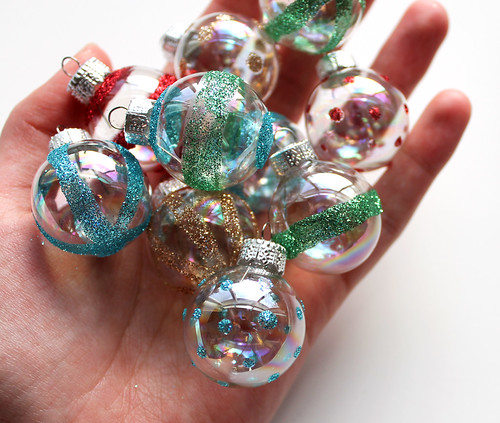
I'm extra excited to set up my holiday decorations this year because I bought a vintage aluminum tree a few months ago! I've wanted one for precisely forever, and found it on Etsy a few months ago. In keeping with the theme, I'd like to decorate it with vintage glass ornaments. I have a small collection of real ones but I decided to fill in with a few handmade, simple mini ornaments. They were really easy to make and I think will add a little extra sparkle to the tree and will catch the light of the color wheel. (Yep, got one of those, too!)
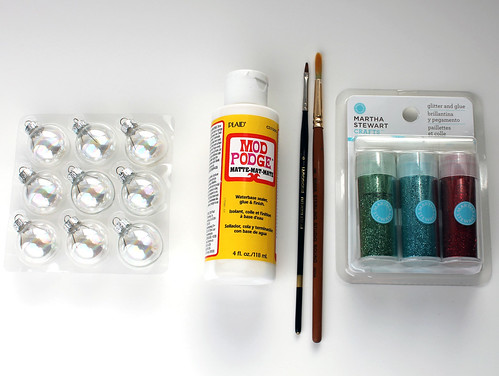
Materials:
- Plain glass mini ornaments. The ones I used are a little irridescent, but you could use clear glass or plain frosted ornaments.
- Fine glitter in various colors. I bought this Martha Stewart variety pack that had Verdalite, Turquoise, and Garnet and also used another Martha Stewart glitter called Smoky Quartz
- Glue. I used Mod Podge since I wanted a glue that was thin and easy to brush on.
- Small brushes
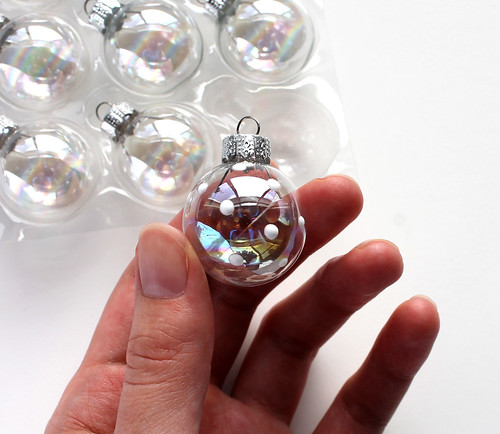
Dip the brush into the Mod Podge and paint the design directly onto the ornament. I used simple dots and stripes. For the dots, I dipped the back end of the paint brush into the Mod Podge and dotted it on that way.
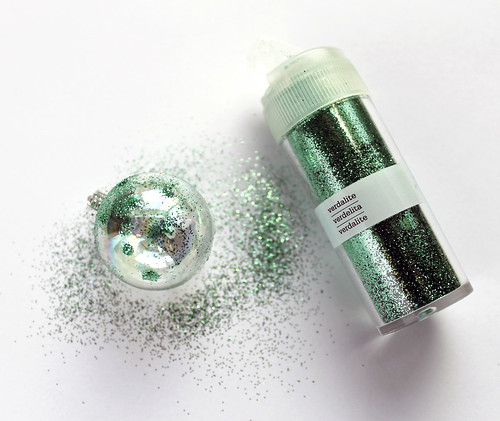
Over a loose sheet of paper on top of your work surface, sprinkle the glitter over your painted design. Tap it to remove the excess and to ensure that the glitter adheres to the glue. When your painted design is covered, prop it up and let it dry.
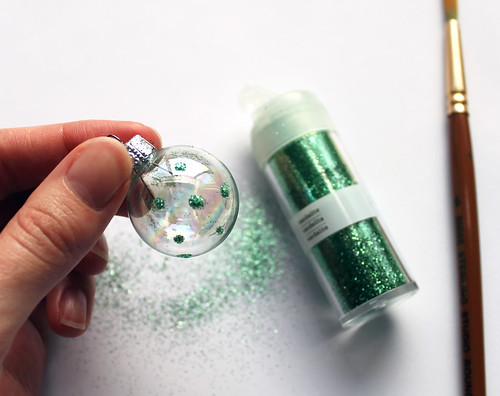
Lift the loose sheet of paper with the leftover glitter, gently fold it in half, and funnel the glitter back into its container.
After the ornaments have dried, there will probably be glitter all over, not just on the glue design. Here's a tip I used to remove the excess glitter after the design had dried: lightly spray it with a canned air duster, the kind you use on your computer keyboard. If there is still loose glitter around, gently brush it off with a dry, clean paintbrush. Do your best to not get it everywhere, but you'll probably walk around with sparkles on your face for a while.
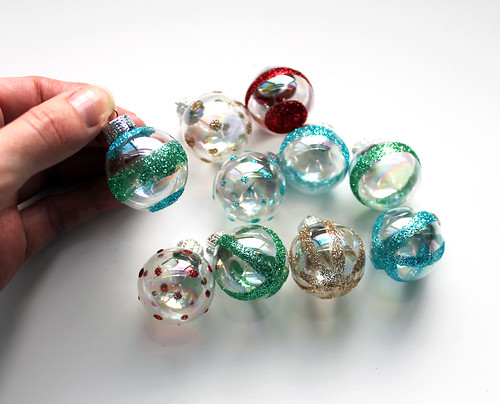
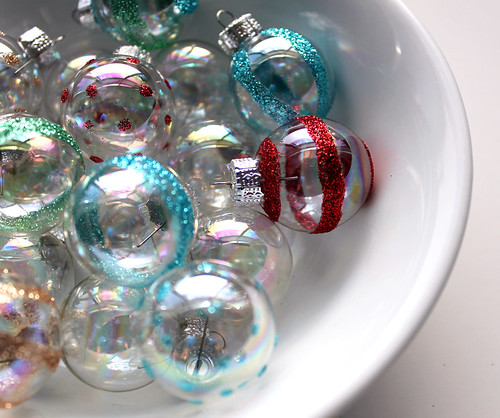
I love the way they came out! Try combining different colors and shapes, or try using a small glue applicator for fine linework. Make a set or two and give them to your friends as gifts!


