18

Halloween paper luminaries

Friday, October 5, 2012

Halloween votives
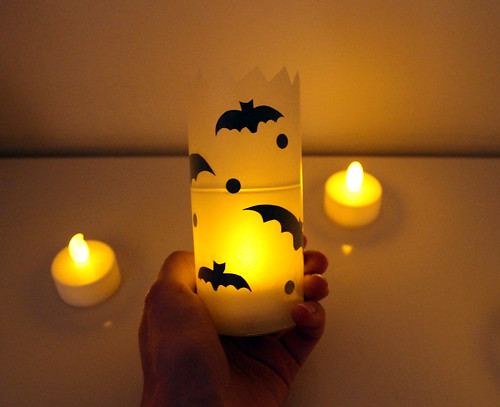
Halloween is one of my favorite holidays and I love making simple, handmade decorations to liven up my living room and front porch. So, when I saw this idea on Pinterest for heart shapes sandwiched between wax paper as a wrapping for baked goods I decided to give the technique a Halloween twist and make batty Halloween luminaries.

Here's what you'll need to make your own:
  • Scissors
  • Black paper, both text-weight and cardstock
  • Wax paper
  • Paper towels
  • Iron
  • Scotch tape, satin or invisible finish work the best
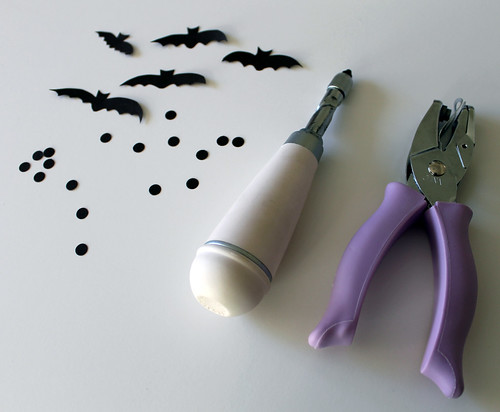
  • Hole punches, I used a hand punch and drill punch
  • Glass votive holders
  • Battery powered tealights
  • Other Halloween props for your display

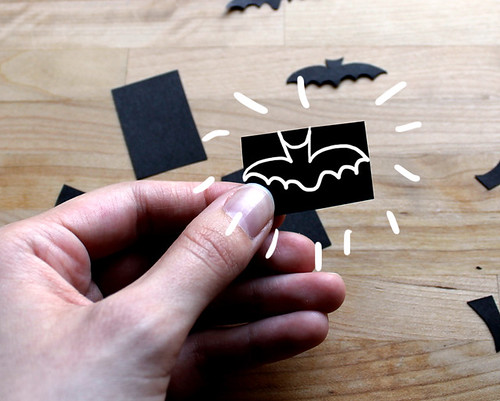
Starting with the lighter-weight black paper, cut it into rectangles about 1.5-2" wide by about 1" tall. When I'm cutting paper shapes I find smaller paper pieces easier to manage.
Halloween luminaria

Here's how I cut mine. With 4 cuts of the scissors, I have my bat! You can draw out your design in pencil before-hand if you prefer to follow lines when you're cutting.
Halloween votives

Cut a bunch of these guys out, at different sizes. Punch some holes in the same paper to get the dots.

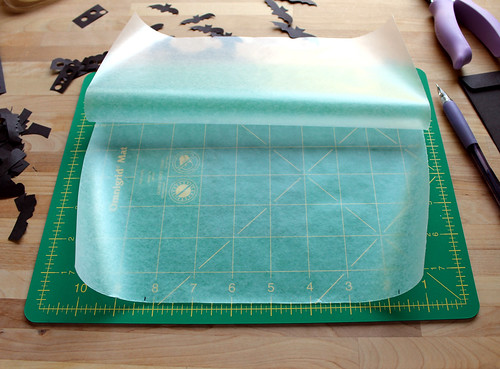
Roll out the wax paper and tear off a piece large enough to wrap around your glass with about a 2" overlap. Fold it half the short way.
Halloween votives
Halloween votives

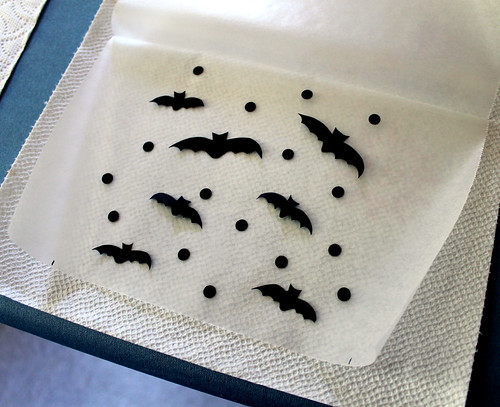
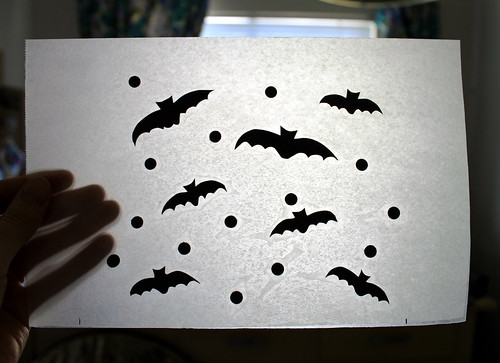
Lay the wax paper on a paper towel on an ironing board. Arrange your bats and dots on the lower half of the wax paper in an arrangement that you like, then fold the top piece over it, so your paper bats are in between two sheets of wax paper. Place another paper towel on top of the sandwich, set the iron to medium heat, and lightly run the iron over the paper towel until the was paper fuses to itself.
Halloween votives

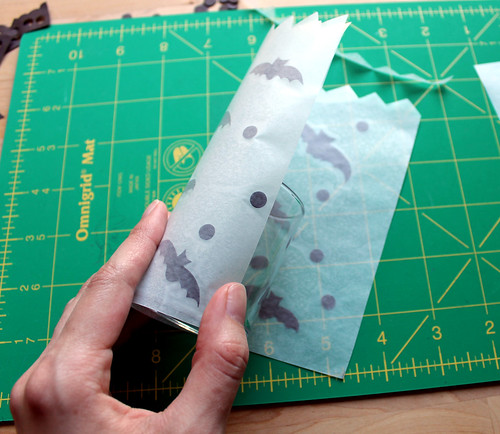
Don't worry about bubbles in the wax paper - you won't be able to see them when they're around the candle holder. Trim it down so there's only a 1/2" overlap. Cut a zig-zag border in the top, roll it around the votive holder and tape it together. Drop in a battery powered tea light.
Halloween votives
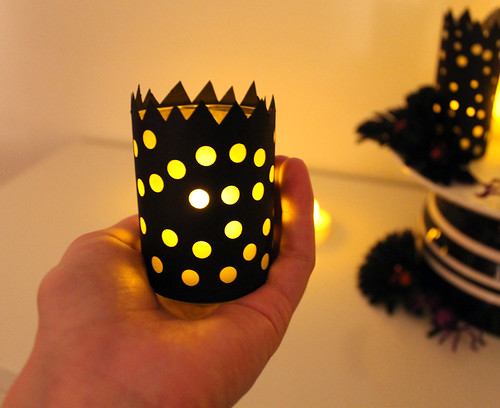
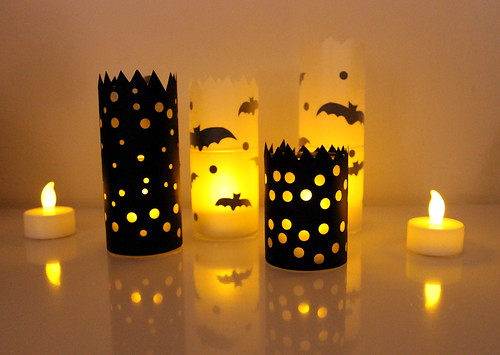
For the black luminaries, cut a piece of the black cardstock about 1/2" wider than the circumference of your glass and randomly punch holes all over it. Tape a piece of wax paper on the back of it, roll it around the glass, and tape together.
Halloween votives

I made 5: two of the black polka-dotted ones and 2 bat designs at different heights. I also made one with a spooky dead tree and fence, so get creative with it! You could try witches, cats, spiders...
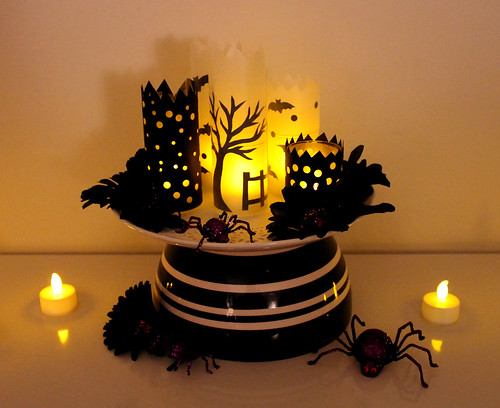
Halloween votives

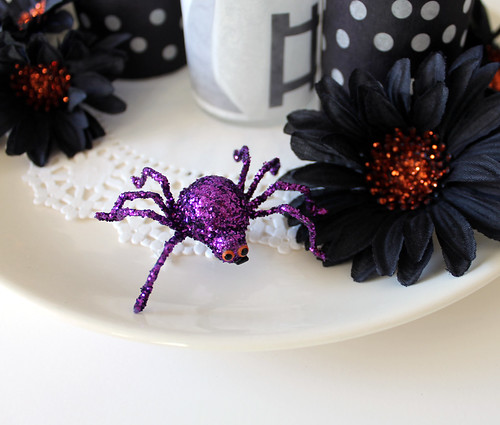
I turned my luminaries into a centerpiece feature. To do this, I used a black and white striped bowl, turned it upside down, and added a dinner plate with a white doily to the top. I arranged the luminaries on the plate and added some black silk flowers and glittered spiders that I already had in my stash. The tealights flicker, so they cast some spooky shadows. 
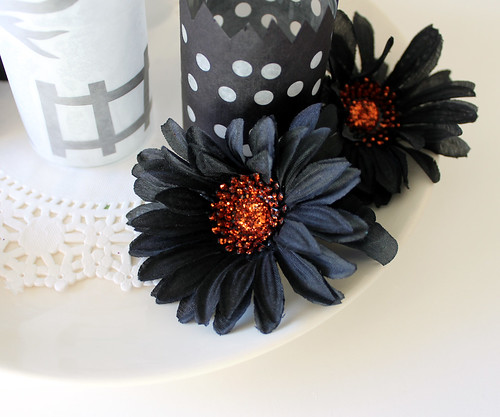
Halloween votives Halloween votives Halloween votives

I hope you try making some of these yourself. Happy crafting!

307

Washi tape as home decor.

Wednesday, October 3, 2012

MT Casa Decor tapes

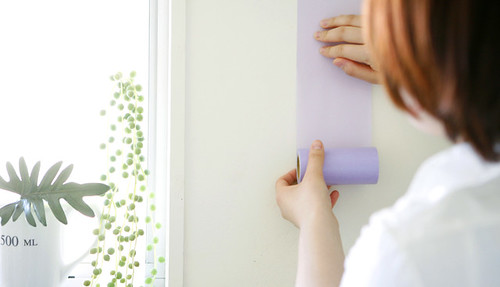
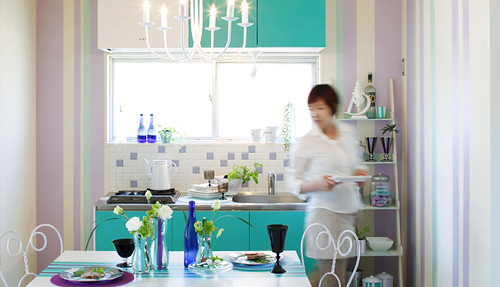
Washi tape has been spreading through the crafting world for the past few years and it shows no sign of slowing down. If you're unfamiliar with the product, it's a lightweight paper tape that originated in Japan that comes in tons of great colors and patterns. Most of the tapes have a somewhat transparent finish so they're great for layering. Their coolest trait (I think) is the low-tack adhesive that leaves no residue behind. This means you can tape things up all over your walls with no fear of taking up the paint or having to clean up a sticky mess later. You could easily create a wallpaper design with the narrow tape, but it would be a fairly labor-intensive process. The manufacturers at MT Casa in Japan have taken this idea to the next level and have introduced a line of wide width washi tape rolls specifically for home decor applications! (photos from MT Casa website)

MT Casa Decor tapes MT Casa Decor tapes

And thankfully, there are bloggers in Japan like Hello Sandwich who documented their visit to the MT expo in 2011.

Photobucket

These photos show almost every surface covered in tape, but in the real world I can imagine these would be great to jazz-up drab cabinetry in a rental apartment. Or to make a colorful "backsplash" in the kitchen where there currently is none. I'd like to cut out retro-style metallic stars to tape up on my bedroom walls. Guess what else they had taped up at the expo...?

Photobucket

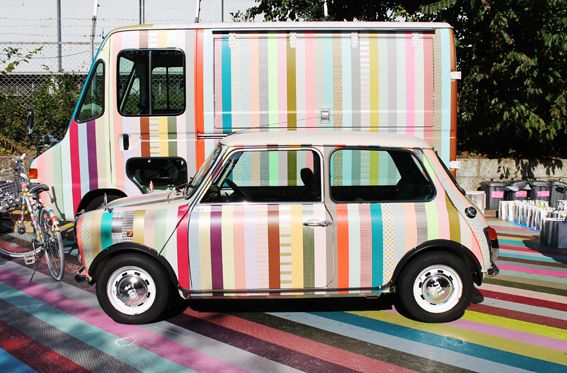
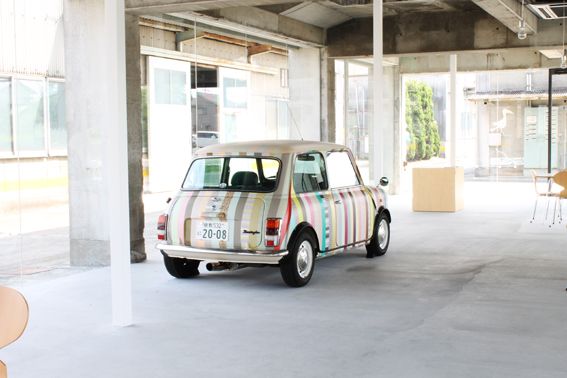
A classic Mini! So great! The van is cool, too, but you guys know I'm partial to the Minis. Here it is again again during a tour of the MT factory. So fun! (photos from Hello Sandwich)

Photobucket

MT announced these products back in 2011, but they just now seem to be showing up in shops in  Europe, specifically at Top Drawer in London. I haven't yet heard of when these wider-width tapes will be released in the U.S., but it's just a matter of time. I can't think of a bunch of projects I'd like to try with it. My little hallway could use some color.

If you're looking for where you can buy the narrow widths online, check Etsy. I've purchased tape from this seller before with great success.

27

Retro kitchen café curtains.

Thursday, September 27, 2012

Retro Kitchen Cafe Curtains
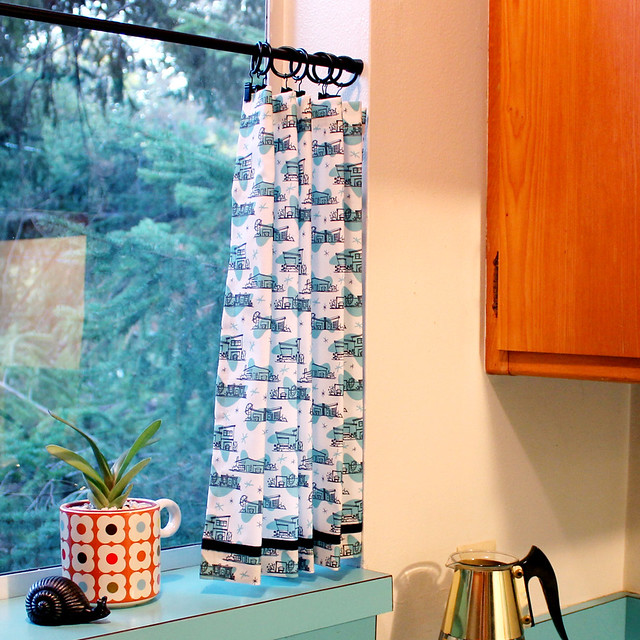
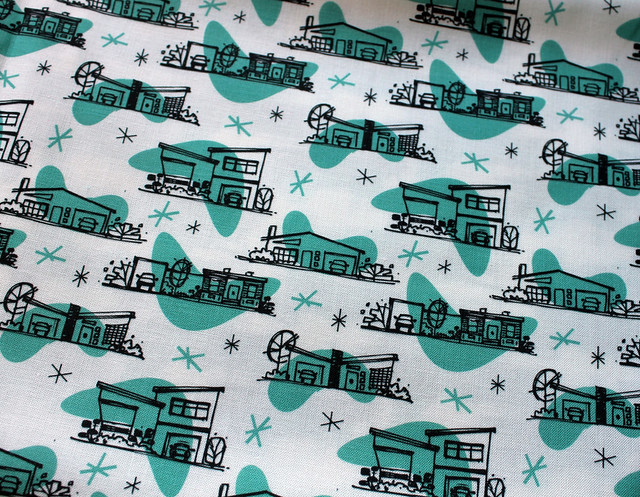
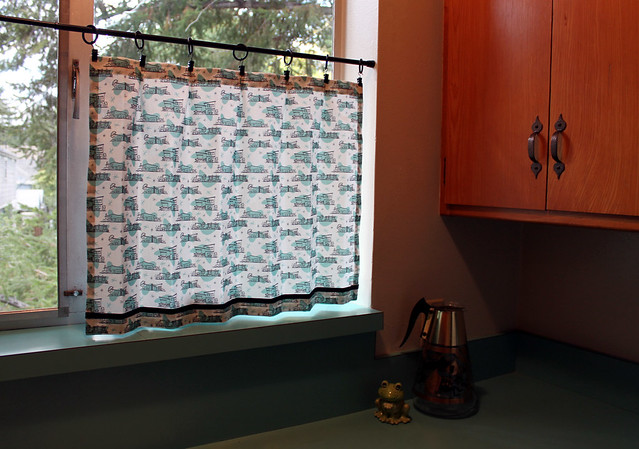
I recently made new café curtains for my kitchen window and wanted to share. I used my own "Retro Ranch" fabric. I even matched the color to my countertops! Cool, right?

Retro Kitchen Cafe Curtains

This was my original screen print of my repeat that I made a couple of years ago. Since the idea of printing a large amount of continuous yardage myself was a little daunting, I decided to have Spoonflower do it for me. I ordered one of their color maps, and chose the shade of teal that most closely matched my countertops. I uploaded the design and a little more than a week later I had my fabric!

I didn't take any photos of the sewing since I started the project at about 10 at night (I get crazy on the weekends, people!) and the lighting would have been terrible, but here's a write-up of how I did it.

What I used:
  • Tension rod that fit the width of my window
  • Curtain rings and clips in the same color as the rod. I used 14 of each.
  • 2 yards of fabric. Since my print was directional and my window was wide, I had to start out with a larger piece of fabric. I had a bit leftover. 
  • 1 1/2 yards of 3/8" grosgrain ribbon
What I did:
  • I put up the tension rod where I wanted it in the window with the rings and the clips. I measured from the bottom of the clips down to the window sill. This is how tall my completed panels would be.
  • Then I measured the overall width of the window and added 2". This is how wide the two panels would be, combined. The 2" allows for a little overlap at the center. Divide that number by 2,  to get the width of each panel. This is how wide each panel will be.
  • After I had the finished dimensions, I started to add in the hems and pleats. I added 2" in width to each panel for the side hems (1" on each side for a small double hem), and 2" for each inverted pleat (my panels had 5 each). For the height, I added 2" for the top hem, and 3" for the bottom hem.  Once I had my dimensions ready, I measured and pressed the hems, pinned, and did the simple straight sewing. When all the edge hems were completed, I measured out the pleat locations, sewed them, and pressed them flat. I added a black grosgrain ribbon along the bottom hem to the give them some visual balance. After that, I just clipped them onto the rings, and they're done! 

Retro Kitchen Cafe Curtains

Here's a little tip that I used from my mom who used to have a drapery business: When the panels are first clipped up and gathered to the side they will hang rather stiffly and may not give you the pleating you were hoping for. To get them to relax and hang the way you want, fold the pleats where you want them, like folding a fan. Using a long narrow strip of scrap of fabric, loosely tie the panel together at the bottom. Give it a fine spray of water on both sides from a spray bottle and let them sit like this for a day or two. As they dry, the fabric will remember the folds and will give you a nice pleated effect when you release them.

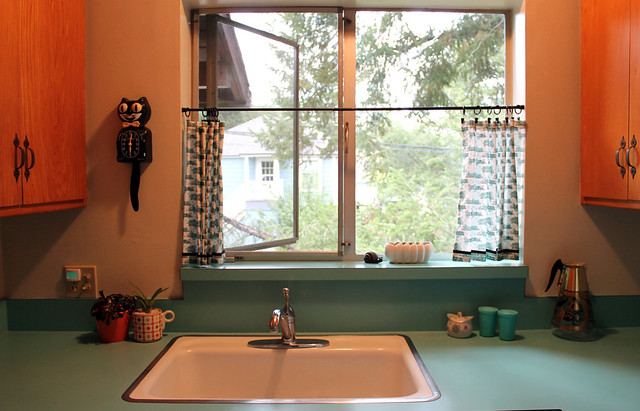
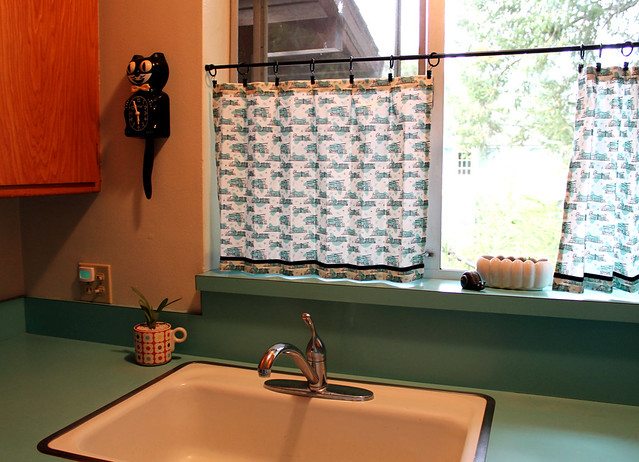
Retro Kitchen Cafe Curtains Retro Kitchen Cafe Curtains Here are few more photos of my 1950's kitchen. My great aunt gave me that KitKat clock for my 11th birthday. I think I was born loving retro...
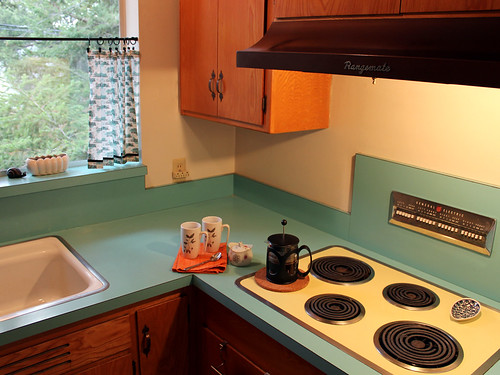
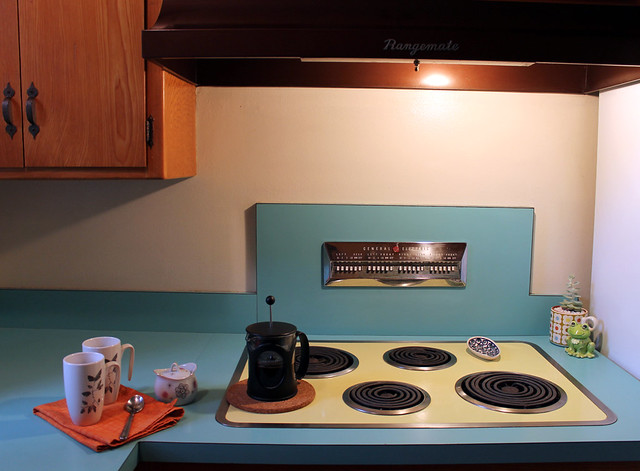

Retro Kitchen Cafe Curtains Retro Kitchen Cafe Curtains

Though it's tiny, it's by far my favorite space in my apartment. They just don't make them like they used to!

UPDATE: This fabric print is now available for sale in my shop. Listed in this teal and a sweet light pink colorway.  :)

2

Officially Fall

Monday, September 24, 2012

Saturday was the Autumnal Equinox, so it's officially Fall! Here are some autumn-like things that have been occupying my Pinterest boards lately. No rhyme or reason, really, just pretty things that I enjoyed looking at. I hope you likey.

Fall inspired pinterest pins
1. pin 2. pin 3. pin 4. pin 5. pin 6. pin 7. pin 8. pin 

Confession: Pinterest is wonderful, but in fear of getting sucked into a black hole of pretty pictures and never-ending inspiration overload, I really only browse the DIY and Crafts section and do searches when I'm looking for something. Ok, I also look through the humor section when I want to find silly photos to send to my sisters. I follow some interesting peeps over there, though, so I get a good influx of interiors, graphic design, product design, and art in my feed.

What about you? Have you fallen into the Pinterest trap, yet? :)

2

Fair day!

Friday, September 21, 2012

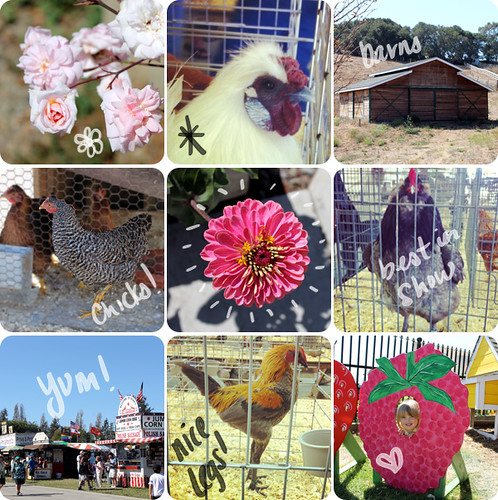
I spent last Saturday at the County Fair with my sisters, my niece, and my mom. It was such a fun day! The chickens won the prize for most photogenic.

Fair Days

Have a great weekend!
 

vitamini handmade © All rights reserved · Theme by Blog Milk · Blogger